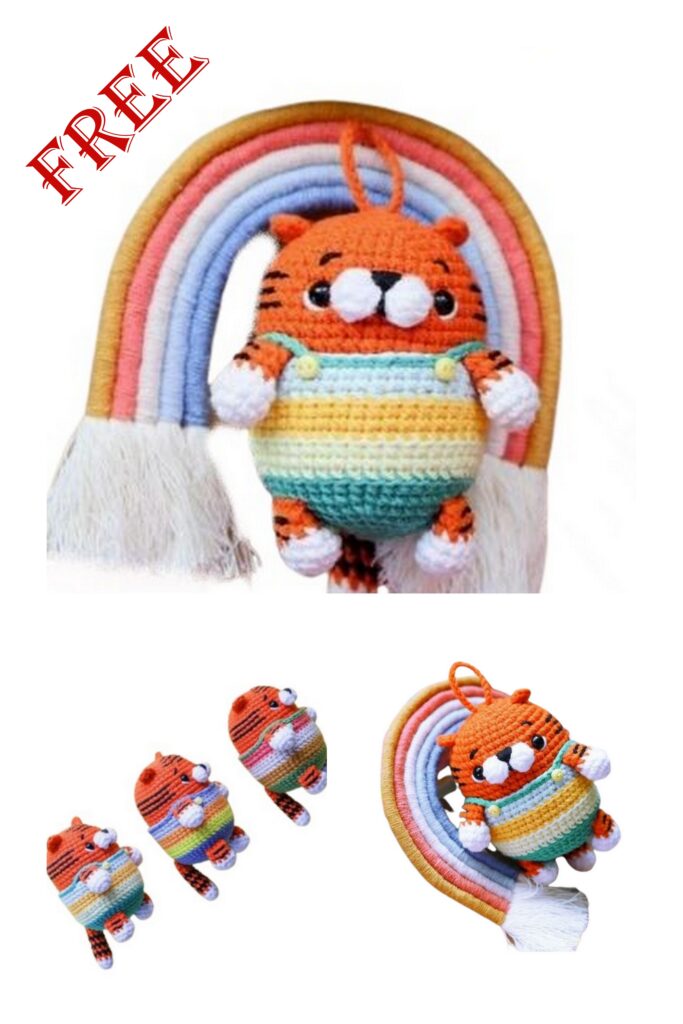
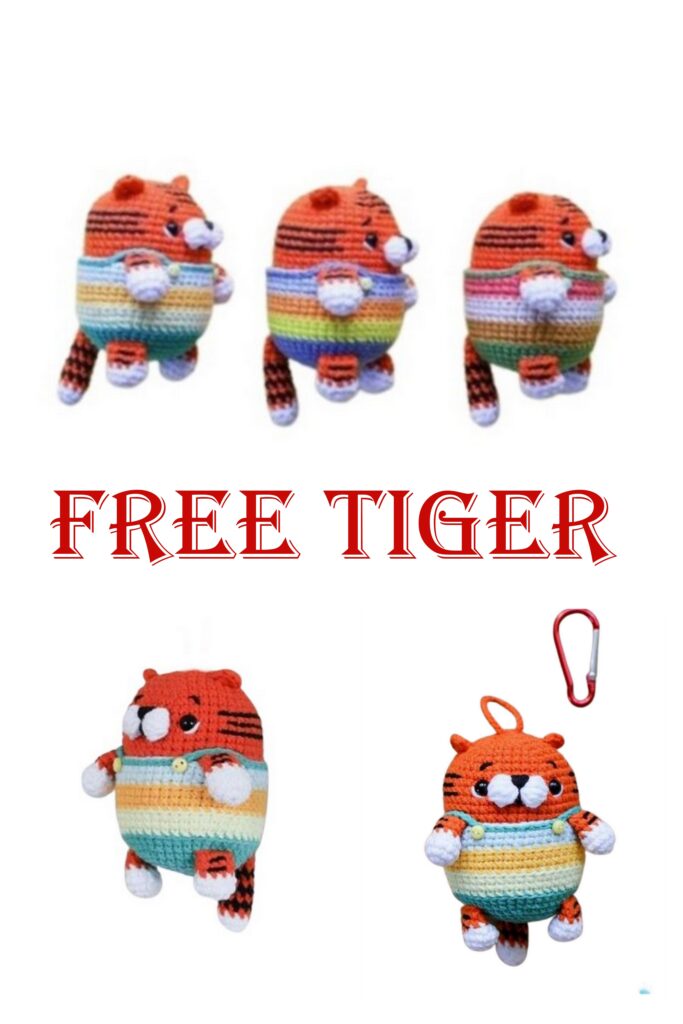
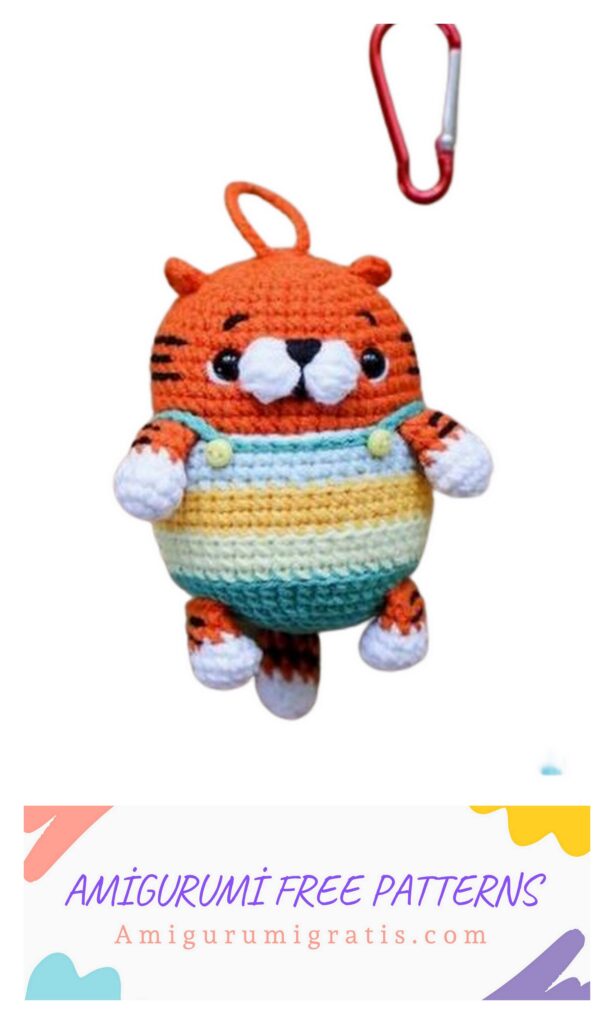
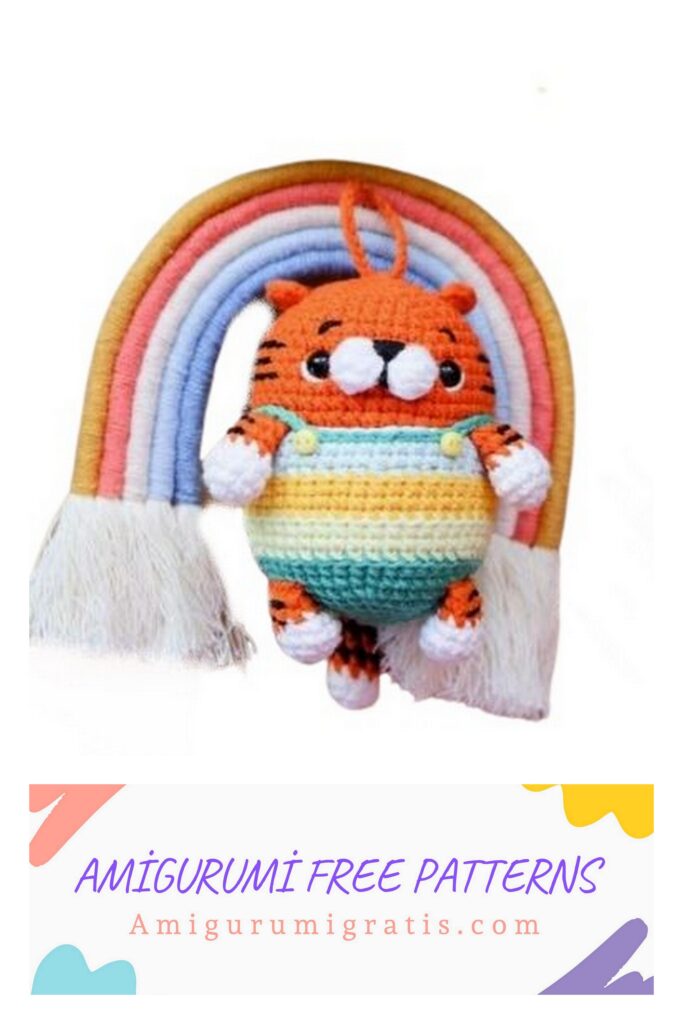
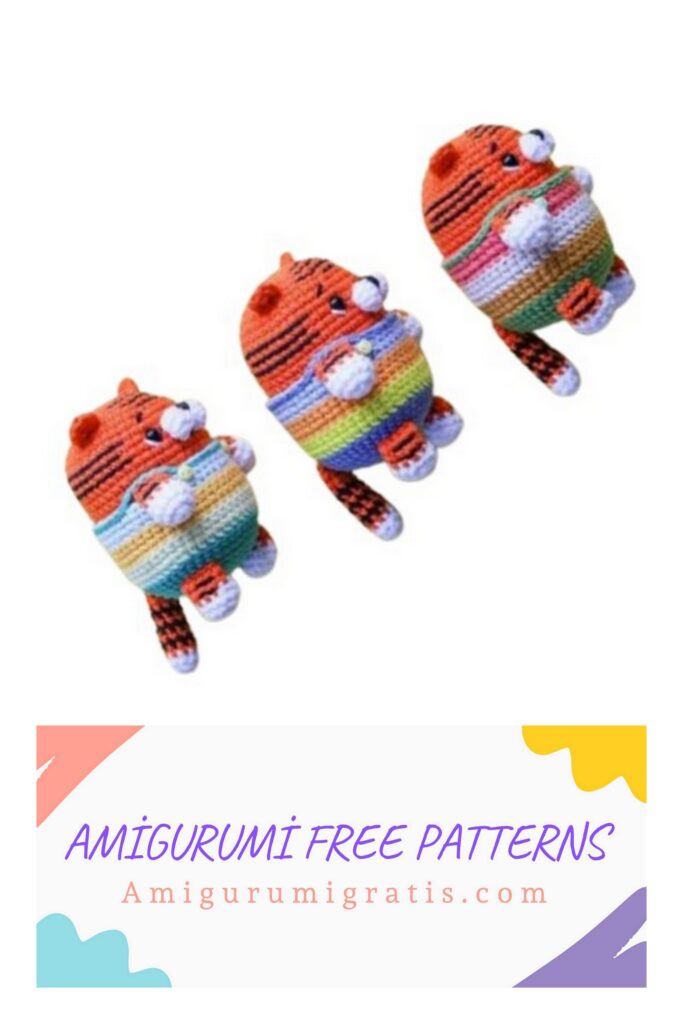
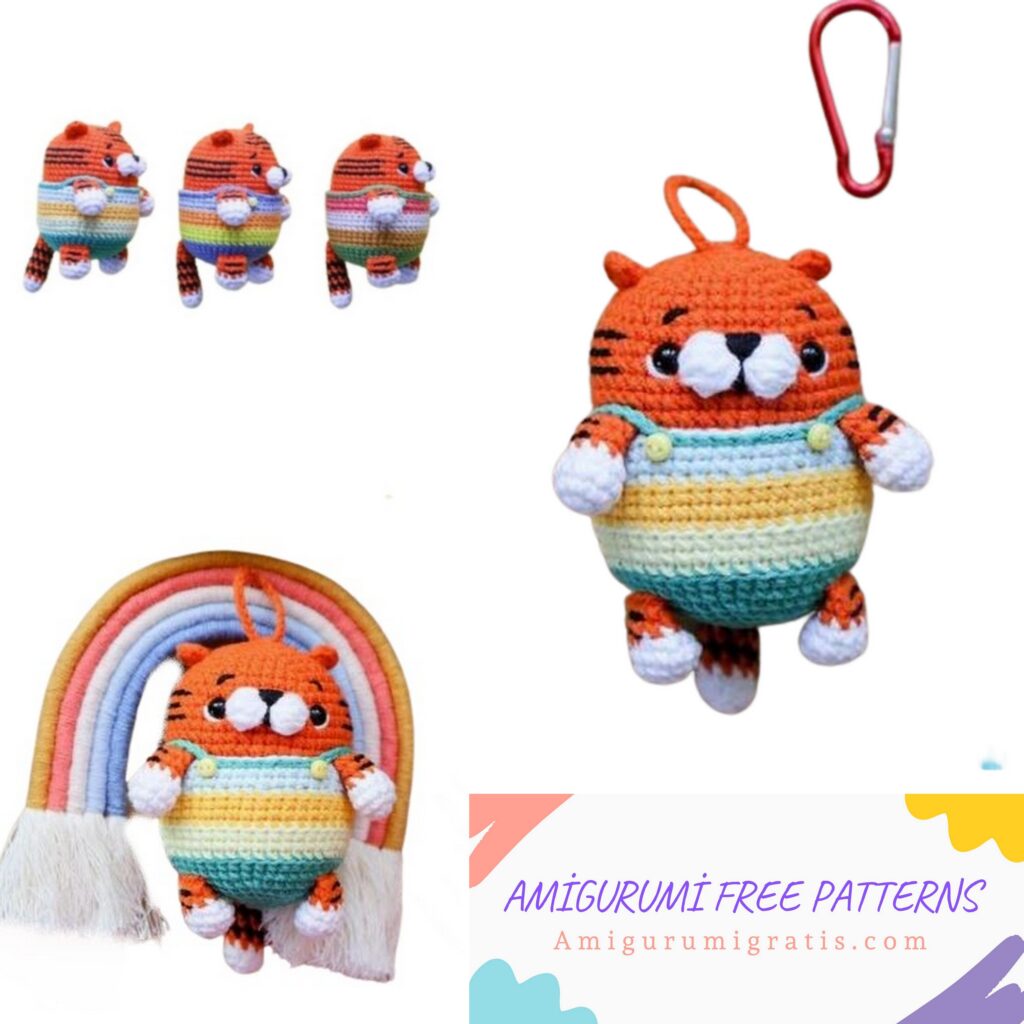
You can visit our website for the free pattern of the Amigurumi tiger keychain.
Materials and tools:
1. Yarn semi cotton Alize Cotton Gold
Primary colors: orange 37, black 60, white 55.
For the jumpsuit: choose four matching colors.
For example, emerald 610, turquoise 522, yellow 216, lemon 187.
2. Hook 2 mm.
3. Filler.
4. Safety eyes with a diameter of 6 mm. – 2 pcs.
5. Small buttons – 2 pcs.
6. Tapestry needle with a wide eye.
7. Base for the keychain: ring, carabiner, cord, etc. (of your choice).
8. Reflective sewing tape 50 mm. – 10 cm.
9. Cardboard or plastic lid, glue.
Legend:
p. – loop;
ch – air loop;
sl-st – connecting post;
sc – single crochet;
inc. – an increase (we knit 2 columns in one loop);
dec. – decrease (we knit 2 columns together);
HDC – half double crochet;
DC – double crochet;
BLO – behind the back walls of the hinges;
(sc, inc) х n – repeat n number of times specified in brackets.
Toy size and notes:
The height of the finished toy is about 9.5 cm. The knitting level is light.
All parts of the toy are knitted in a spiral. The toy requires a minimum of sewing. Legs and handles are knitted in the course of knitting. Ears are also tied. Black stripes are embroidered.

Tigger keychain
LEGS (4 PCS.)
We start with white.
1st row: 6 sc into magic ring (6)
2nd row: 6 inc (12)
3 row: sc in each st. (12)
4th row: (2 sc, dec) x 3 (9)
Change thread to orange.
5-6 row: 2 rows – sc in each st. (9)
Place the filler on the white part only.
Fold the edges in half and sew with 4 sc. Hide the end of the thread inside.
Sew two strips of black yarn on each foot. Embroider with a seam
“Forward the needle”


TAIL
We start with white.
1st row: 6 sc into magic ring (6)
2nd row: (1 sc, inc) x 3 (9)
3 row: sc in each st. (9)
Next, alternate between black and orange.
4th row: (orange) sc in each p. (9)
5 row: (black) sc in each p. (9)
6 row: (orange) sc in each p. (9)
7 row: (black) sc in each p. (9)
8 row: (orange) sc in each p. (9)
9 row: (black) sc in each p. (9)
10-12 row: (orange) 3 rows – sc in each st. (9)
Put in some filler.
Fold the edges in half and sew with 4 sc. Leave the thread for sewing.
HEAD AND BODY (one piece, knit from top to bottom)
Orange.
1st row: 6 sc into magic ring (6)
2 row: 6 ave (12)
3rd row: (1 sc, inc) x 6 (18)
4th row: (2 sc, inc) x 6 (24)
5 row: 2 ch, (3 sc, inc) x 3, 2 ch, (3 sc, inc) x 3 (30) – ch is not included in the counting of loops, for these loops we will later knit ears. For convenience, mark them with a different color of thread.
6 row: (4 sc, inc) x 6 (36)
7 row: (5 sc, inc) x 6 (42)
8-13 row: 6 rows – sc in each st. (42)
In the following row we knit the upper legs. The distance between them is 11 loops. Flatten the part in half. Focusing on the ears, find the central point of the body and count from it to the sides in 5 points. These 11 points. And there is the distance between the legs. I got it like this:
Row 14: 4 sc with foot, 11 sc, 4 sc with foot, 23 sc (42)
15-23 rows: 9 rows – sc in each st. (42)
Insert safety eyes between rows 10 and 11 at a distance of 8 sts.
Put in the filler.
24 row: (5 sc, dec) x 6 (36)
25 row: (4 sc, dec) x 6 (30)
26 row: (3 sc, dec) x 6 (24)
27 row: (2 sc, dec) x 6 (18)
28 row: (1 sc, dec) x 6 (12)
29 row: 6 dec (6)
Put in the filler. Pull off the hole, hide the end of the thread inward.

EARS
With a new thread under a chain of 2 ch in the 5th row, tie the ears: ch sc, HDC, 3 DC, HDC, sc, ch Hide the ends of the threads inside.
OVERALLS
Knit the jumpsuit in four different colors.
We start with color 1.
1st row: 6 sc into magic ring (6)
2nd row: 6 inc (12)
3rd row: (1 sc, inc) x 6 (18)
4th row: (2 sc, inc) x 6 (24)
5 row: (3 sc, inc) x 6 (30)
6 row: (4 sc, inc) x 6 (36)
7 row: (5 sc, inc) x 6 (42)
Row 8: 12 sc, 4 sc with foot, 10 sc, 4 sc with foot, 12 sc (42)
9 row: sc in each st. (42)
Change thread to color 2.
10 row: BLO – (13 sc, inc) x 3 (45)
11-12 row: 2 rows – sc in each st. (45)
Change thread to color 3.
13 row: BLO – sc in each p. (45)
14-15 row: 2 rows – sc in each st. (45)
Change thread to color 4.
16 row: BLO – sc in each p. (45)
17-18 row: 2 rows – sc in each st. (45)
Leave the thread for sewing.
Muzzle
White.
Amigurumi ring: (2 ch, 5 unfinished DC connect at the top, 2 ch) x 2 times.
Leave the thread for sewing.
ASSEMBLY AND DESIGN
1. Put on the jumpsuit and sew it to the body in the penultimate row.
Attach new thread (Color 1) to the last row of the jumpsuit at the back and knit sl-st in a circle, making 6 ch straps near the feet.
2. Sew the muzzle between the eyes. Sew the whites near the eyes with the same thread.
3. Embroider the nose and eyebrows with black thread.
4. With a black thread, embroider the stripes on the head with a needle-forward seam.
5. Sew on the buttons.
6. Attach the hardware. I have this metal ring and pendant with a cord.
REFLECTIVE ELEMENT
Cut a 5 cm circle out of cardboard or plastic.
Cut the same circle out of reflective tape.
Stick the tape to the base. Amigurumi Tiger Keychain
We knit the base:
1st row: 6 sc into magic ring (6)
2nd row: 6 inc (12)
3rd row: (1 sc, inc) x 6 (18)
4th row: (2 sc, inc) x 6 (24)
5 row: (3 sc, inc) x 6 (30)
6 row: (4 sc, inc) x 6 (36)
7 row: (5 sc, inc) x 6 (42)
Attach a piece of cardboard to the knitted part, if necessary, trim the edges of the cardboard. Stick it on. Amigurumi Tiger Keychain
8 row: BLO – (1 sc, dec) x 14 times (28)
9 row: sl-st in each st. (28)
Cut and secure the thread. Hide the end of the thread between the loops.
With a thread of a different color, tie the edge of the fold with connecting posts (knit behind the loops left on the floor). Cut and secure the thread. Hide the end of the thread between the loops.
Use this part as a badge on a backpack or make it part of a keychain. Amigurumi Tiger Keychain