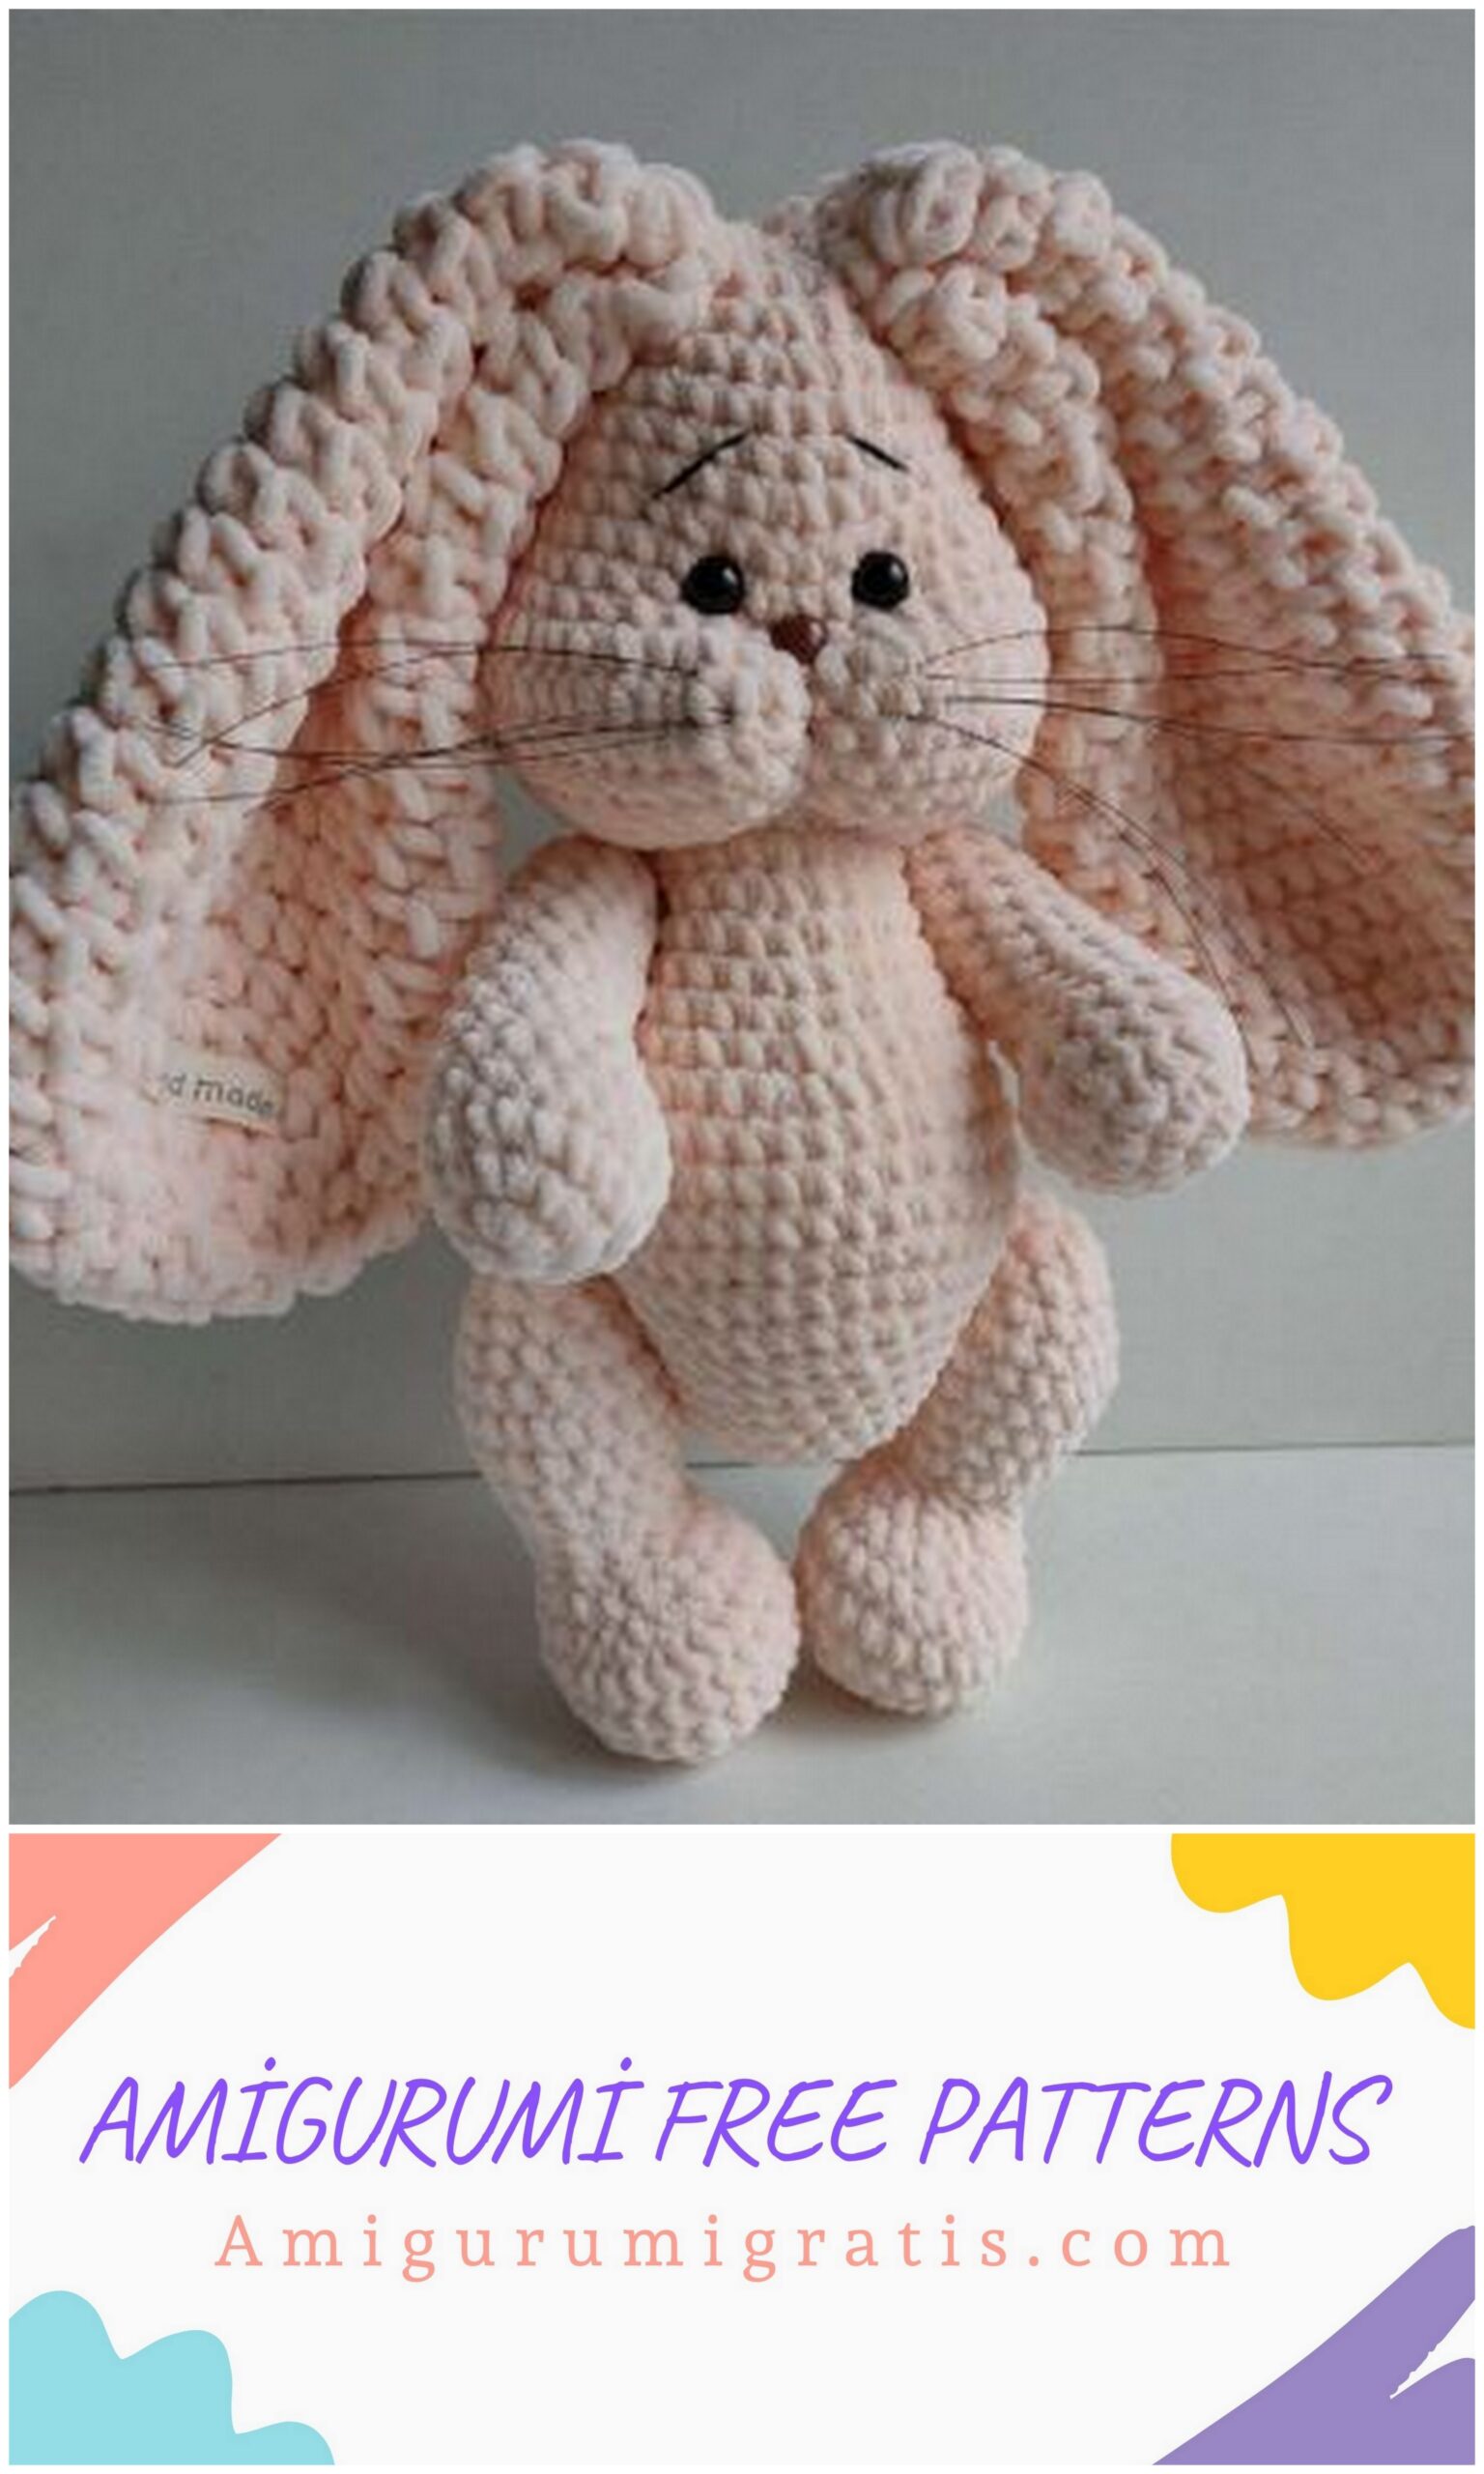
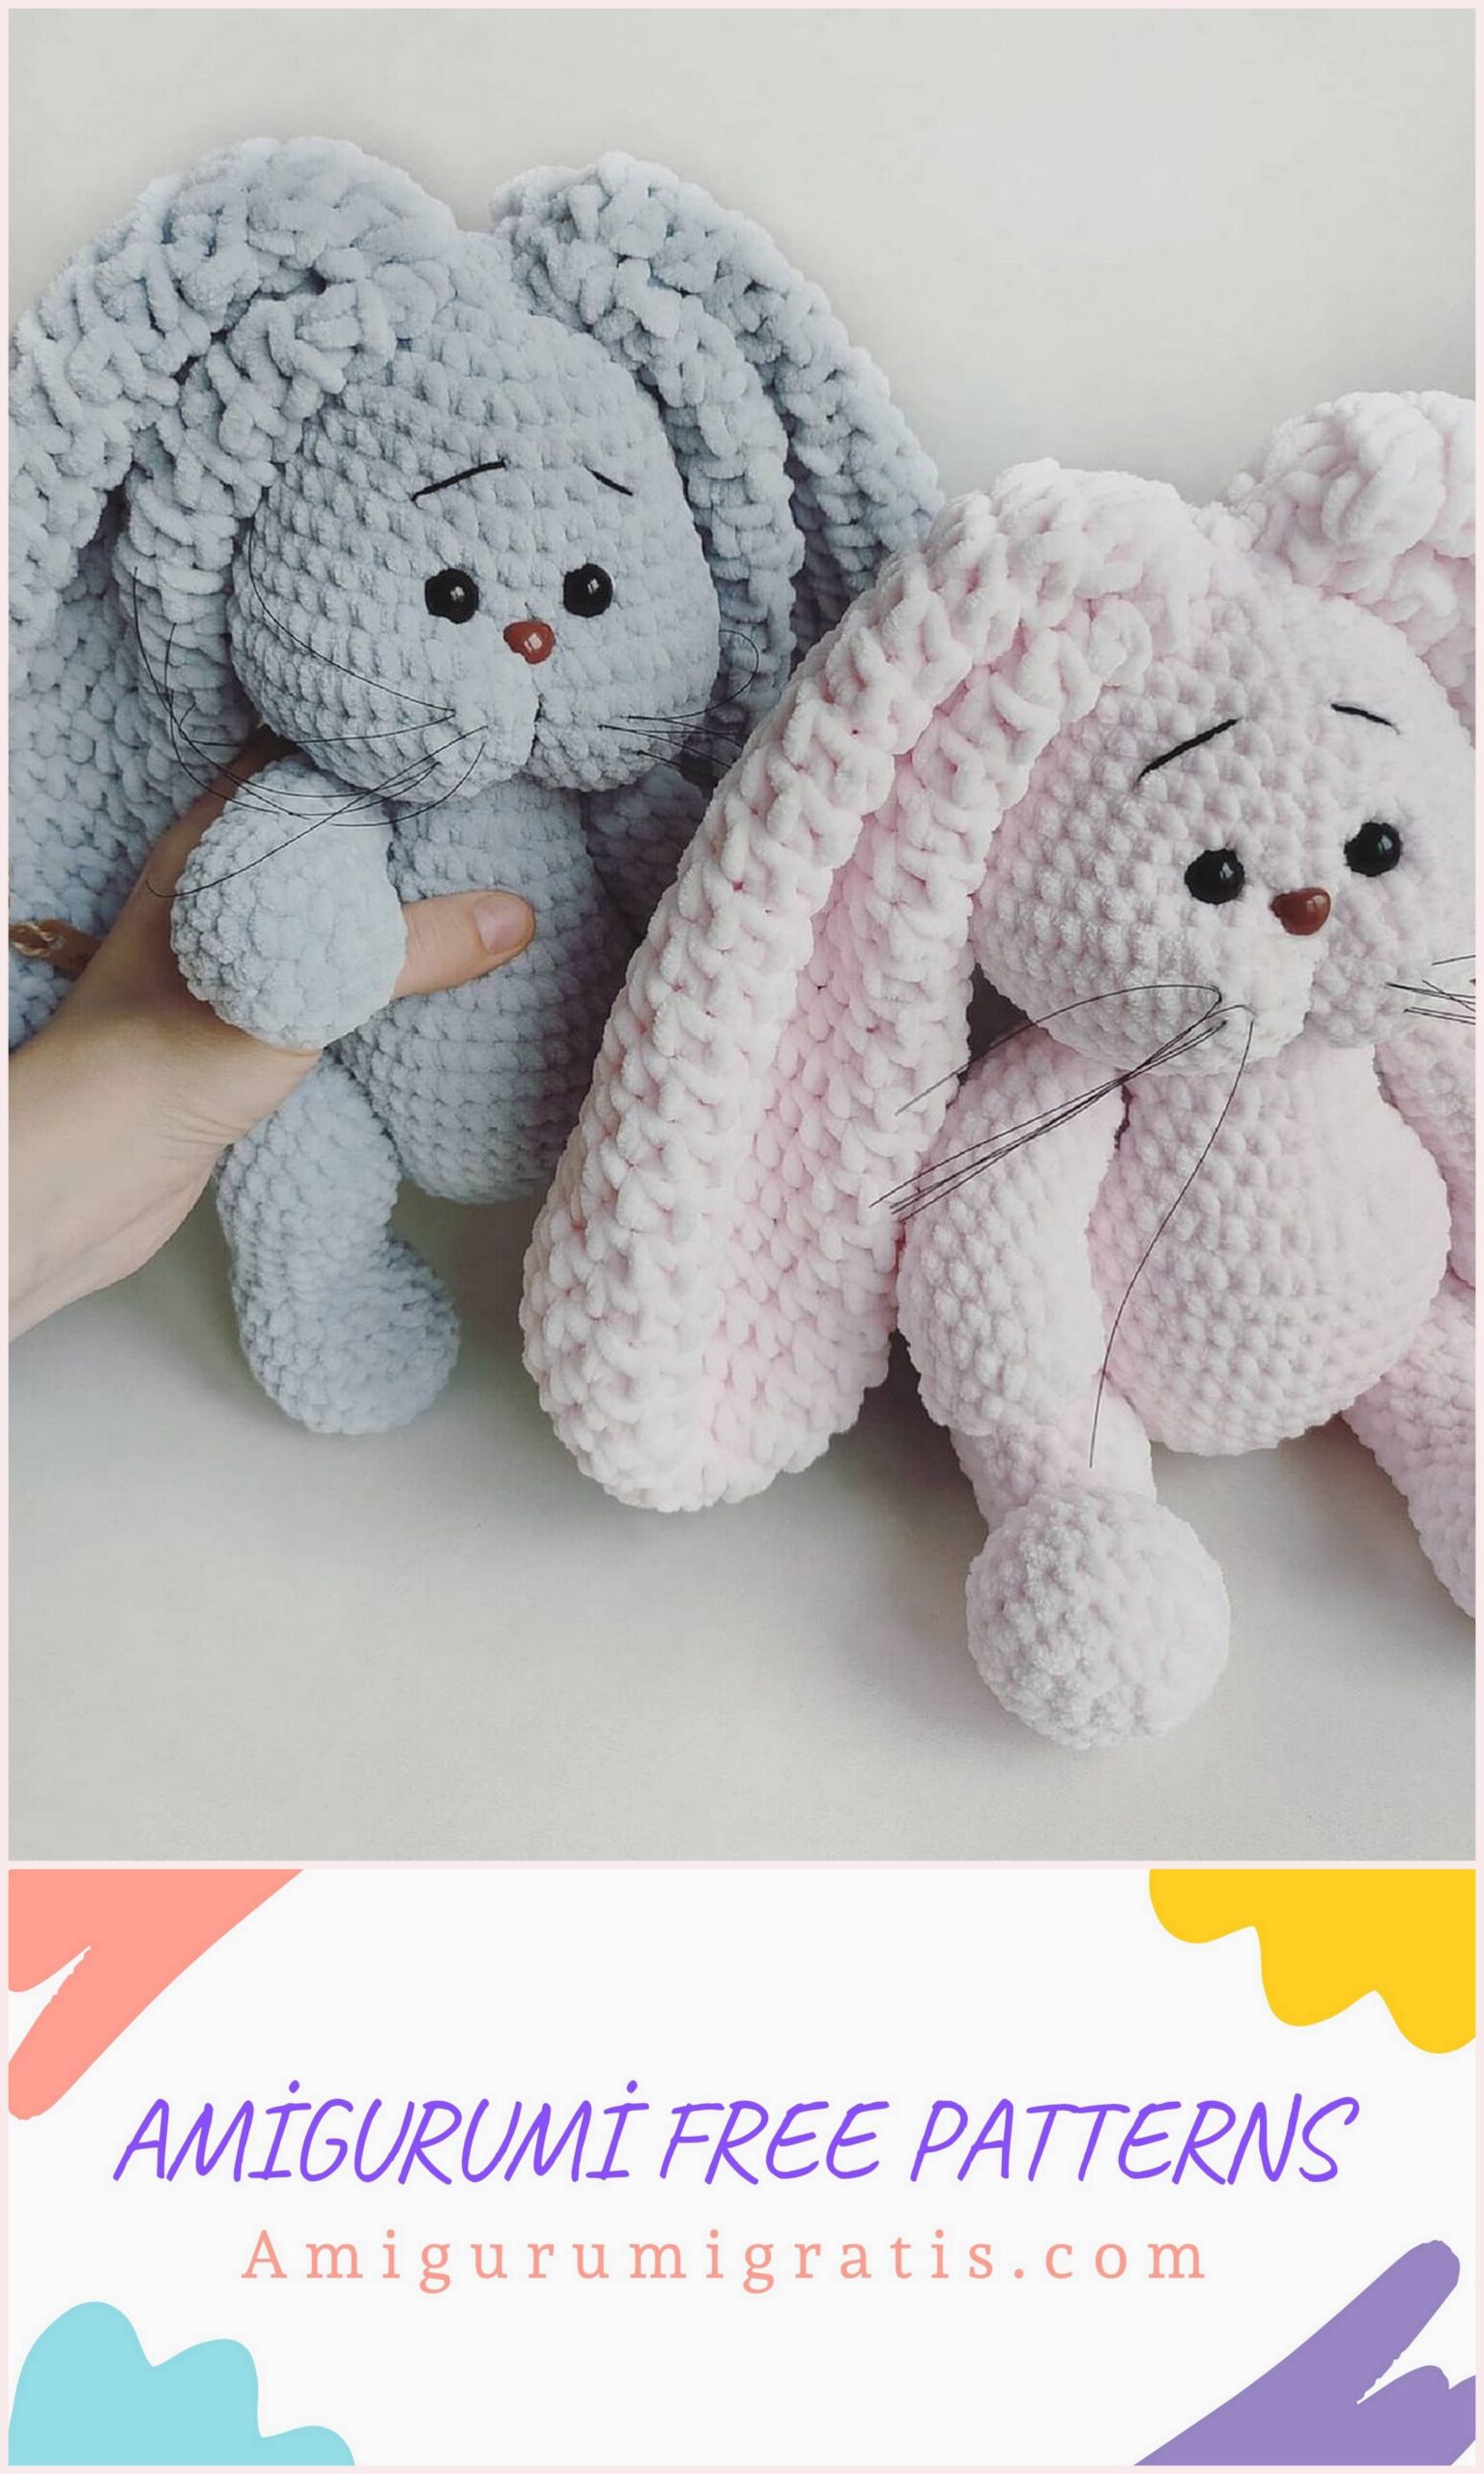
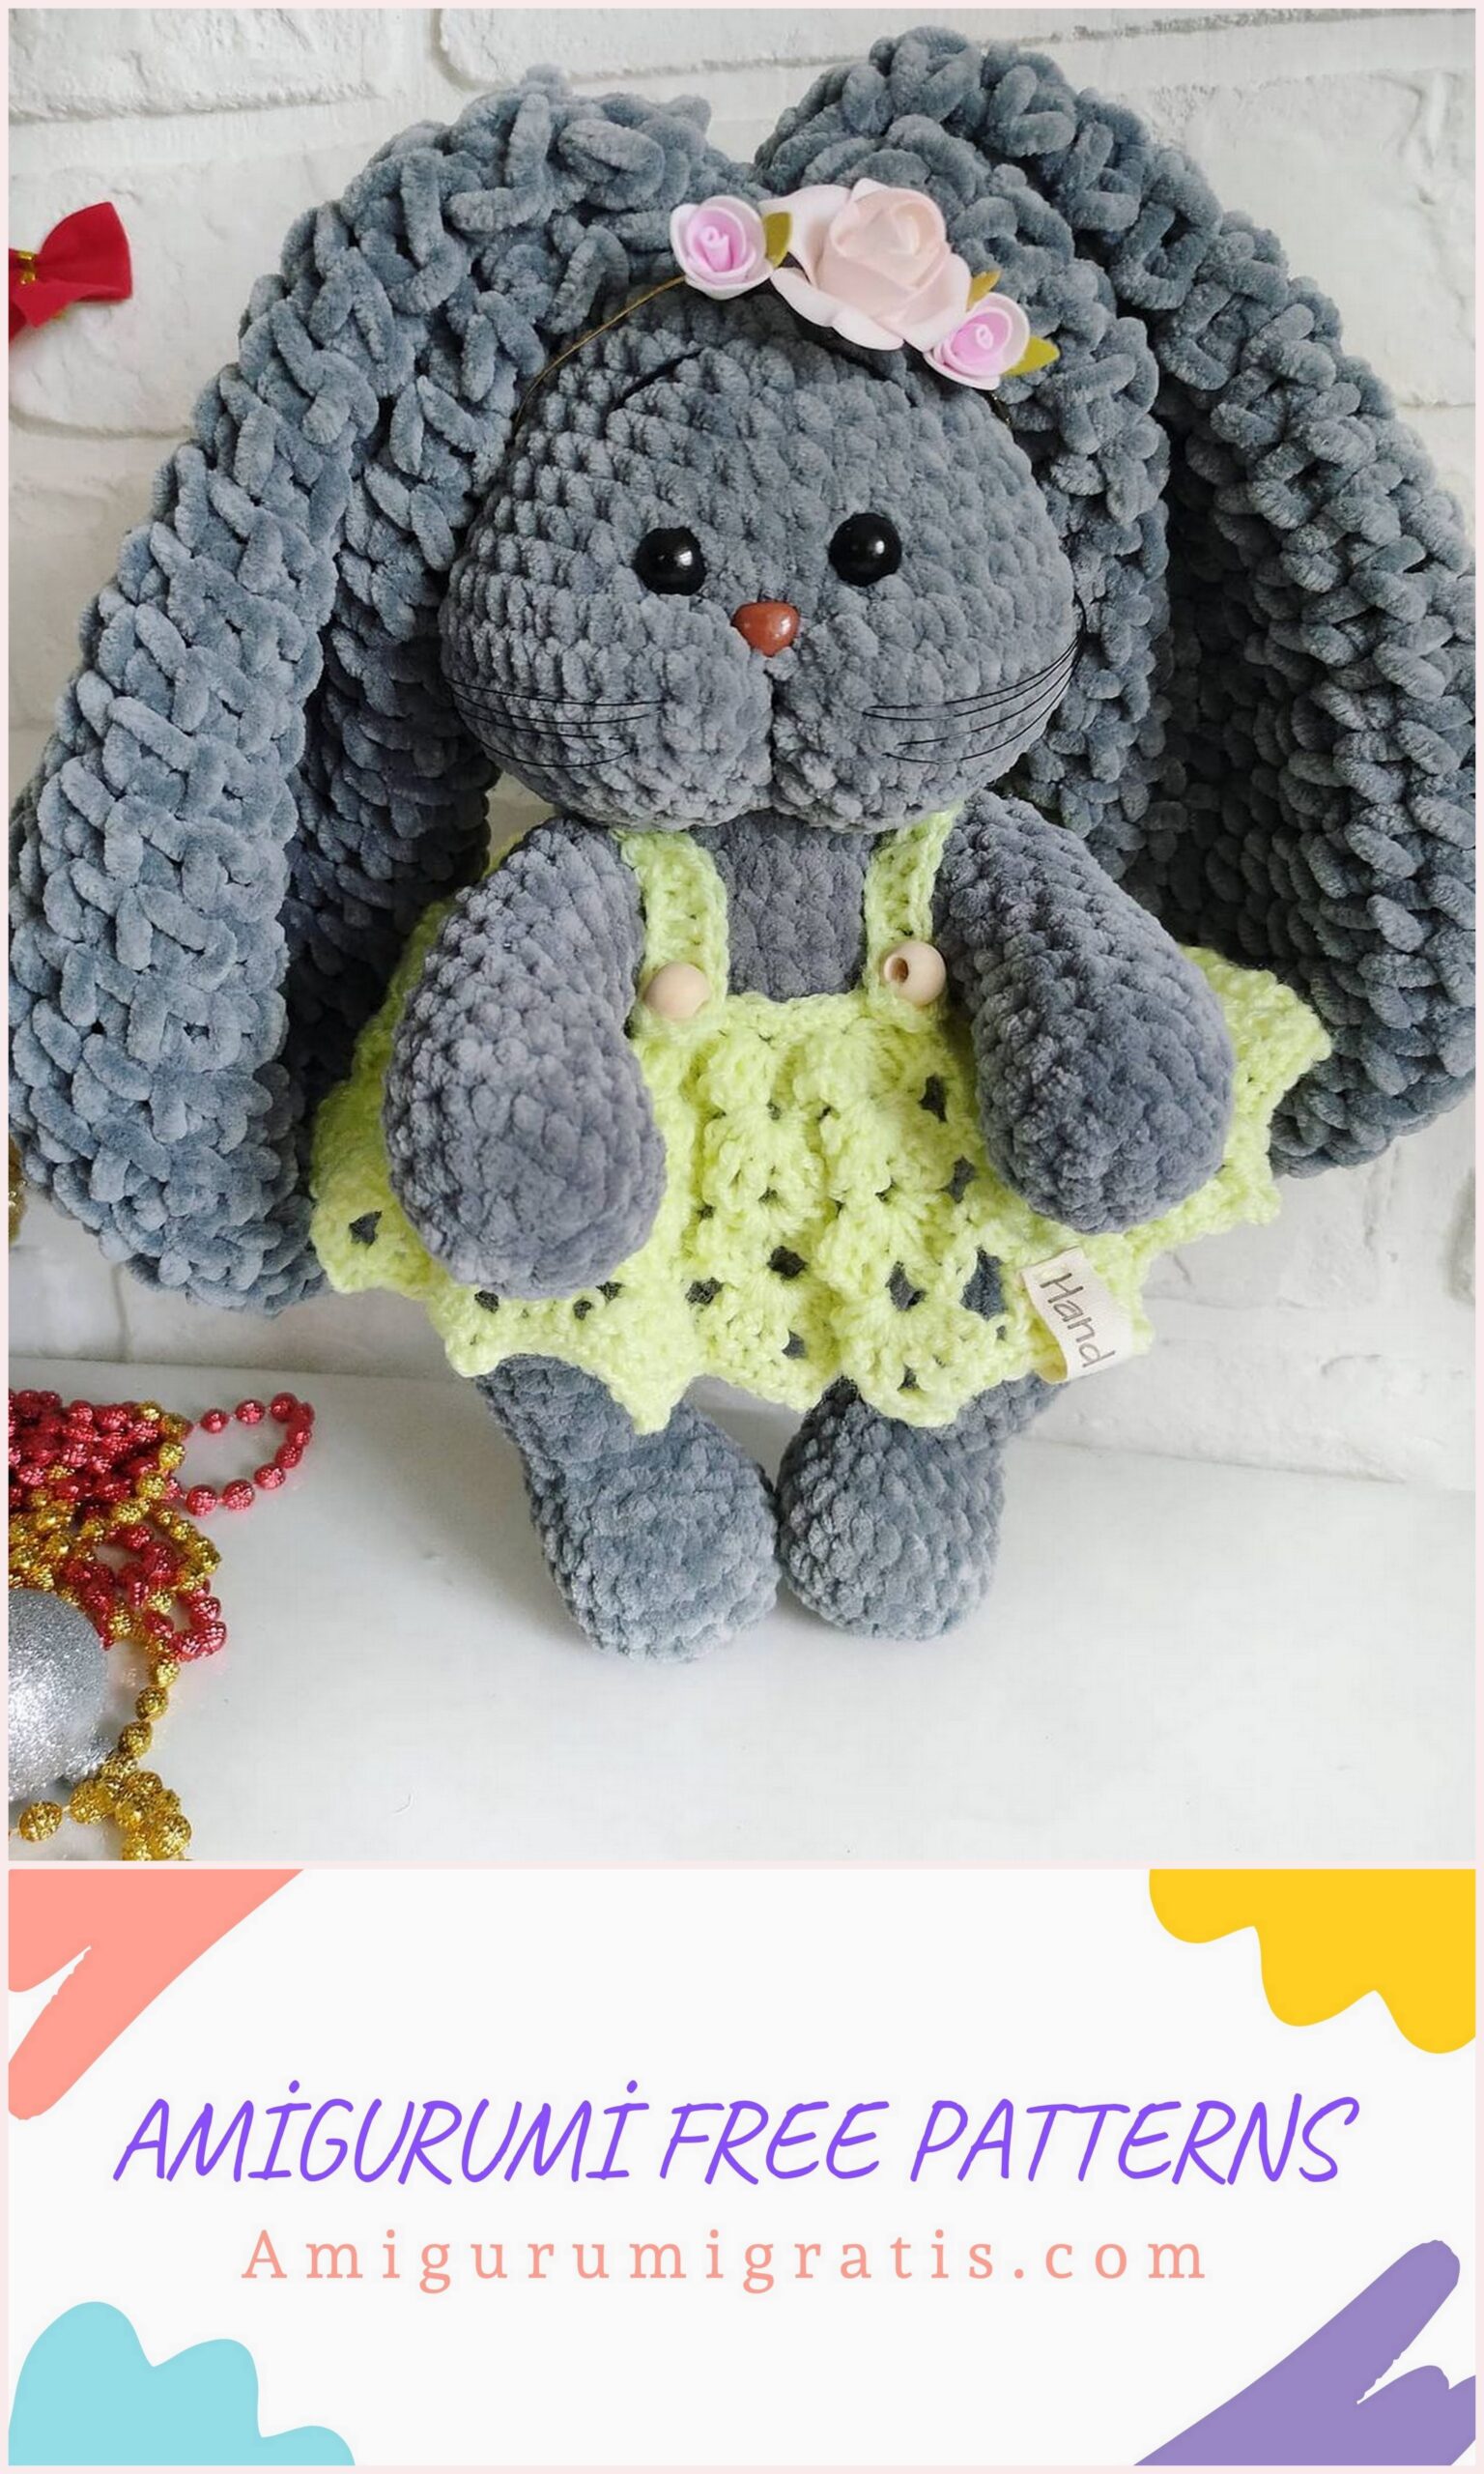
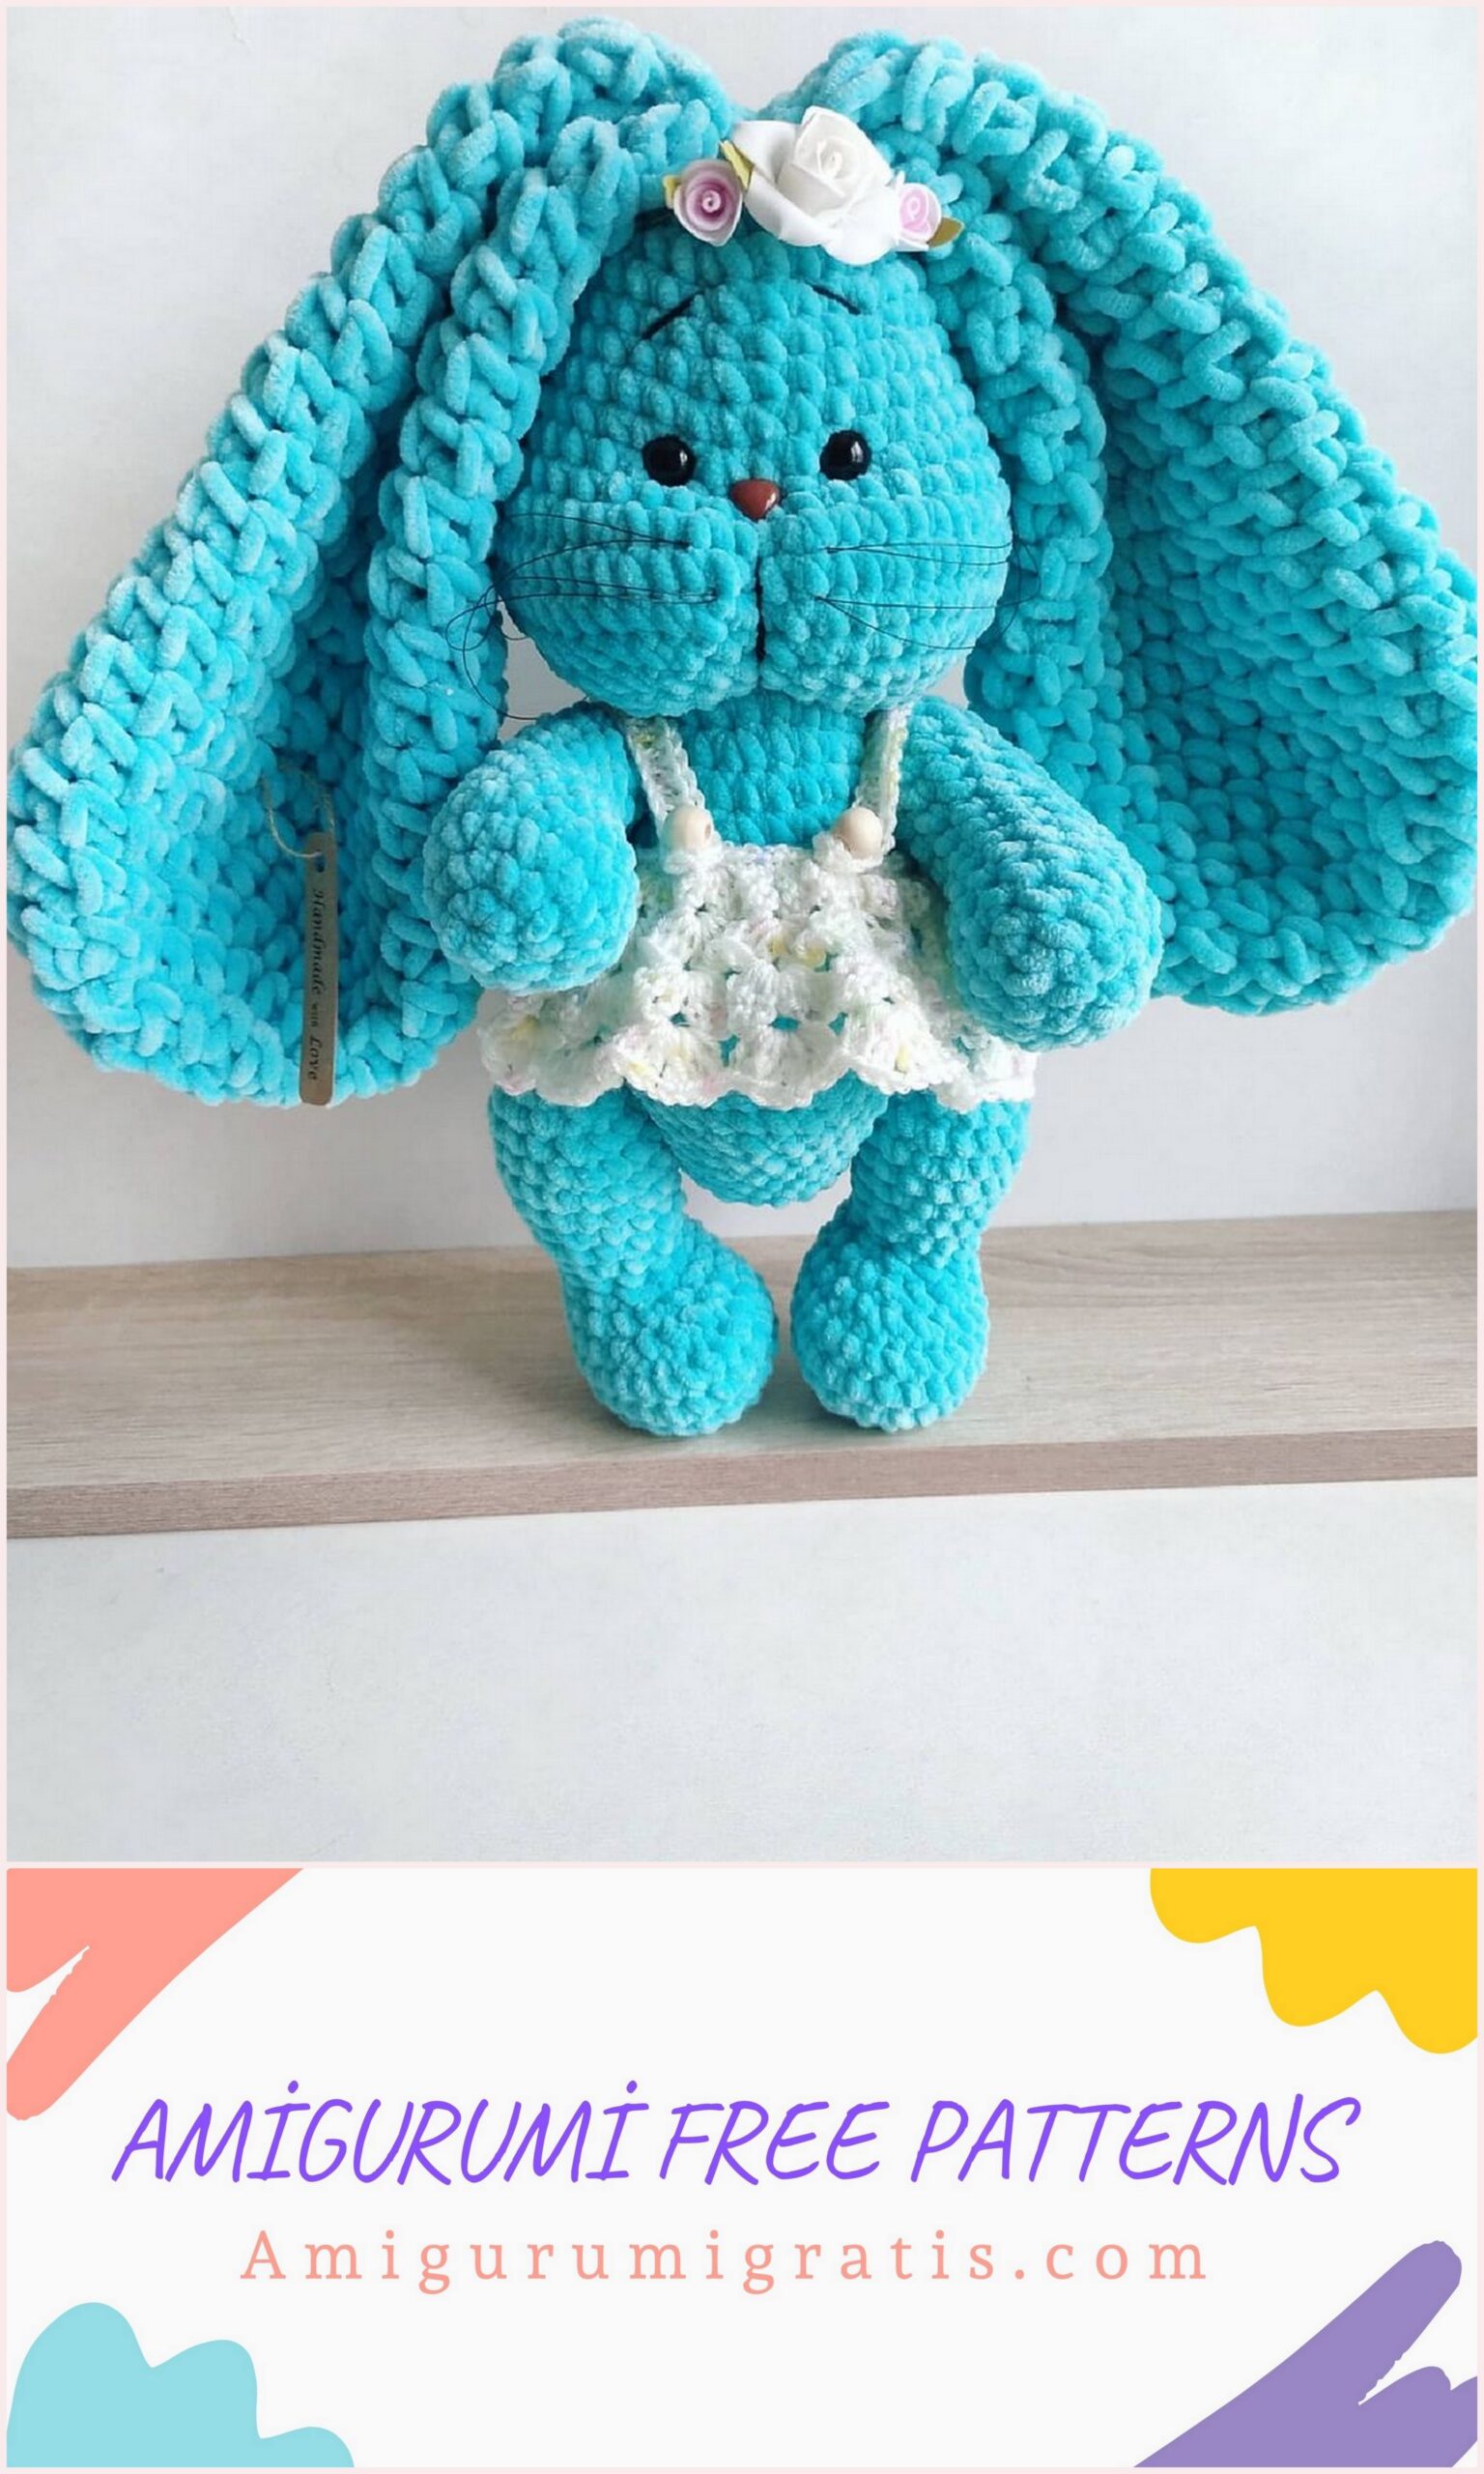
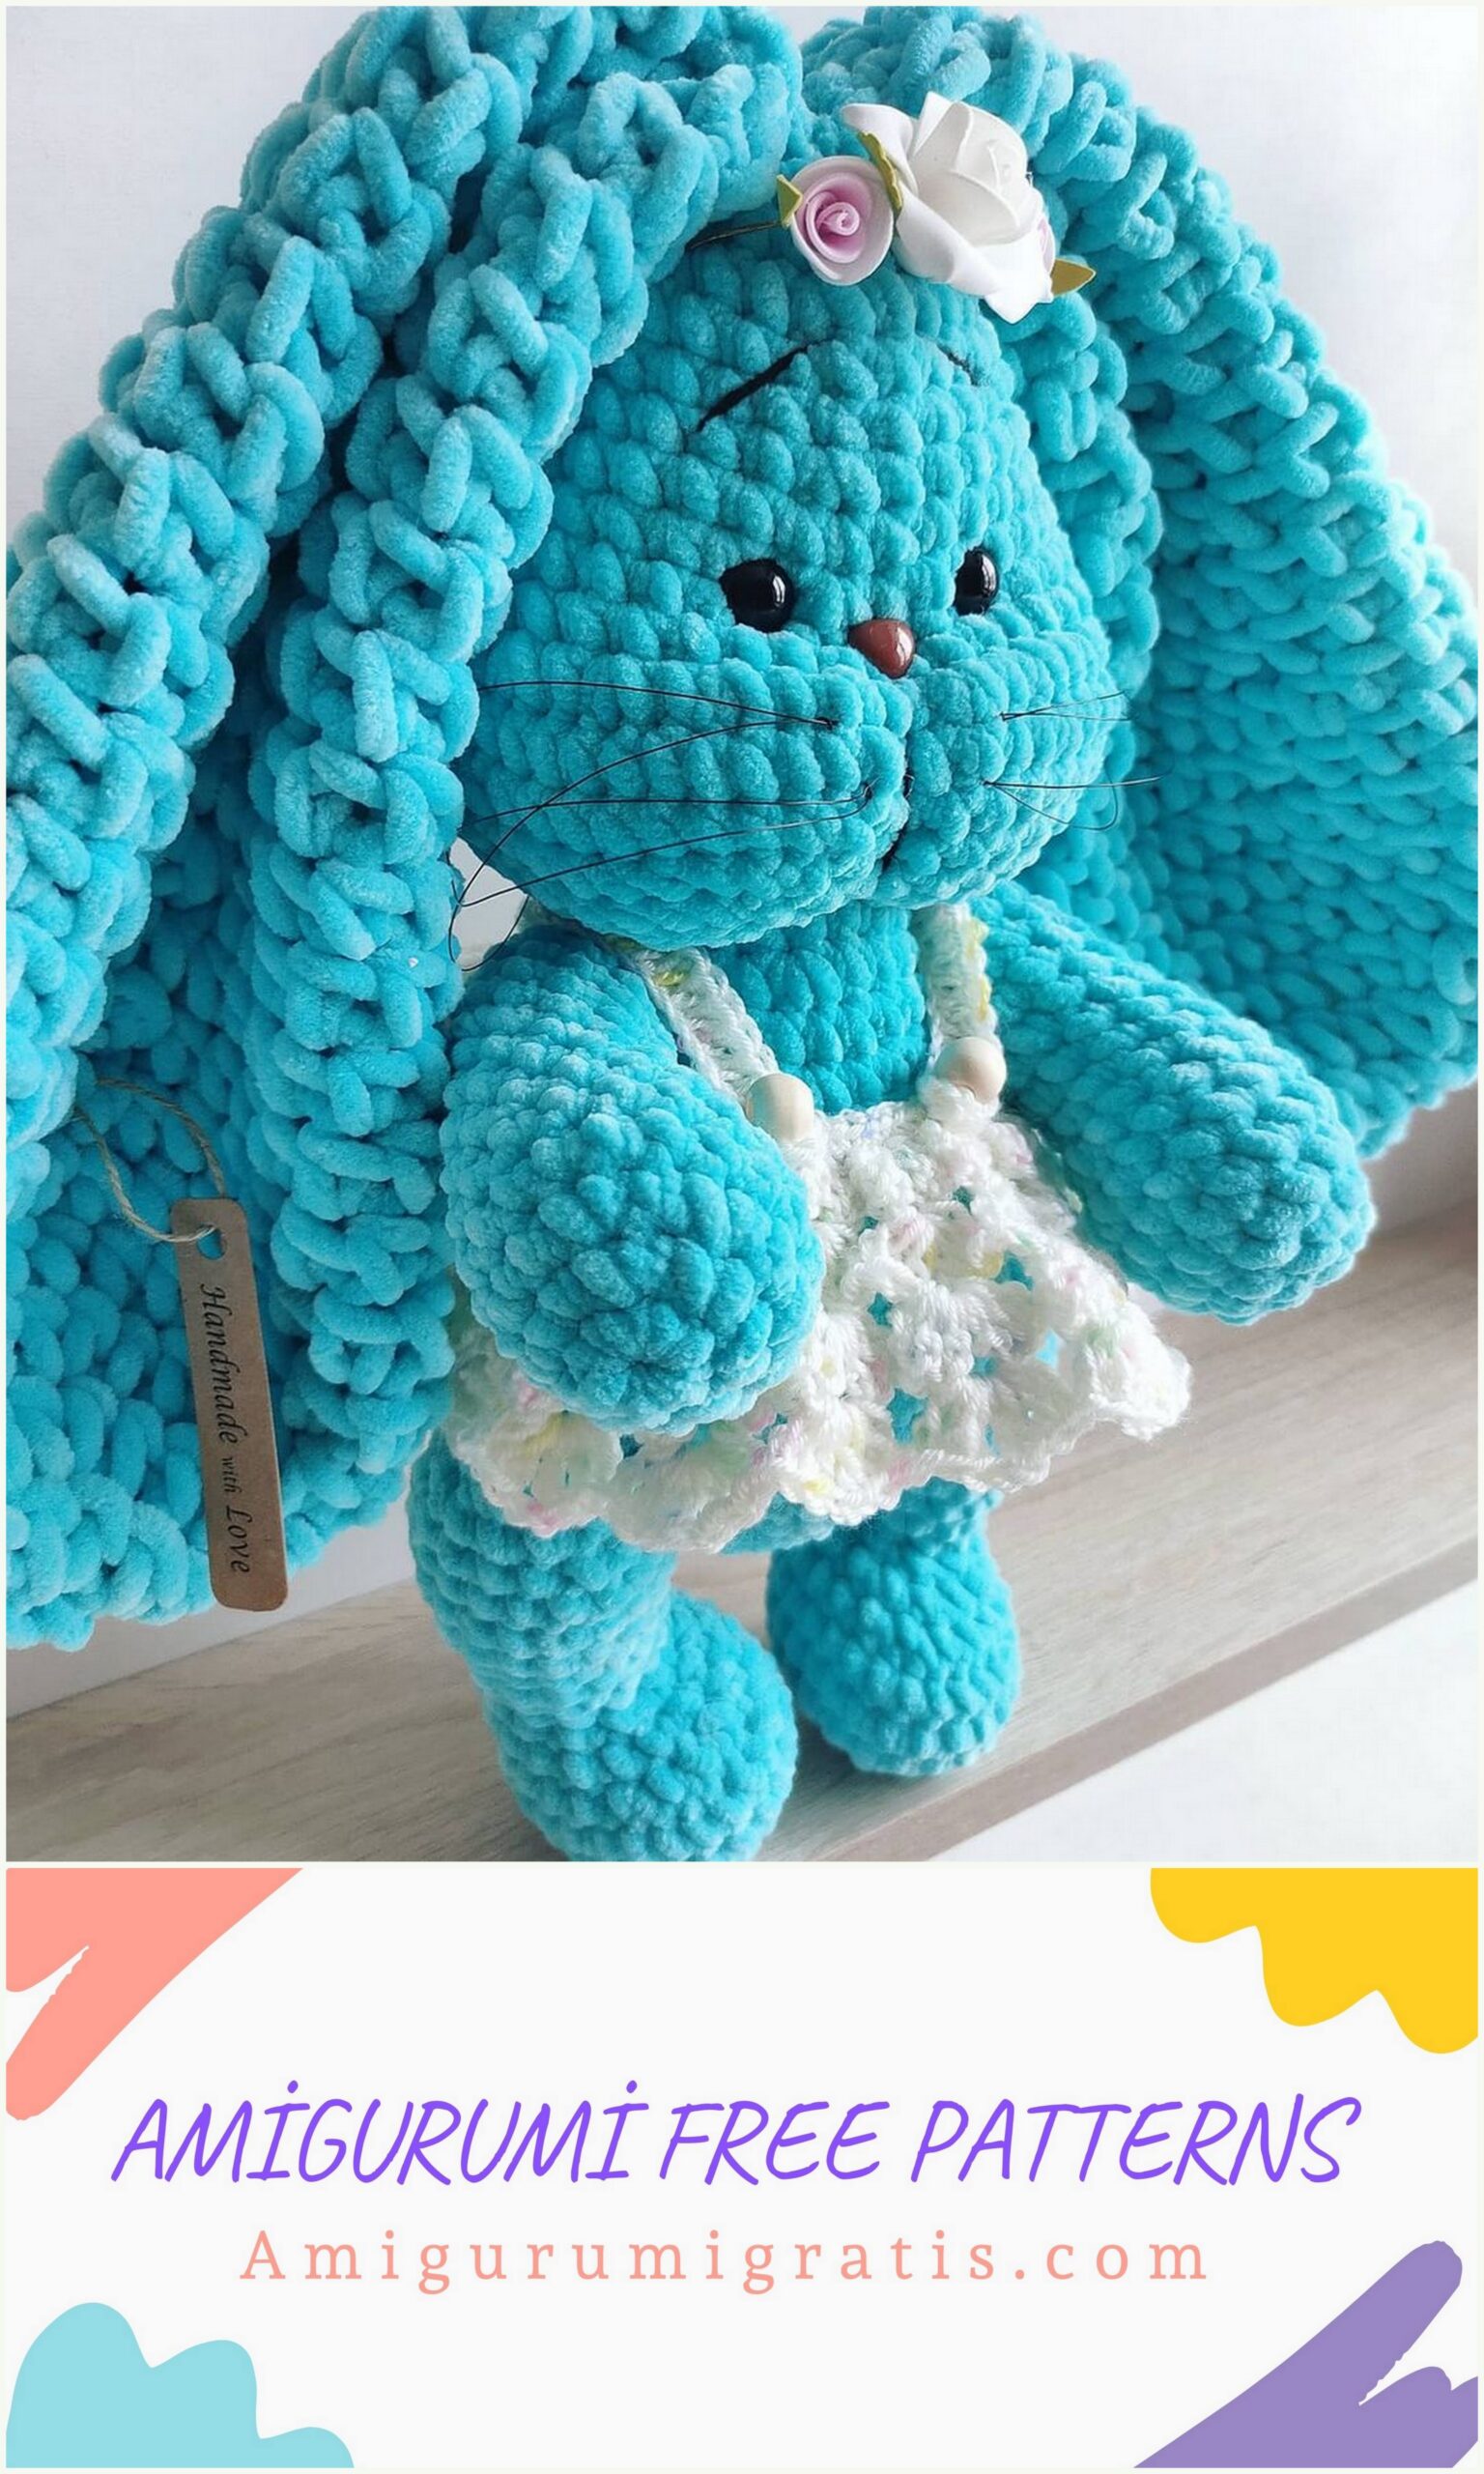
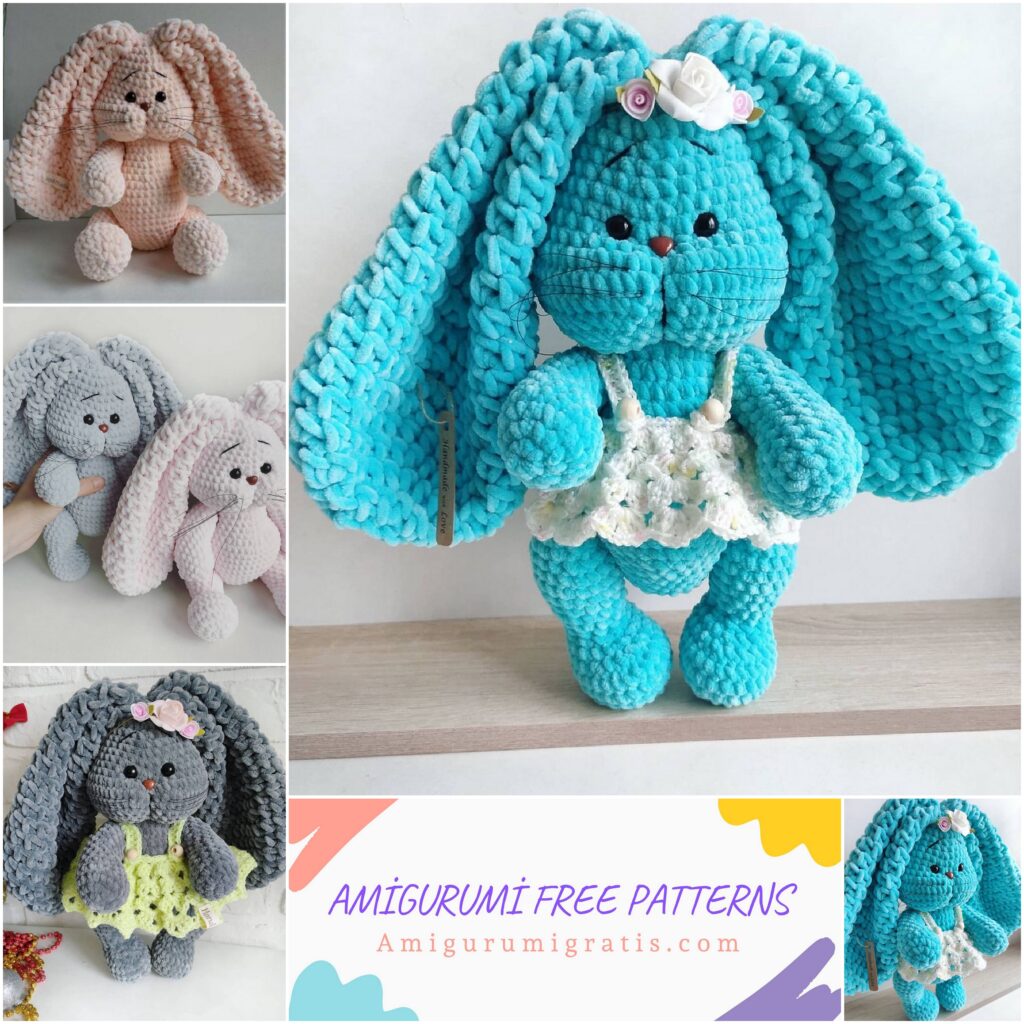
Master class on knitting Bunnies The toy is made of YarnArt velor yarn DOLCE, 100 g / 120 m, color 779. Size 32-33 cm, depending on the yarn volume
Necessary materials:
– YarnArt DOLCE yarn, black cotton thread for tightening the muzzle and eyebrows, white yarn for the ponytail (I used the same yarn to attach the legs and arms)
– Hook No. 4 – 4.5 mm, No. 8 mm
– Filler synthetic winterizer
– 4 buttons for attaching legs and handles
– Needle for stitching details
– To decorate the muzzle (nose, eyes, black line for the antennae)
– Scissors, glue
Head:
1. 6 SC to MR (6)
2. NC x6 (12)
3. (1 SC, İNC) x6 (18)
4. (2 SC, İNC) x6 (24)
5. (3 SC, İNC) x6 (30)
6-7. No change 2 rows (30)
8. (4 SC, İNC) x6 (36)
9. No change 1 row (36)
10. (5 SC, İNC) x6 (42)
11. No change 1 row (42)
12. (6 SC, İNC) x6 (48)
13. 10 SC, (İNC, 1 SC) x6, İNC, 2 SC – denoted by a marker, (İNC, 1 SC) x6, İNC, 10 SC (62)
14.30SC, DEC, 28SC, DEC (60)
15. (8 SC, DEC) x6 (54)
16. (7 SC, DEC) x6 (48)
17. (6 SC, DEC) x6 (42)
18. (5 SC, DEC) x6 (36)
19. (4 SC, DEC) x6 (30)
20. (3 SC, DEC) x6 (24)
Next, cut the thread, leaving the desired length for sewing the head to the body. We fill the head with synthetic winterizer
Body:
1.24 CH (24)
2.24SC (24)
3. (5 SC, İNC) x4 (28)
4. No change 1 row (28)
5. (6 SC, İNC) x4 (32)
6. No change 1 row (32)
7. 13 SC, İNC, 1 SC, İNC x2 (denoted by a marker), 1 SC, İNC, 13 SC (36)
8. (8 SC, İNC) x4 (40)
9. No change 1 row (40)
Next, we knit the ass, 4 CH, from the second loop from the hook we knit 3 SC, in the last loop of the previous row we knit SL-ST
10. (7 SC, İNC) x5, then knit in the tail 3 SC, DEC, 2 SC (51)
11. İNC, 50 SC (52)
12. No change 1 row (52)
13. (11 SC, DEC) x4 (48)
14. (10 SC, DEC) x4 (44)
15. (9 SC, DEC) x4 (40)
16. (8 SC, DEC) x4 (36)
17. (7 SC, DEC) x4 (32)
18. (6 SC, DEC) x4 (28)
19. (5 SC, DEC) x4 (24)
20. (2SC, DEC) x6 (18)
21. (1 SC, DEC) x6 or immediately 12 decreases and tighten the hole The video shows the beginning of knitting a calf, how to cast on a chain of 24 CH and knit 24 SC
Pens:
1. 6 SC to MR (6)
2. NC x6 (12)
3. (1 SC, İNC) x6 (18)
4-5. No change 2 rows (18)
6.8SC, DEC, 8SC (17)
7. 6SC, DEC x3, 5SC (14)
8.5SC, DEC x2, 5SC (12)
9-15. Next, knit 7 rows in a circle (12)
16. DEC x6 (6)
We cut off the thread and tighten the hole, hide the thread, fasten the handles to the body in the same way as the legs (there will be a link below on how to attach the legs)
Legs:
1. 7 SC to MR (7)
2. İNC x7 (14)
3. (1 SC, İNC) x7 (21)
4. (6 SC, İNC) x3 (24)
5-6. No change 2 rows (24)
7. 8SC, DEC x4, 8SC (20)
8. 6SC, DEC, 1SC, DEC, 1SC, DEC, 6SC (17)
9. 2SC, DEC, 2SC, DEC x3, 2SC, DEC, 1SC (12)
10. No change 1 row (12)
11. (3 SC, İNC) x3 (15)
12. No change 1 row (15)
13. (4 SC, İNC) x3 (18)
14. No change 1 row (18)
15. (5 SC, İNC) x3 (21)
16. (5 SC, DEC) x3 (18)
17. (4 SC, DEC) x3 (15)
18. (3 SC, DEC) x3 (12)
19. (2 SC, DEC) x3 (9)
20. (1 SC, DEC) x3 (6)
Cut the thread and pull the hole, hide the thread, attach the legs to the body (there will be a link below)
Ears:
1. 7 HDC (Yo in front of hook) in MR (7)
2. İNC x7 (14)
3. (1 HDC, İNC) x7 (21)
4. (2 HDC, İNC) x7 (28)
5-8. We knit 4 rows without changes in a circle (28)
9. DEC, 12 HDC, DEC, 12 HDC (26)
10. No change 1 row (26)
11. DEC, 11 HDC, DEC, 11 HDC (24)
12. No change 1 row (24)
13. DEC, 10 HDC, DEC, 10 HDC (22)
14. No change 1 row (22)
15. DEC, 9 HDC, DEC, 9 HDC (20)
16-19. Knit 4 rows in a circle (20)
We fold the ear and tie along the edge with half-columns with a crochet. I sew the ears, folding in half, as shown in the photo
The video shows how to start knitting an eyelet in MR and the first row of increases, note that I yarn over in front of the hook
Tail:
My ponytail is made of white color from ordinary yarn (acrylic, wool). I did it using a discount card, below I attached a link how I did it
Assembly parts:
Attach the head to the body. For convenience, so that the head does not spin and is not sewn crooked, I use knitting needles (I attach the head to the body with knitting needles)
I fasten the legs and handles with ordinary transparent buttons and yarn (this can be the yarn from which the toy is made, or any other). I use ordinary yarn in color, I make the thread in several additions so that it is strong. In the video, I show in detail how I attach the legs, the handles are attached
similarly:
Muzzle shaping:
Next, I outline and glue the eyes between 10 and 11 rows, the distance between the eyes is 5 SC. Here, at your discretion, someone likes when the eyes are closer to each other, and someone vice versa. I glue the spout at the very end, after I make the tightening:
After you have made the tightening and glued the spout, you can attach the antennae. To do this, take a black fishing line and do everything as I showed in the video:
Bunny is ready!
This tutorial is for personal use only!
It is forbidden to copy materials (photo, text), transfer to a second person, as well as sale!
Girls, needlewomen! Knit with pleasure and even loops for you. I would be glad if, when publishing, you mark