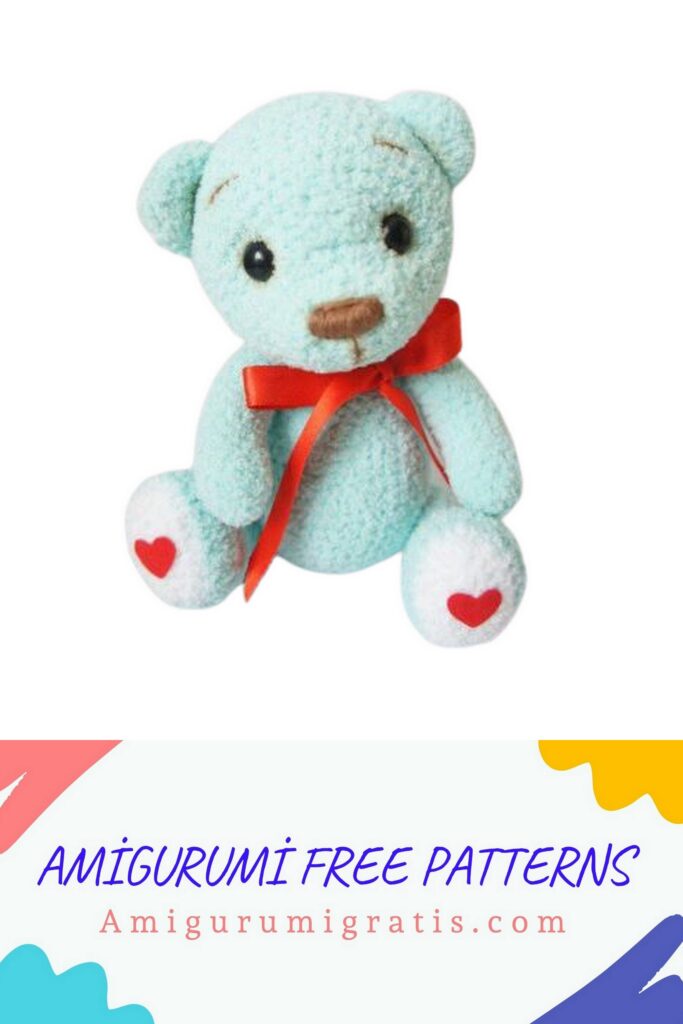
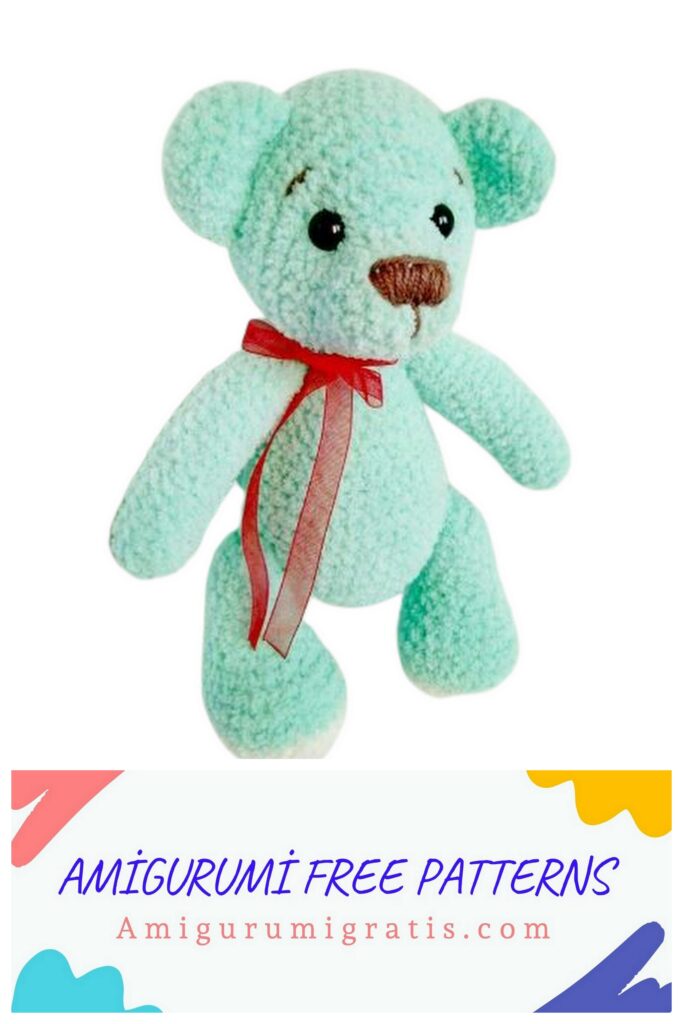
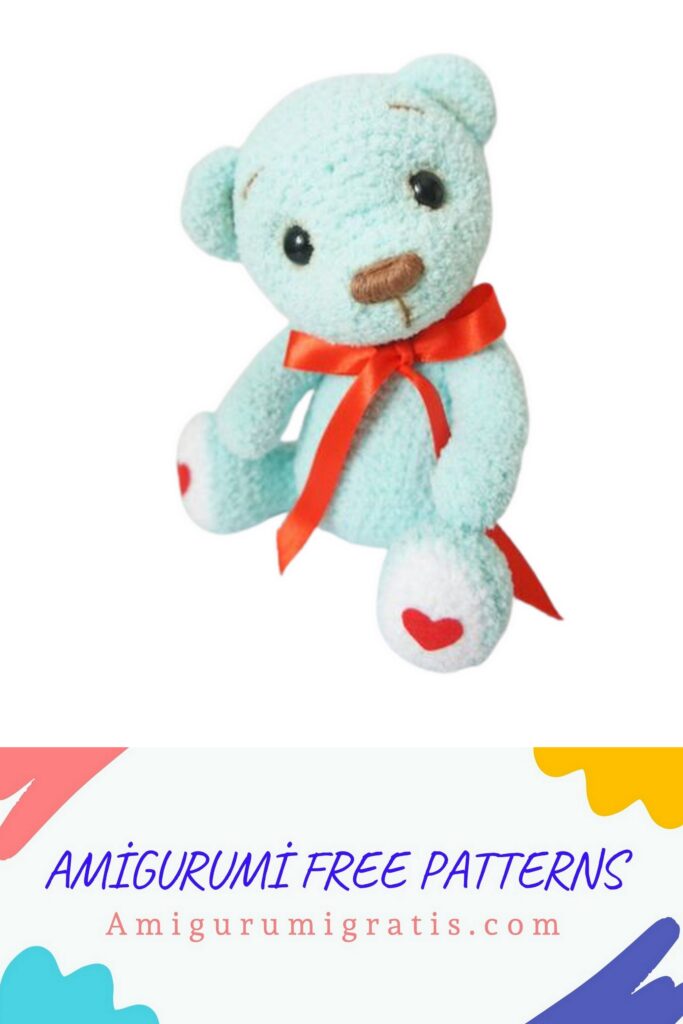
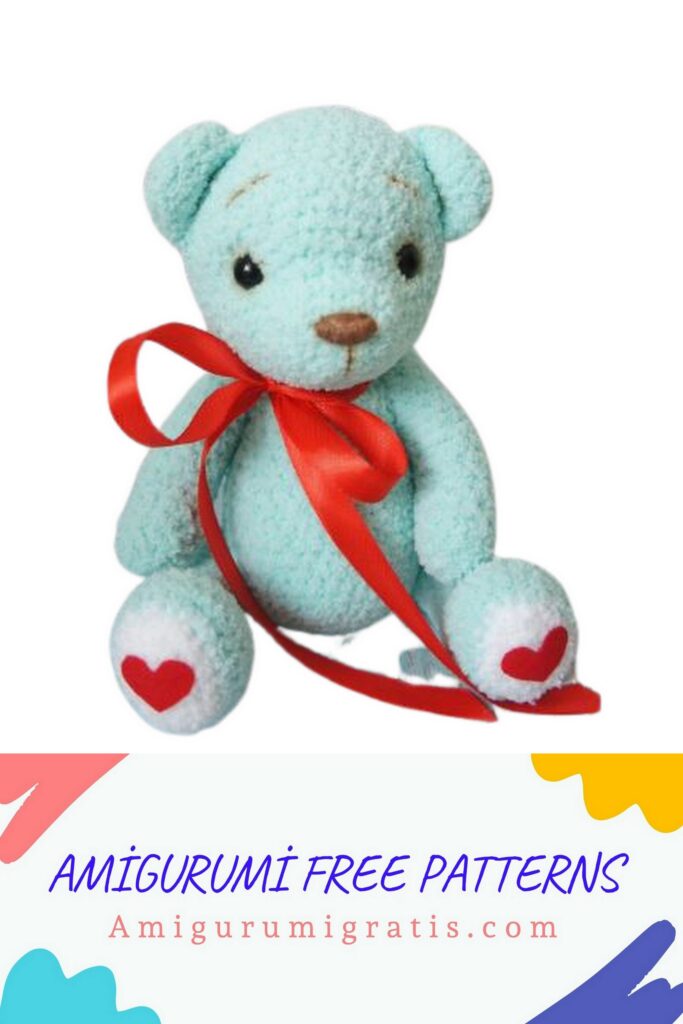
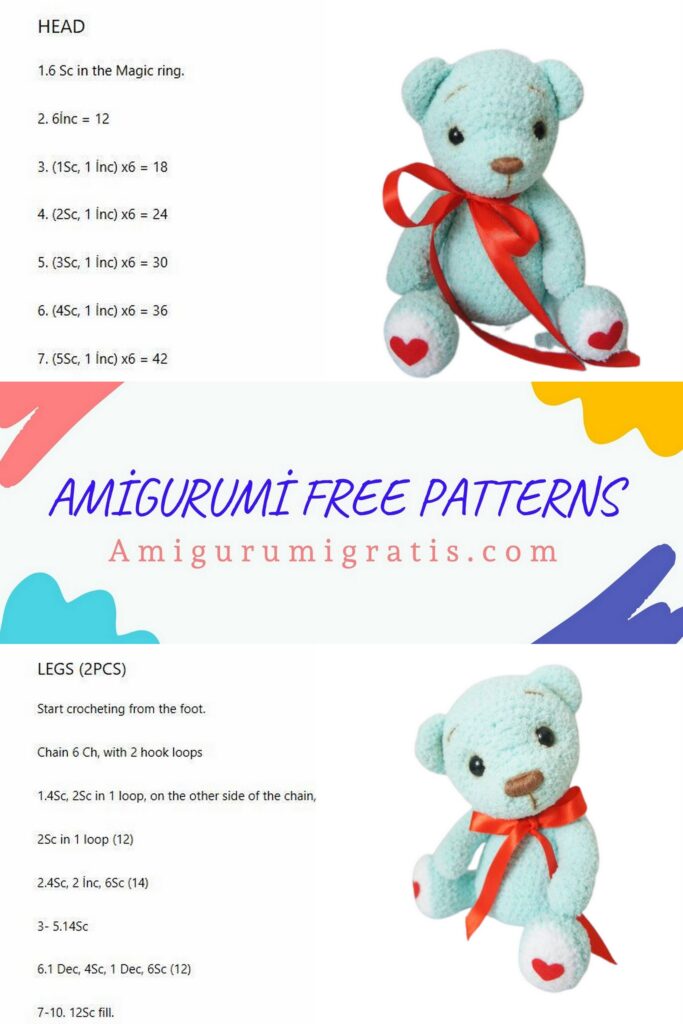
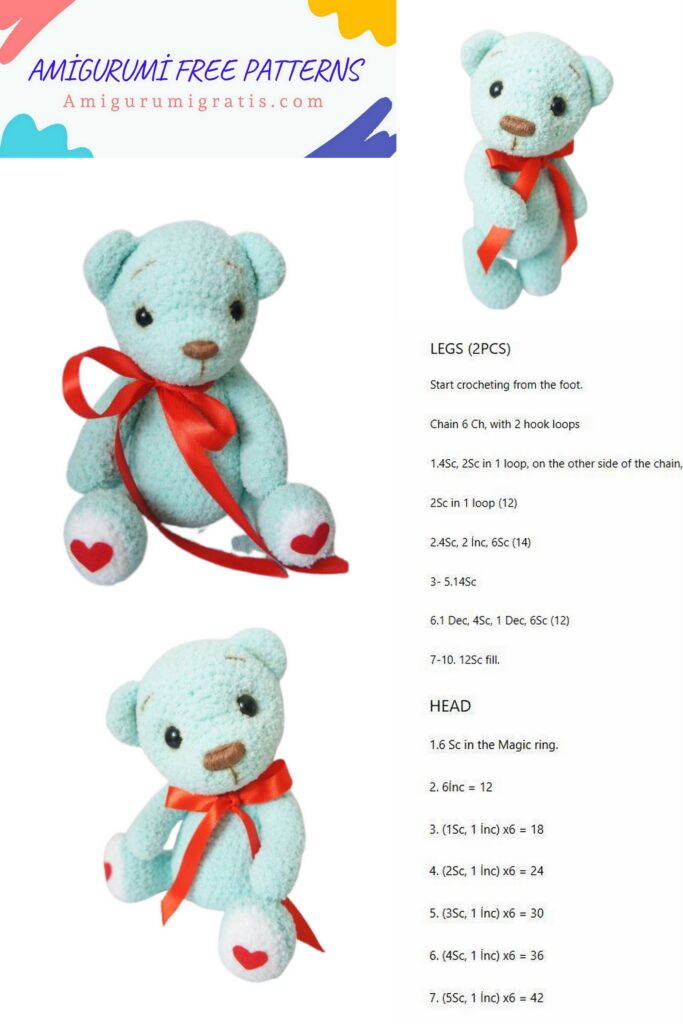
“Mint Bear”
List of required materials:
To create a bear you will need:
– Alize Softy (I lost 1 skein of the main color)
– not a lot of Alize Softy white (for heels)
– hook N 2
– plastic joints for toys with a diameter of 20 mm, 4 pcs (can be replaced with cotter pins,
button fastening or just sew on the legs)
– discs 25 mm 2 pcs (for the head), cotter pins and discs, round nose pliers
– strong thread for tightening, needle, scissors, filler, glue Moment Crystal
– eyes for toys 10 mm
– floss for decoration of the muzzle
– dry pastel for toning (optional)
– felt and ribbon for decorating a bear
P.s. if you use cotter pins to attach the paws, then you need 4 cotter pins, discs and
washers – 8 pieces.
Legend:
İnc – nibble;
Dec – decrease;
Ch – air loop;
Sc – single crochet;
(sc, inc) x N – repeat knitting N times;
Sl-st – connecting post
We knit in a circle, without a lifting loop.
Handles (2 parts)
1р – 6sc into magic ring
2p – incх6 (12sc)
3-7 row – 12sc
8p – 6sc, inc, 5sc (13sc)
9-18 row – 13sc
retreat 2 rows down and put a mount or cotter pin (the disk should fit tightly into the part, while not stretching the canvas).
We stuff. We do not fill the upper part tightly, it should remain flat.
19p – decreases to the end, we fix the thread and hide it inside.
Legs (2 parts)
The marker runs in the middle of the heel, knit in white:
1p – we collect a chain of 7ch, start knitting from the second ch 5sc, 3sc in 1 loop, continue knitting on the other side of the chain 4sc, inc (14sc)
2p – inc, 4sc, 3inc, 4sc, 2inc (20sc)
3р – inc, 5sc, (sc, inc) х4, 5sc, inc (26sc)
change the color to the main one and continue knitting
4-6 row – 26sc
7p – 7sc, (sc, dec) x4, 7sc (22sc)
8p – 7sc, 4dec, 7sc (18sc)
9p – 3sc, 6dec, 3sc (12sc)
10-18 row – 12sc
retreat 2 rows down and put a mount or cotter pin (the disk should fit tightly into the part, while not stretching the canvas).
We stuff. We do not fill the upper part tightly, it should remain flat.
19p – decreases to the end, we fix the thread and hide it inside.
Body (marker runs down the middle of the back)
Add. marker – additional marker
1р – 6sc into magic ring
2p – inc х6 (12sc)
3p – (sc, inc) x6 (18sc)
4р – (2sc, inc) х6 (24sc)
5p – (3 sc, inc) x6 (30sc)
6p – (4 sc, inc) x6 (36sc)
7p – (11sc, inc) х3 (39sc)
we put extra. marker in row 7 (we will be guided by it when installing the legs)
8 -14r – 39sc
15p – 15sc, (sc, dec) х3, 15sc (36sc)
in the 8th row we install the legs, stepping back about 8-9sc to the left and right of the add. marker. Make sure the legs are symmetrically set.
16-17r – 36sc
18p – 9sc, (sc, dec) х6, 9sc (30sc)
19-21r – 30sc
22p – (3sc, dec) x6 (24sc)
23p – 24sc
24p- (2sc, dec) x6 (18sc)
25r – 18sc
stepping back 3 rows down (23 row) we fasten the handles. We stuff the body, paying special attention to the tummy and sides. We install the split pin connection, make the deductions to the end, cut the thread, fix and hide.
Cotter pin fastening
For it we need:
– cotter pins 2 pcs,
– discs 2 pcs,
– washers 2 pcs,
– round-nose pliers.
1. insert one cotter pin into another, for this we bend a little antennae of one cotter pin;
2. on top, on one of the cotter pins, install the disc and the washer;
3. using round-nose pliers we twist the antennae;
4. The finished part of the cotter pin is inserted into the unsewn hole of the body. Hole
sewn up.
5. Insert the cotter pin without the disc into the head, put on the disc and washer and twist the antennae of the second cotter pin.
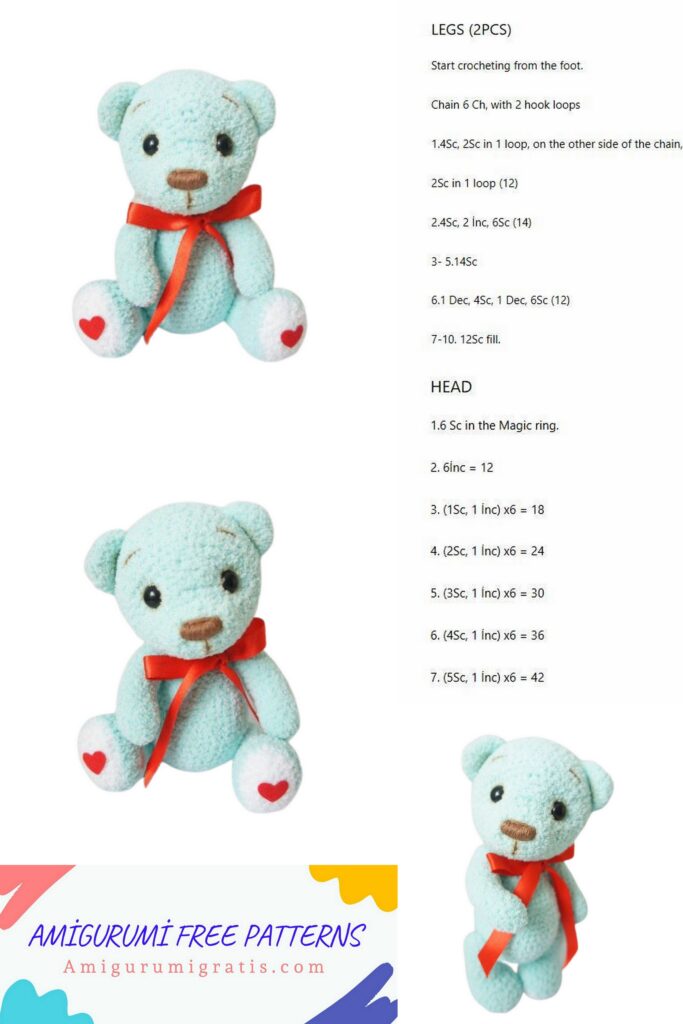
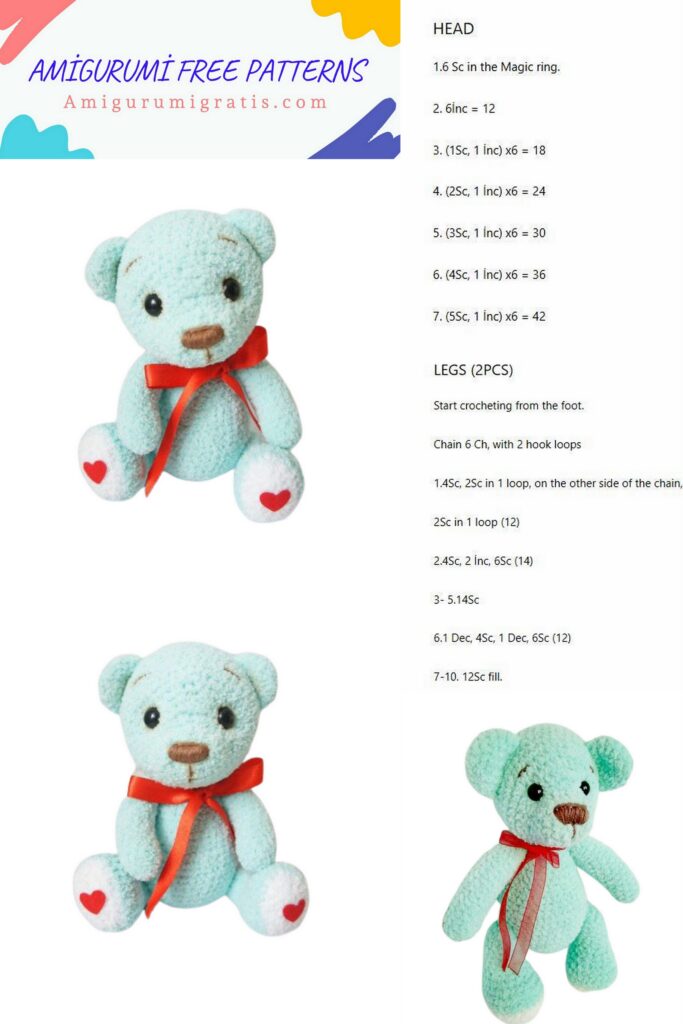
Head
1p – cast on a chain of 5ch, start knitting from the second loop from the hook 3sc, 3sc in 1ch, 2sc, inc (10 sc)
2p – inc, 2sc, 4inc, 2sc, inc (16sc)
3р – sc, inc, 2sc, (sc, inc) х4, 2sc, inc, sc (22)
4p – 22sc
5-6p – sc, 8sl-st, 13 sc (22) connecting posts should be on the top of the muzzle
7p – 2sc, 8inc, 12sc (30sc)
8p – (4sc, inc) x6 (36sc)
9p – (5sc, inc) x6 (42sc)
10p – (6sc, inc) x6 (48sc)
11-12r – 48sc in row 12 we knit about 38-39 sc, put an additional marker and knit the row to the end.
13-18r -48sc
19p – (6sc, dec) x6 (42sc)
20p – (5sc, dec) x6 (36sc)
21p – (4sc, dec) x6 (30sc)
We fasten the head to the body: from add. marker, retreat 1 row towards the back of the head. strictly in the middle of the lower part of the head, we fix the cotter pin connection.
22p – (3sc, dec) x6 (24sc)
23p – (2sc, dec) x6 (18sc)
24p – (sc, dec) x6 (12sc)
25r – 6dec
Cut and fasten the thread. If there is not a large hole, then tighten it with a needle after the tightenings are made.
Ears (2 parts)
1р – 6sc into magic ring
2p – incх6 (12sc)
3p – (sc, inc) x6 (18sc)
4-6 p – 18sc
Fold the part in half and tie with sl-st, cut the thread, leaving the tail for sewing.
Straighteners
Since the rows and columns are not visible, first of all be guided by the photo. Points 1, 2, 3,
are about 3 rows above the muzzle. Between points 1-2 and 3-4 at 2 sc.
We introduce a needle with a strong long thread on the back of the head (conditional point “З”), output at point 1, input at point 2 (the thread passes over the canvas) and output at point “З”, tighten. We enter at point “З”, output at point 3, enter at point 4 (the thread passes over the canvas) and output at point “З”.We tighten the thread. We repeat the whole procedure again, tightening well. We fix and hide the thread.
We embroider the nose, mouth line and eyebrows. Find a good position for the ears and sew from. If desired, you can tint the mouth line, eyebrows, the area around the eyes and the inner part of the ears with brown dry pastels.
We cut out hearts from felt, glue them on the paws, tie a bow. That’s it, the mint bear is ready.