You can browse our website for Amigurumi lamb doll free pattern and more patterns.
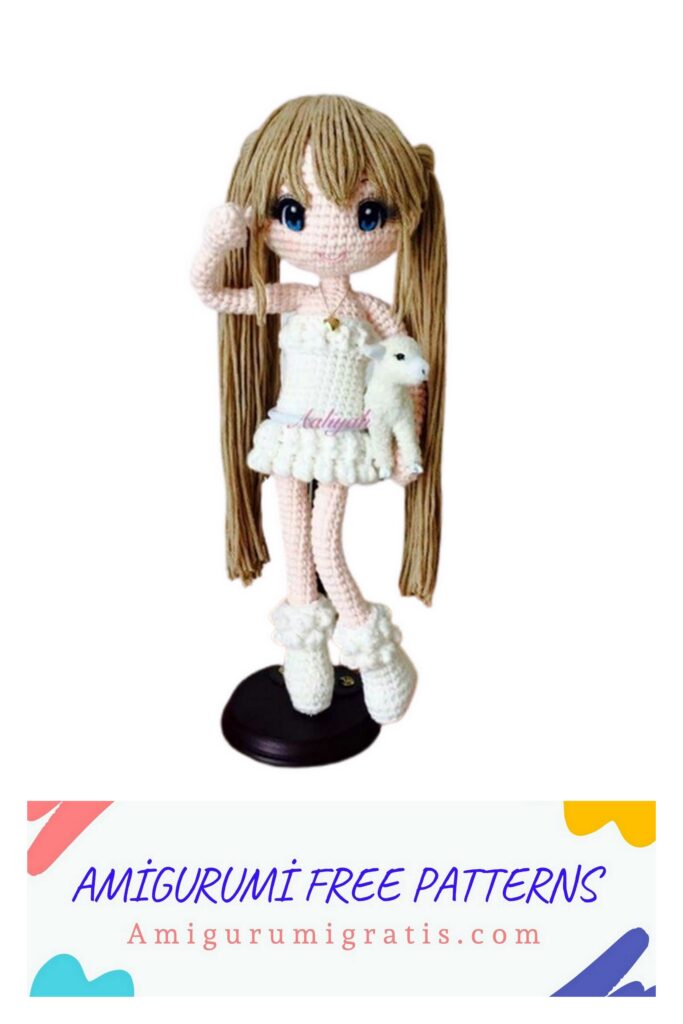
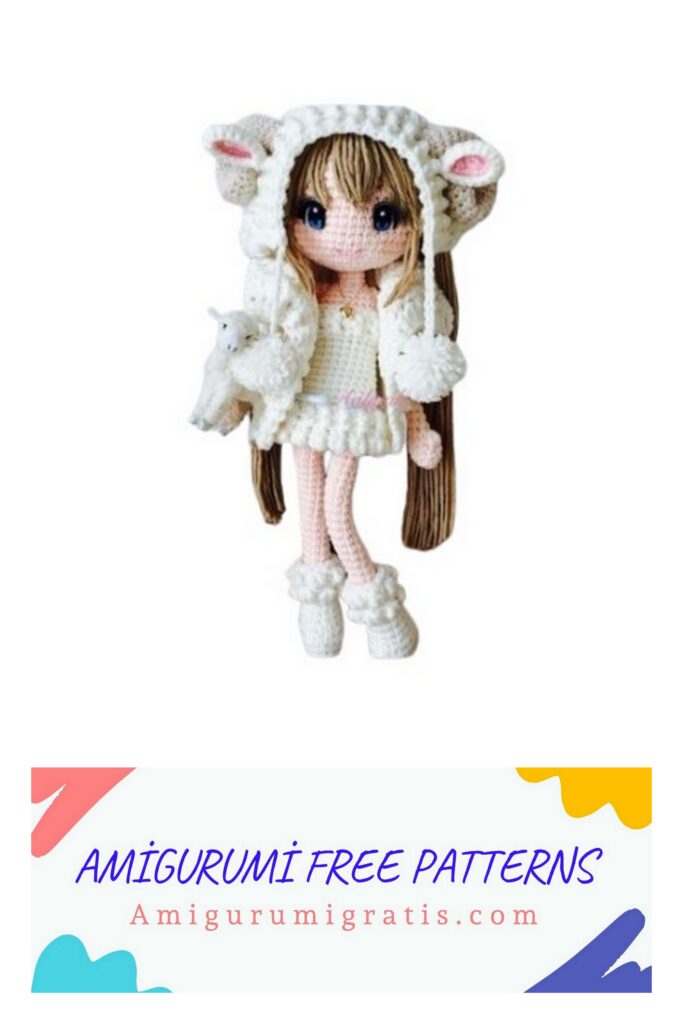
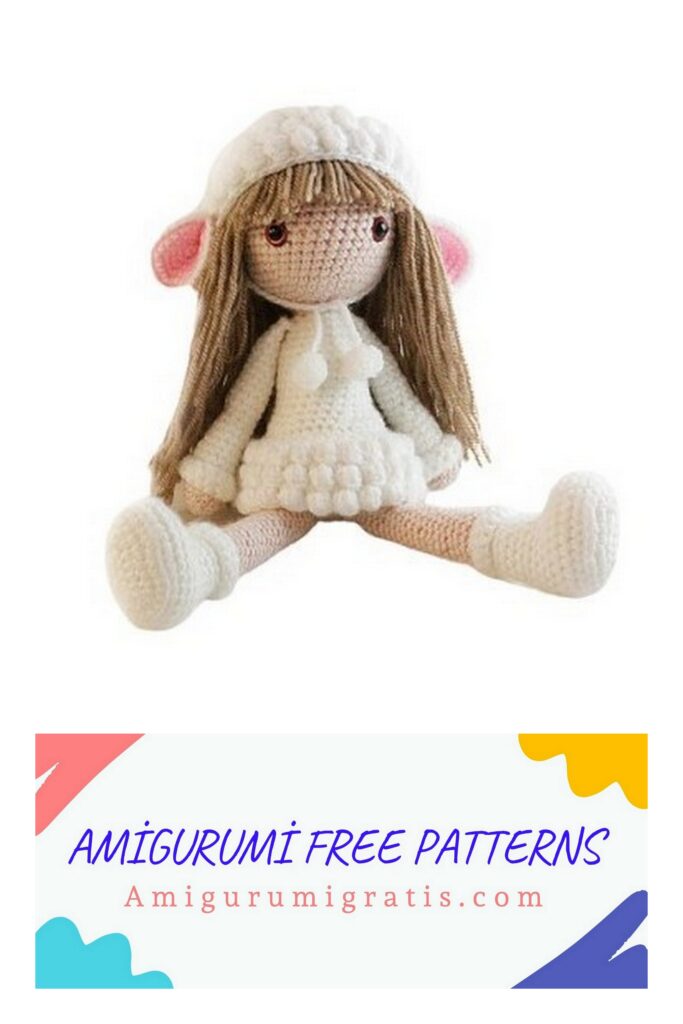
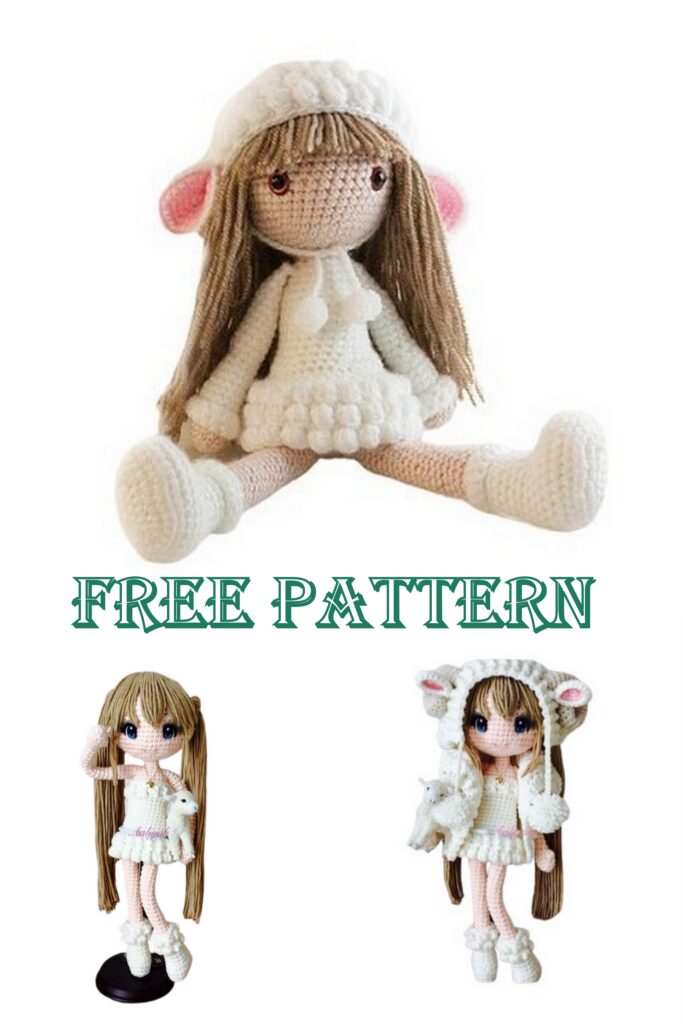
Lamb girl
What you need to know about this project
• The continuous spiral work, do not bind, it will tell you when it is necessary to close the rounds with a sl st.
• Tight crochet to avoid gaps between stitches that will not allow the filler to show through the fabric.
• For this project lamb girl I used 3.0 mm crochet The tall lamb girl is approximately 30 cm tall (12 inches).
• Use a stitch marker or piece of yarn to mark the end or beginning of a round, move the marker to the end of each round.
Tip! This pattern can be made smaller or larger lamb girl by using a voluminous or finer thread. choose a smaller crochet hook at least one size smaller than suggested on the yarn label. Changing the size of the lamb girl be sure to adjust the size of the safety eyes, it can also be used for button eyes, French knot or paint eyes.
Supplies
thread:
• Classic 100g acrylic 100% plush wool, 240 mt Shade 4079 Natural
• Classic 100% acrylic wool 100 g plush, 240 mt 208 Shade White
• Classic 100g acrylic 100% plush wool, 240 mt Shade 5173 Pink
• Classic 100% acrylic wool 100 g plush, 240 mt 974 Shade Beige
• 3.0 mm crochet hook
• 2 Rust toy 12mm brown safety eyes you can use the buttons, French knot or paint the eyes.
For children under 3 years of age wearing the embroidered eyes.
• soft filling (Polyethylene filling, cotton wool etc)
• needle thread, scissors, stitch marker
abbreviations
• R = round
• reps = repeat until the end of the round
• st = stitch
• South Carolina = single crochet stitch
• sc2tog = single crochet two together (single decrease crochet)
• ch = chain
• law degree = bobble stitch (dc4tog)
• direct current = double crochet stitch
• HDC = half double crochet stitch
• FLO = front loop only
• BLO = loop again only
• pd = slip stitch
• F / O = Finish off
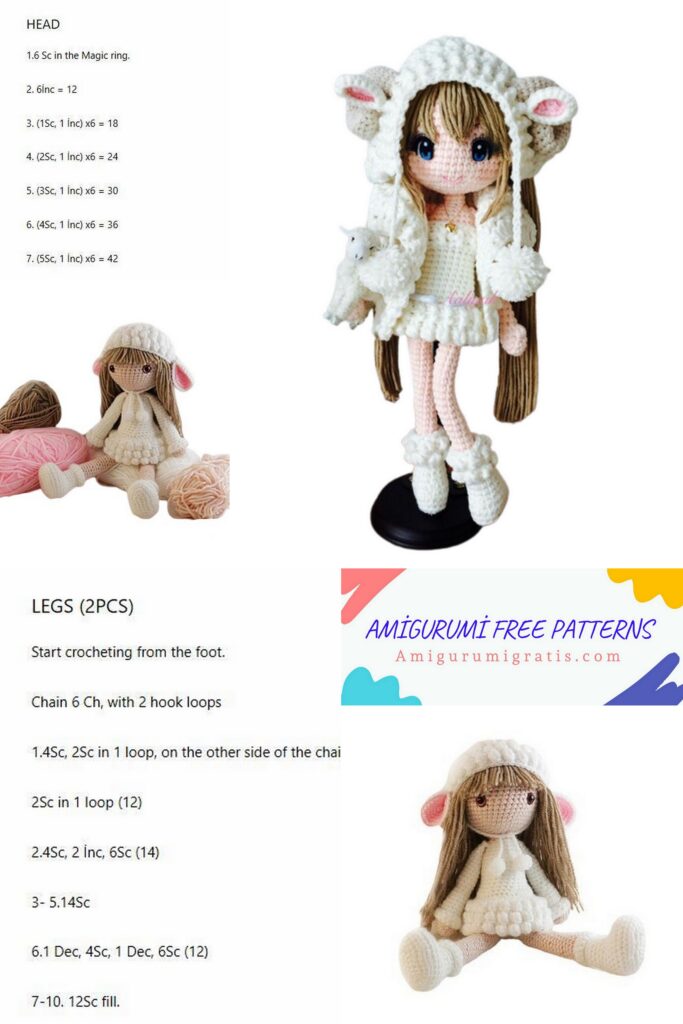
Head and Body
we start with White thread.
Head and body crochet in one piece, starting from the bottom and ending at the head.
R1: magic circle with 6ST (6)
R2: 2SC in each st (12st)
R3: 1sc then 2SC on rep next st 6 times (18st)
R4: 1sc on next 2st then 2SC on next rep st 6 times (24ST)
R5: 1sc on next 3ST then 2SC on next rep st 6 times (30ST)
R6: 1sc on next 4st then 2SC on next rep 6 times (36ST)
R7: 1sc on next 5ST then 2SC on next rep 6 times (42st)
R8-11: 1sc in each st for 4 rows (42st)
R12: 1sc on the next 5ST then sc2tog rep 6 times (36ST)
R13: 1sc in BLO (loop back only) in each stitch (36ST)
R14: 1sc in the next 4st then sc2tog rep 6 times (30ST)
R15: 1sc in the next 3ST then sc2tog rep 6 times (24ST)
R16-23: 1sc in each st for 8 rows (24ST)
Stuff with firmness and body shape, keep adding fiberfill as you go.
R24: 1sc in the next 2st then sc2tog rep 6 times (18st)
R25: 1sc in each st for 1 row (18st)
R26: 1sc on the next 7st then sc2tog rep 2 times (16ST)
R27: 1sc in the next 2st then sc2tog rep 4 times (12st)
Color change with Natural yarn
R28-29: 1sc in each st for 2 rows (12st)
R30: 1sc then 2SC on rep next st 6 times (18st)
R31: 1sc on next 2st then 2SC on next rep st 6 times (24ST)
R32: 1sc on next 3ST then 2SC on next rep st 6 times (30ST)
R33: 1sc on next 4st then 2SC on next rep st 6 times (36ST)
R34: 1sc on next 5ST then 2SC on next rep 6 times (42st)
R35-46: 1sc in each st for 12 rows (42st)
Set the eyes of the safety toy between rounds 39 and 40, leaving 9 points between them.
Things firmly and shape to the head, add more fiber filling in the neck area to prevent the head from dropping later.
R47: 1sc on the next 5ST then sc2tog rep 6 times (36ST)
R48: 1sc in the next 4st then sc2tog rep 6 times (30ST)
R49: 1sc in the next 3ST then sc2tog rep 6 times (24ST)
R50: 1sc in the next 2st then sc2tog rep 6 times (18st)
R51: 1sc in next st then sc2tog rep 6 times (12st)
R52: 1sc in next st then sc2tog rep 4 times (8th)
R53: sc2tog twice, sl st in next st, bind off and use yarn tail to knit in and out of remaining stitches, tighten tight Until the hole is completely closed, knot outside and hide tail of thread inside the body. (See page 14 how to close a hole).


Skirt
• Now go back to row 13, knitting in the BLO (Back loop only) that you created a ridge, this is where the skirt is crocheted with the white yarn. Here is the edge you created. Turn the lamb girl upside down. At the beginning of the bottom edge insert the hook under a loop, pull and create the first single crochet.
R54: 1sc in each st for 1 row (36ST)
The end of the ridge will be a bit higher than the beginning so just join them with a sc.
R55: 1sc on next 5ST then 2SC on next rep 6 times (42st)
Now we start to weave the specks
• See page 15 How to make a tassel st
abbreviations
• […] times = instructions repeatedly in parentheses …
Starting each row with a chain and joining each round with a sl st.
R56: Ch1, [bl in next st then 1sc in next st] repeat 21 times, Join with sl st around ch1 chain (42st = 21 bobbles)
R57: Ch1, 1sc in each stitch, Enter with st sl in 1st stitch (42st)
R58: Ch1, [bl in next st then 1sc in next st] repeat 21 times, Join with sl st around ch1 chain (42st = 21 bobbles)
R59: Ch1, 1sc in each stitch, Enter with st sl in 1st stitch (42st)
R60: Ch1, [bl in next st then 1sc in next st] repeat 21 times, Sl st around ch1 chain (42st = 21 bobbles) Bind off, and work last.
Arms
Make 2, start with Natural yarn
R1: magic circle with 6ST (6)
R2: 2SC in each st (12st)
R3: 1sc on next 5ST then 2SC on next rep 6 times (14st)
R4: 1sc in each st for 1 row (14st)
Change color with white thread.
R5-9: 1sc in in each st for 5 rows (14st)
Start filling by hand and shape, keep adding a little soft filling slightly
after every few rows, leaving the last 3 rows without padding
R10: 1sc on next 12st then sc2tog (13st)
R11: 1sc in next 11th then sc2tog (12st)
R12: 1sc in the next 10st continuation sc2tog (11a)
R13: 1sc in the next 9st continuation sc2tog (10th)
R14-19: 1sc in in each st for 6 rows (10th)
R20: 1sc in the next 8th continuation sc2tog (9ST)
R21-24: 1sc in in each st for 4 rows (9ST)
R25: 1sc in the next 7st continuation sc2tog (8th)
A26: Press the upper arm and together 1sc crochet both sides of the arm at the top of a row. Finish off, leaving a long tail for sewing.
sleeves
Turn the arm upside down. Insert the hook under a stitch where the two colors pull and create the first single crochet.
1sc crochet in each stitch for 3 rows Bind off and knit in and hide all the yarn tails on the inside of the arm.
After you have finished pulling the rows further down.
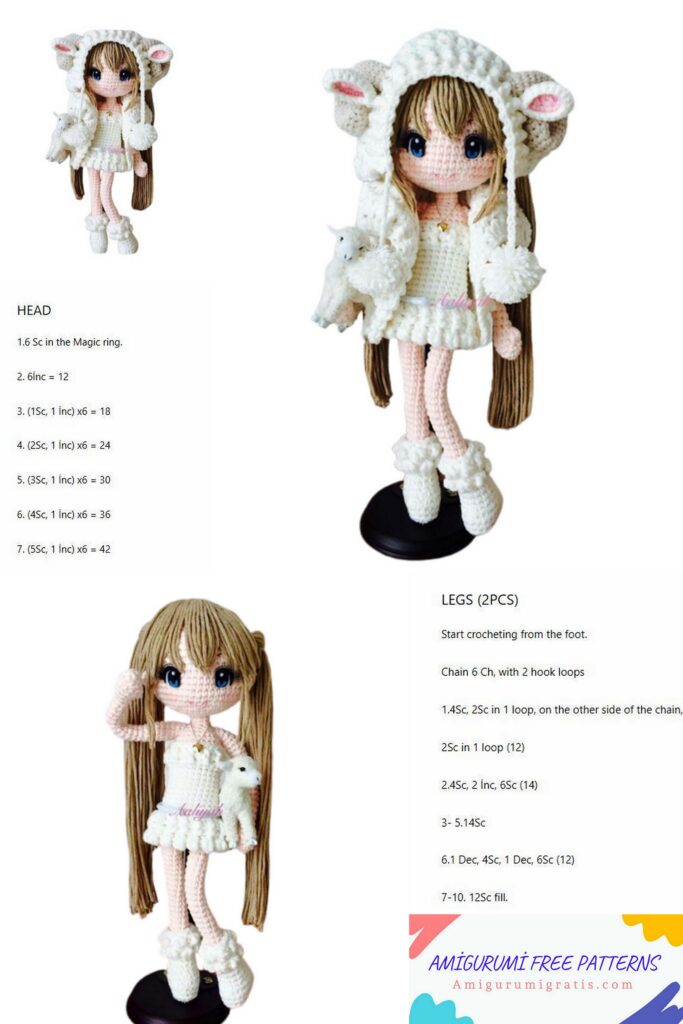
Legs
make 2, start with White yarn.
* The foot is an oval shape, we start with a chain. (See page 14 how to create an oval shape)
R1: ch8 then then then then then then then then then then then then then 2sc on the second chain on the hook, then on the second, 1sc on the 5st then 4SC on the last chain, turn and work the other side, 1sc in the next 5st then 2sc in the last chain (18st) Don’t join the round, put the Marker!
The Marker is put! and move the marker to the end of each row.
R2: 1sc on next 2st then 2SC on next rep st 6 times (24ST)
R3: 1sc in next 3ST then 2SC in next rep st 6 times (30ST)
R4: 1sc in BLO (only loop again) in every st (30ST)
R5-6: 1sc in each st for 2 rows (30ST)
R7: 1sc on the next 10st then sc2tog 5 times and then 1sc on the next 10st (25st)
R8: 1sc in the next 8th then sc2tog 4 times then 1sc in the next 9ST (21)
R9: 1sc in the next 7th then sc2tog 3 times and then 1sc in the next 8th (18st)
Stuff the feet firmly and shape, keep adding some fiberfill as you
go forward, padding the legs slightly.
R10: 1sc on next 7st then sc2tog on next rep st 2 times (16ST)
R11-17: 1sc in each st for 7 rows (16ST)
R18: 1sc FLO (Front Circle only) in each st for 1 row (16ST)
R19-20: 1sc in each st for 2 rows (16ST)
sl st, Bind off and knit on the tail of the thread.
• Weaving in the FLO (front only circular) that has created a ridge on the inside. This is where you will insert the color used for the leg, as they showen in the photos below.
1. After booting is finished. 2. Pull the rows lower. 3. Now you can see the edge that you created by crochating in the FLO (only the front loop).
Change color with Natural yarn.
R21: 1sc on each st peak (16ST)
4. 1sc crochet for one row (the beginning of the ridge is a little lower than the end of the ridge here is where you start to knit the first stitch) when you reach the end of the round you will see that the end of the ridge is a little higher than the beginning so you only join them with a sc.
Continue knitting the rest of the leg.
R22: 1sc on next 6ST then sc2tog on next rep st 2 times (14st)
Keep adding fiberfill lightly leaving the top of the leg free of material about 2 rows from the top of the leg.
R23-27: 1sc in each st for 5 rows (14st)
R28: 1sc on the next 5ST then sc2tog rep 2 times (12st)
R29-41: 1sc in each st for 13 rows (12st)
R42: 1sc on next first then sc2tog on next rep st 4 times (8th)
A43: Press the top of the leg together and 1sc through both sides of the leg at the top of a row. Finish off, leaving a long tail for sewing.
Ears
make 2 White yarn and Pink yarn.
R1: magic circle with 6ST (6)
R2: 2SC in each st (12st)
R3: 1sc then 2SC in next st 6 times (18st)
R4: 1sc in next 2st then 2SC in next st 6 times (24ST)
R5: 1sc in next 3ST then 2SC in next st 6 times (30ST)
Sl st in next st. Bind off and knit in all ends.
Crocheting the two pieces together
Face the 2 pieces against each other with the wrong side.
Single crochet together a two-piece stitch at a time, all the way around.
Sl st in next st Bind off leaving a long tail for sewing.
Fold the ears
1. Fold the ear in the middle. 2. Sew 4 stitches together.
3. Leave a long tail for sewing
POMPOM-Make 2 pom poms
1. Wrap the yarn around 2. Tie in the middle 3. take it out and cut both sides
4. After cutting the pom pom it looks so shaggy around cutting until it got a round pom pom.
strings make 2 with white thread
1: Make a chain of 18 st.
Tie the cables and pom poms together
Hat with white thread
Starting each row with a chain and joining each round with a sl st.
R1: magic circle with 6ST, Join with sl (6ST)
R2: CH1, bl in the same st [1sc in next st, bl in the same st] 5 times, Join with sl st around the chain ch1 (12st = 6 bobbles)
R3: Ch1, 2sc in each stitch, Enter with st sl in 1st stitch (24ST)
R4: Ch1, [BL in next st then 1sc in next st] 12 times, St join around ch1 string (24ST = 12 bobbles)
R5: Ch1, [1sc in next st then 2SC in next st] 12 times, Enter with st sl in 1st stitch (36ST)
R6: Ch1, [BL in next st then 1sc in next st] 18 times, St join around ch1 string (36ST = 18 bobbles)
R7: Ch1, [1sc in next 2st then 2SC in next st] 12 times, Enter with st sl in 1st stitch (48ST)
R8: Ch1, [BL in next st then 1sc in next st] 24 times, St join around ch1 string (48ST = 24 bobbles)
R9: Ch1, 1sc in each stitch, Enter with st sl in 1st stitch (48ST)
R10: Ch1, [BL in next st then 1sc in next st] 24 times, St join around ch1 string (48ST = 24 bobbles)
R11: Ch1, 1sc in each stitch, Enter with st sl in 1st stitch (48ST)
R12: Ch1, [BL in next st then 1sc in next st] 24 times, St join around ch1 string (48ST = 24 bobbles)
R13: Ch1,1sc in each stitch, Sl st in 1st stitch (48ST) sl st in the next st Bind off, and work last.
Sew the weapons
Sew the arms to the sides of the body just below row 27, tie with a knot and hide tail thread inside the body.
* See how to sew a flat piece of a closed piece (see page 15).
Sew the legs
Sew the legs to the body just above row 3 a little more to the front of the body, tie with a knot and hide tail thread inside the body.
* See how to sew a flat piece of a closed piece (see page 15).
Adding hair
• For the use of Beige yarn hair
The chain length is about 50cm (19in), after the measurements fold the yarn in the middle and start wrapping the yarn loosely in the loops and make a nice bundle, then cut through the loops single ended so you have strands of yarn as pictured.
Hair
Insert the crochet hook into one of the entry and exit holes for another straight above it.
Fold the strand in half and pull the strand through the holes.
Pull the strand through the loop and pull it tight. Start with the hairline by applying strands of hair to each stitch.
Start at the bottom of the hairline applying strands of hair to every other hole and also every other row of holes as well. This will make the hair less thick.
When you reach the crown of the head, start applying strands of hair to each stitch in each row to cover go well the scalp.
Haircut
• When cutting your hair, do it slowly and carefully, little by little until you reach the desired length and then align the hairline.
Cut the hair to the desired length Cut the bangs above the eyes
Sew the strings to the hat pompoms just below the ears
Sew the ears to the hat
Place the ears as shown in the picture. Attach the ears to the hat and sew in place, tie with a knot and hide tail thread inside the hat.
How to close a hole and hide the thread tail inside the piece
1. Cut the yarn, leaving a long yarn tail and Bind off. From inside the needle insertion hole under the front yarn only, stretch the thread to the next outside front loop and again from the inside to the outside, collecting all remaining stitches.
2. Pull the tail of the thread tight until the hole is completely closed and the knot off.
3. Insert the needle back to the center.
4. Pass the thread through the piece that comes out on a different side through a hole.
5. Cut the tail of the thread.
How to knit an oval
• Chain 4 then 2sc on the second chain from the hook, then 1sc on the next 2nd then 4SC on the last chain, turn and work in the other side, 1sc on the next on 2nd then 2sc on the last chain.
1. Make a chain with four stitches. 2. Insert the hook into the second hook chain. 3. Crochet two individual crochet stitches on this chain.
4. Work a single crochet for the next two chain stitches.
5. Crochet four individual crochet stitches in to the last chain.
6. Turn and work on the other side. crochet a single crochet to the next of two chains.
7. Crochet two individual crochet stitches in the last chain.
8. Do not join the round, insert the hook in the first stitch and start a new round.
Sewing a flat piece of a closed piece
Sewing a flat piece of a closed piece 1. Insert the needle into a hole between the stitches and bring the needle up under the next stitch and draw the thread through.
2. Insert the needle under both loops together into the flat piece and stretch the thread through.
3. Return to the same hole where the tail of the thread emerges in the closure piece and pull the thread through tightly.
4. Repeat on top of the flat piece.
Note: For this sewing example, I have used a contrasting thread that will be lighter so you can see the technique. For his work
used the same thread that you used for the flat piece
Bobble stitch
1. Yarn. 2. Insert the hook into the stitch. 3. The yarn above pull through st.
4. Top yarn through 2 hook loops.
5. Repeat at the same stitch 3 more times until you have half of 4 double crochet stitches on the hook.
6. The yarn above pull through the 5 loops on the hook.