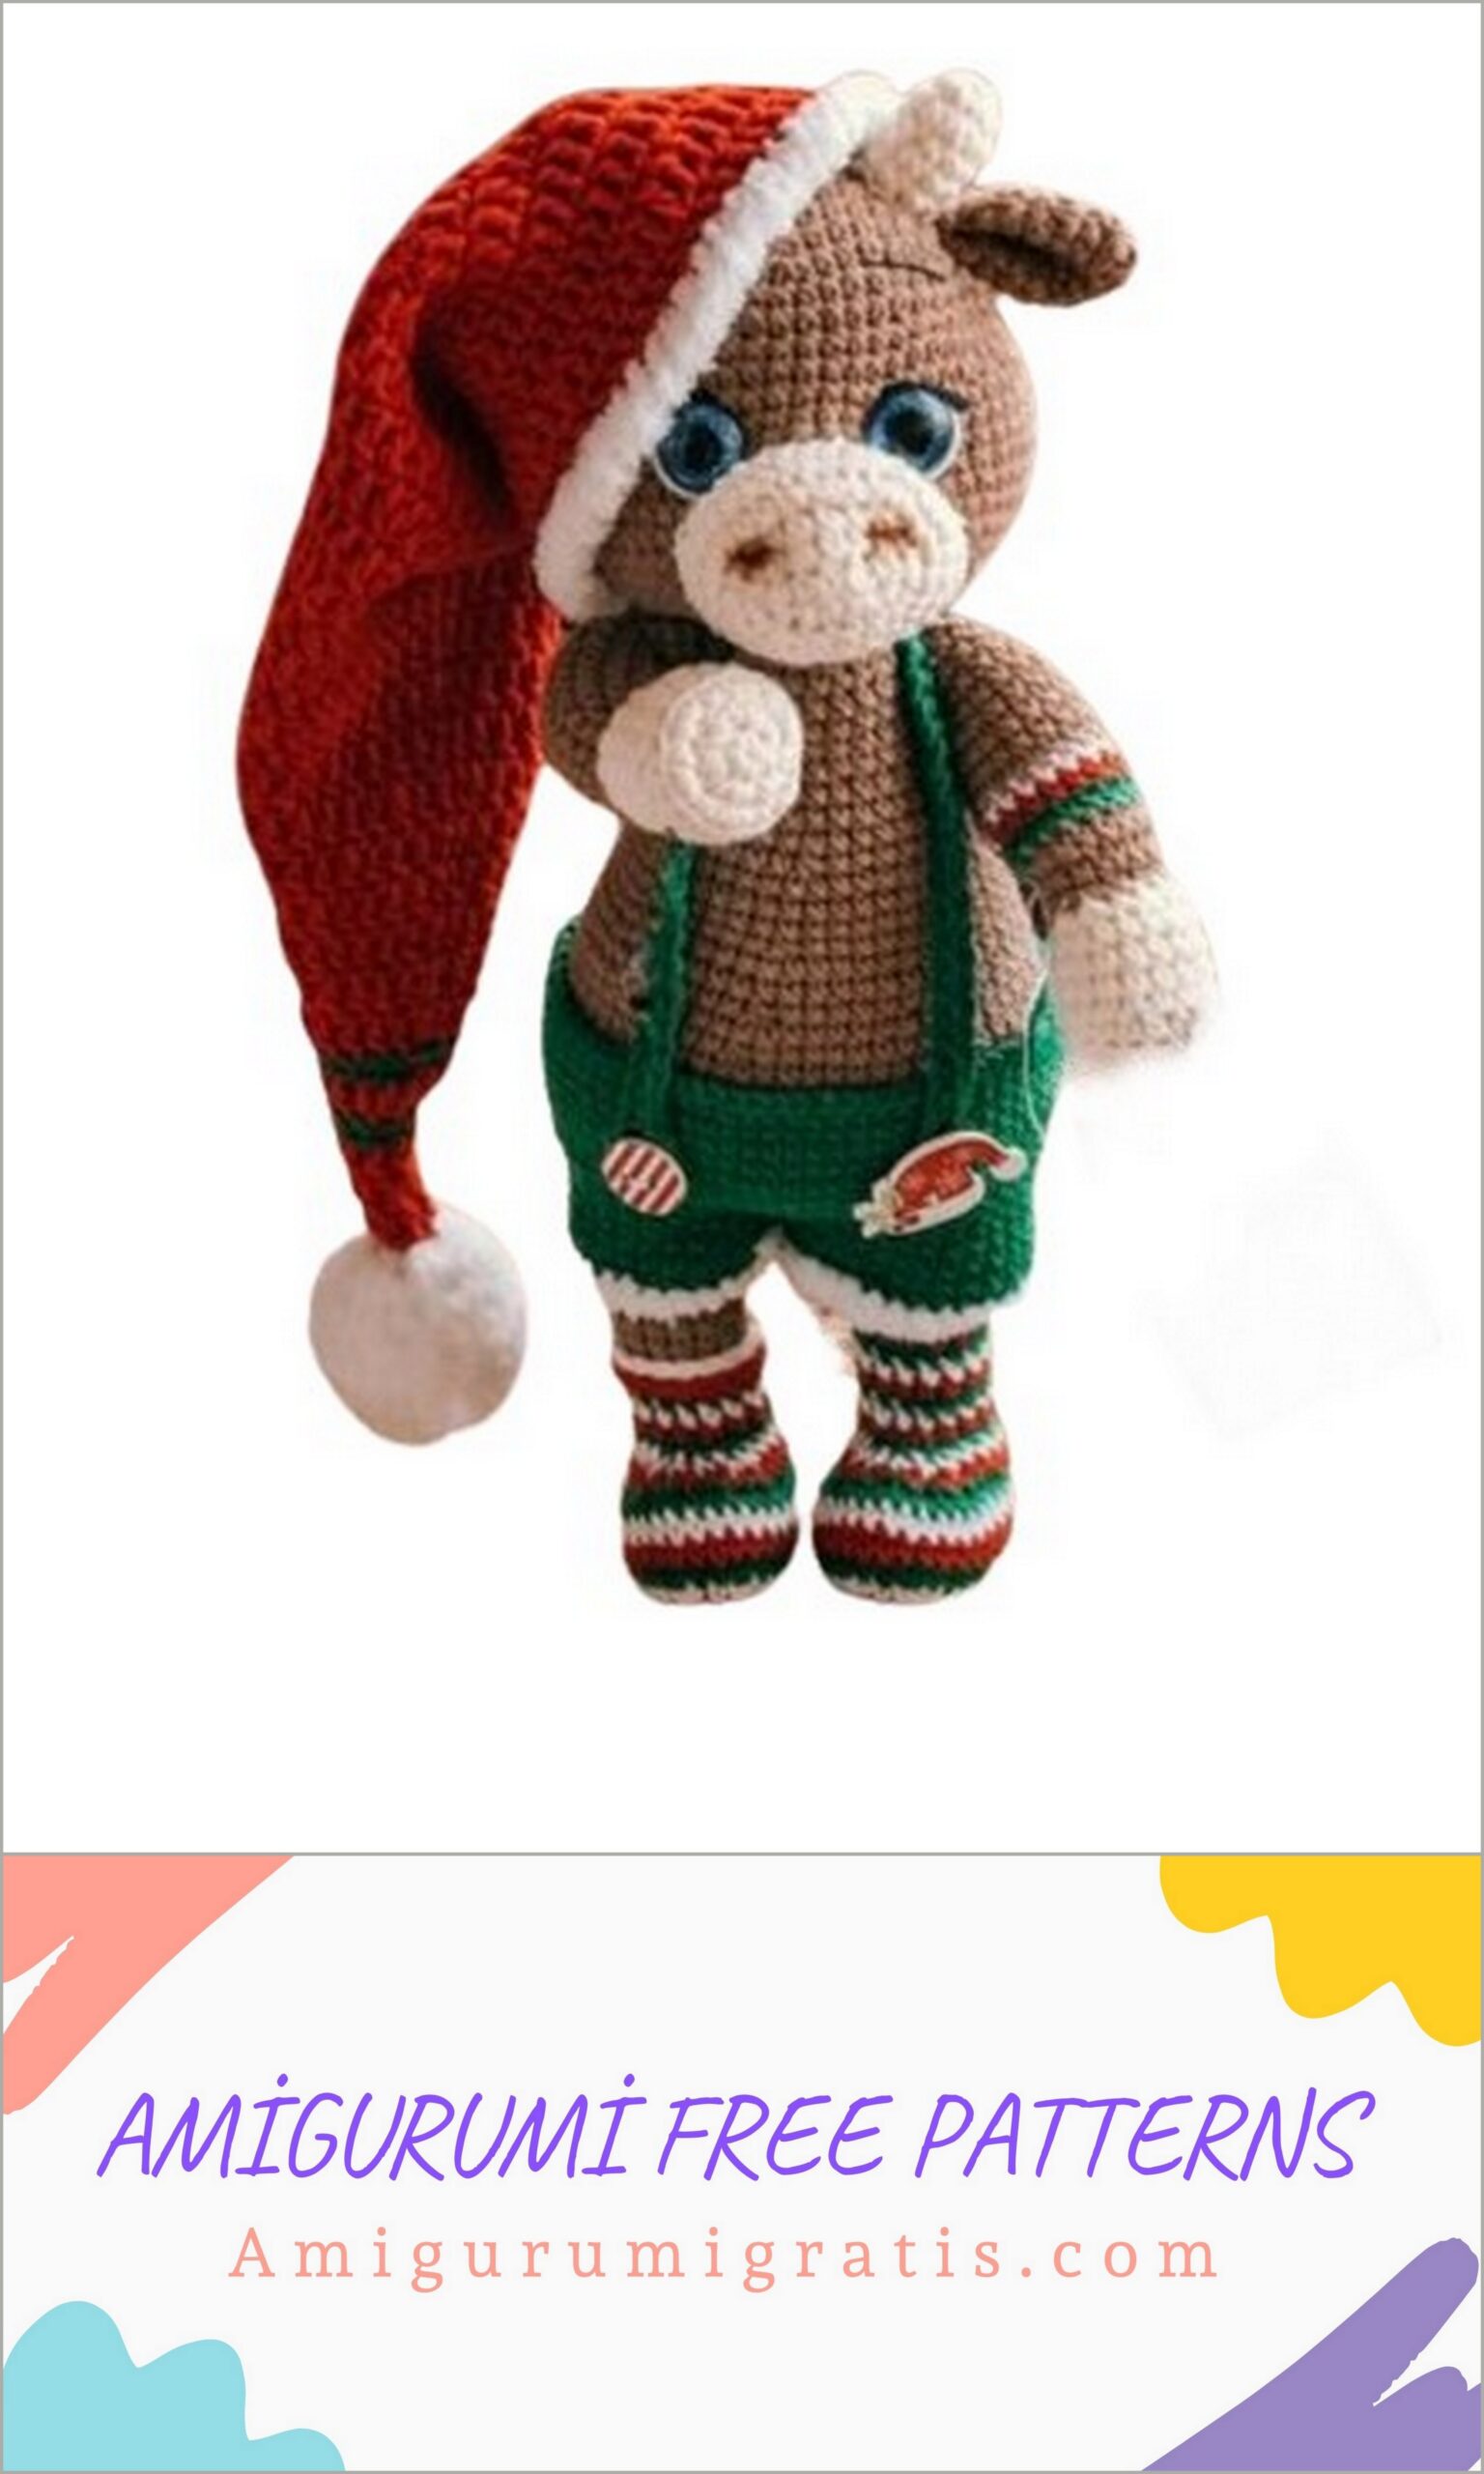
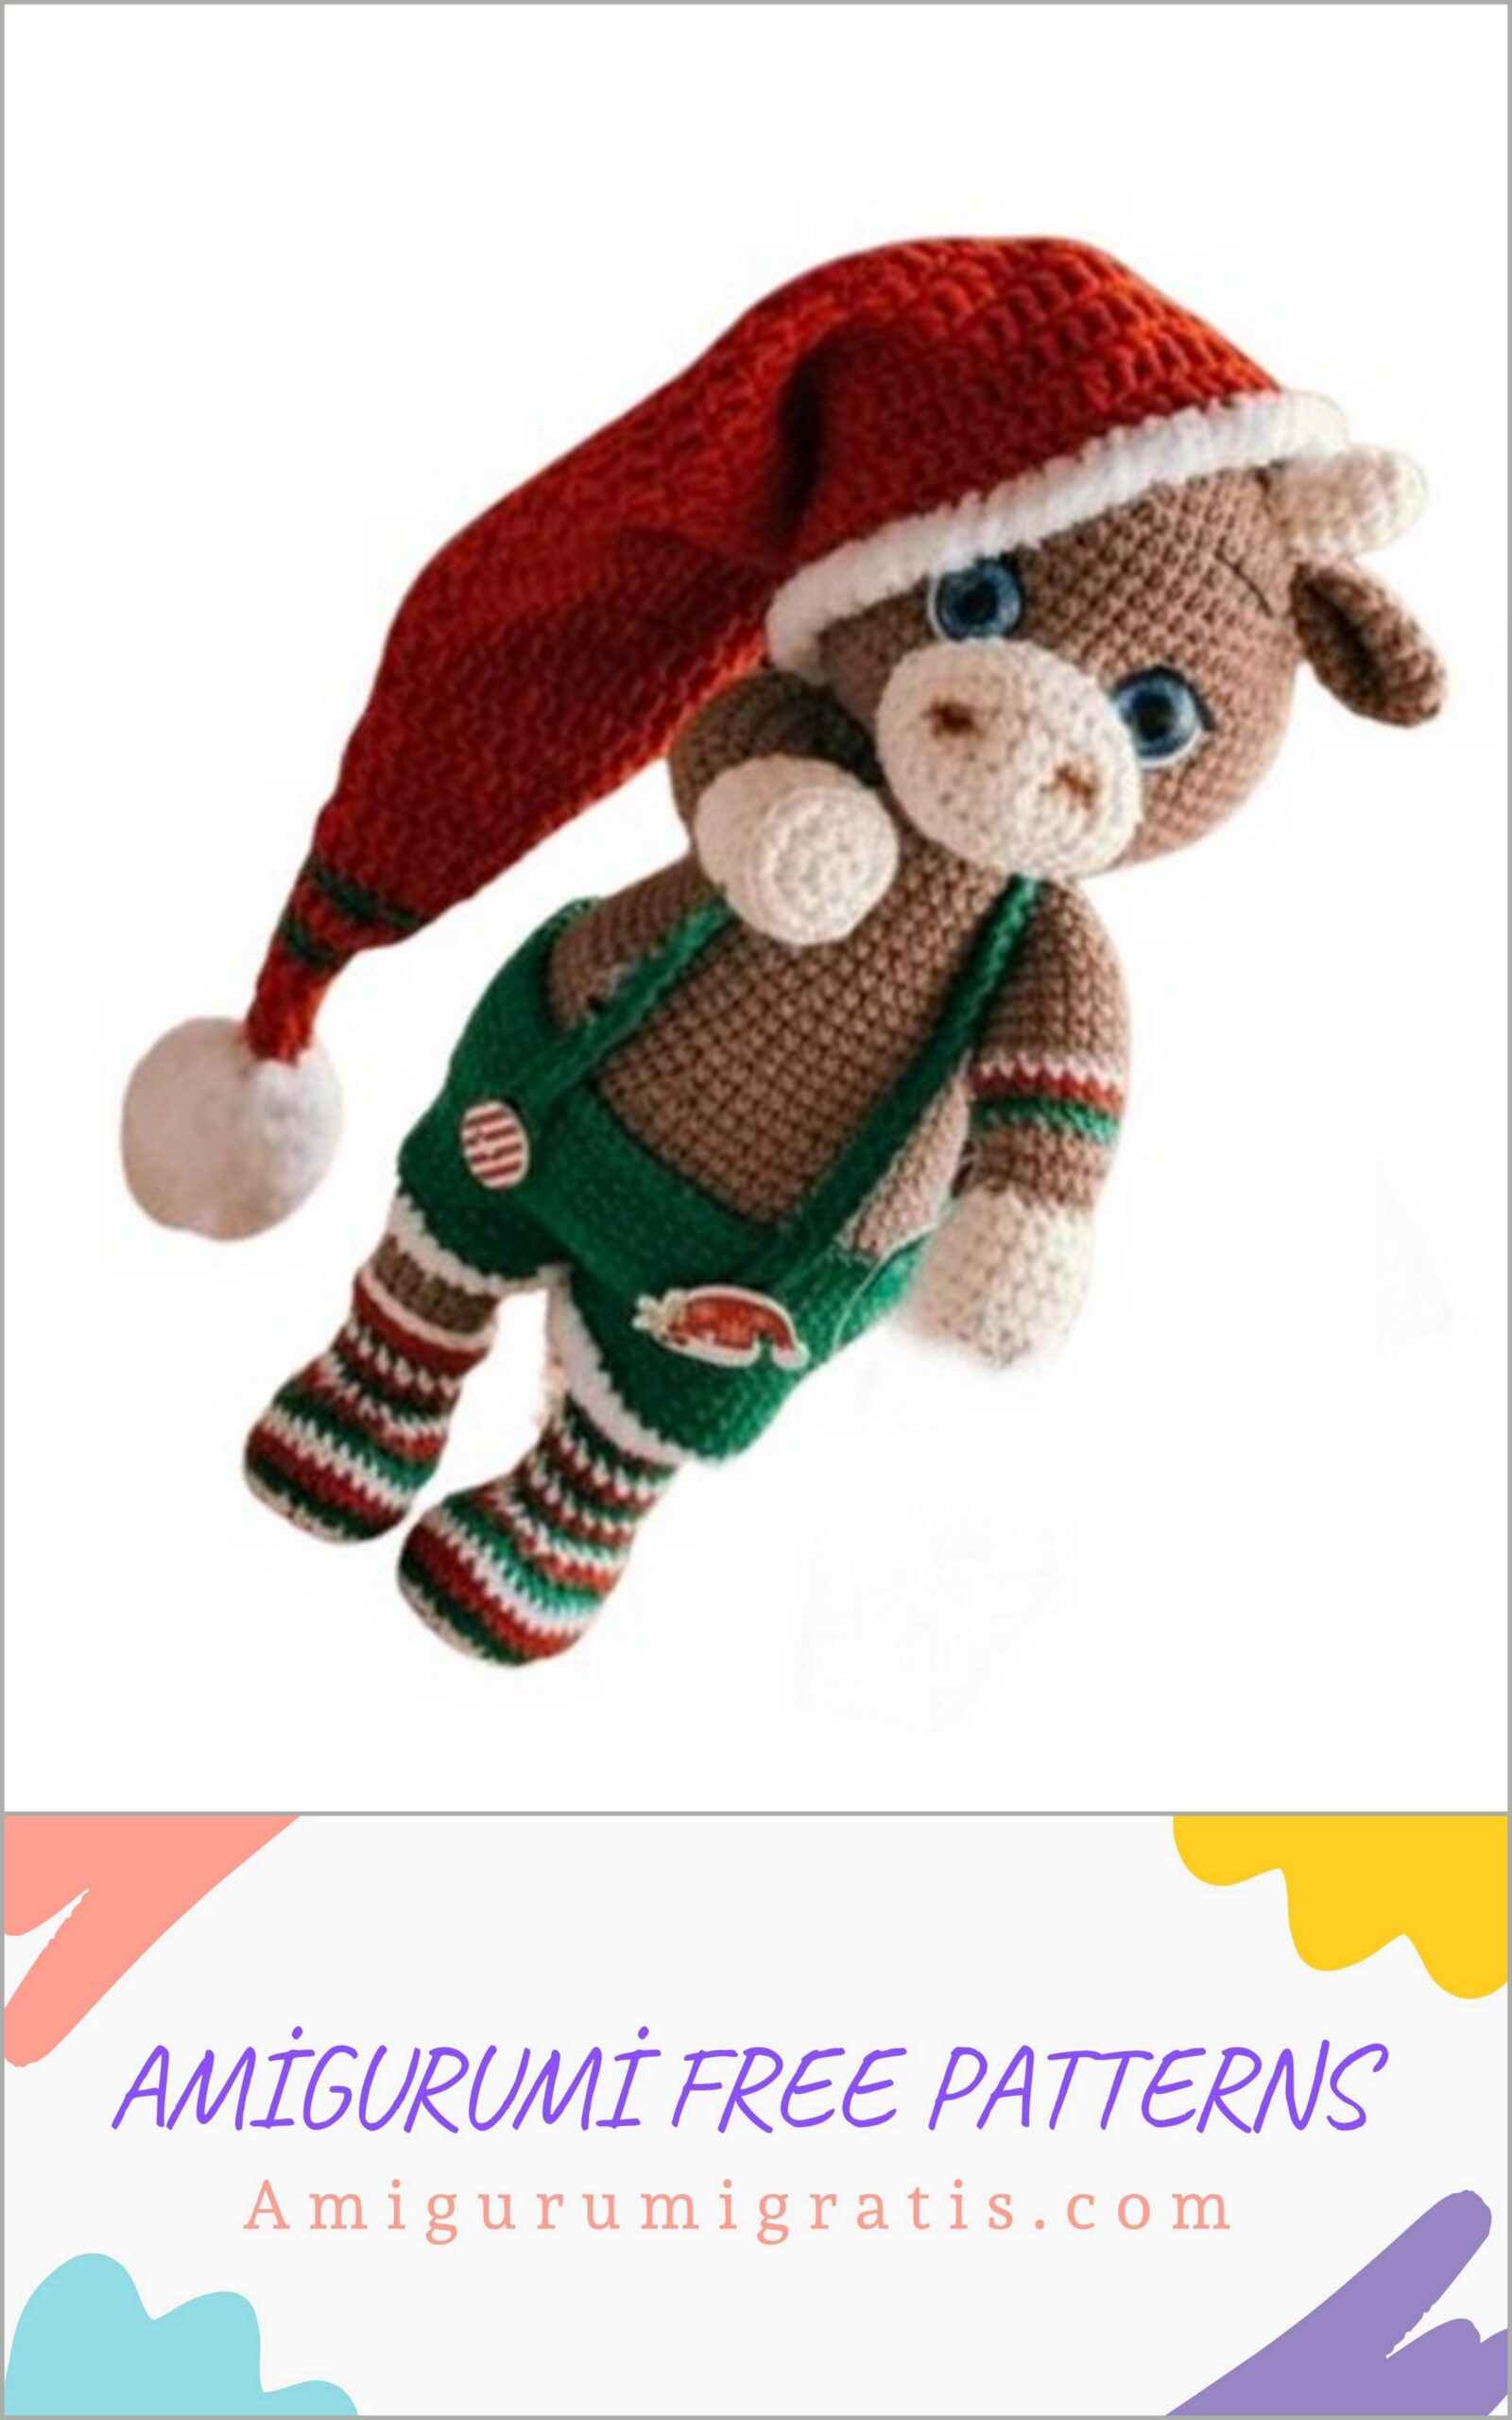
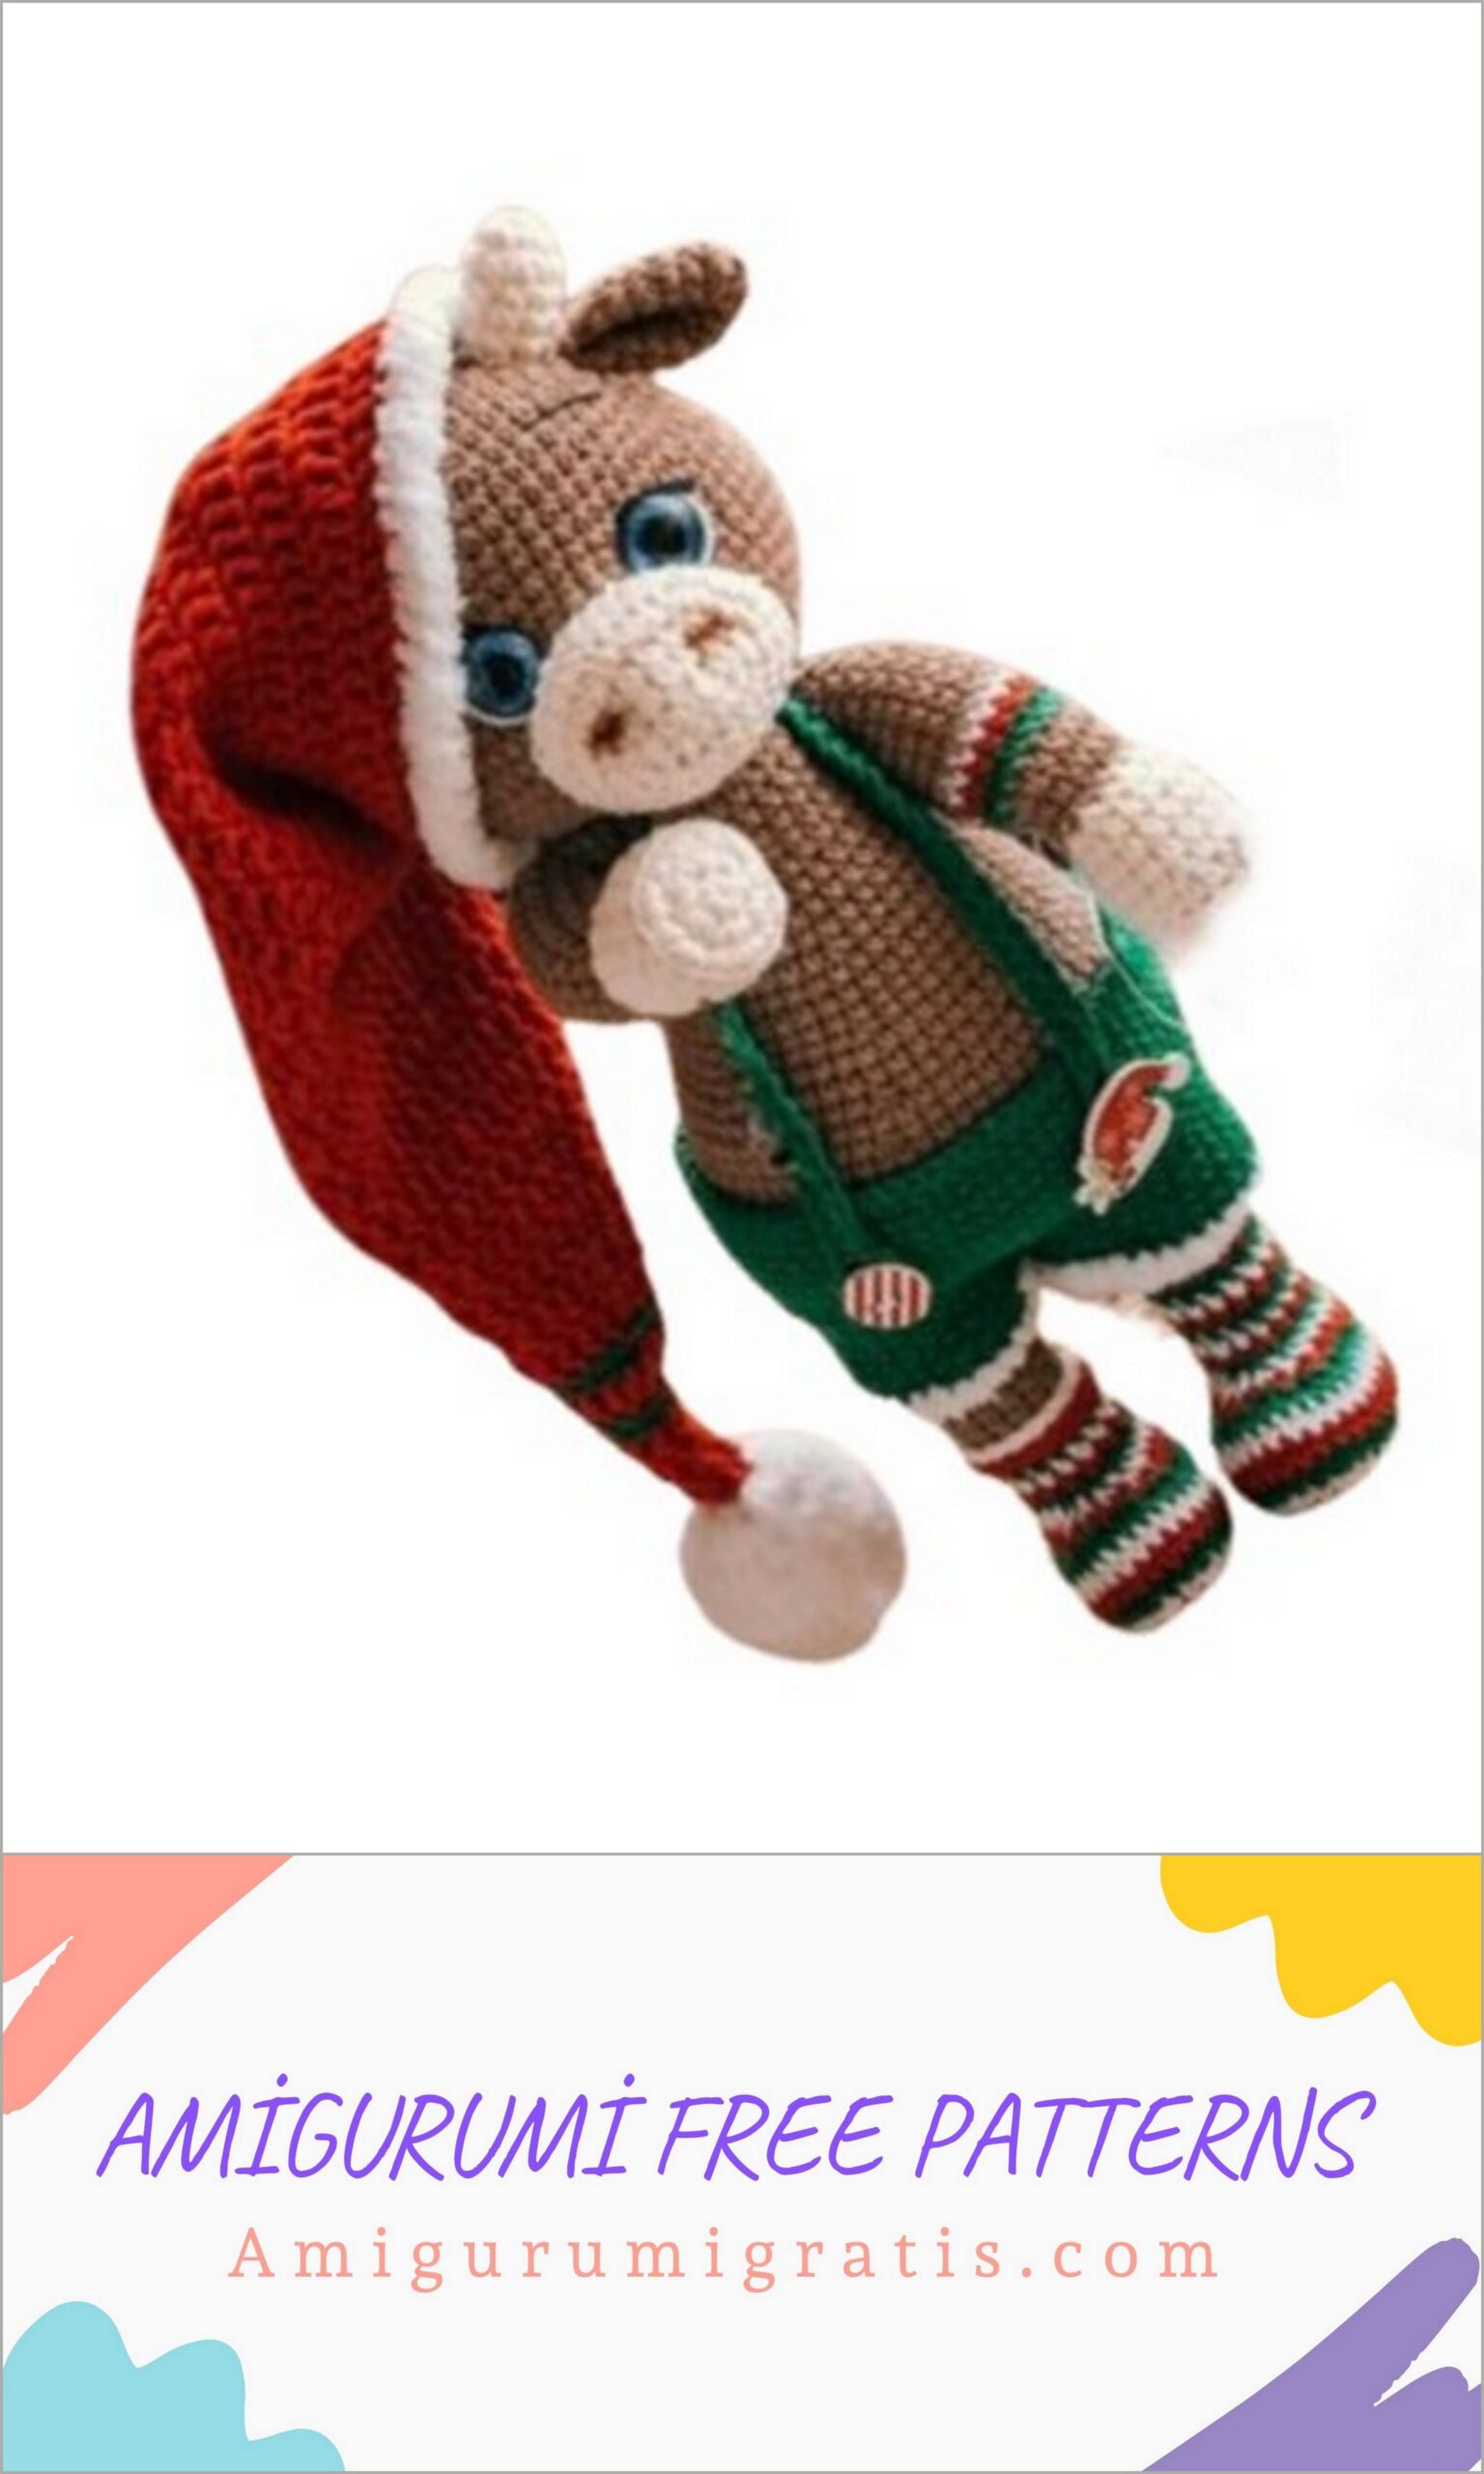
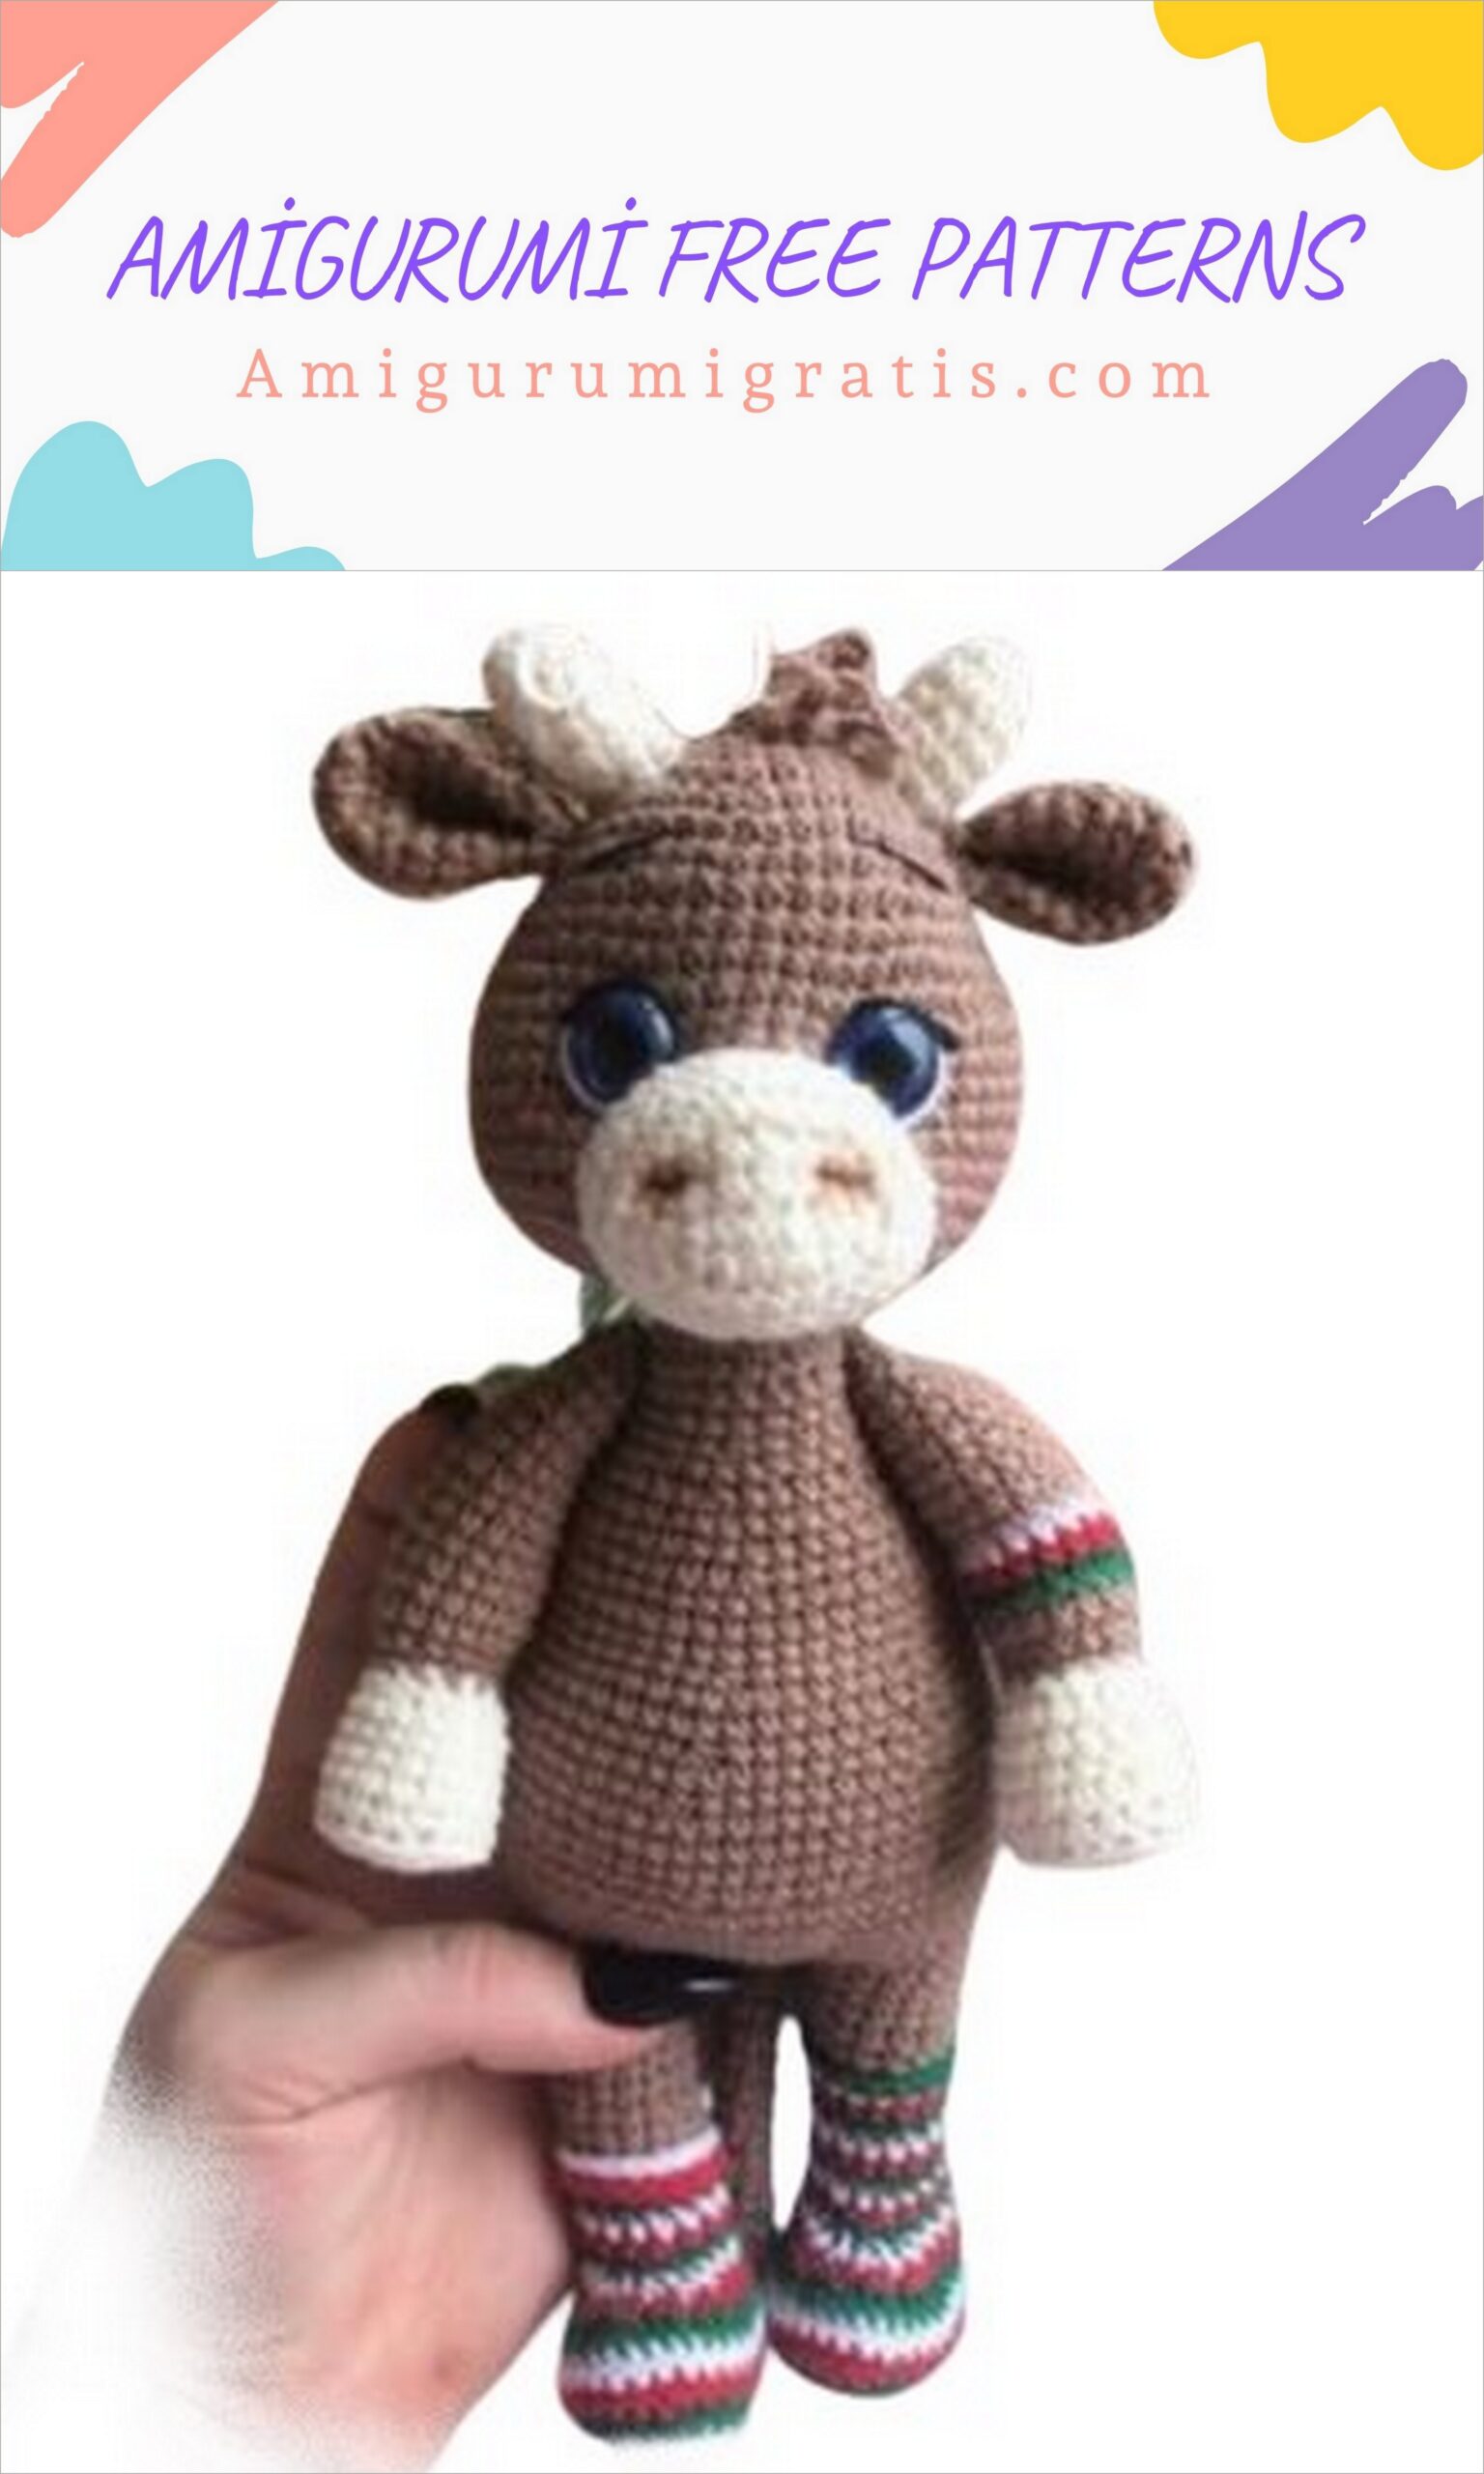
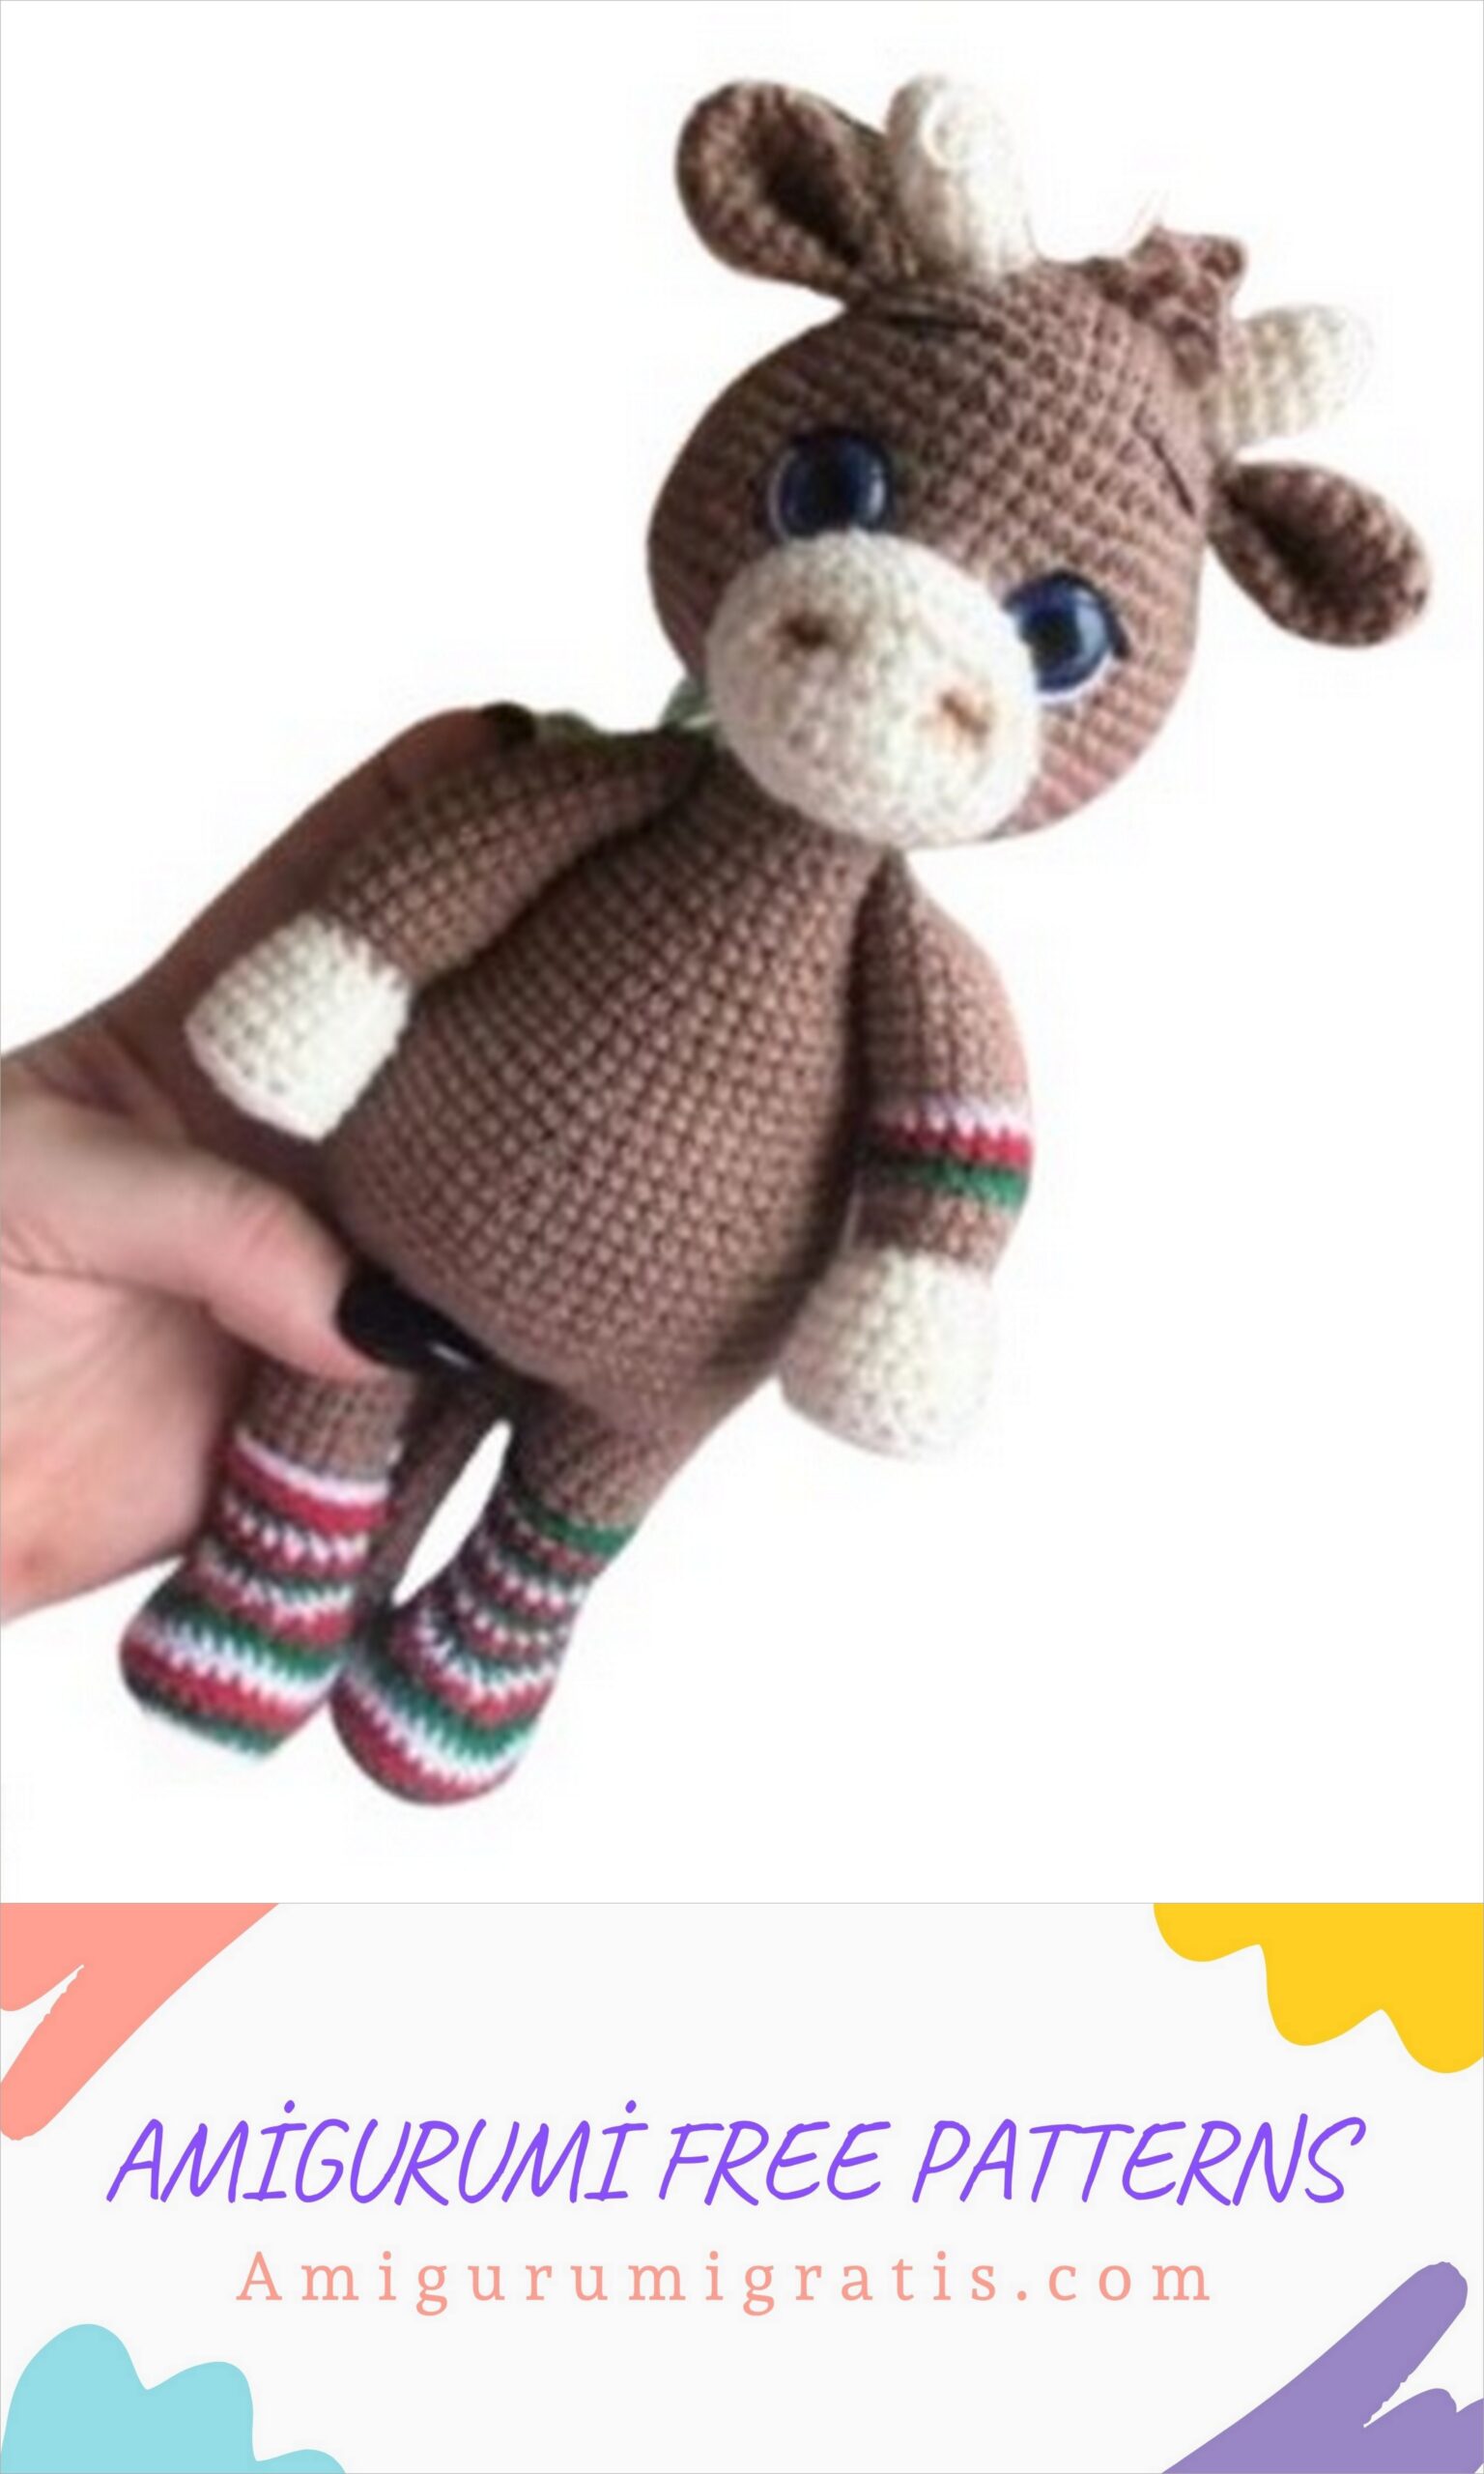
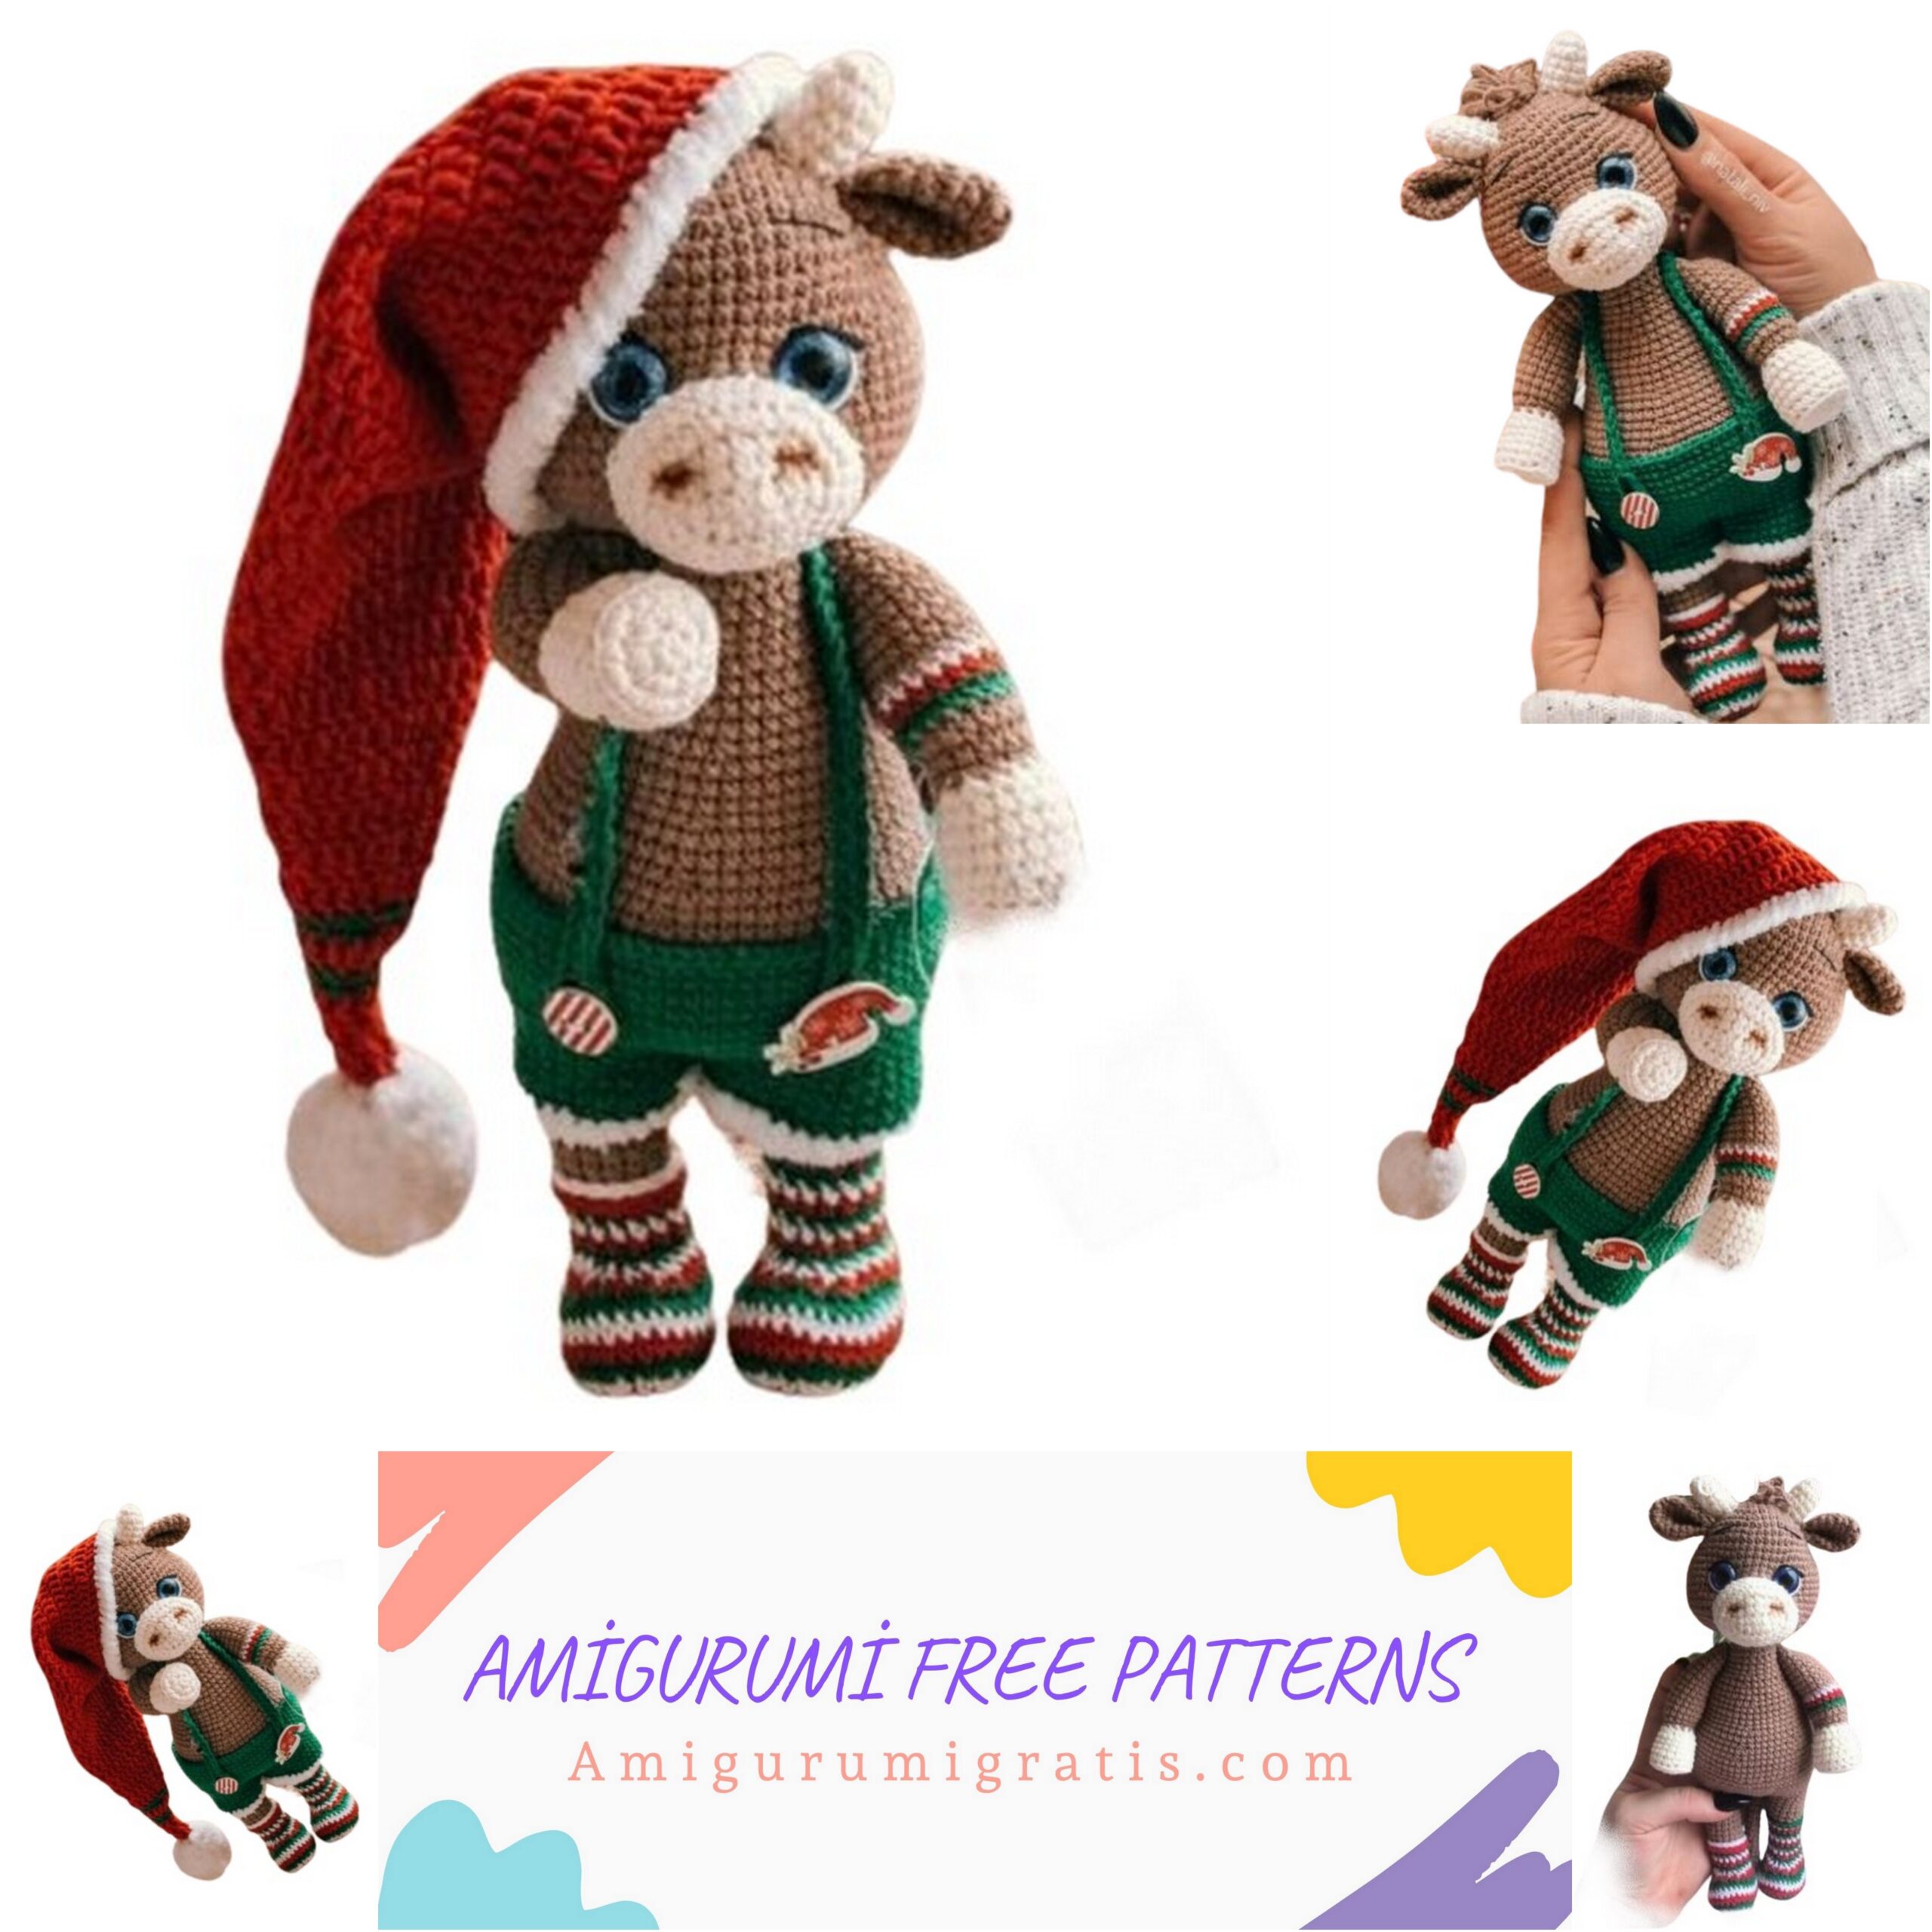
You should visit our website for Amigurumi christmas bull free pattern and more patterns.
IMPORTANT
• All details in microns are knitted in a spiral, unless otherwise stated.
• I am knitting with half-crosses, so there may be a discrepancy in size if you knit in a different way.
• Please note, in microns, offset loops are indicated for my knitting technique.
You may have a difference, follow my notes.
• When using all the materials indicated by me, the toy is 23 cm.
• Choose the right crochet hook for the yarn you are using.
• Fill in all details as you knit.
MATERIALS
1. Basic color JeansYarnart 87 – beige (42 g.)
2. Additional colors for Jeans Yarnart 03 clothes – milk (8 gr.)
90 – red (23 gr.)
52 – green (16 g.)
Alize softy 55 – white (2 gr.)
Alize cotton gold 55 – white (5 gr.)
3. Additional colors for face decoration
Iris Yarnart 935 – black
4. Chenille wire
5. Filler
6. Stitching needle
7. Hook gamma 1.90
8. Eyes 14 mm
9. Cilia
10. Scissors
11. Lid / cardboard for hands
12. Buttons 2 pcs.
13. Shadows for tinting.


SYMBOLS
Sc – single crochet
Dc – Column with one crochet
Hdc – half double crochet
Ch – air loop
İnc. – increase (2 loops in one column)
Dec – decrease (2 columns with one vertex)
Sl-st – connecting post
• The number at the end of the row indicates the total number of stitches in the row
• (..) * n – denotes how many times the given combination should be repeated
ARMS
We begin to knit with a milk-colored thread (03)
!!! IMPORTANT. We do not follow the marker.
Prepare the chenille wire and fold it.
We will put it in our hands. You can do without it.
Tie 2 identical parts
1.6 sc into magic ring
2. İnc. * 6/12
3. (1 sc, inc) * 6/18
4. For back hinges 18 sc
5-8. 18 sc (4 rows)
Cut the rounds out of the lid and insert into your hands. Press down with filler, or glue. 9. (1 sc, dec) * 6/12.
Change the thread to beige (87)
10.12 sc
11. (1 sc, inc) * 6/18
12-23. 18 sc (12 rows)
!!! ATTENTION. For one hand, make a multi-colored insert.
13-15 – 3 rows of different colors
18 sc.
Insert chenille wire and fill your hand.
24. (1 sc, dec) * 6/12
25.dec * 6/6
Fill. Fasten, cut and hide the thread.
LEGS
We start knitting with socks.
We alternate 3 colors.
1-green. 2-red. 3-white. We knit according to the scheme, but we alternate the rows.
Start knitting with green thread (52)
!!! IMPORTANT. We follow the marker.
It should always be in the center of the heel. If you have an offset, align.
threads. Just click on the link.
1. We collect 6 ch, from the second loop from the hook we knit.
2.Inc, 3 sc, 3 sc in 1 loop, Unroll knitting 4 sc / 12
3.2 inc, 3 sc, 3 inc, 3 sc, 1 inc / 18
4. (1 sc, inc) * 2, 3 sc, (1 sc, inc) * 3, 3 sc, (1 sc, inc) / 24
5. (2 sc, inc) * 2, 3 sc, (2 sc, inc) * 3, 3 sc, (2 sc, inc) / 30
!!! ATTENTION. Make 2 offset loops.
6-8. 30 sc (3 rows)
9.7 sc, (1 sc, dec) * 5.8 sc / 25
10.7 sc, dec * 5.8 sc / 20
11.7 sc, dec * 3, 7 sc / 17 12.7 sc, dec, 8 sc / 16
!!! ATTENTION. From 1 to 12 rows we knit 2 socks in the same way. Further, the scheme will change for the legs.
First leg
13-18. 16 sc (8 rows)
Row 18 ends with white yarn.
Change the thread to the main beige color (87)
19.for back hinges 16 sc
20-24. 16 sc (5 rows)
Fasten, cut and hide the thread.
Next, attach green thread to the left front loops and tie 16 sc in a circle. The hook points up.
Second leg
Change the thread to the main beige color (87)
For the second leg, row 13 ends in green.
13.16 sc
14. For back hinges 16 sc
15. For back hinges 16 sc
16-24. 16 sc (9 rows)
I, after row 16, did the sock strapping.
If it is convenient for you, you can do it immediately, or after 24 rows.
Next, we make the strapping of the sock.
Attach the red thread to the front loops of row 13. Make the harness in red 16 sc. Fasten, cut and hide the thread.
Attach white thread to the front loops of row 14.
Make the harness in white 16 sc.
Fasten, cut and hide the thread.

BODY
We continue to knit the body. From the first leg we count 4 sc counterclockwise. We put an additional marker.
On the second leg, knit 6 sc and cast on 4 ch, connect sc with the first leg together, where there is an additional marker.
25.16 sc on the first leg, 1 sc to the junction of the legs (so there is no hole), 4 sc along ch, 16 sc along the second leg, 1 sc to the place where ch was typed, 4 sc / 42.
!!! IMPORTANT. We follow the marker.
Marker at the place where it was connected to the first leg.
26. (6 sc, inc) * 6/4 8
27. (7 sc, inc) * 6/54
28. (8 sc, inc) * 6/60
29.13 sc, (2 sc, inc) * 7, 26 sc / 67
!!!ATTENTION. The increments should be in front. If this is not the case for you, do an offset.
Start filling the body.
30-33. 67 sc (4 rows)
34.13 sc, (2 sc, dec) * 7, 26 sc / 60
!!!ATTENTION. Decreases should be exactly below the increases in row 29. If this is not the case for you, do an offset. Photo 17-18.
35-37. 60 sc (3 rows)
38. (8 sc, dec) * 6/54
39.54 sc
40. (7 sc, dec) * 6/48
41-42. 48 sc (2 rows)
43. (6 sc, dec) * 6/42
44-46. 42 sc (3 rows)
47. (5 sc, dec) * 6/36
48-49. 36 sc (2 rows)
50. (4 sc, dec) * 6/30
51.30 sc
52. (3 sc, dec) * 6/24
53-55. 24 sc (3 rows)
56. (2 sc, dec) * 6/18
57-58. 18 sc (2 rows)
Fill the body to the end. Fasten the thread, cut and leave a long end for sewing.
HEAD
!!! IMPORTANT. We follow the marker.
The marker runs exactly in the middle of the head.
We start to knit with the main thread beige (87)
1.6 sc into magic ring
2. İnc * 6/12
3. (1 sc, inc) * 6/18
4. (2 sc, inc) * 6/24
5. (3 sc, inc) * 6/30
6. (4 sc, inc) * 6/36
7. (5 sc, inc) * 6/42
8-9. 42 sc (2 rows)
!!! ATTENTION. All increases should be on the sides.
10.10 sc, inc * 4, 14 sc, inc * 4, 10 sc / 50
11.50 sc
12.10 sc, (1 sc, inc) * 4, 14 sc, (1 sc, inc) * 4, 10 sc / 58
Start filling your head. Pack your cheeks tightly. Insert the eyes on the secure mount between row 14 and 15, distance 7-8 sc.
13-18. 58 sc (6 rows)
19. (28 sc, inc) * 2/60
20. (8 sc, dec) * 6/54
21. (7 sc, dec) * 6/48
22. (6 sc, dec) * 6/42
23. (5 sc, dec) * 6/36
24. (4 sc, dec) * 6/30
25. (3 sc, dec) * 6/24
26. (2 sc, dec) * 6/18
27. (1 sc, dec) * 6/12
28.dec * 6/6
Fasten and hide the thread. Fill your head to the end.

Muzzle
!!! IMPORTANT. We do not follow the marker.
We begin to knit with a milk-colored thread (03)
We collect 6 air loops, from the 2nd loop from the hook we knit
1.4 sc, 3 sc in 1 loop
Expand part 3 sc, inc / 12
2.inc, 3 sc, inc * 3, 3 sc, inc * 2/18
3. (1 sc, inc) * 1, 3 sc, (1 sc, inc) * 3,
3 sc, (1 sc, inc) * 2/24
4.2 sc, inc, 1 sc, inc * 2, (2 sc, inc) * 3, dec, 1 sc, (2 sc, inc) * 2/31
5-6. 31 sc (2 rows)
Fasten the thread, cut and leave a long end for sewing.
EARS
!!! IMPORTANT. We do not follow the marker.
Starting to knit with the main beige thread (87)
1.6 sc into magic ring
2. İnc * 6/12
3.12 sc
4. (1 sc, inc) * 6/18
5-6. 18 sc (2 rows)
7. (1 sc, dec) * 6/12
8.12 sc
We do not fill the ear. Fold over eyelet and knit 6 sc on both sides. We knit 2 parts.
HORNS
!!! IMPORTANT. We do not follow the marker.
We begin to knit with a thread of milk
colors (03)
1.6 sc into magic ring
2. (1 sc, inc) * 3/9
3-6. 9 sc (4 rows)
Fasten and cut the thread. Leave the long end for sewing.
We knit 2 parts.
EYE TREATMENT
Let’s prepare 6 needles.
We count from the top of the head down (where the CA was knitted) 12 rows. Goby cheek landmark.
We put the first needle No. 2 (13-14 row) in the side 2 sc we put the second needle No. 1,
third needle # 3 (15-16 row) up 2 sc from point # 2.
We also place needles No. 4, 5, 6.
Between points 2 and 4, the distance is 7-8 loops.
We introduce the needle into the base of the head at point 7 and bring it out at point 2. Next, we enter at the point 1 and draw it at the base of the head. We are tightening. We enter at point 2 and output at point 3 and then at the base of the head. This is the first eye tightening. Photo 25-27.
We introduce the needle into the base of the head at point 7 and bring it out at point 4. Next, we enter at the point 5 and draw it at the base of the head. We are tightening. We enter at point 4 and output at point 6 and then at the base of the head. This is a tightening of the second eye.
If you have eyes inserted on a secure mount, then place points exactly in the corners of the eyes. Same as picture. Tightening.
ASSEMBLING THE HEAD
1.Glue the eyes, if yours is not on a secure mount.
2. We embroider white thread around the eye.
3. Embroider the eyebrows.
4. We embroider with a black thread an arrow above the eye from above.
5.Sew on the horns.
Fill them in while sewing. Between 3-6 rows.
Haholok
Starting to knit with the main beige thread (87)
We collect 20 ch, from the 2nd loop from the hook we knit 19 elongated loops.
Sew a tuft around the spacecraft 2 rows.
6. Sew on the ears. Fold the ears as in the photo and sew them.
Sew on at row 7-8.
7.Sew on the muzzle.
Place the muzzle between the eyes and down 10 rows.
8. We embroider the nostrils.
Just click on the link.
Take 4 needles. Arrange them on the face as you want, so that there are nostrils. Between the needles
No. 1 and No. 2 – 1 row.
Behind the head, mark the point at which you will insert the needle. Point number 5.
We introduce the needle at point 5 and output it at point 1. Next, we enter the needle at point 2 and output it at point 5.
We are tightening. We introduce the needle to point 5 and bring it out at point 3. Then we introduce it to point 4 and bring it to point 5. Tighten. This is a tightening of the nostrils. Photo 41-43.
9.Tinting.
TAIL
We start knitting with a thread of the main color (87)
!!! IMPORTANT. We do not follow the marker.
1.8 sc into magic ring
2-20. 8 sc (19 rows).
Fold and knit 4 sc on both sides. Photo 46.
Cut 16 strips with a milky thread. Attach 2 strips to the magic tail ring.
PANTIES
Start knitting with green thread (52)
!!! IMPORTANT. We do not follow the marker.
1. Cast on 31 ch, from the second loop from the hook we knit 30 sc and close into a ring. (I do it so that the chain does not twist)
2-4. 30 sc (3 rows)
Fasten and cut the thread. We knit the second leg as well, only we do not cut the thread.
We connect 2 legs. Fold as shown and knit 5 sc on both sides of 2 legs.
We continue to knit our panties.
5.25 sc on one leg, 2 sc at the junction of the legs and 25 sc at the second leg, 2 sc at the junction of the legs / 54
!!! IMPORTANT. We put a marker. Now the beginning of the row is always in this place.
6.54 sc
7. (8 sc, inc) * 6/60
8.60 sc
9. (9 sc, inc) * 6/66
10.66 sc
11. (10 sc, inc) * 6/72
12-17. 72 sc (6 rows)
Next, we knit the straps with you.
18.4 sc, cast on 50 ch from the 11th loop from the hook, knit 40 sc (the left 10 ch, these are the holes for the button) continue knitting in the same loop with which ch was knitted, 62 sc, cast on 50 ch from
On the 11th loop from the hook, knit 40 sc. (the left 10 ch, these are the holes for the buttons) continue knitting in the same loop with which ch was knitted, 4 sc / 72.
Fasten, cut and hide the thread.
Next, we make the strapping. We attach the thread Alize softy and sc along
circle we make a strapping.
Sew on 2 buttons on the front.
ASSEMBLY
TRUNK
1.Sew the head to the body.
2.Sew the hands on a thread fastening to the body.
3.Sew the tail to the body.
I either lift the tail up so that it sticks out, or I thread it into one of the legs. Photos58
NEW YEAR’S CAP
Start knitting with red thread (90)
!!! IMPORTANT. We do not follow the marker.
1. We dial 50 ch, sl-st, 2 ch
2-6. 50 DC, 2 ch (5 rows)
7. (dec DC, 23 DC) * 2/48
8.12 DC, dec DC, 20 DC, dec DC, 12 DC / 46
9. (dec DC, 21 DC) * 2/44
10.11 DC, dec DC, 18 DC, dec DC, 11 DC / 42
11. (dec DC, 19 DC) * 2/40
12.10 DC, dec DC, 16 DC, dec DC, 10 DC / 38
13. (dec DC, 17 DC) * 2/36
14.9 DC, dec DC, 14 DC, dec DC, 9 DC / 34
15. (dec DC, 15 DC) * 2/32
16.8 DC, dec DC, 12 DC, dec DC, 8 DC / 30
17. (dec DC, 13 DC) * 2/28
18.7 DC, dec DC, 10 DC, dec DC, 7 DC / 26
19. (dec DC, 11 DC) * 2/24
20.6 DC, dec DC, 8 DC, dec DC, 6 DC / 22
21. (dec DC, 9 DC) * 2/20
22.5 DC, dec DC, 6 DC, dec DC, 5 DC / 18
23. (dec DC, 7 DC) * 2/16
24.4 DC, dec DC, 4 DC, dec DC, 4 DC / 14
Change the thread to green (52)
25.14 sc
Change the thread to red (90)
26. (dec DC, 5 DC) * 2/12
Change the thread to green (52)
27.12 sc
Change the thread to red (90)
28.3 DC, dec DC, 2 DC, dec DC, 3 DC / 10
29. (dec DC, 3 DC) * 2/8
30. (2 DC, dec DC) * 2/6
Fasten the thread, do not tighten the ring, cut it off, leave the end for sewing.
BALL
Start knitting with white thread (90)
!!! IMPORTANT. We do not follow the marker.
1.6 sc
2. İnc * 6/12
3. (1 sc, inc) * 6/18
4. (2 sc, inc) * 6/24
5-7. 24 sc (3 rows)
8. (2 sc, dec) * 6/18
9. (1 sc, dec) * 6/12
10.Dec * 6/6
Fasten the thread, cut.
Sew the ball to the cap.
Make cap strapping.
OUR NEW YEAR BULL IS READY.