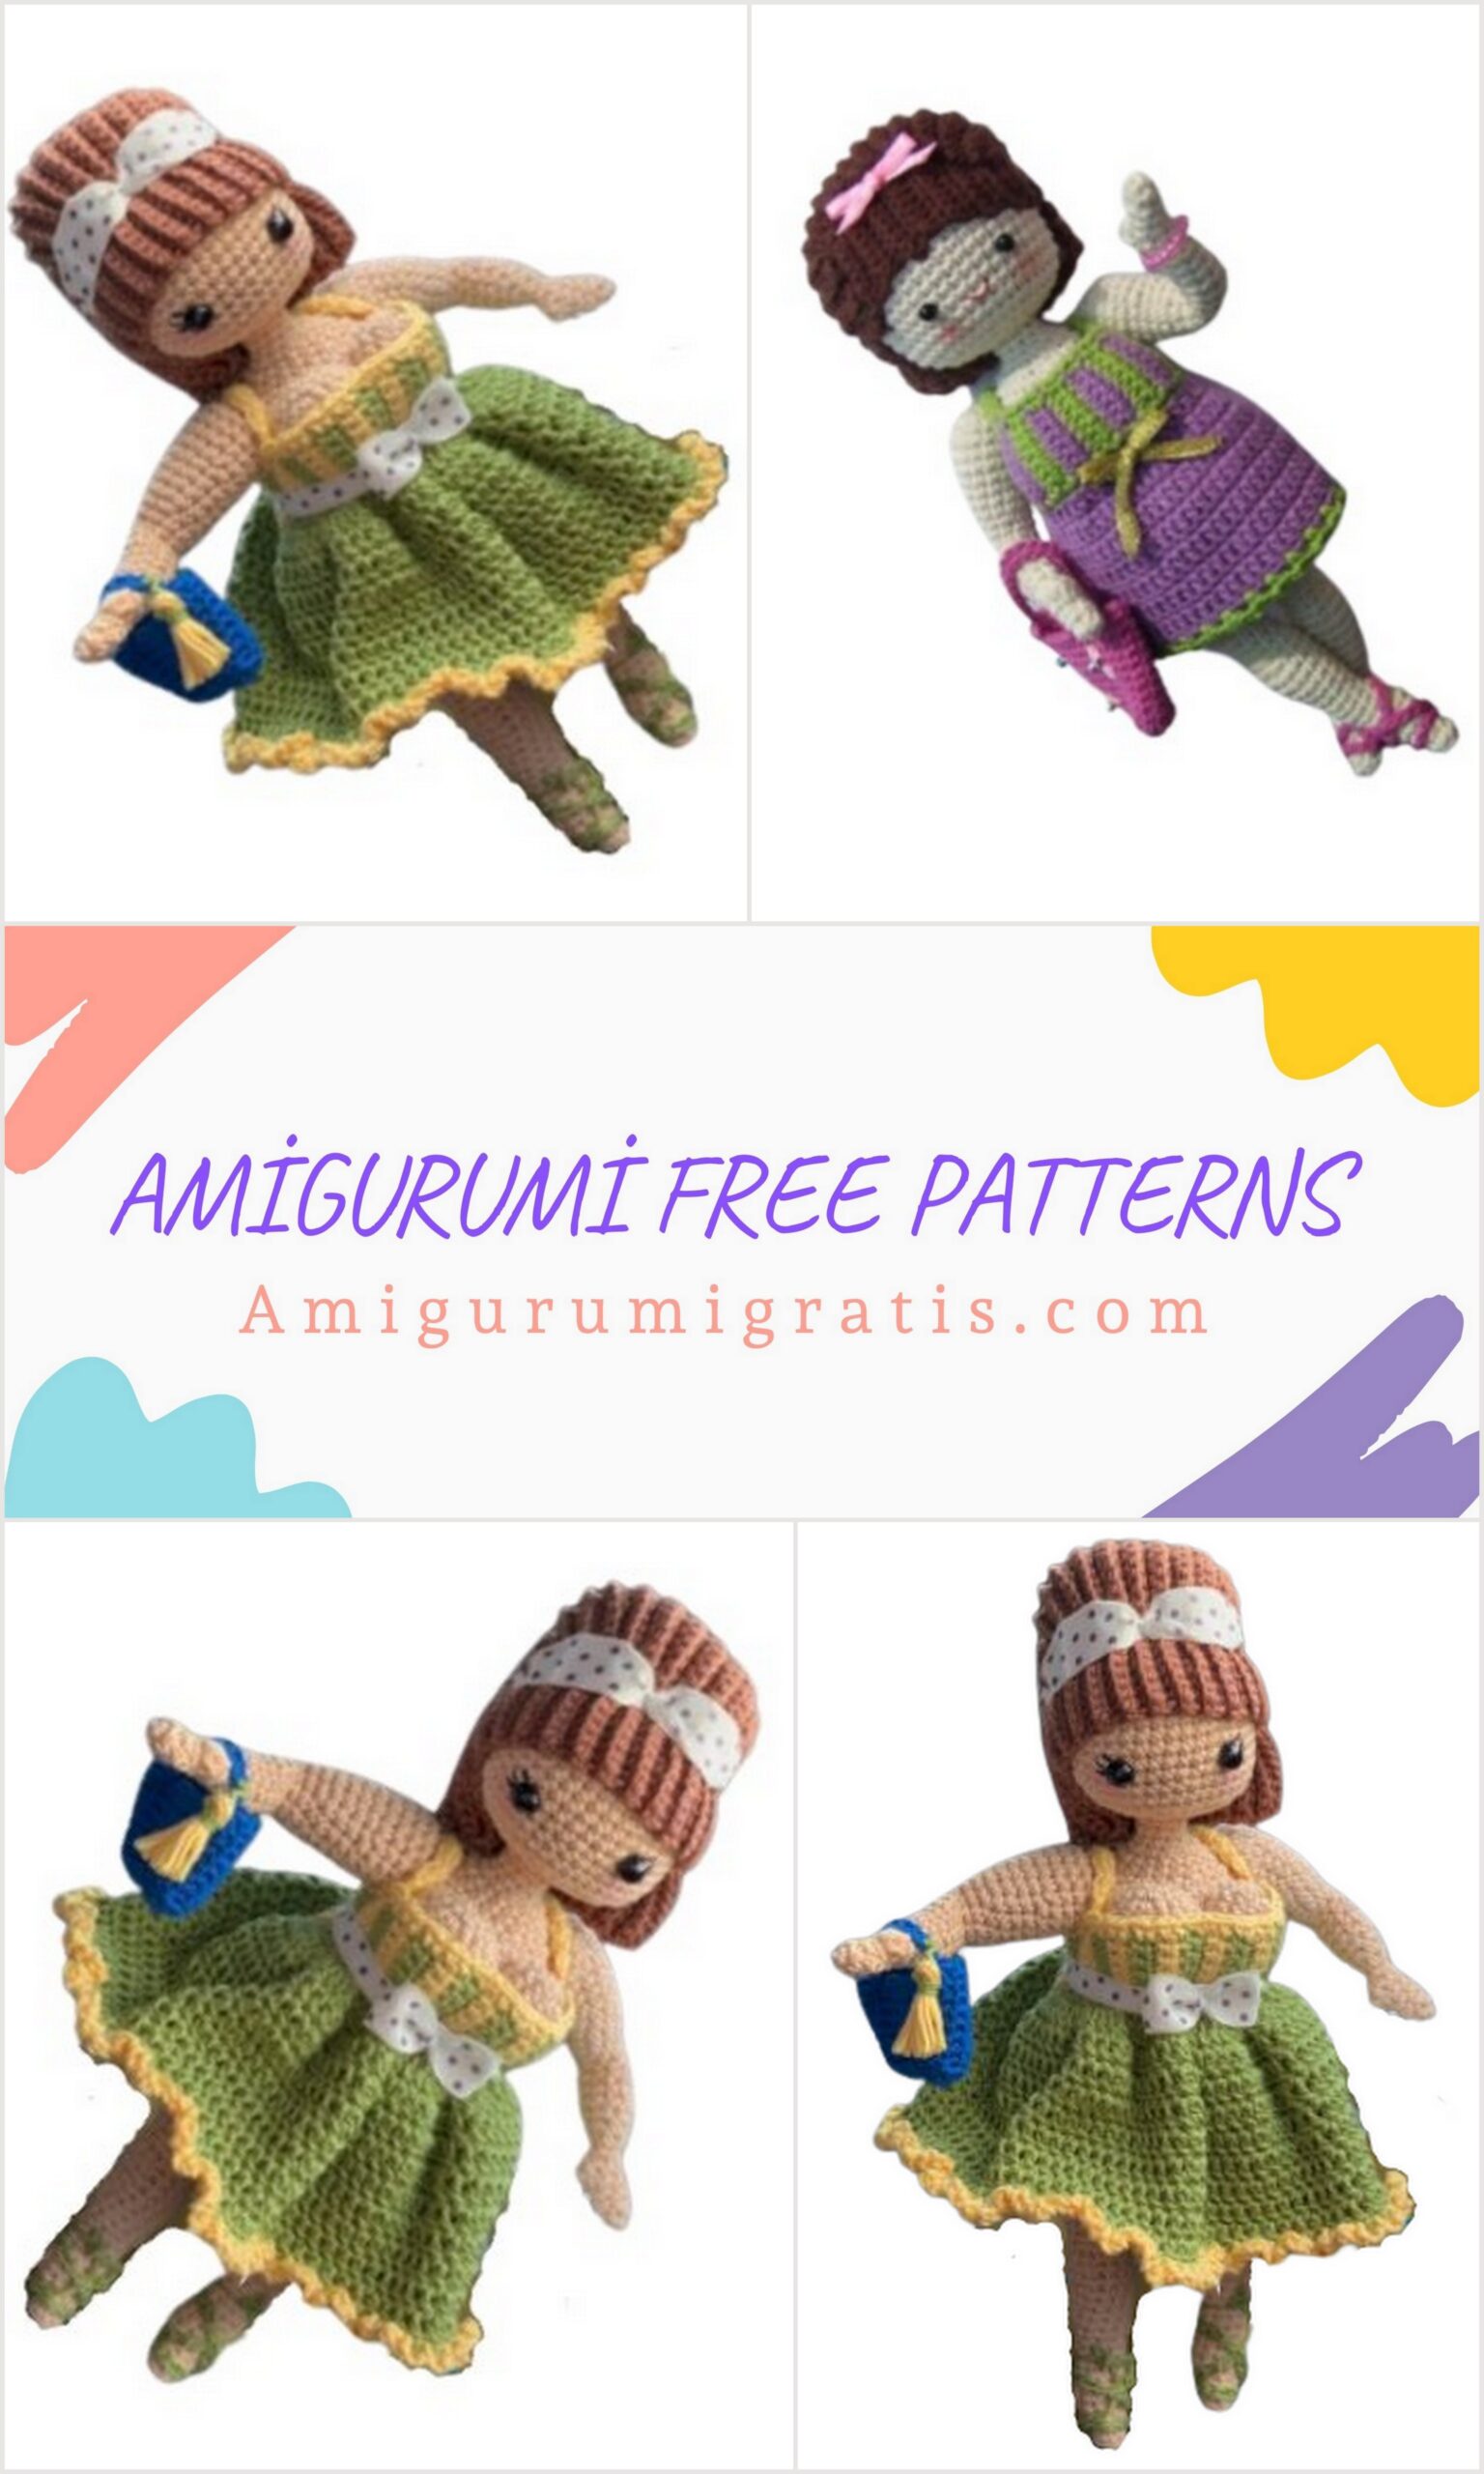
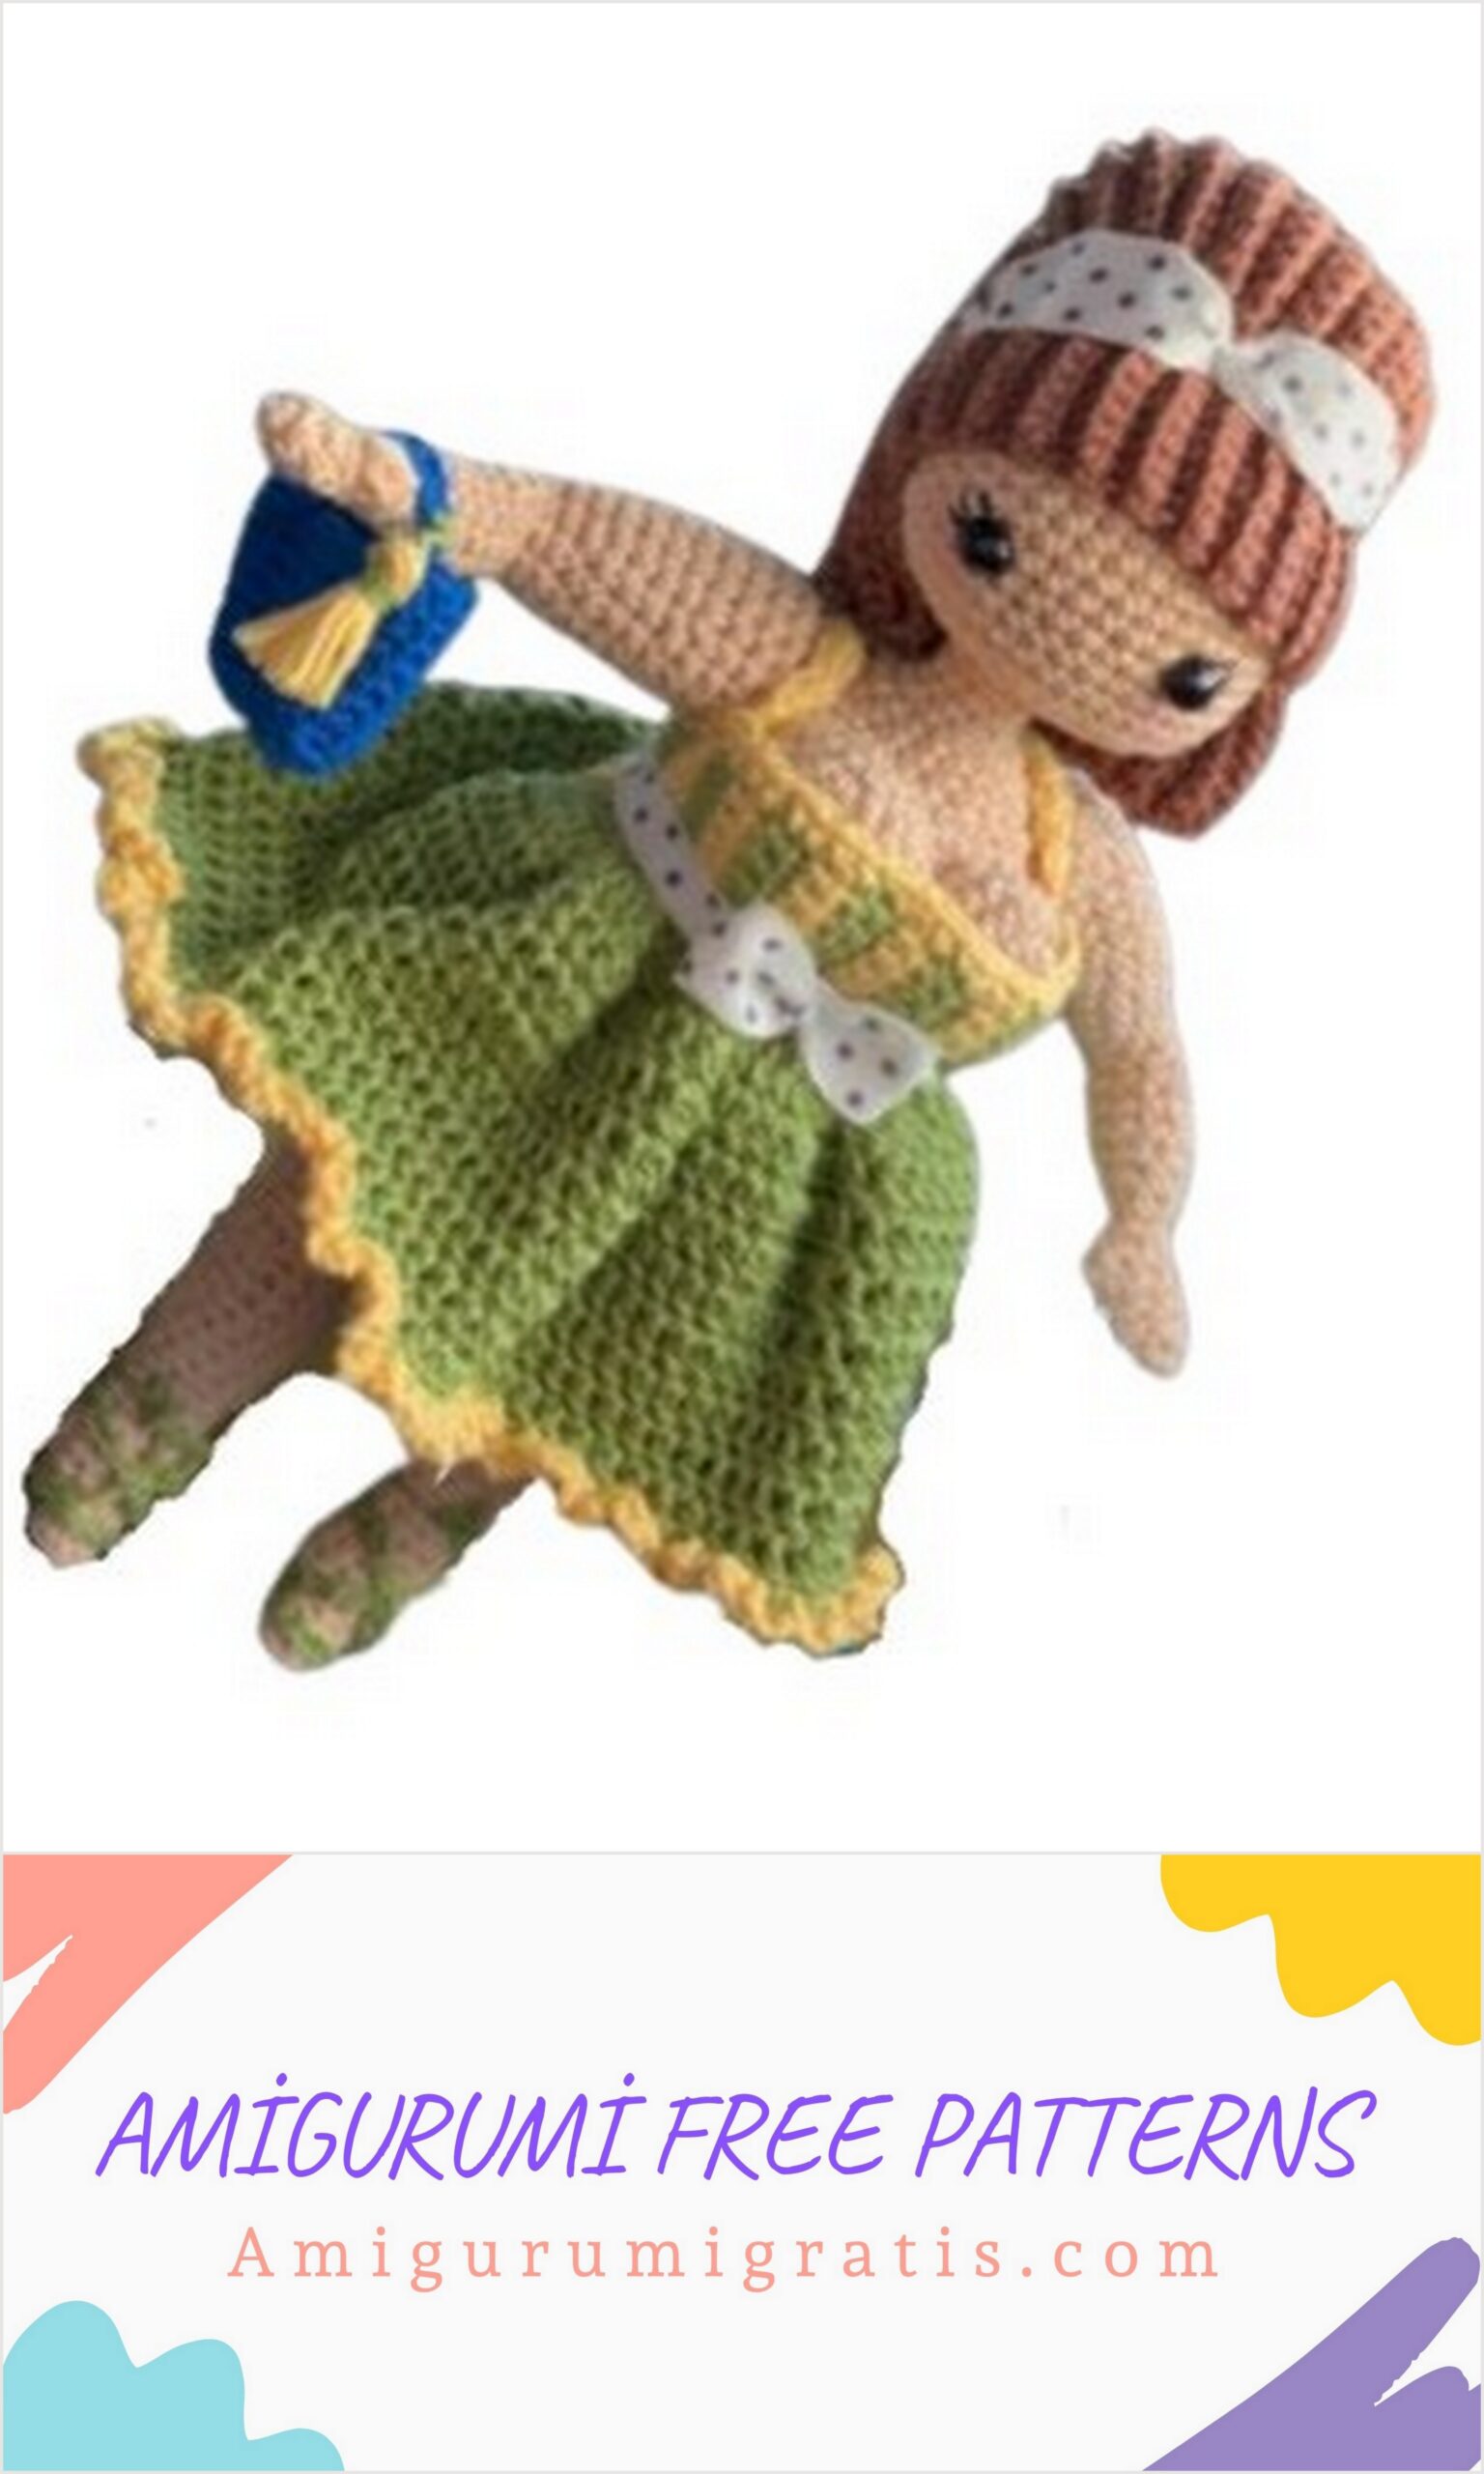
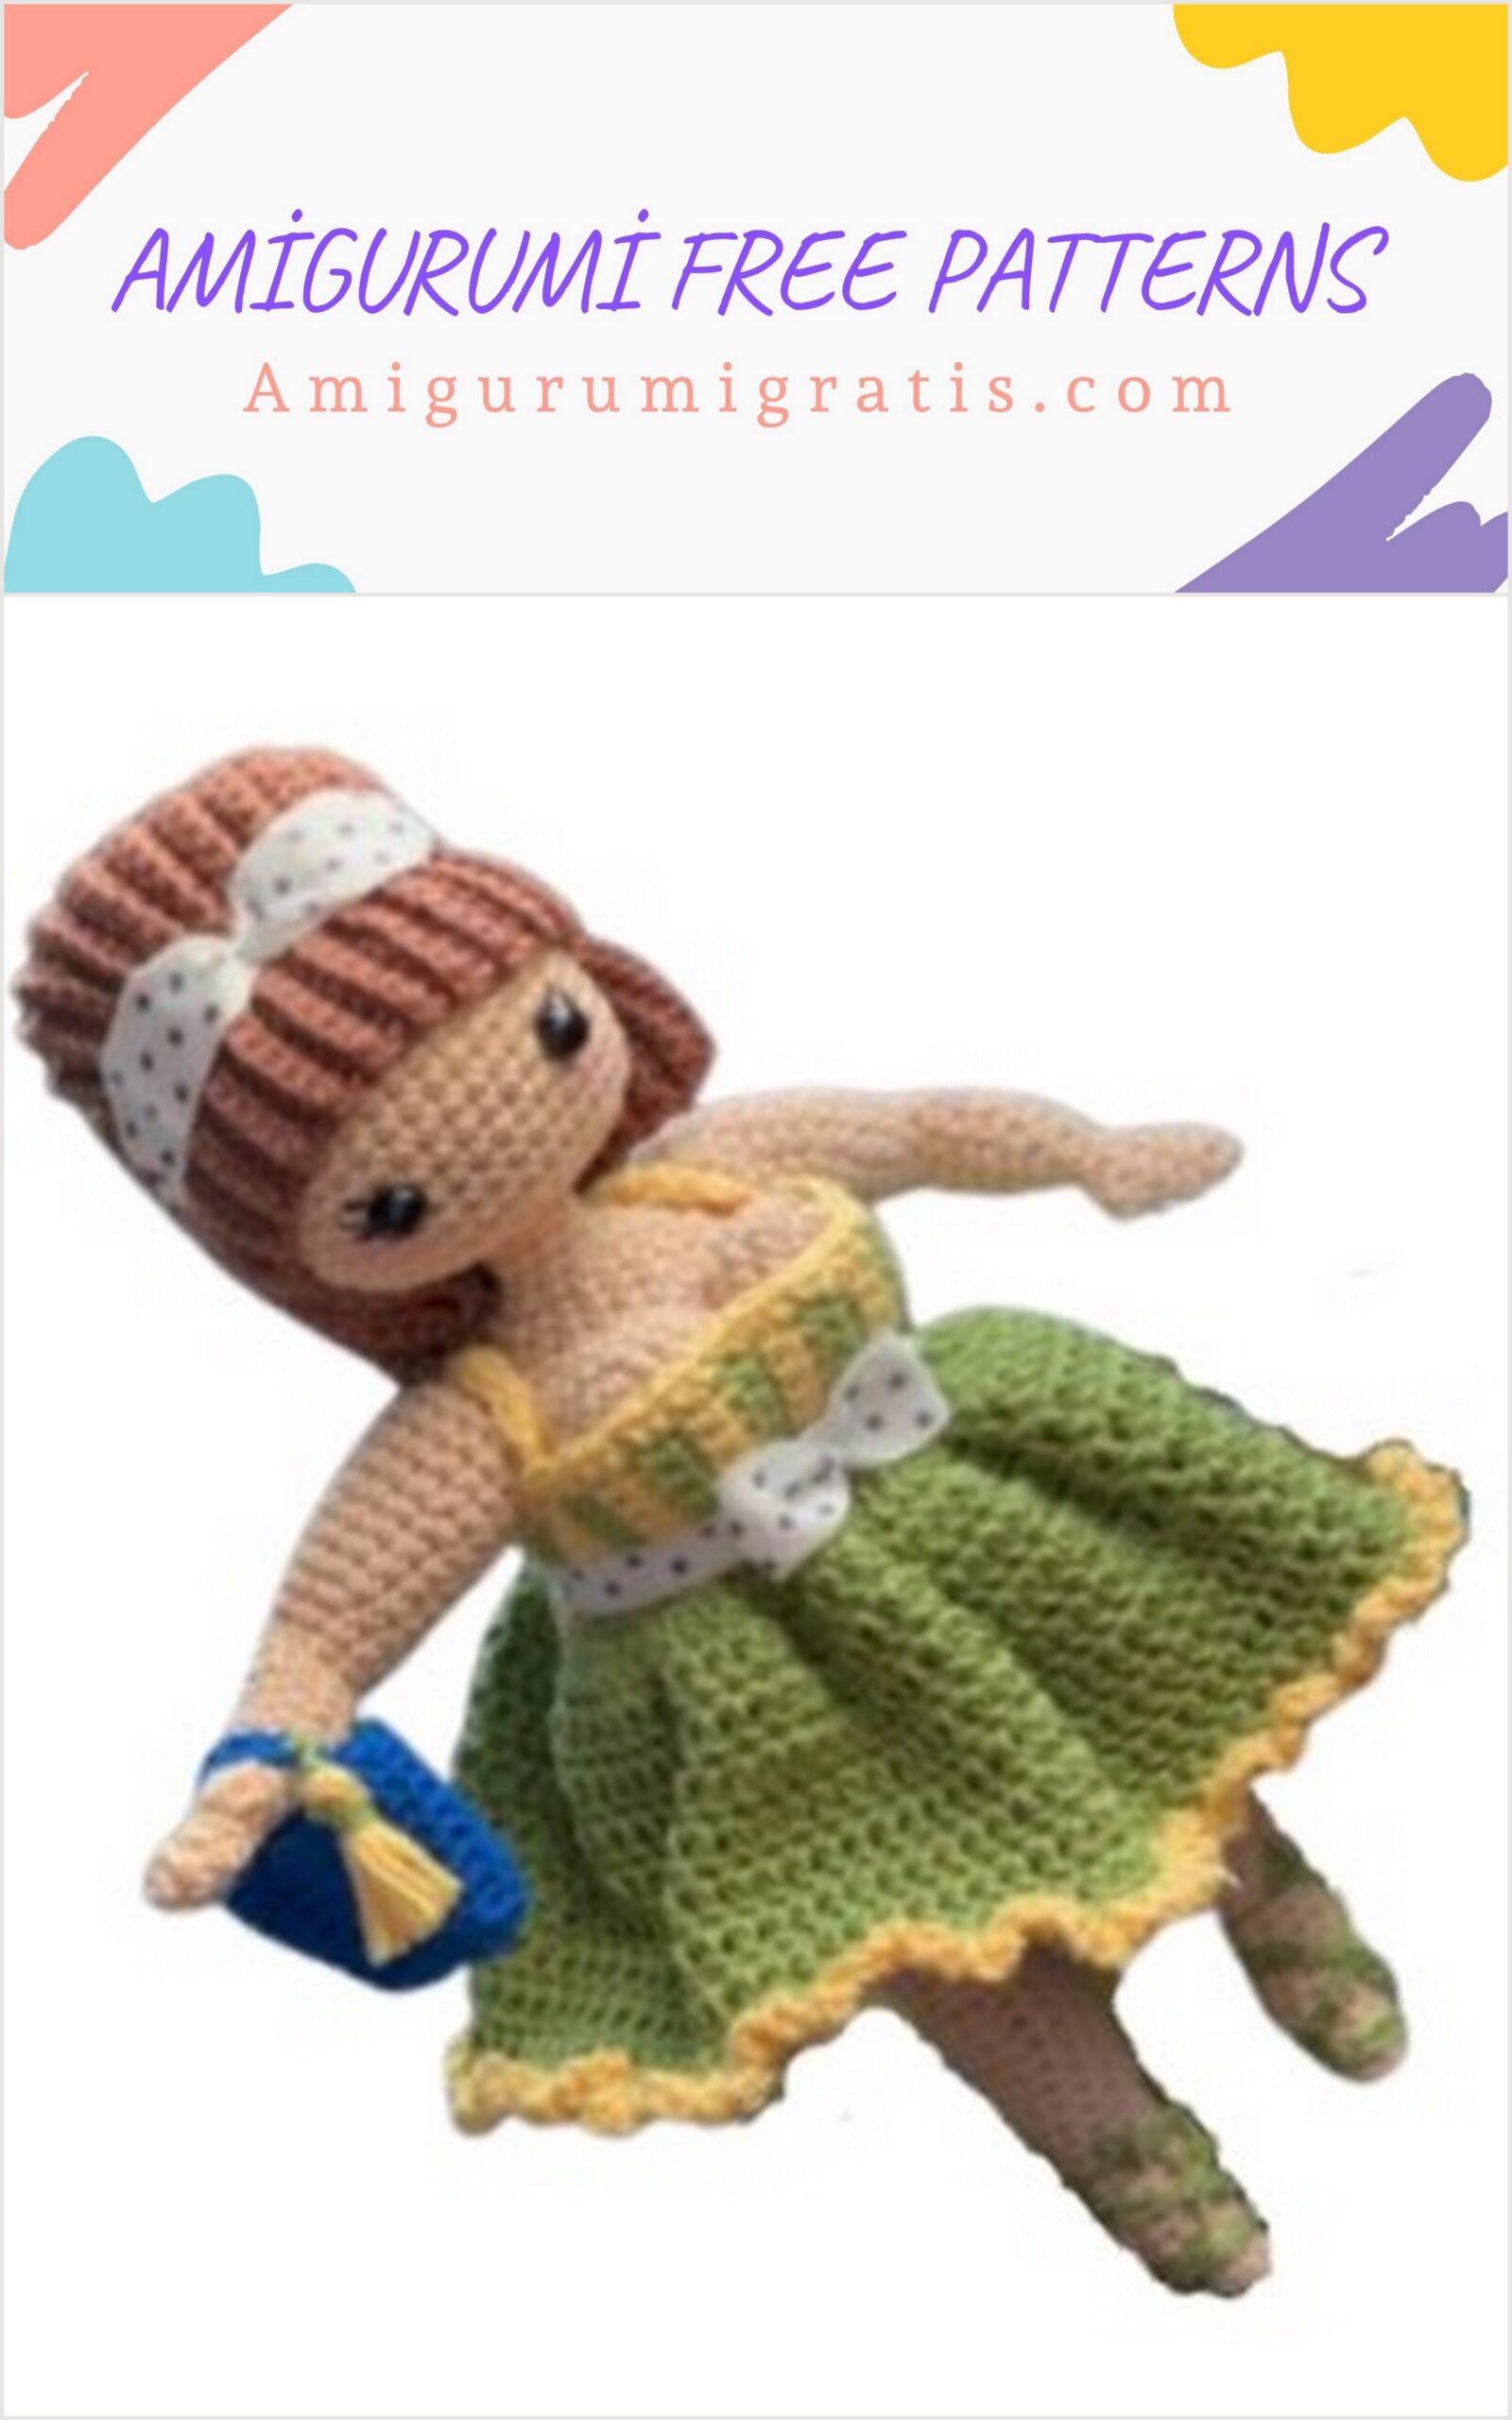
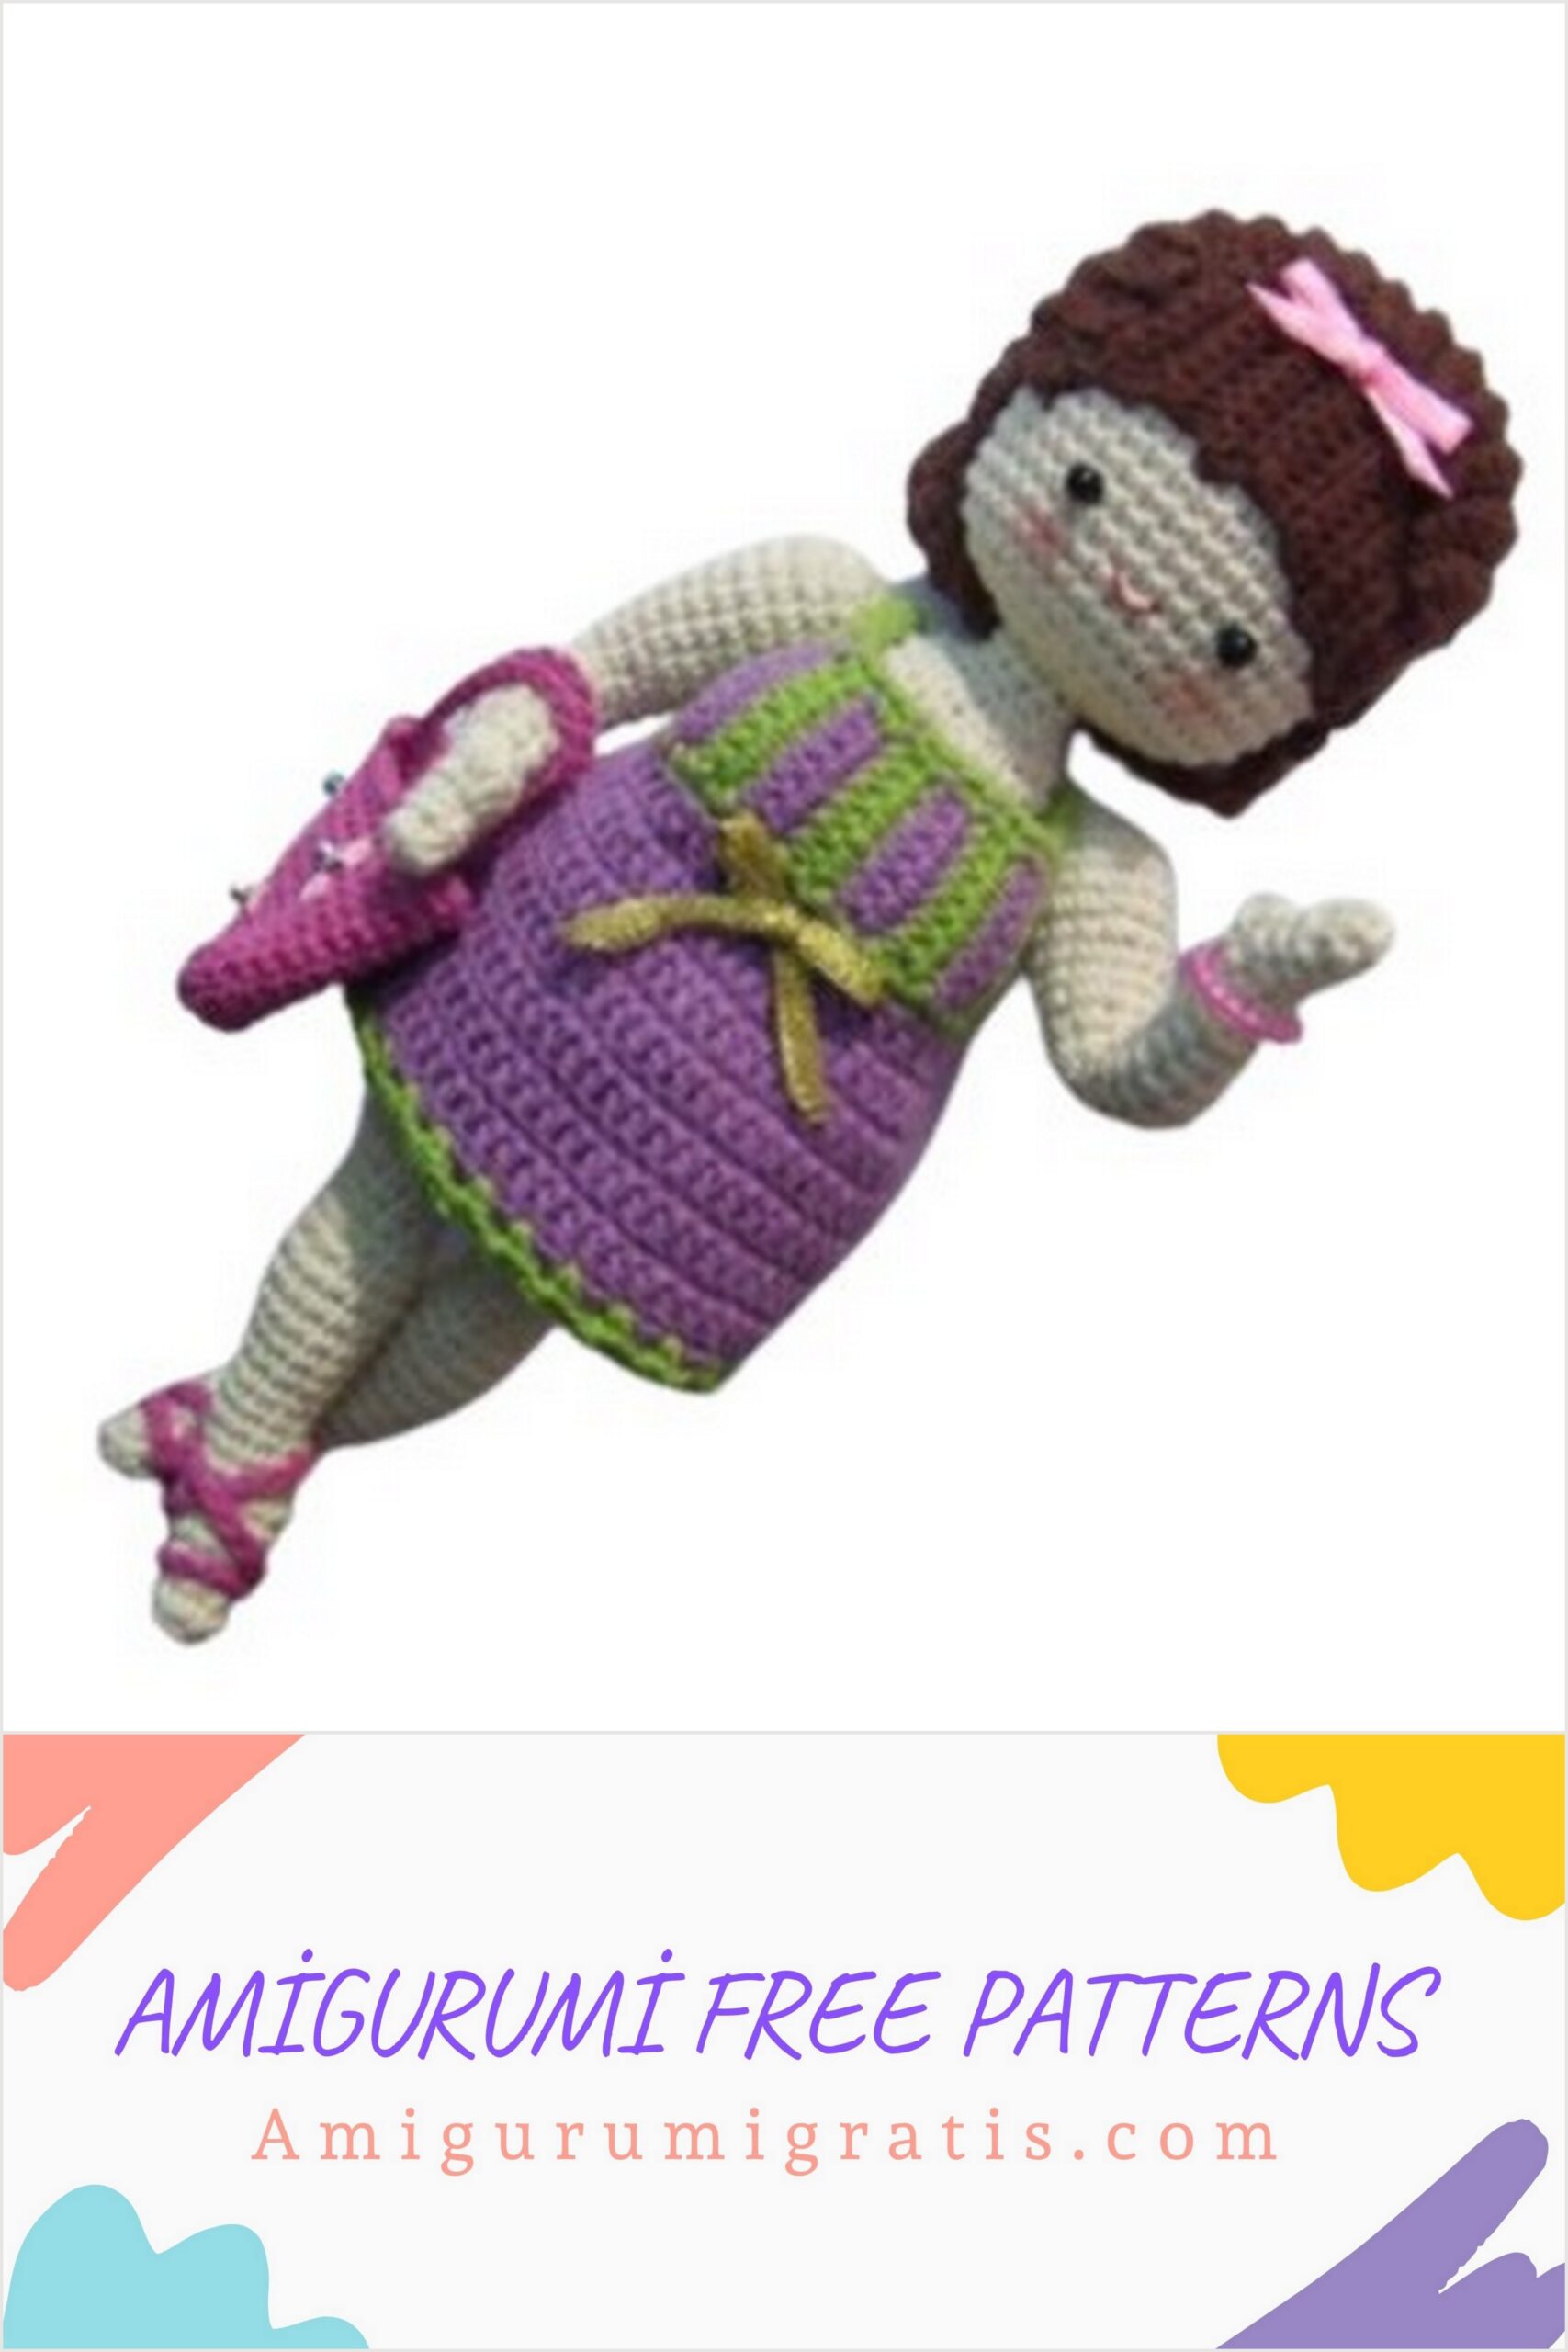
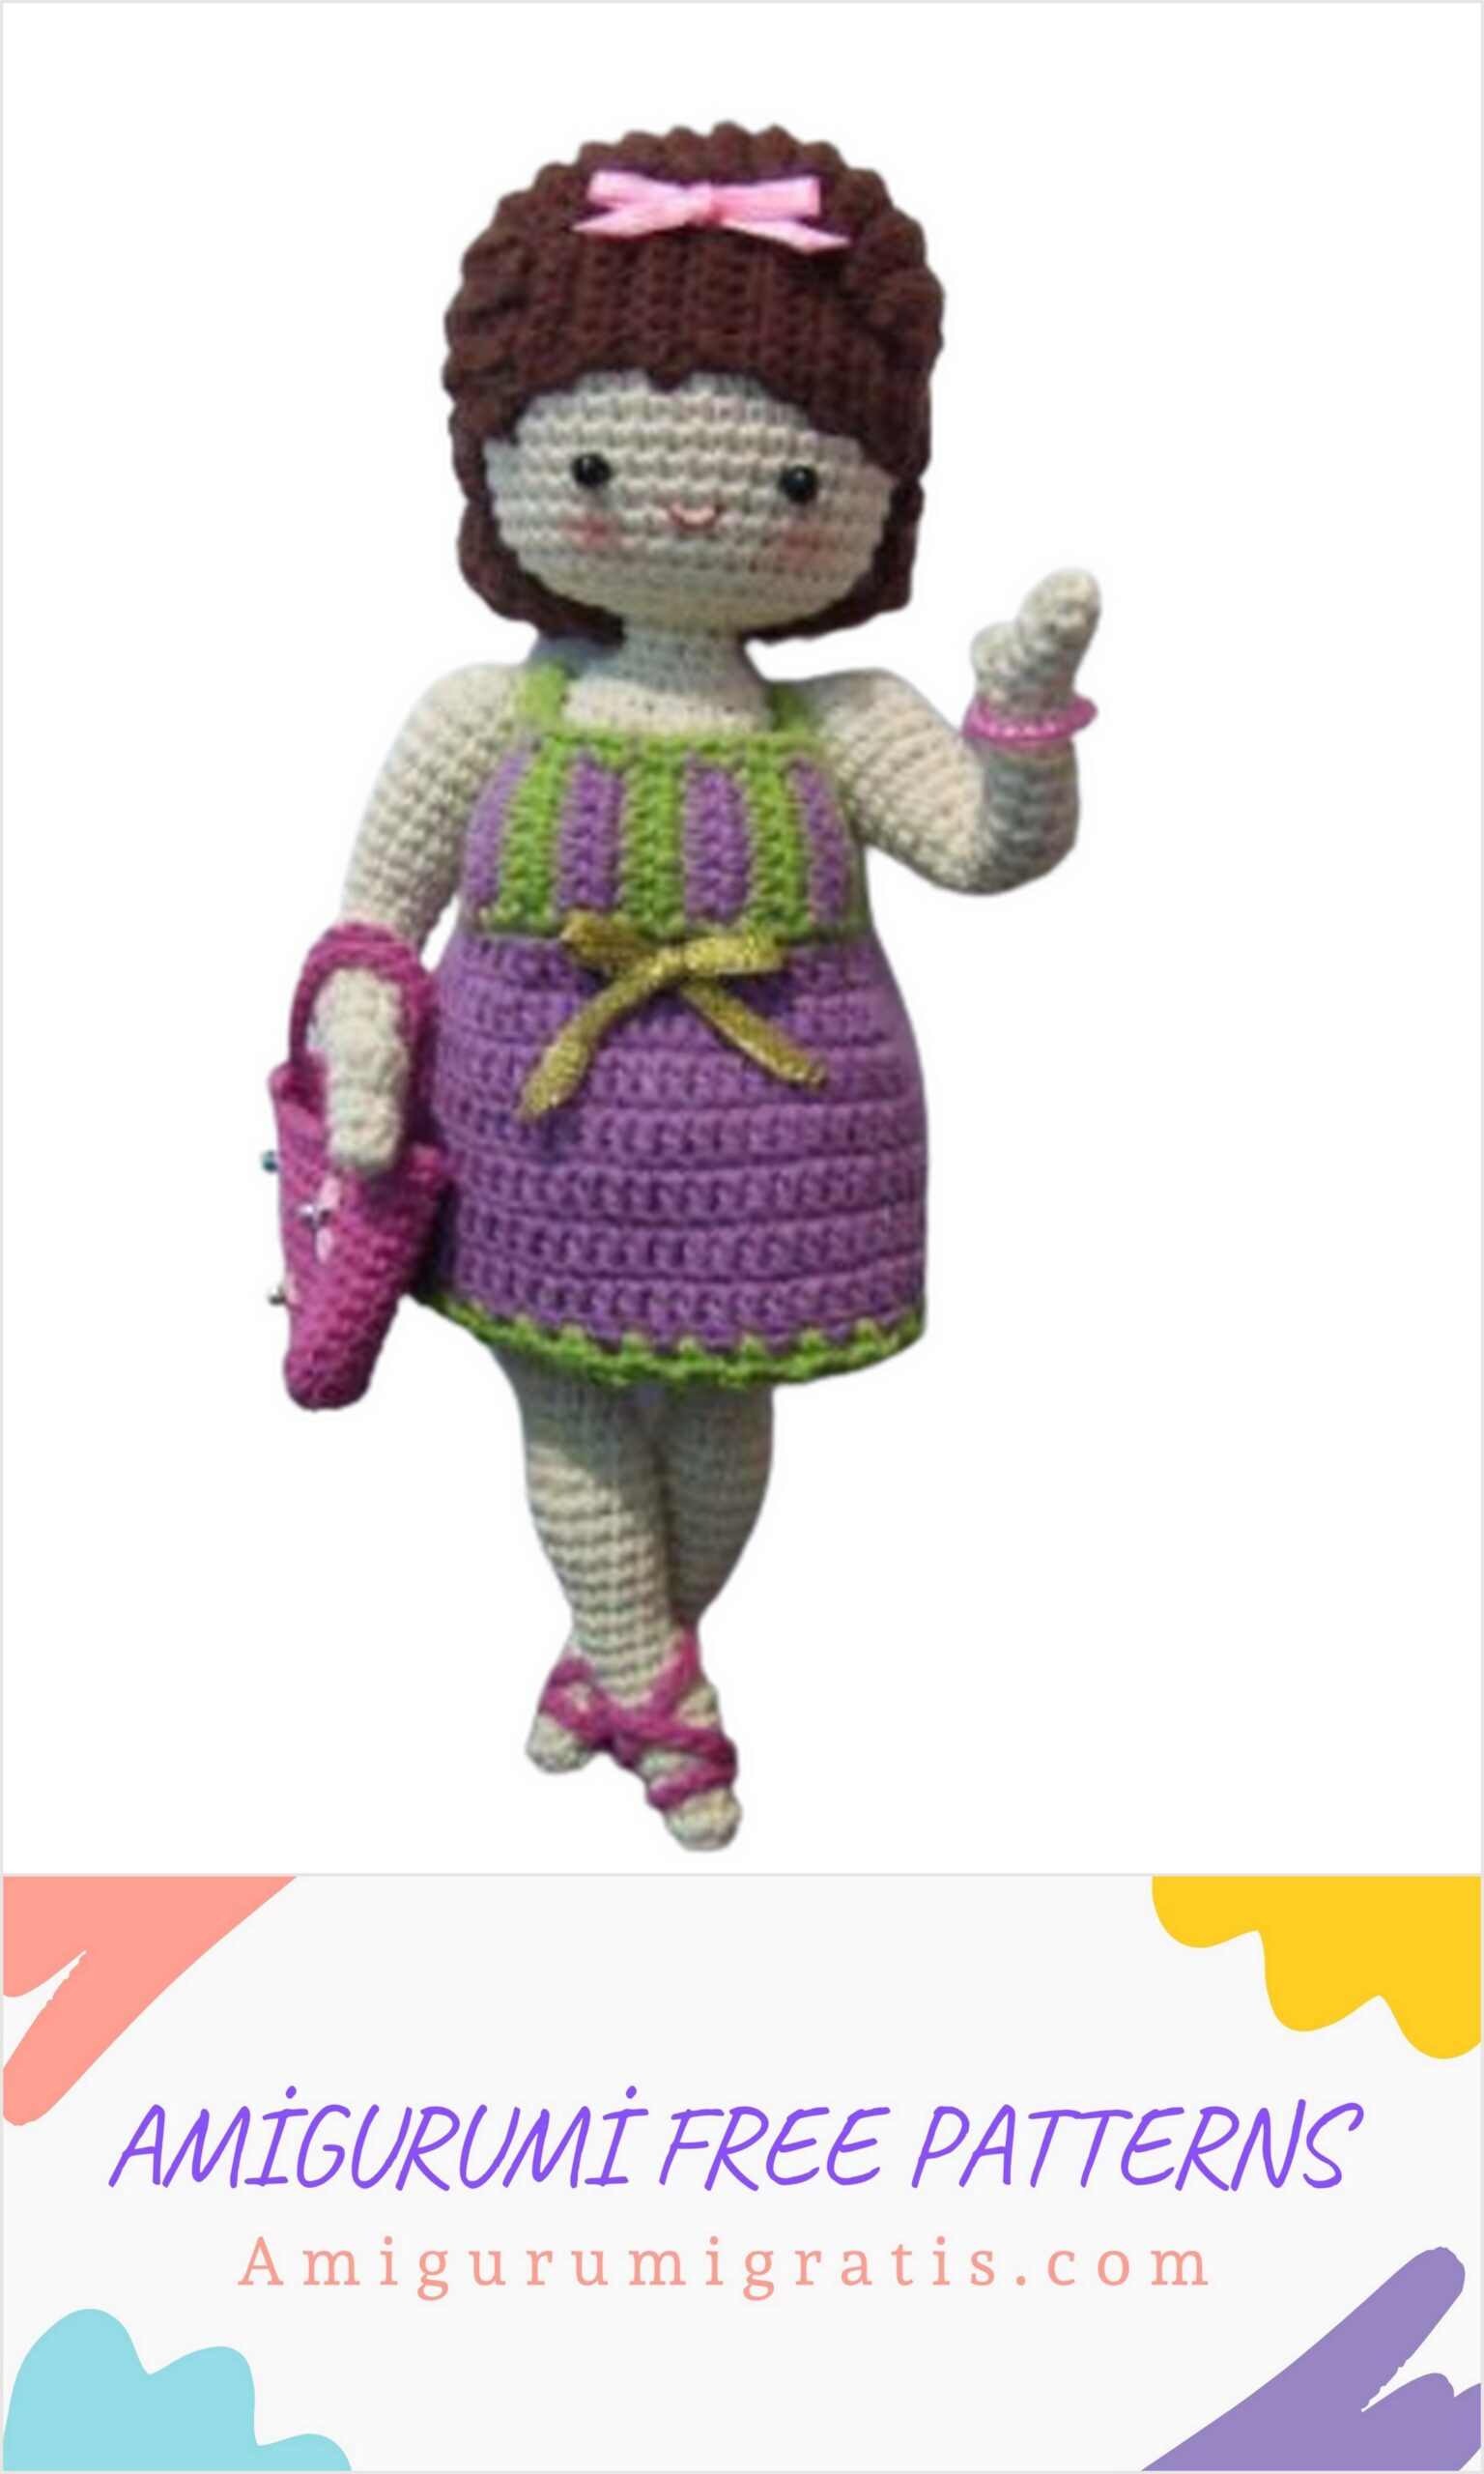
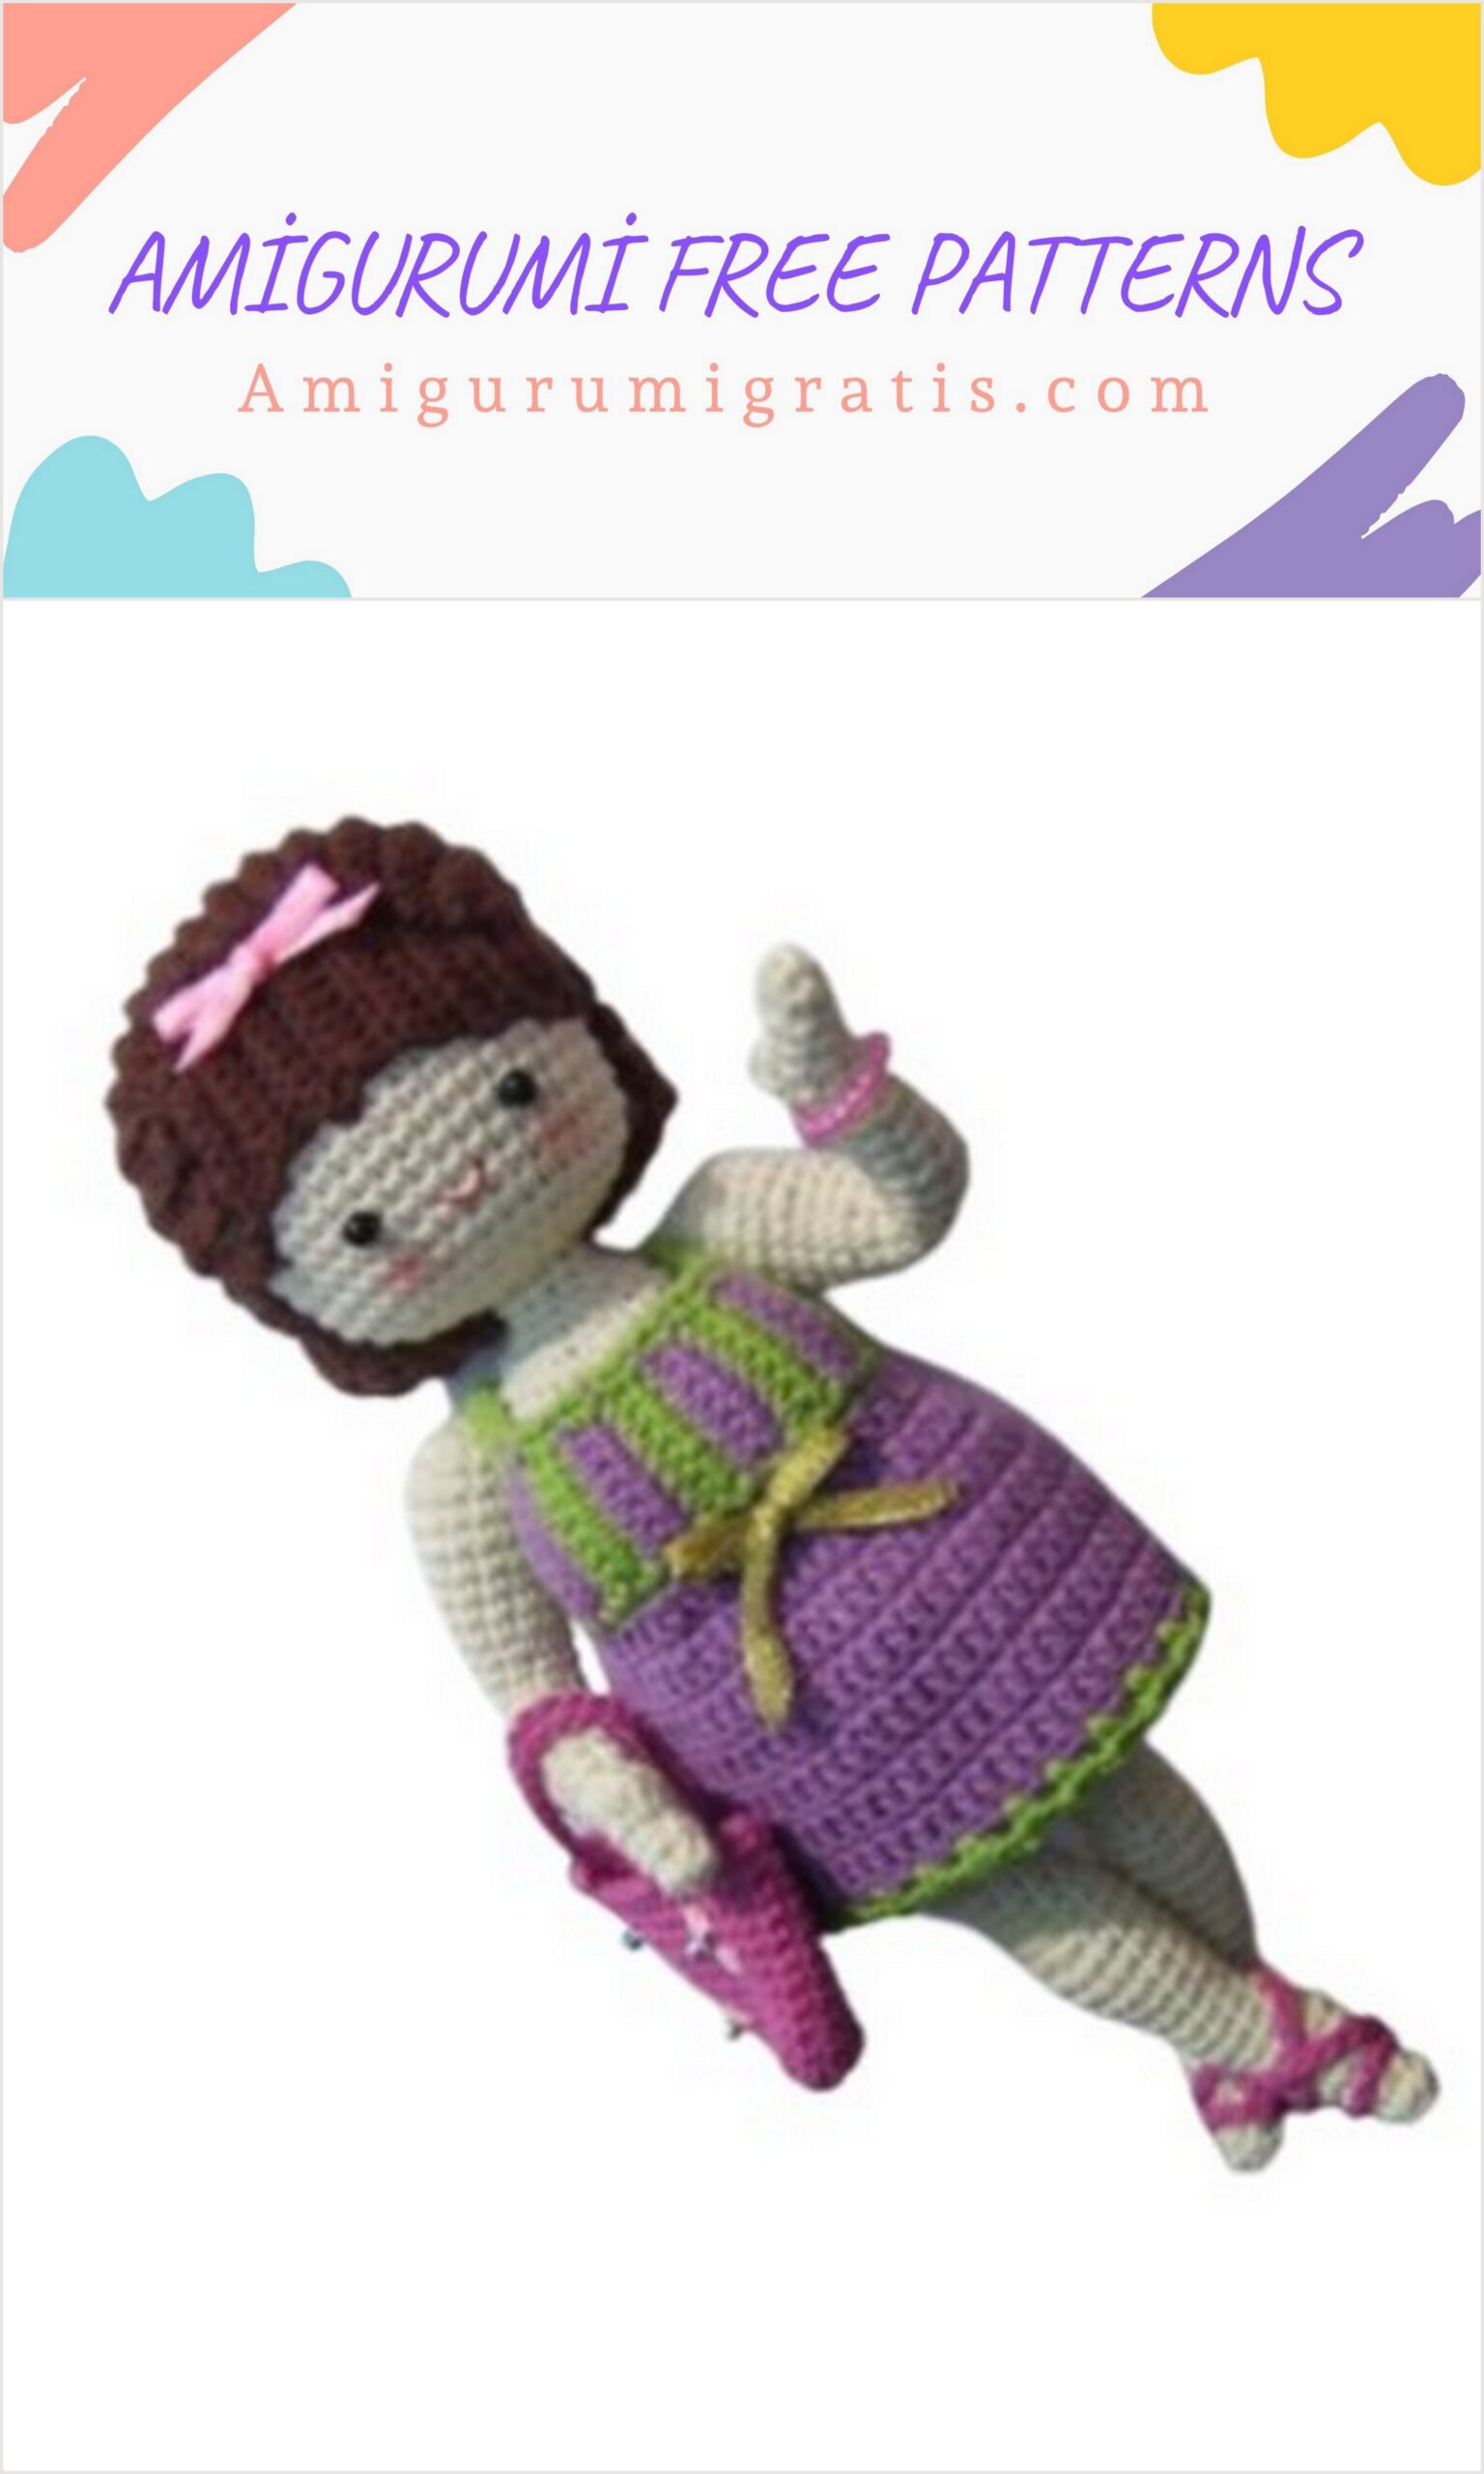
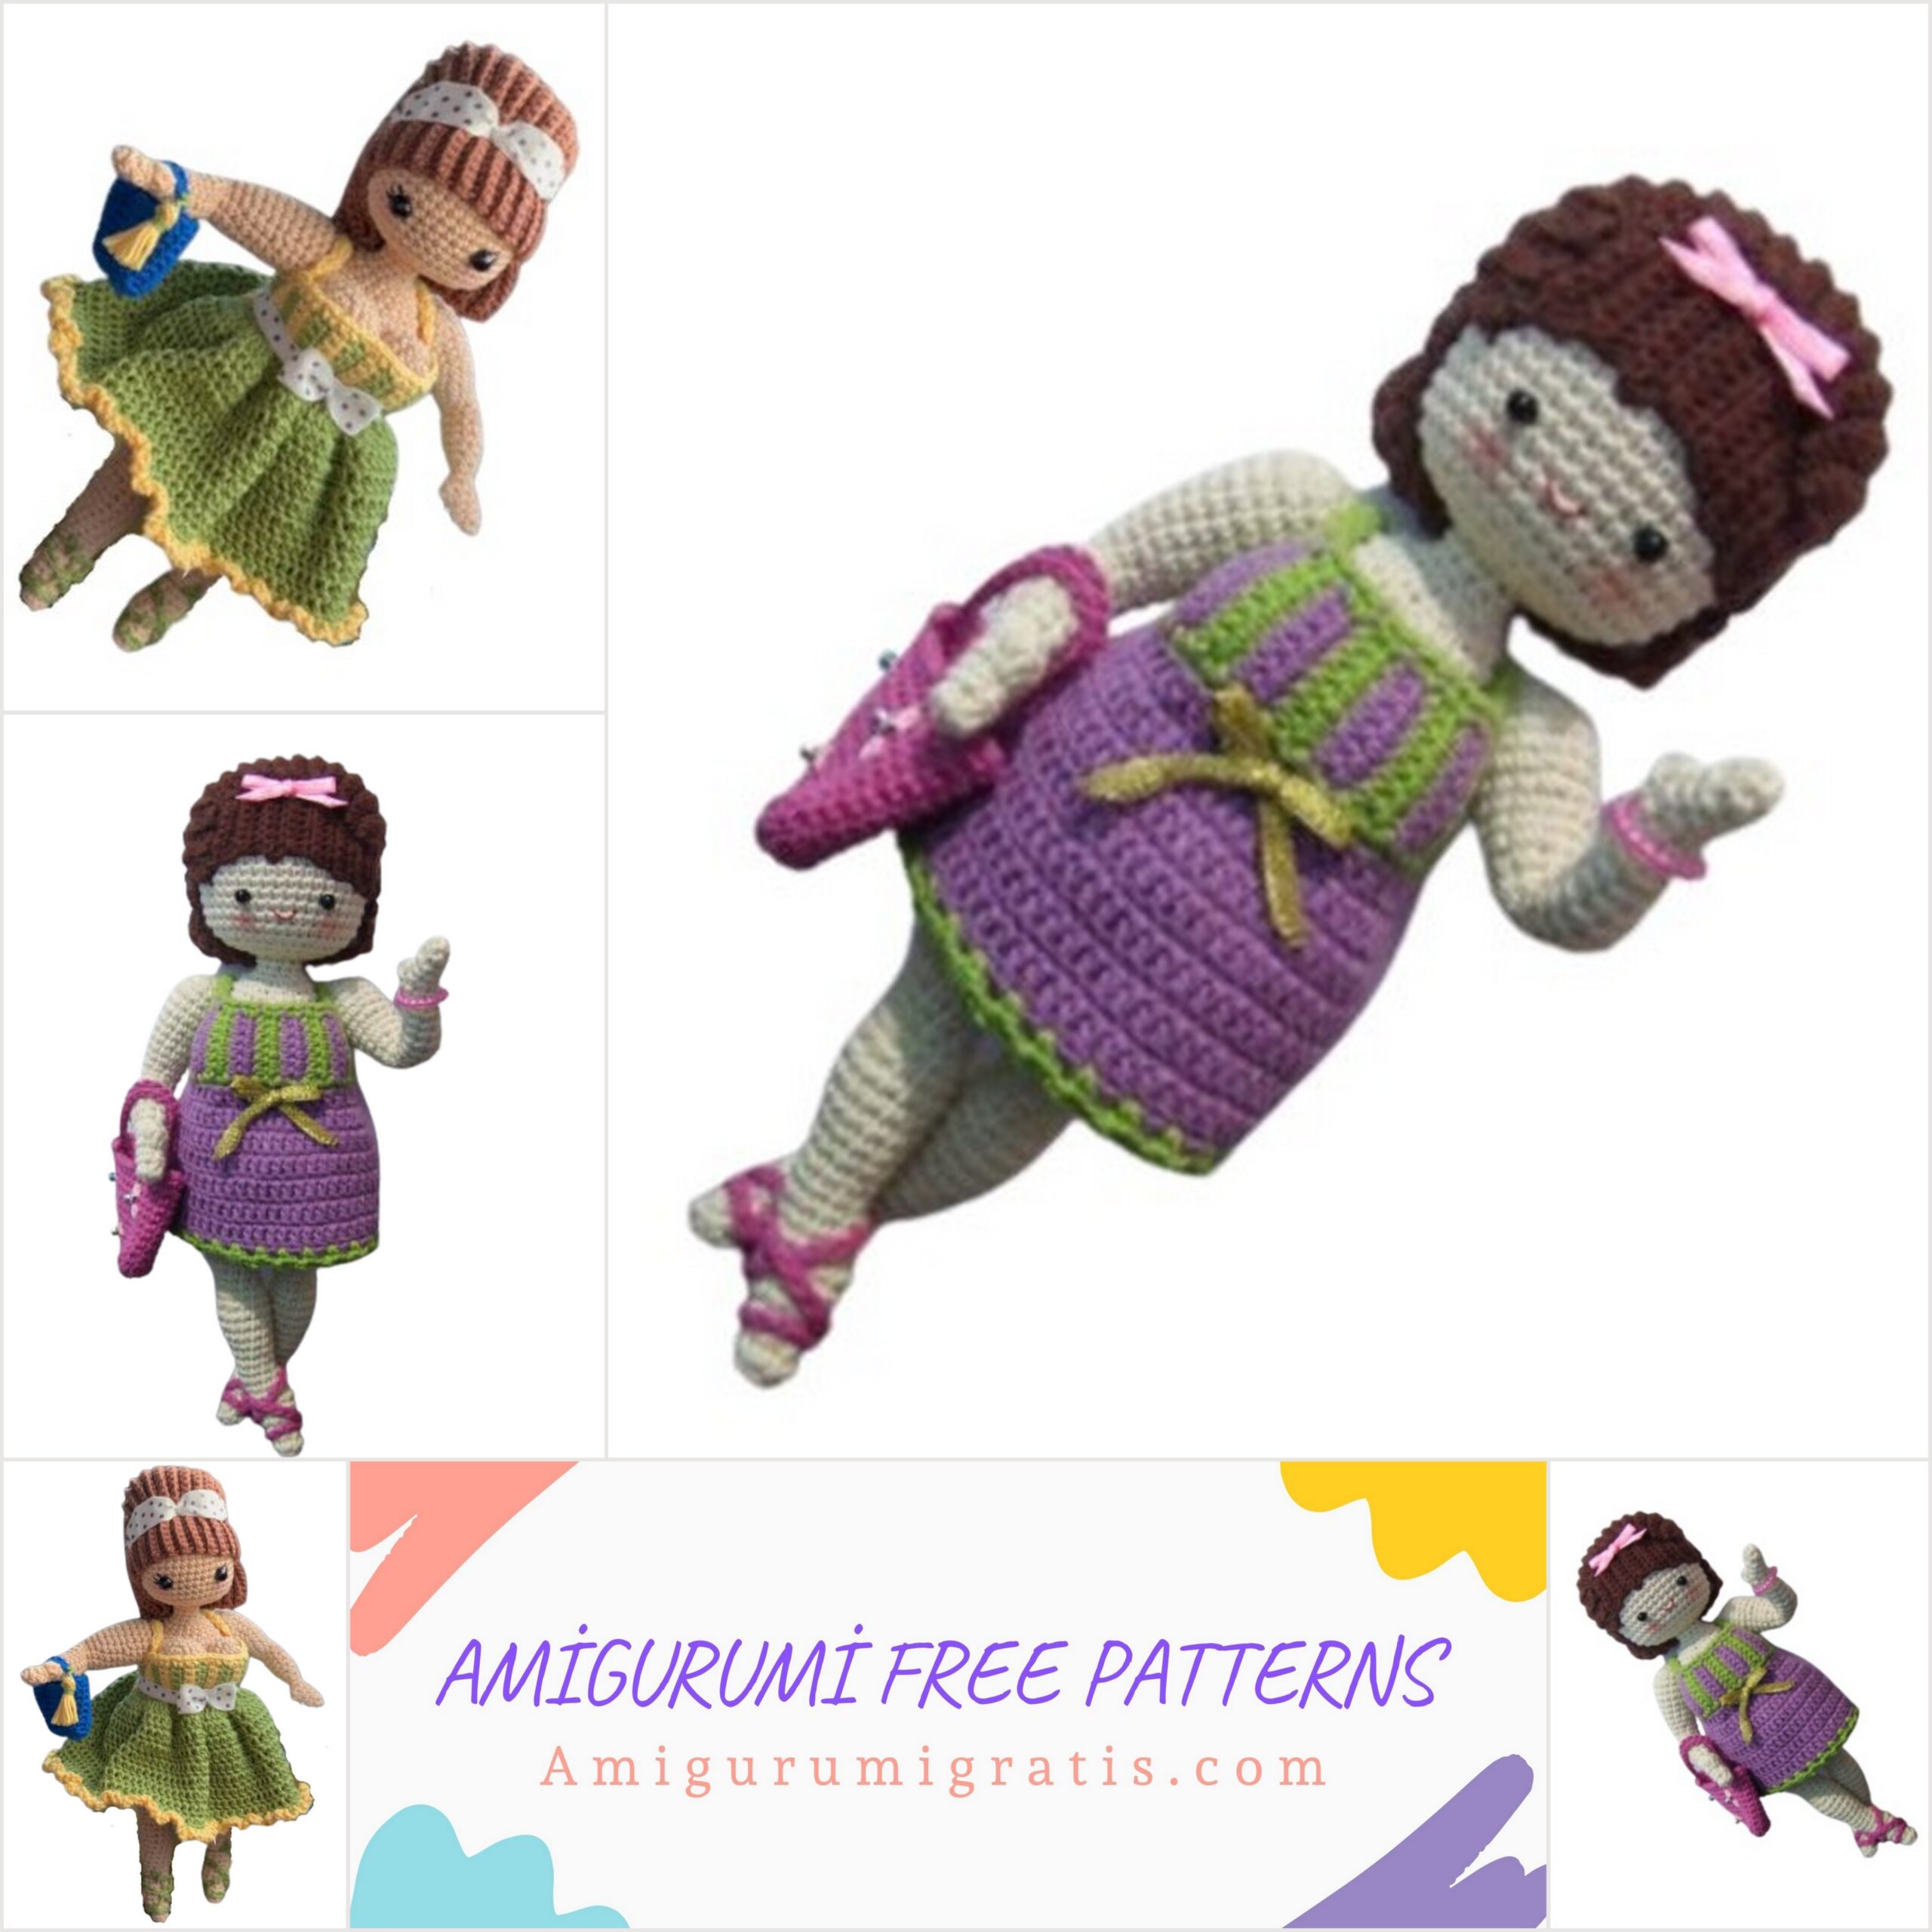
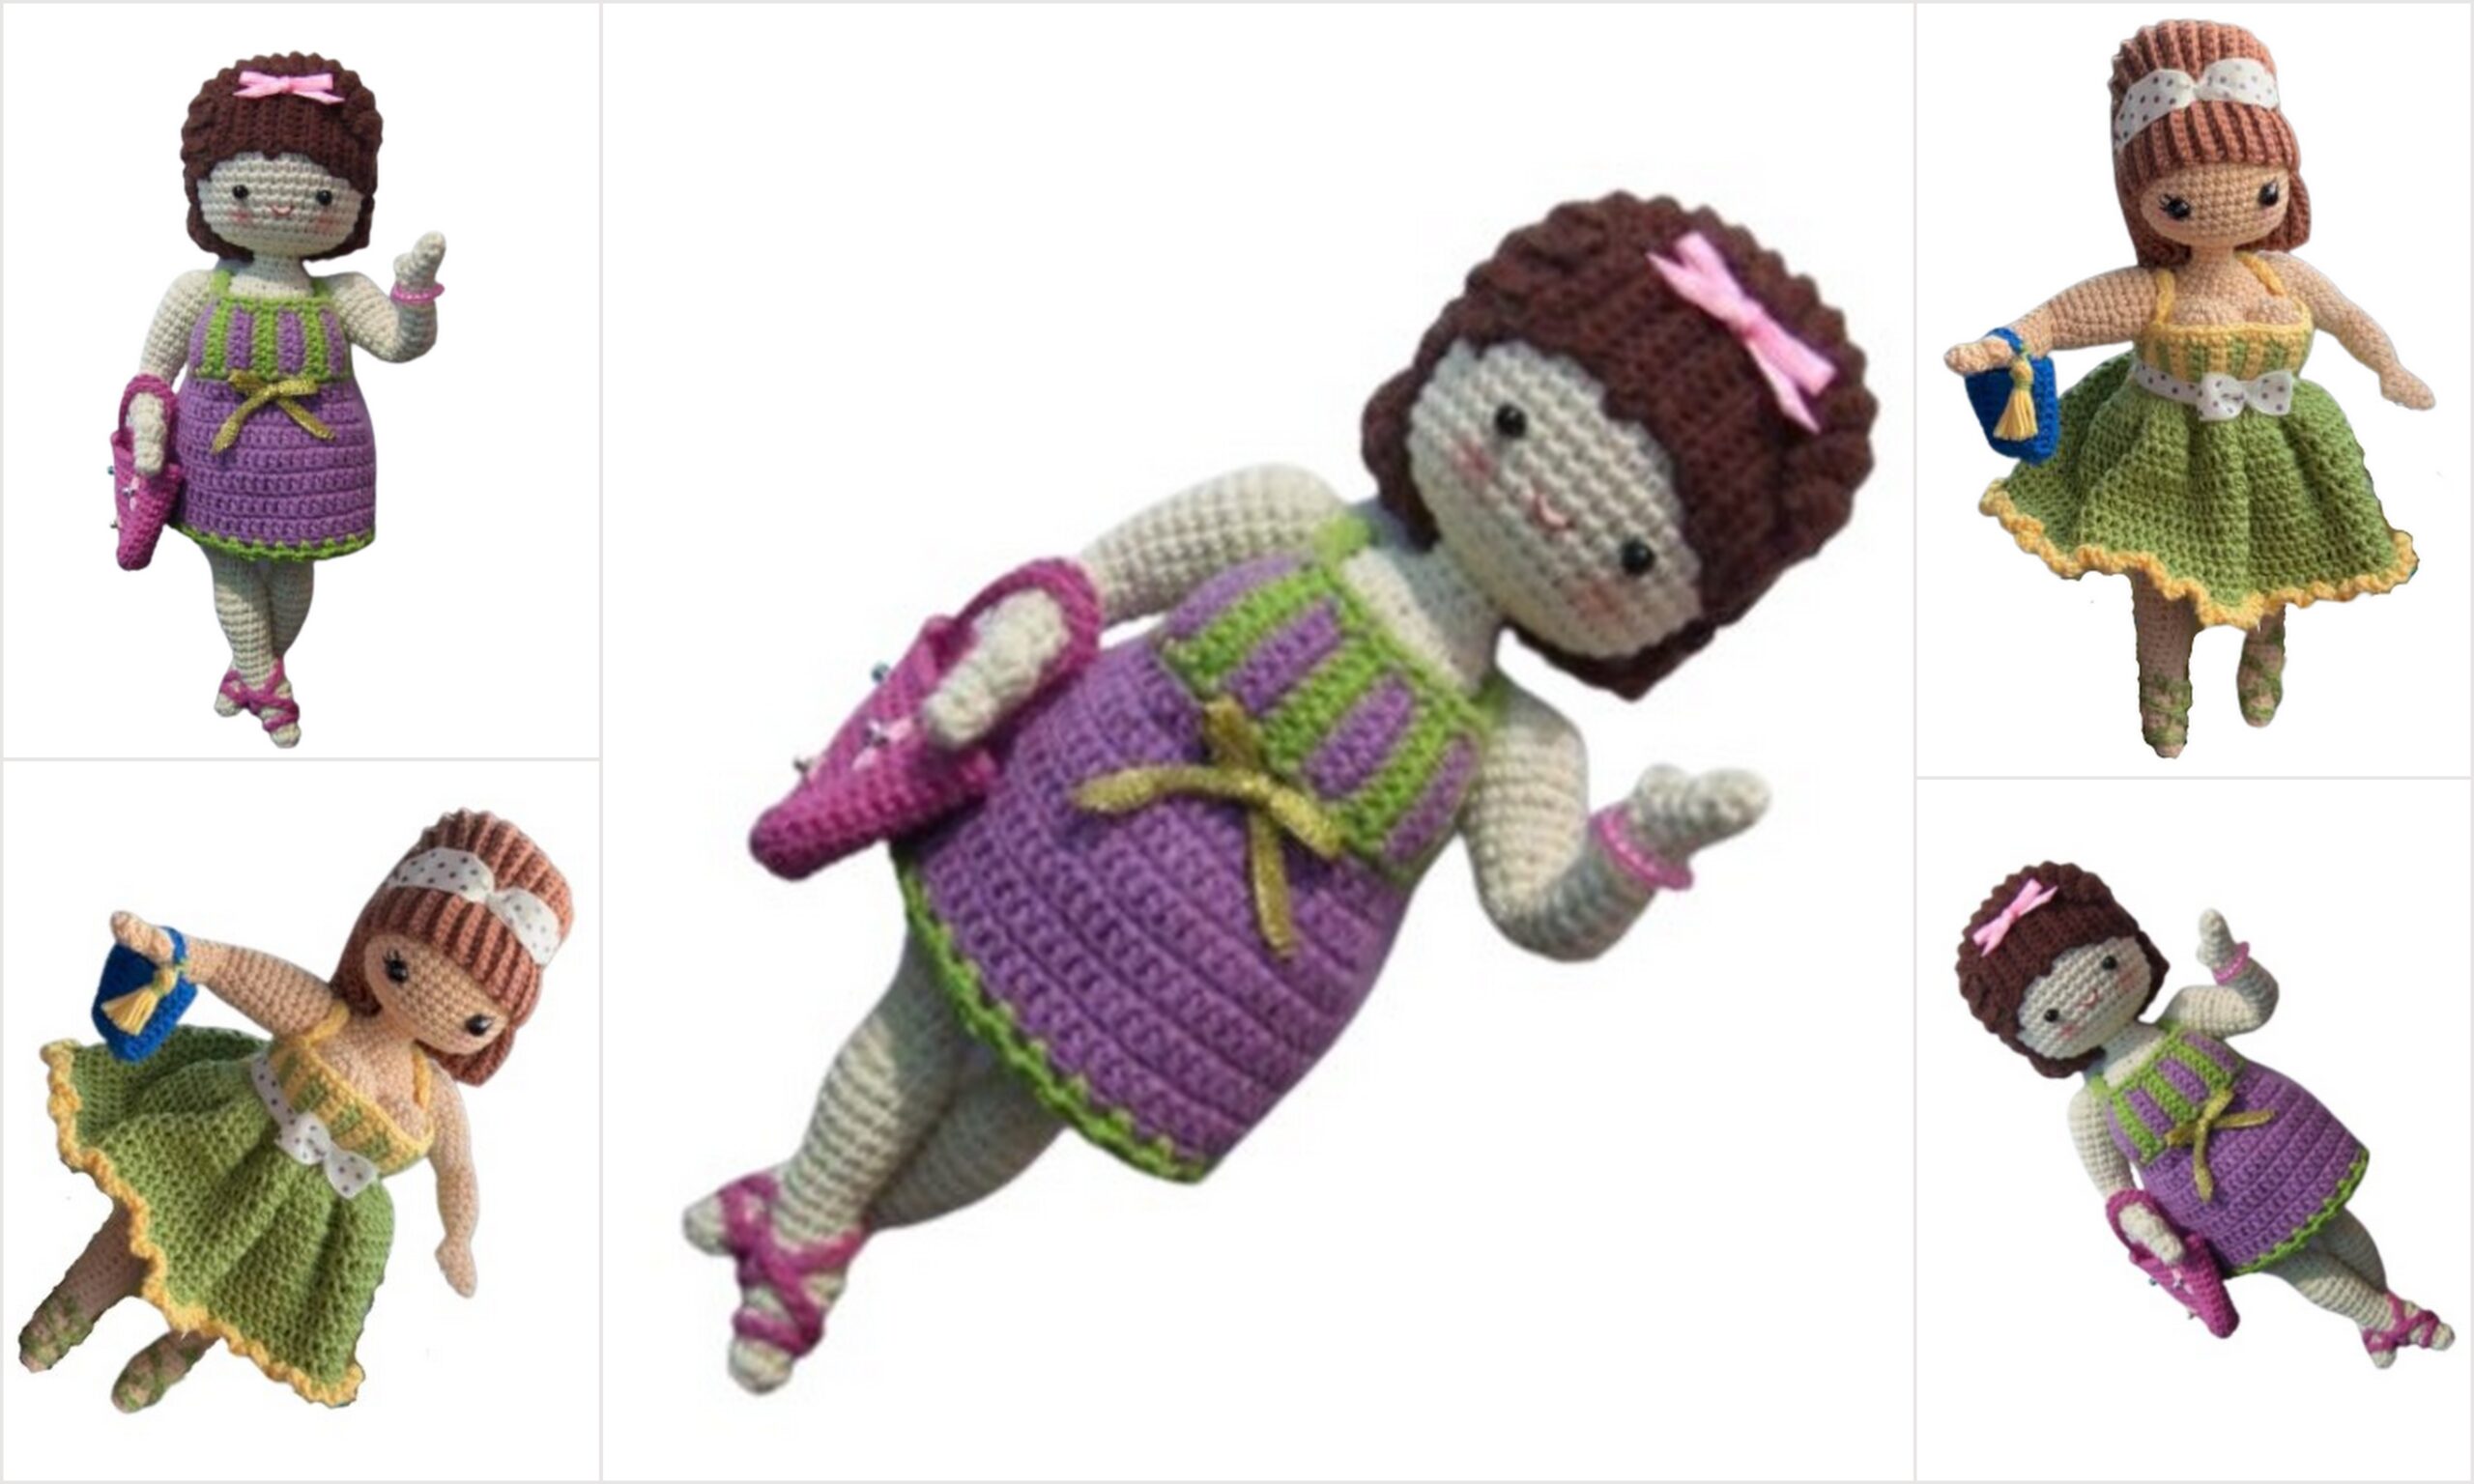
SUZETTE DOLL
We share the Amigurumi fat lady pattern for you. I hope you don’t like it. You can visit our website for beautiful patterns from each other.
The doll is 43 cm tall knitted with a 4mm needle
MATERIALS
Wool in flesh, green and grape colors (dress), brown, pink and yellow
4mm needle
90 cm tape 10 mm wide
Accounts
9.5mm safety eyes
Filling
ABBREVIATIONS
ch = chain stitch
point / s = point / points
Sc = low point
inc = increase (two low points at the same point)
dec = decrease (take front two-point loop and double crochet)
mpa = half a high point
pa = high point
incPA = increase in double crochet (two double crochet in the same point)
inc3 = 3 single crochet at the same point
HEAD (Flesh color)
We start by making 6ch and the first stitch we will do in the second ch from the needle
V1. inc3, 3Sc, inc3, on the opposite side of the ch 3Sc (12)
V2. (3inc, 3Sc) x2 times (18)
V3. [(Sc, inc) x3 times, 3Sc] x2 times (24)
V4. [(2Sc, inc) x3 times, 3Sc] x2 times (30)
V5. [(2Sc, inc, Sc) x3 times, 3Sc] x2 times (36)
V6. (inc, 8Sc) x4 times (40)
V7-15. Sc at each point (40)
(Although the original pattern talks about sticking the eyes, if you use the security ones I would say that they are
placed between rounds 12 and 13 leaving 7 points of separation between them)
V16. (2Sc, dec) x10 times (30)
V17. (dec, Sc) x10 times (20)
Fill firmly
V18. 10dec (10)
LEGS AND FEET (Meat color. Make 2 pieces)
We start doing 4ch and we will do the first st in the second ch from the needle
V1. 2Sc, inc, 2Sc (these two stitches go on the opposite side of the starting chain) (6)
V2-3. Sc at each point (6)
V4. (inc, 2Sc) x2 times (8)
V5. (inc, 3Sc) x2 times (10)
V6. 3inc mpa, 7Sc (13)
V7. Sc at each point (13)
V8. 3dec, 7Sc (10)
V9. Sc at each point (10)
V10. Sc, dec, 7Sc (9)
Fill the foot
V11. Sc, inc, 7Sc (10)
V12. 5Sc, inc, 4Sc (11)
V13. inc, 10Sc (12)
V14. 6Sc, inc, 5Sc (13)
V15. inc, 12Sc (14)
V16. 6Sc, inc, 7Sc (15)
V17. inc, 14Sc (16)
V18. Sc at each point (16)
V19. (dec, 6Sc) x2 times (14)
V20. (3Sc, dec, 2Sc) x2 times (12)
V21. (dec, 4Sc) x2 times (10)
V22. (3Sc, inc, Sc) x2 times (12)
V23. (inc, 5Sc) x2 times (14)
V24. (4Sc, inc, 2Sc) x2 times (16)
V25. (inc, 7Sc) x2 times (18)
V26. (6Sc, inc, 2Sc) x2 times (20)
V27. (inc, 9Sc) x2 times (22)
V28. (4Sc, inc, 6Sc) x2 times (24)
V29. (inc, 11Sc) x2 times (26)
V30-33. Sc at each point (26)
On the first leg make a slip stitch and cut the thread
For the second leg do not cut the thread and continue with the body
BODY (In flesh color)
Keep your legs together with the inside of your thighs together and your toes
pointing forward. Mark the first and the last of the 8 central points in the most part
inner thigh of each leg.
V1. Sc at each point around the first mark on the first leg, Sc at the marked point,
Sc at the corresponding marked point of the next leg, Sc at each point around the point
marked, Sc at the point marked on the first leg, Sc at the next 19 points. (The beginning and
end of each turn now changes to this point) (40)
V2-7. Sc at each point (40)
V8. dec, Sc in the rest of the lap (39)
V9. 19Sc, dec, 18Sc (38)
V10. dec, Sc in the rest of the lap (37)
V11. 17, dec, 18Sc (36)
V12. dec, Sc in the rest of the lap (35)
V13. 20Sc, dec, 14Sc (34)
V14. dec, Sc in the rest of the lap (33)
V15. 15Sc, dec, 16Sc (32)
V16. dec, Sc in the rest of the lap (31)
V17. 17Sc, dec, 12Sc (30)
V18. dec, Sc in the rest of the lap (29)
V19. 14Sc, dec, 13Sc (28)
V20. (dec, 2Sc) x7 times (21)
Fill
V21. Sc, 10dec (11)
V22. dec, 9Sc (10)
V23-26. Sc at each point (10)
Top off. Make sure the body and neck are firmly padded. Sew head to body
paying attention so that the head is not left on the side and is facing the front.
BREASTS (In flesh color. Make 2 pieces)
V1. 5ch, join the first st with a slip st and make 7Sc inside the ring (7)
V2. inc at each point (14)
V3. (inc, Sc) x7 times (21)
V4-5. Sc at each point (21)
Top off. Fill before closing the seam while sewing to the body
Buttocks and navel (optional)
Threading a needle with 50 cm of wool (double strand). Tie a knot about 12 cm from the end. Insert the
needle in the body in the center of the crotch. Pierce the body to remove the needle so
it would be the top of the buttocks. Insert the needle back into the body at the same point of
Start and pull it out at the same point on the top of the buttocks. Pull the thread to create the
buttocks (we can use the needle to move the padding to shape the buttocks). Give one
stitch to fix insert the needle back into the body to exit from the front to the
navel height. Insert again to exit a little higher, give a small stitch and
go back to the top of the buttocks to give a stitch to secure the thread. Take out again
through the crotch and secure with a few stitches if necessary. Hide the strands inside
of the body.
DRESS
*BODICE
V1. (green color) 6ch, Sc at the second point from the needle, Sc at each point, turn (5)
V2-18. 1ch, Sc at each point
, turn. Change to grape color at last point of last round
(5)
V19. (grape color) 1ch, inc in the first point, 4Sc, turn (6)
V20. 1ch, 5Sc, inc at last point. Change to green color at the last point, turn (7)
V21. (green color) 14ch, Sc at each point in the chain starting from the second, Sc at each of
the 7 stitches on round 20, turn (20)
V22. 2ch, Sc in the first 9 pts. Change to grape color at the last point, turn (9)
V23. (grape color) 1ch, Sc at each point, turn (9)
V24. 1ch, 7Sc, dec, rotate. Use the color green to finish the decrease. (8)
V25. (green color) 1ch, skip the first point, Sc at each point, turn (7)
V26. 1ch, Sc at each point. Change to grape color at the last point, turn (7)
V27. (grape color) 1ch, Sc at each point, turn (7)
V28. 1ch, Sc at each point. Change to green color at the last point, turn (7)
V29-30. Same as rounds 27 and 28 but starting with green and ending with grape (7)
V31-38. (repeat rounds 27 to 30) x2 times (7)
V39. (grape color) 1ch, Sc at each point, turn (7)
V40. 1ch, 6Sc, inc (8)
Top off. Turn
V41. (green color) 13ch, Sc at each point on lap 40, turn (8)
V42. Sc at each point and Sc at each ch (20)
Top off. Turn
V43. (grape color) hook the strand with a Sc in the seventh st from the left edge,
Sc in the remaining 6 pts, turn (7)
V44. 1ch, 5Sc, dec. Change to green color at the last point, turn (6)
V45. 1ch, Sc at each point, turn (6)
V46. 1ch, Sc at each point. Do not rotate (6)
FOR UPPER BODY EDGE
Working along the top edge of the bodice, Sc at each point at the end of each row of the
brace, 2ch, Sc at the end of the next row, we continue in the hatched area between the braces, Sc
at the ends of every 2 rows, 2ch, Sc in the last two rows. Top off
FOR THE LOWER BODY EDGE
Place the bodice with the right side facing up, hook the grape color with Sc on the
end point of first row, Sc at the end of each row
*SKIRT
Hook the grape color with a slipped stitch in the first stitch of the lower edge of the bodice
V1. 3ch, dc at the same point, incPA at each point, slipped point at the first point of the 3ch
V2-7. 3ch, tr in each st (close each round with slipped st)
Top off
FOR THE SKIRT EDGE
Hook the green color with a Sc at any point on the last round. (3ch, skip the next point,
Sc in the next st) repeat throughout the round. 3ch, close with slipped st on first Sc.
Top off
ARMS (In flesh color. Make 2 pieces)
We start with the hand
V1. 4ch, Sc in the second ch from the needle, Sc in the next ch, 2Sc in the last ch. We work
now on the opposite side of the chain, Sc in the next two ch. Do not close the lap, you work on
spiral (6)
V2-4. Sc at each point (6)
V5. incPA at next point, 5Sc (8)
V6. decrease 3pa by 1Sc to form finger, 5Sc (6)
V7. 3Sc, inc, 2Sc (7)
V8. inc, 6Sc (8)
V9. Sc at each point (8)
V10. inc, 7Sc (9)
V11. Sc at each point (9)
V12. inc, 8Sc (10)
V13. Sc at each point (10)
Fill lightly
V14. (dec, 3Sc) x2 times (8)
V15. (2Sc, inc, Sc) x2 times (10)
V16. inc, 9Sc (11)
V17. 6Sc, inc, 4Sc (12)
V18. inc, 11Sc (13)
V19. 5Sc, inc, 7Sc (14)
V20. inc, 13Sc (15)
V21. 9Sc, inc, 5Sc (16)
V22. inc. 15Sc (17)
V23. 7Sc, inc, 9Sc (18)
V24. inc, 17Sc (19)
V25. 10Sc, inc, 8Sc (20)
Fill
V26. 10dec (10)
Add filler if necessary
V27. 5dec (5)
slider point at next point. Top off. Close by joining the opening
MOUNTING
Place the dress on the body. Center the straps back and pin them into place.
Sew the side seam of the bodice of the dress. Hold arms to body to verify position
of the armhole of the dress. Adjust the straps of the dress if necessary; sew in place. Sew the arms
so that the last round of the arms becomes the upper part of the shoulder. Give also
several stitches from the arm to the body on the inside of the armhole.
HAIR (With the color chosen for the hair)
All turns are worked on the rear loops of the chain.
V1. 16ch, 5Sc in the second ch from the needle, Sc in each of the remaining ch, turn (19)
V2. 1ch, 18Sc, inc, rotate (20)
V3. 1ch, Sc at each point, turn (20)
V4. 1ch, 15Sc, 5inc, rotate (25)
V5. 1ch, Sc at each point, turn (25)
V6. 1ch, 15Sc, (inc, Sc) x5 times, rotate (30)
V7. 1ch, Sc at each point, turn (30)
V8. 1ch, 15Sc, (inc, 2Sc) x5 times, rotate (35)
V9-25. 1ch, Sc at each point, turn (35)
V26. 1ch, 15Sc, (dec, 2Sc) x5 times, rotate (30)
V27. 1ch, Sc at each point, turn (30)
V28. 1ch, 15Sc, (dec, Sc) x5 times, rotate (25)
V29. 1ch, Sc at each point, turn (25)
V30. 1ch, 15Sc, 5dec, rotate (20)
V31. 1ch, dec of the first 5 points, slid point in the next point, turn
Knit the edge of the remaining rows (15)
FRINGE
Continue working only on the back loop of the chain
V1. 8ch, Sc at second st from needle, Sc at remaining 6 sts, slip st at first st
point of
15Sc you did to finish the hair, turn (7)
V2. 1ch, Sc at each point, turn (7)
V3. 1ch, Sc in each st, slip st in next 2 st of edge of hair, turn (7)
V4-16. Repeat rounds 2 and 3 until the end ending with a round like 2
Cast off leaving a long strand to sew
Sew by coupling row 16 of the bangs with row 30 of the hair and row 1 of the bangs with the
hair turn 1
Place the hair on the head and fill slightly
Pin the top of the bangs to the head with pins. Fold the bottom edge of the hair
outside. Pin the hair to the head on both the sides and bottom
bangs
Once well placed sew firmly to the head
SHOES (In grape color. Make 2 pieces)
36ch. Top off
Starting at the instep, wrap the chain around the entire foot, around the ankle, along the sole
of the foot, again on the instep and again on the sole of the foot. Add or remove chain as per
need to form the shoe. Sew the ends together giving a stitch to fix in place
BAG (In pink)
V1. 11ch, Sc in the second ch from the needle, Sc in the remaining 9 stitches (10)
V2-4. 1ch, Sc at each point (10)
V1. 1ch, Sc at each point; work at ends of rows, single crochet at end of each row;
working on the opposite side of the starting chain, single crochet around each point; to work
at the ends of the rows, single crochet at the end of each row; do not join, work in rounds (28)
TRANSLATOR’S NOTE
(In this part I cannot understand what he is doing since I have not yet made this doll,
but if we have been able to get here and in the case of the bag, surely we are all
able to muddle through with what we know)
V2-10. Sc at each point (28)
V11. Flatten the bag and mark the central 4 points both on the front and on the back, Sc
at each point to the first mark, 25ch, skip the 4 marked points, Sc at each point to the
next mark, 25ch, skip the 4 marked points, Sc in the remaining points, slid point to
top off.
FLOWER (In yellow color)
4ch, join in the first chain with slipped st. Work inside the hoop (Sc, 5ch) x5 times. Stretch of
the strand to close the central opening.
For the pair of leaves (In green color)
5ch, Sc in the second chain from the needle, (mpa in the next 2 ch, Sc in the last ch) x repeat
on the opposite side of the chain. Top off
Sew the flower to the bag. Sew a bead in the center of the flower
FINISH
Make a beaded bracelet and sew it around the arm
Make a beaded necklace and sew it around the neck
Make a bow with thin ribbon and sew it in the center on the front of the dress
Make a bow with thin ribbon and sew it on the head