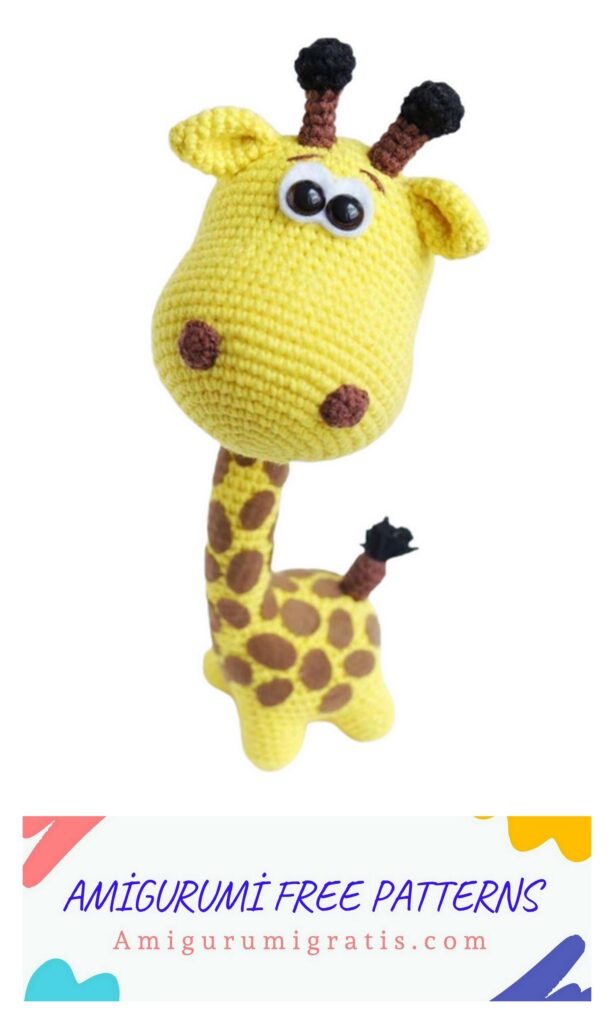
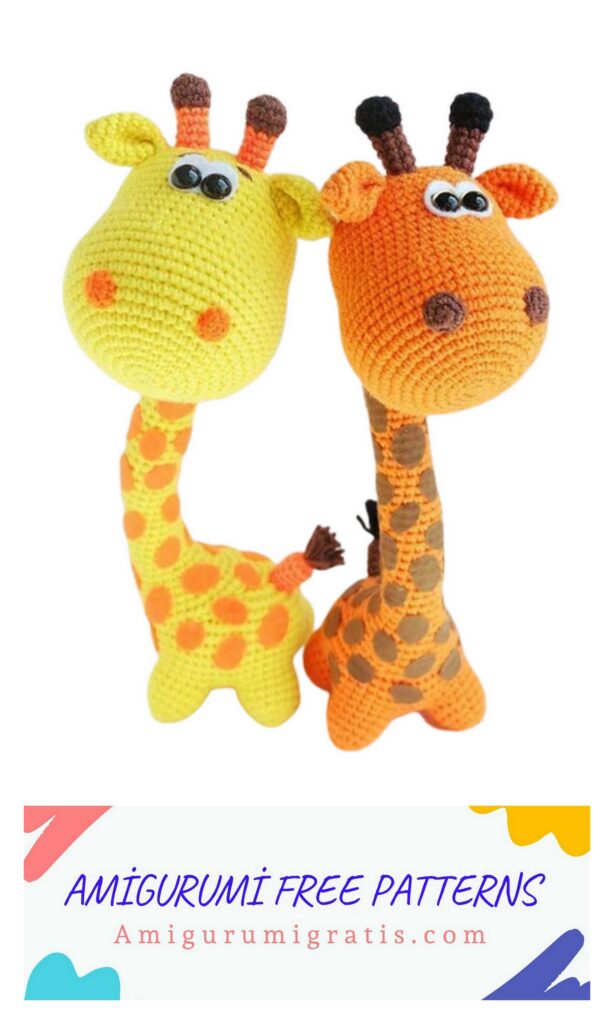
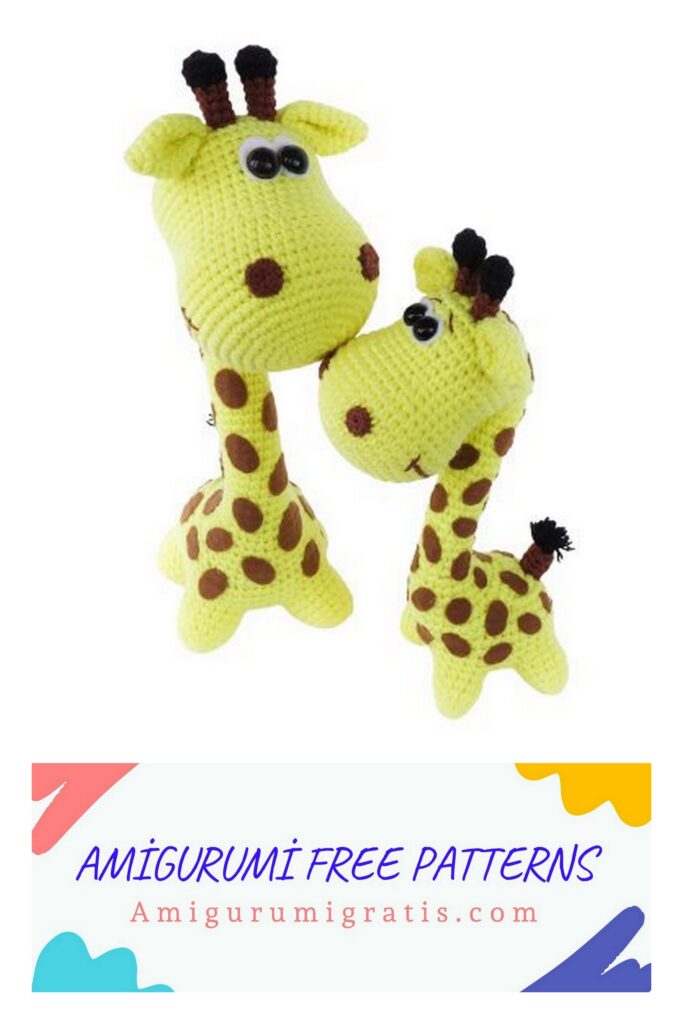
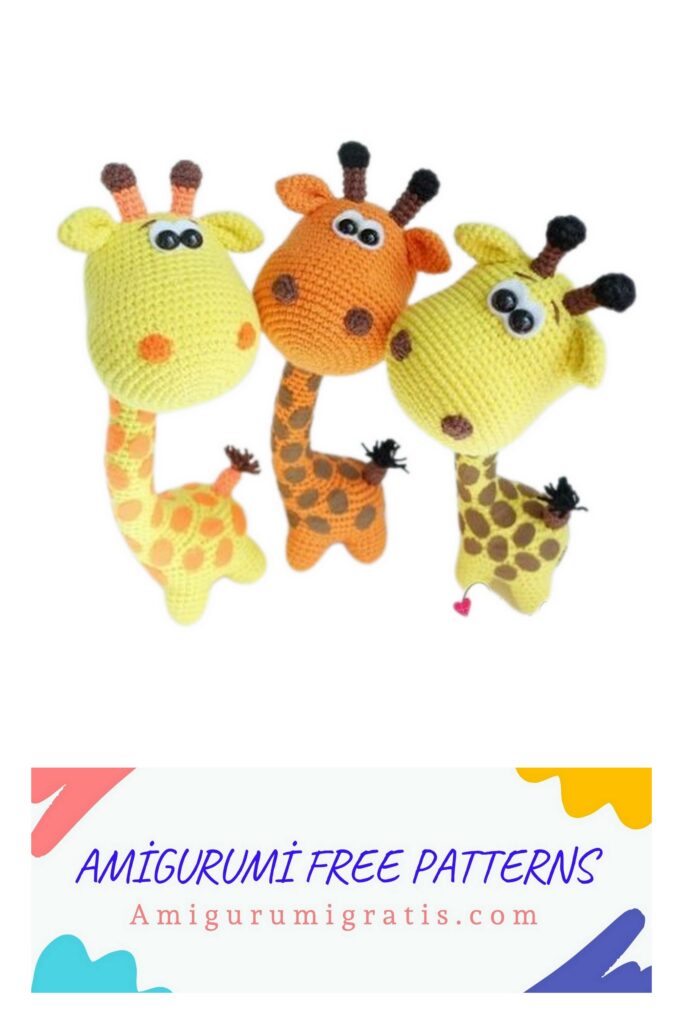
Hello, I am sharing a cute giraffe pattern for you. You can visit our website for many free patterns.
Skill level: intermediate
Finished size: the giraffe is about 25 cm tall (if using similar yarn)
Supplies:
1. Yarn – the examples is crocheted with «Cotton Gold» Alize (100g = 330m; 55% cotton,
45% acrylic)
Color A – yellow (1 skein)
Color B – black (small amount of the tail and horns)
Color C – brown (small amount of the tail, horns)
2. Crochet hook 2.5 mm (or in accordance with the yarn you use)
3. Darning and embroidery needles
4. Stisth marker
5. Polyester fiberfill
6. Safety eyes (ø 10mm)
7. Оf copper wire to the frame (length 45 cm, thickness 4 mm)
8. White felt (thickness 1 mm)
9. Brown felt (0.5 mm thick)
10. Glue for fabric
11. Scissors
Abbreviations:
sl st – slip stitch
ch – chain
sc – single crochet
inc – increase
dec – invisible decrease
About the pattern
– Work in continuous rounds. Do not join or turn unless other instructed.
– It would be wise to use a stitch marker and place it in the first stitch of the round to mark the
beginning of it. Move the marker up to the first stitch of the next round after finishing the
previous one.
– If you need to change color, do it always at the end of the previous round. Start the last
stitch of the round with the old color. Change the color right before you draw through all
loops on hook to complete stitch.
– You can easily sew the toy together when you leave piece a long yarn tail.
Comments
In this pattern every detail starts with a magic ring. If you don’t want to use that, you can easily start
like this:
Chain 2. Work 6 sc in the second st from hook.
Continue to round 2.
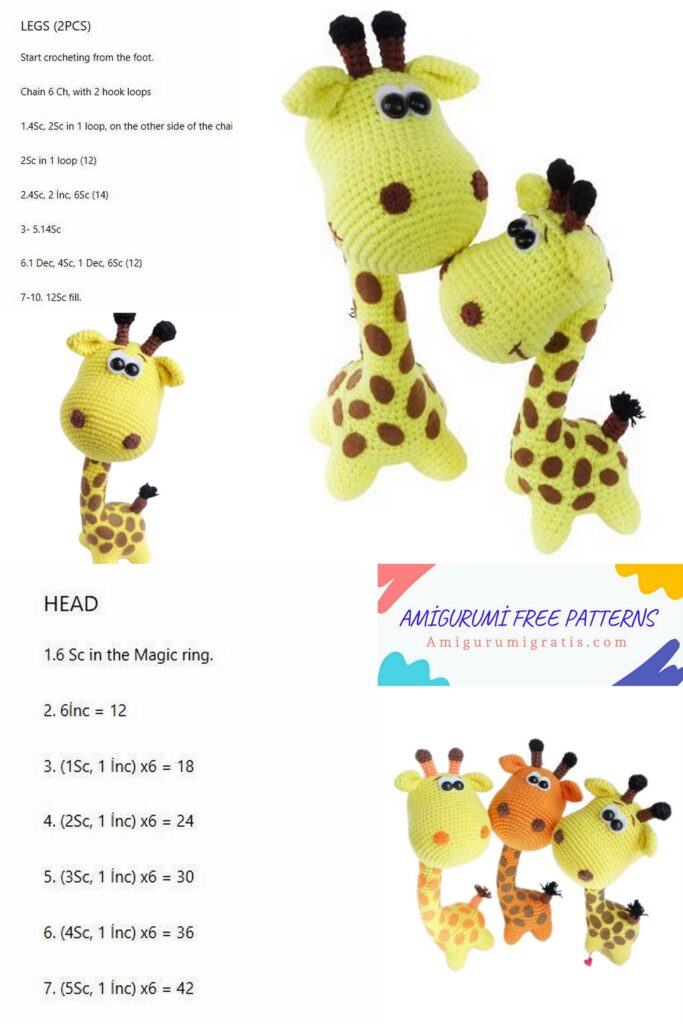
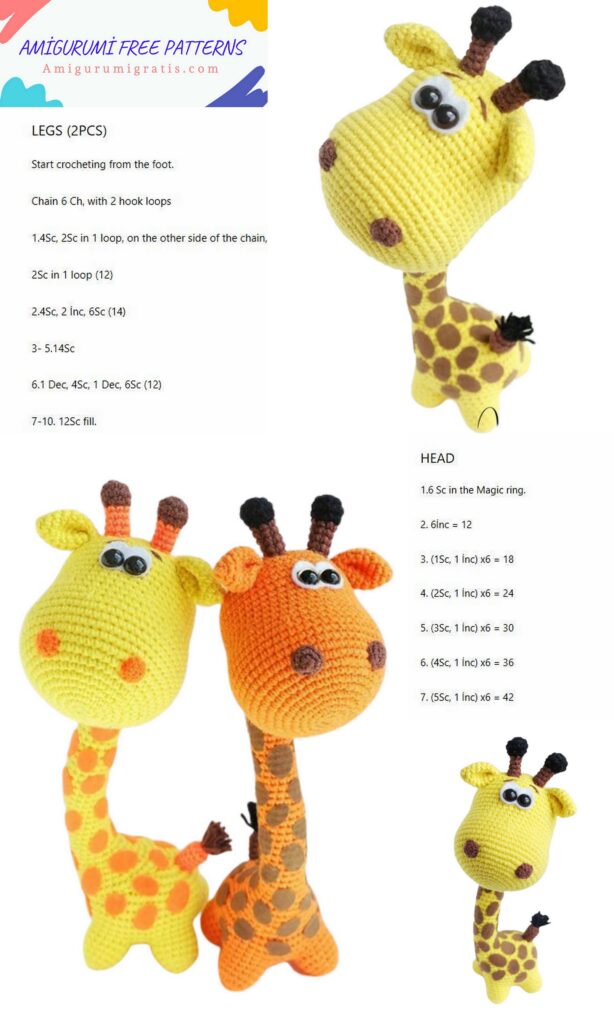
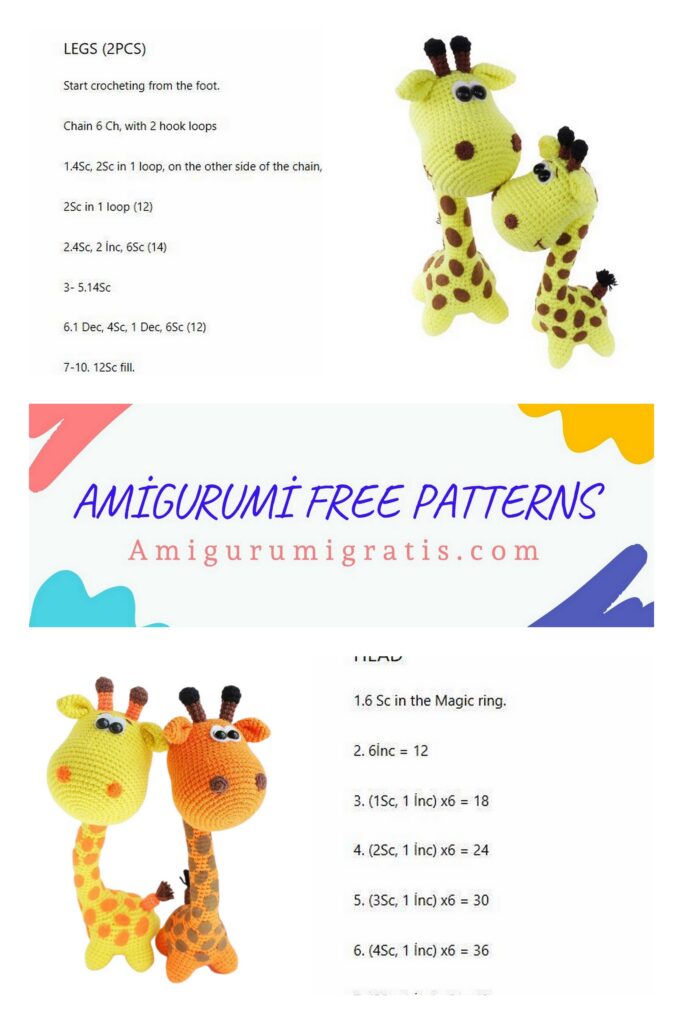
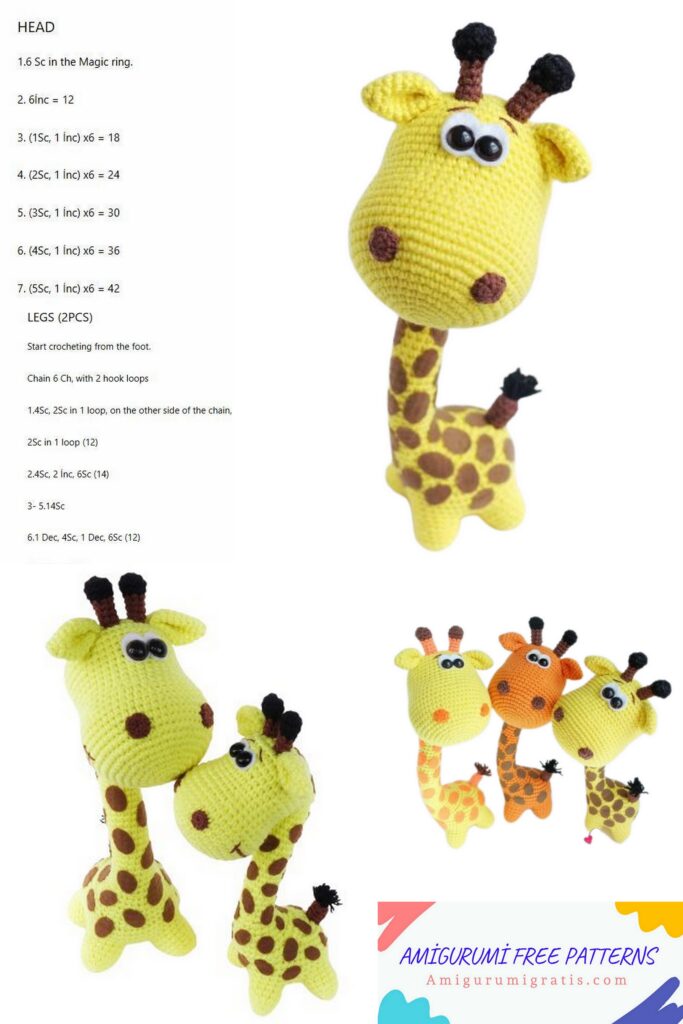
HEAD:
Rnd 1: Color A. Start 6 sc in a magic ring [6]
Rnd 2: inc 6 times [12]
Rnd 3: (Sc in next st, inc in next st) rep 6 times [18]
Rnd 4: (Sc in next 2 sts, inc in next st) repeat 6 times [24]
Rnd 5: (Sc in next 3 sts, inc in next st) repeat 6 times [30]
Rnd 6: (Sc in next 4 sts, inc in next st) repeat 6 times [36]
Rnd 7: (Sc in next 5 sts, inc in next st) repeat 6 times [42]
Rnd 8: (Sc in next 6 sts, inc in next st) repeat 6 times [48]
Rnd 9: (Sc in next 7 sts, inc in next st) repeat 6 times [54]
Rnd 10: (Sc in next 8 sts, inc in next st) repeat 6 times [60]
Rnd 11-15: Sc in all 60 st [60]
Rnd 16: (Sc in next 8 sts, dec) repeat 6 times [54]
Rnd 17: Sc in all 54 st [54]
Rnd 18: (Sc in next 7 sts, dec) repeat 6 times [48]
Rnd 19-21: Sc in all 48 st [48]
Rnd 22: (Sc in next 7 sts, inc in next st) repeat 6 times [54]
Rnd 23-26: Sc in all 54 st [54]
Now it is time to attach the safety eyes:
For the whites of the eyes using a 1 mm thick felt, cut out two ovals connected to each other , make
a small incision in the center of each oval eye.
Attach the safety eyes between round 21 and 22 with an interspace of 1 stitches
Rnd 27: (Sc in next 7 sts, dec) repeat 6 times [48]
Rnd 28: (Sc in next 6 sts, dec) repeat 6 times [42]
Stuff the head with fiberfill. Add stuffing as the work progresses.
Rnd 29: (Sc in next 5 sts, dec) repeat 6 times [36]
Rnd 30: (Sc in next 4 sts, dec) repeat 6 times [30]
Rnd 31: (Sc in next 3 sts, dec) repeat 6 times [24]
Rnd 32: (Sc in next 2 sts, dec) repeat 6 times [18]
Rnd 33: (Sc in next st, dec) repeat 6 times [12]
Rnd 34: (dec) repeat 6 times [6]
Cut the yarn.
EAR (make 2)
Rnd 1: Color A. Start 6 sc in a magic ring.
Rnd 2: Sc in all 6 st [6]
Rnd 3: inc 6 times [12]
Rnd 4: Sc in all 12 st [12]
Rnd 5: (Sc in 1 sts, inc in next st) repeat 6 times [18]
6-8: Sc in all 18 st [18]
9: (Sc in next 4 sts, dec) repeat 3 times [15]
10: (Sc in next 3 sts, dec) repeat 3 times [12]
Leave a long yarn tail for sewing.
Give shape to the ear:
Attach the ears between round 26 and 29 with an interspace of 11 stitches.
ORNS (make 2):
Rnd 1: Color B. Start 6 sc in a magic ring [6]
Rnd 2: inc 6 times [12]
Rnd 3-4: Sc in all 12 st [12]
Rnd 5: (Sc in next st, dec) repeat 4 times [8]
Rnd 6-9: Color C. Sc in each st around
Fasten off, leaving a long tail for anchoring.
Attach the orns between round 27 and 29.
NOSTRILS:
Color C. Cut the yarn length of about 70 cm and divide in half the yarn:
Rnd 1: Color B. Start 6 sc in a magic ring [6]
Rnd 2: inc 6 times [12]
Fasten off, leaving a long tail for anchoring.
Attach the nostrils between round 8 and 12 with an interspace of 8-9 stitches.
BODY:
Cut approx 40 m piece of yarn (for subsequent crocheted legs) and set aside.
Color A. Ch 7. We work around both sides of the foundation chain.
Rnd 1: start inc in second chain from hook, sc in next 4 st, 5 sc in last st,
Continue on the other side of the foundation chain, sc in next 4 st. 3 sc in last st [18]
Rnd 2: inc 2 times, sc in next 4 st, inc 5 times, sc in next 4 st, ins 3 times [28]
Rnd 3: (Sc in next st, inc in next st) repeat 2 times, sc in next 4 st, (sc in next st, inc in next st)
repeat 5 times, sc in next 4 st, (sc in next st, inc in next st) repeat 3 times [38]
Rnd 4: (Sc in next 2 sts, inc in next st) repeat 2 times, sc in next 2 st, inc in next st, sc in next st, (sc
in each of next 2 st, inc in next st) repeat 5 times, sc in next 2 st, inc in next st, sc in next st, (sc in
each of next 2 sts, inc in next st) repeat 3 times [50]
Rnd 5-11: Sc in all 50 st [50]
Rnd 12: Sc in next 3 st, ch 7 (skip 7 st), sc in next 5 st, ch 7 (skip 7 st), sc in next 6 st, ch 7 (skip 7
st), sc in next 5 st, ch 7 (skip 7 st), sc in next 3 sts [50]
Rnd 13: Sc in next 3 st, dec 2 times, sc in next st, dec, sc in next 2 st, dec, sc in next st, dec 2 times,
sc in next 6 st, dec 2 times, sc in next st, dec, sc in next 2 st, dec, sc in next st, dec, sc in next st, dec
2 times [36]
Take the yarn (previously harvested) and start crocheted legs (make 4):
Rnd 1: (ch 1, 1 sc) in first st, sc in next st,
1 sc in next st in stitches between folds
(18 sc we need, and we have them 14 sc
(7 stitches above and below)
therefore crochet 1 sc in stitches
between folds)
sc in next 7 st,
1 sc in next st in stitches between folds [18]
Rnd 2-3: Sc in all 18 st [18]
Rnd 4: (dec, sc in next 4 st) repeat 4 times [15]
Rnd 5-6: Sc in all 15 st [15]
Rnd 7: dec 7 times [8]
Fasten off, leaving a long tail for anchoring.
Stuff the body and legs with fiberfill.
Back to the body:
Rnd 14: (dec, sc in nest st) repeat 12 times [24]
Rnd 15: (dec, sc in next 2 st) repeat 6 times [18]
Rnd 16: (sc in next st, dec) repeat 6 times [12]
Rnd 17: dec 6 times [6]
Fasten off, leaving a long tail for anchoring.
NECK:
To set a chain of loops leave the tail 25 cm long thread
Rnd 1: ch 36, closable in the ring, sc in next 36 st [36]
Rnd 2: dec, sc in next 2 st, dec, sc in next 26 st, dec,sc in next 2 st [33]
Rnd 3: sc in next 8 st, (dec, sc in next st) repeat 6 times, sc in next 5 st, dec [26]
Rnd 4: dec, sc in next 11 st, dec, sc in next 11 st [24]
Rnd 5: Sc in all 24 st [24]
Rnd 6: dec 3 times, sc in next st, slst in next 10 st, sc in next st, dec 3 times [18]
Rnd 7: dec, sc in next 14 st, dec [16]
Rnd 8-43: Sc in all 16 st [16]
Stuff the …. with fiberfill.
Rnd 44: sc in next 5 st, inc in next st, sc in next st, inc in next st, sc in next 8 st [18]
Rnd 45: sc in next st, (inc in next st, sc in next 2 st) repeat 5 times, inc in next st, sc in next st [24]
Rnd 46: Sc in all 24 st [24]
Rnd 47: (sc in next 3 st, inc in next st) repeat 6 times [30]
Rnd 48: Sc in all 30 st [30]
Rnd 49: sc in next 8 st, (inc, sc in next st) repeat 6 times, sc in next 10 st [36]
Rnd 50: sc in next 33 st, slst in next 3 st [36]
Fasten off, leaving a long tail for anchoring.
To impart flexibility neck take solid copper wire of 4 mm in length 45 cm
Zagrut wire ends of 5-6 cm at both ends.
Gently threaded through the wire in the neck between the fiberfiller.
The lower end of the wire inserted into the body between round 4 and 5 of the body.
The upper end of the wire is inserted un the hand between round 4 and 5 of hands.
Pins fix the neck to the body and head.
We sew the neck to the head and body.
SPOTS:
Spots it can be done in 3 ways:
1. Cut out felt ovals and paste special glue for fabric;
2. Embroidered yarn;
3. Crochet small ovals or circles and sew.
TAIL:
Color C. Wrap the yarn around 2 fingers approx. 9 times. Leave the small end of the yarn.
We do “brush”.
Rnd 1: Color C. Start 9 sc in a magic ring, but not contracted magic ring.
Take the “brush” and insert it into the magic ring, then pull magic ring:
Rnd 2-4: Sc in all 9 st [9]
Fasten off, leaving a long tail for anchoring.
Giraffe is finished!!!