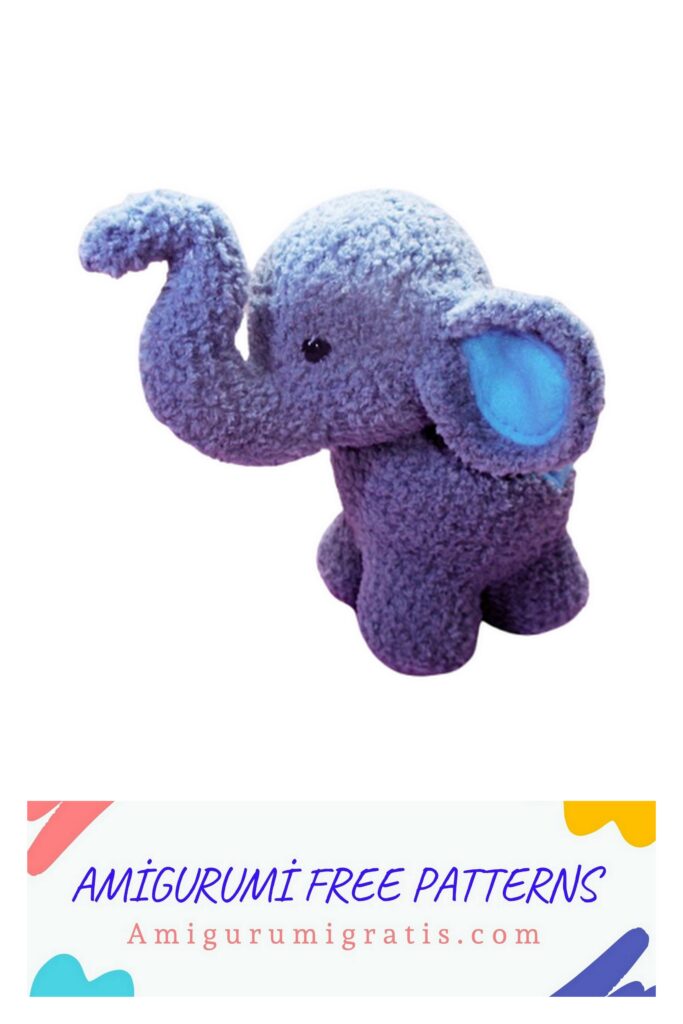
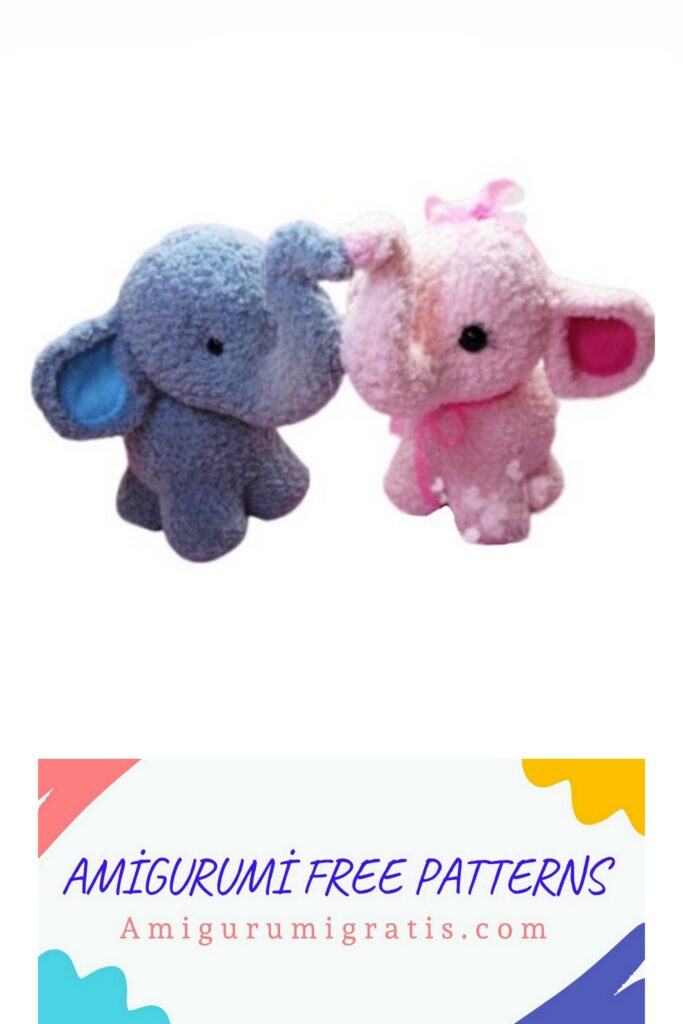
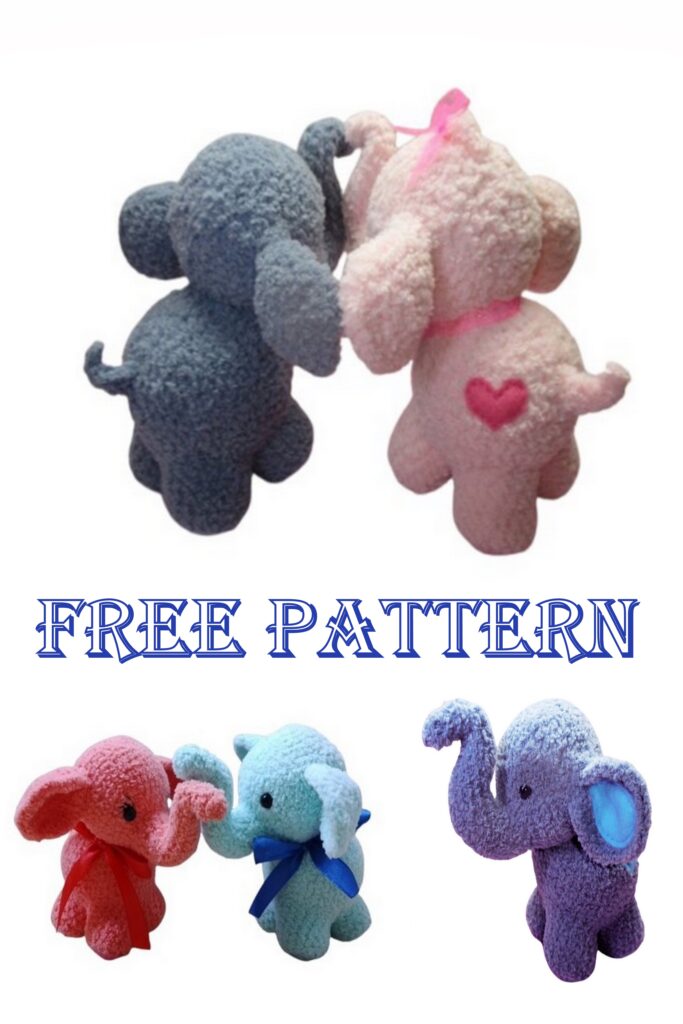
We share amigurumi plush elephant patterns for you. You can visit our website for free beautiful patterns.
Pattern: Irina Koreneva
Necessary materials:
– Yarn Softi Alize (less than 1/2 skein for one elephant),
– a little smooth yarn for the feet,
– hook number 2.5 – 3,
– filler
– felt for inserts in the ears and heart,
– eyes on a secure mount 7-10 mm. or black beads.
– satin ribbon for decoration on the neck and bow,
– cilia for the girl.

Legend:
sc – single crochet
blo – for the back half-loop
sl-st – connecting column
HDC – half crochet
ch – air loop
İnc. – increase
dec. – decrease
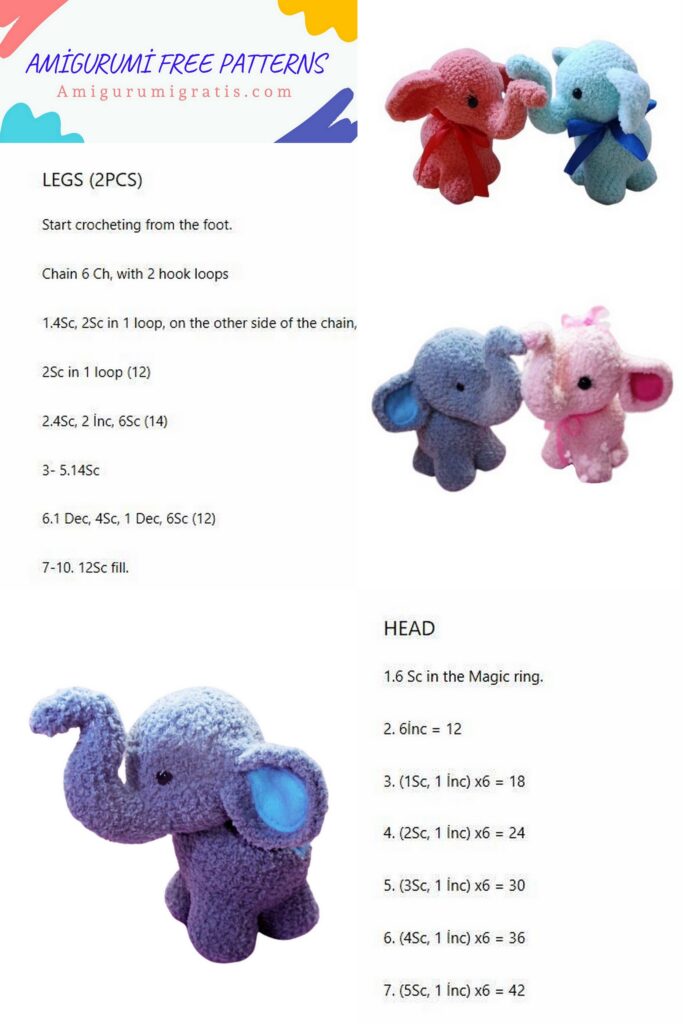
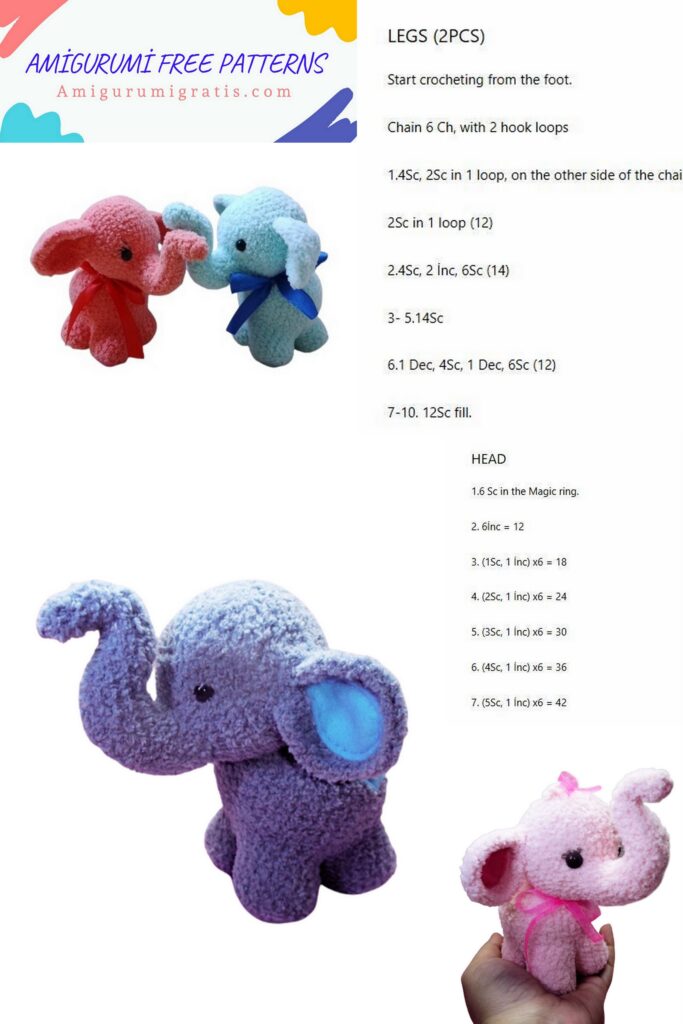
Legs and body (fit in one piece).
Starting with knitting with smooth yarn (knit 4 parts):
1 row: 6 sc into magic ring (6)
2 row: inc x 6 (12)
3 row: (sc, inc) x 6 (18)
Change the yarn to plush Softty:
4 row: 18 sc for the back half-loop (18)
5-9 rows: 5 rows 18 sc (18)
Fasten and cut the thread at the first leg, leave the thread at the second leg,
fold the walls of the 1st and 2nd legs and knit 4 sc for the loops of the 1st and 2nd legs. So
to connect the 3rd and 4th legs. By connecting the 3rd and 4th legs, do not break the thread, but
continue knitting the body: 10 row: 9 sc in the circle of the 1st leg, 9 sc in the 2nd
legs, 9 sc on the 3rd leg, 9 sc in a circle of the 4th leg (36)
Between the legs there will be a hole that needs to be sewn.
11 row: 36 sc (36)
12 row: (5 sc, inc) * 6 (42)
13 row: (6 sc, inc) * 6 (48)
14-18 rows: 5 rows 48 sc (48)
19 row: (6 sc, dec) x 6 (42)
20 row: (5 sc, dec) x 6 (36)
21 row: (4 sc, dec) x 6 (30)
22 row: (3 sc, dec) x 6 (24)
23 row: (2 sc, dec) x 6 (18)
24 row: (1 sc, dec) x 6 (12)
25 row: 6 dec,
tighten the loops, fasten and cut the thread, hide the end of the thread.
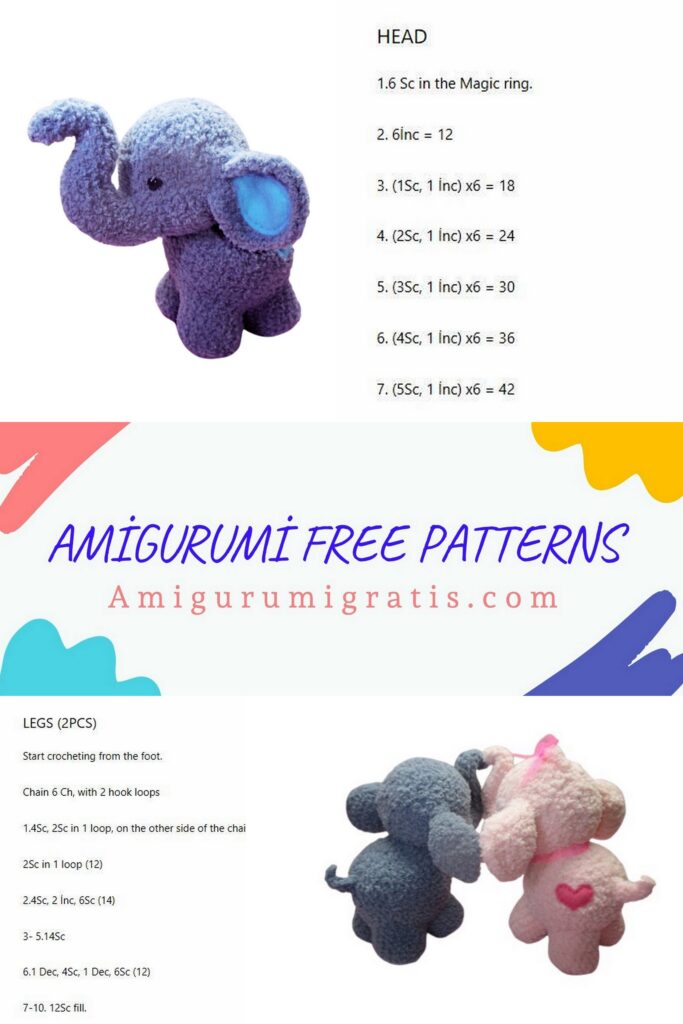
Head:
We start knitting with a trunk:
1 row: 6 sc into magic ring (6)
2 row: blo 6 sc (6)
3-4 row: 6 sc (6)
5 row: inc, 5 sc (7)
6 row: 7 sc (7)
7 row: inc, 6 sc (8)
8 row: 8 sc (8)
9 row: inc, 7 sc (9)
10 row: 9 sc (9)
11 row: inc, 8 sc (10)
12 row: 10 sc (10)
13 row: inc, 9 sc (11)
14 row: 11 sc (11)
15 row: inc, 10 sc (12)
16 row: 12 sc (12)
17 row: inc, 11 sc (13)
18 row: 13 sc (13)
19 row: inc, 12 sc (14)
20 row: 14 sc (14)
21 row: inc, 13 sc (15)
22 row: 15 sc (15)
23 row: (inc, 4 sc) * 3 (18)
24 row: 6 sc, 6 inc, 6 sc (24)
25 row: 6 sc, (1 sc, inc) * 6, 6 sc (30)
26 row: 6 sc, (2 sc, inc) * 6, 6 sc (36)
27 row: 6 sc, (3 sc, inc) * 6, 6 sc (42)
28-35 rows: 8 rows of 42 sc (42)
If you have eyes on a secure mount at this stage you need them
fasten between 24-25 rows, leaving between 8-9 sc. For
girls previously glue cilia on the back of the eyes. AT
trunk, I inserted the wire. Stuff the trunk with filler so that the wire
remained inside the trunk.
36 row: (5 sc, dec) x 6 (36)
37 row: (4 sc, dec) x 6 (30)
38 row: (3 sc, dec) x 6 (24) Tightly fill your head with filler.
39 row: (2 sc, dec) x 6 (18)
40 row: (1 sc, dec) x 6 (12)
41 row: 6 dec
Pull the loops, fasten and cut the thread, hide the end of the thread.

Ears (2 parts):
1 row: 6 sc into magic ring (6)
2 row: inc x 6 (12)
3 row: (sc, inc) x 6 (18)
4 row: (2 sc, inc) x 6 (24)
5 row: (3 sc, inc) x 6 (30)
6 row: (4 sc, inc) x 6 (36)
Fold your ear in half and knit 2 sc over both walls. Leave the long end of the thread and sew ears to the head. Sew the head to the body. Tie a little ponytail and sew it back to the body. (For the tail, dial a chain of 7 ch, with knit the second loop from the hook: 2 sl-st, 2 sc, 2 HDC).