You can visit our website for amigurumi cute dog patterns and more free patterns.
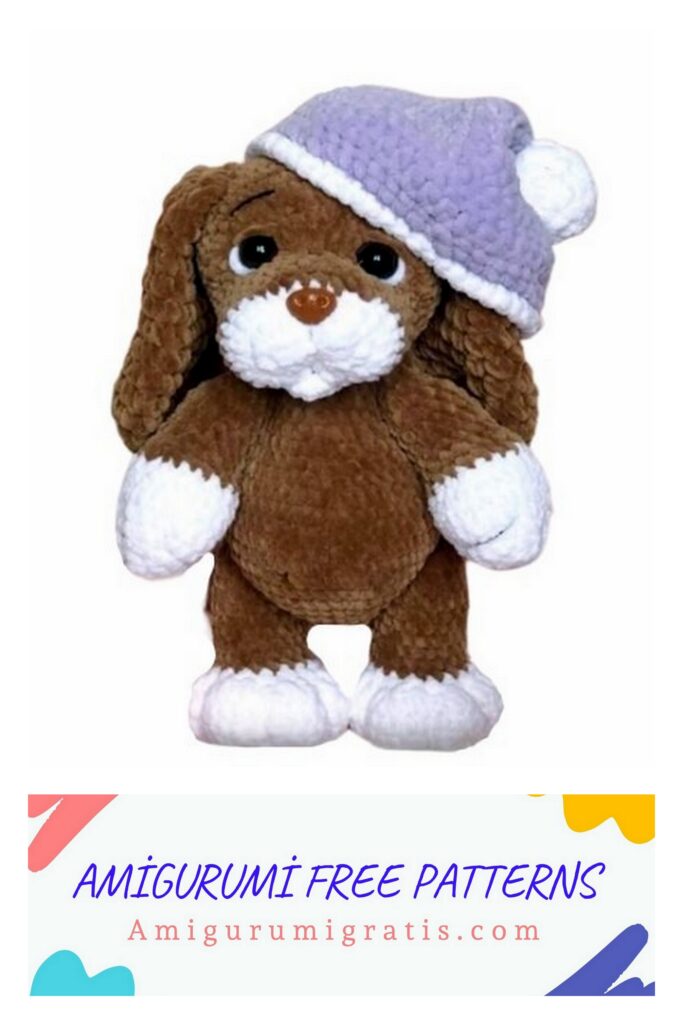
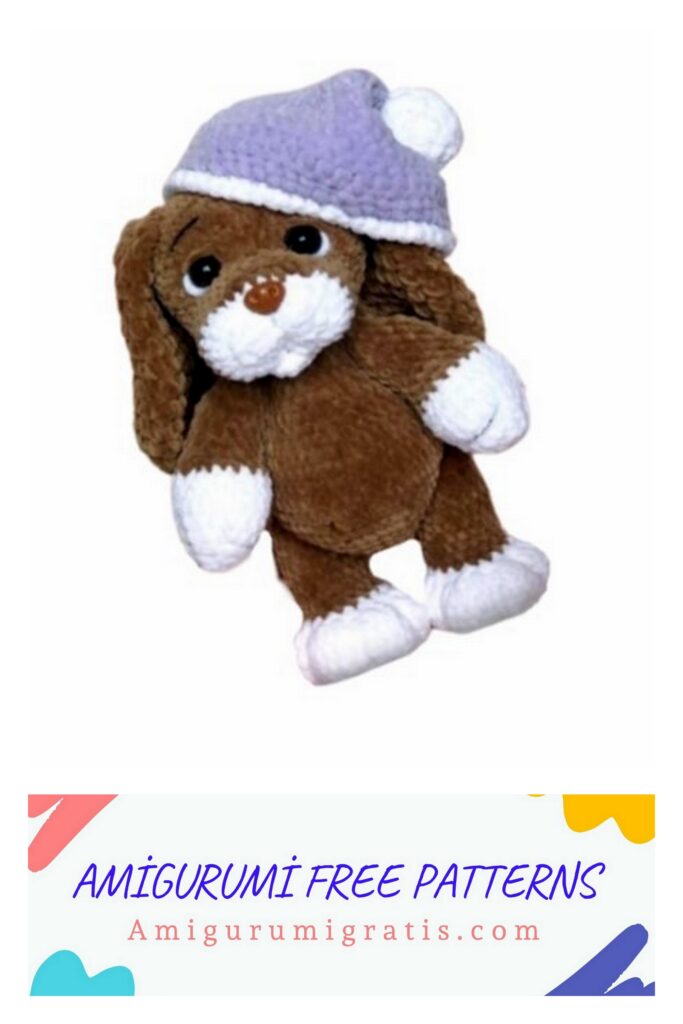
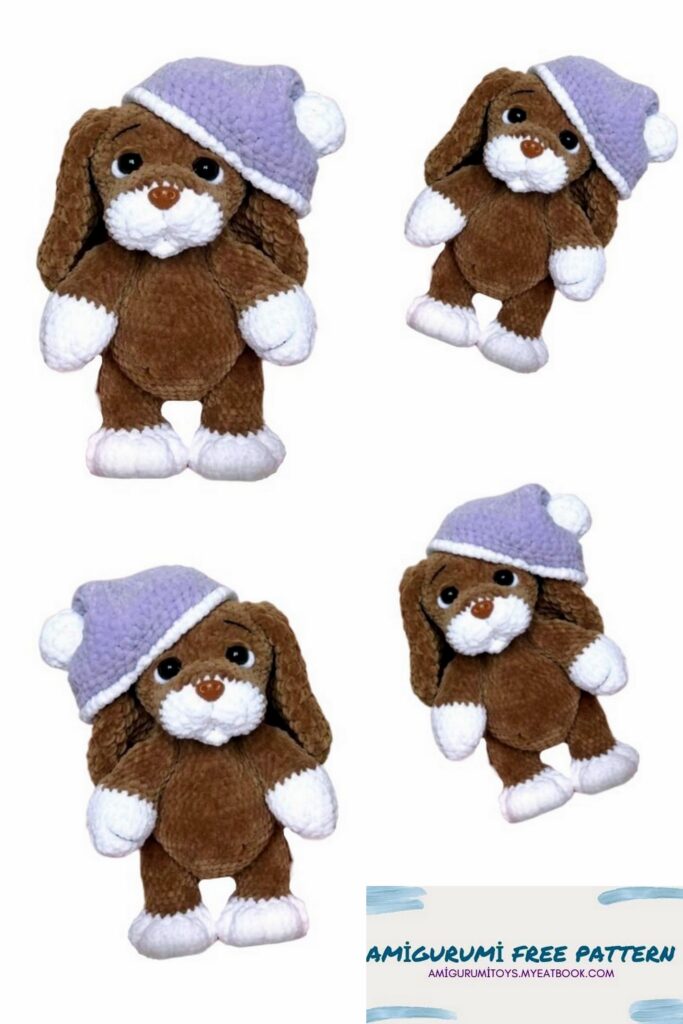
Crochet Pattern “Tinky Puppy”
Size of finished toy 30 cm.
This pattern does not contain crochet lessons.
List of required materials:
1. Yarn YarnArt Dolce or Himalaya Dolphin Baby – 2 skeins of main color
2. Yarn Himalaya Dolphin Baby, white color – 0.5 of skein
3. Yarn YarnArt Jeans for paw pads
4. Hooks size 3.5 mm, 6 mm (for ears) and 2.5 mm (for paw pads)
5. Strong thread (e.g. “Iris”) for a thread mount and tightening
6. Polyester fiber filling (holofiber, syntepuh)
7. Safety eyes size 18 mm, safety nose size 2*1.5 cm
8. Markers of rounds beginning, large tailor’s needle, scissors, safety pins
10. Yarn YarnArt Jeans: black color for eyebrows and paws embroidery, brown color for paw pads.

Abbreviations:
MR – magic (amigurumi) ring
Sc – single crochet
Ch – chain
Dc – double crochet
Hdc– half double crochet
Inc – increase (2 sc in one stitch)
Dec – decrease (2 sc together)
Sc3tog – crochet 3sc as one together (decrease)
Dc3tog – crochet 3dc as one together (decrease)
Slst – slip stitch
(sc,inc)*N – repeat instructions in brackets N times
Crochet in spiral rounds without turning chain.
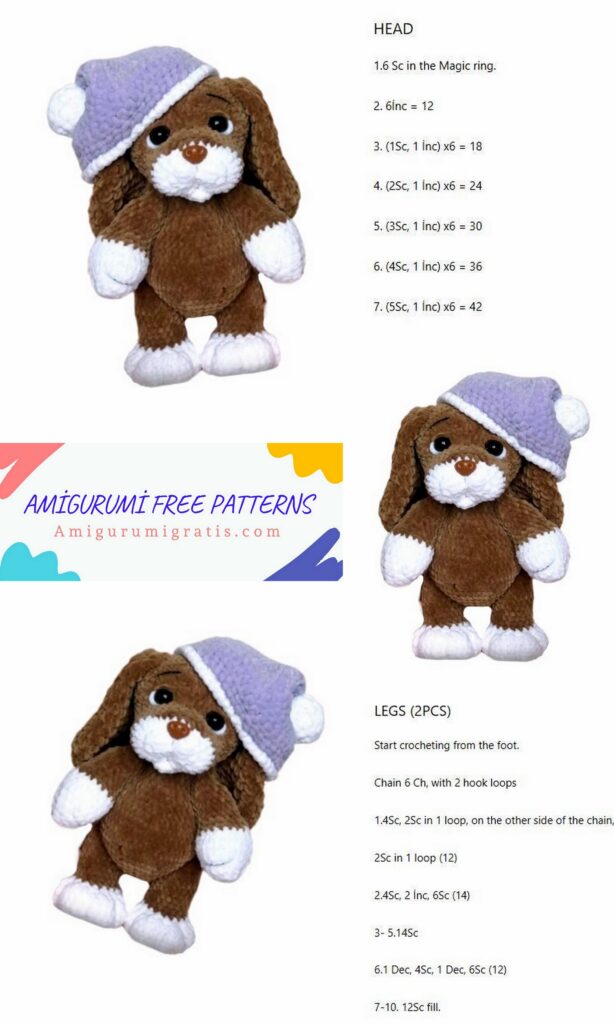
Head and Muzzle (crochet as one detail)
Hook size 3.5 mm
With white yarn:
1. 6ch
2. Start in the 2nd chain from the hook: 4sc, 4sc in the last chain,
Continue on the other side of the chain – 3sc, 3sc in the next stitch = (14)
3. inc, 3sc, 4inc, 3sc, 3inc = (22)
4. 3sc, 3inc dc, 3sc, 6inc dc, sc3tog, 6inc dc = (34)
Next, make slst into the 1st stitch of the next round and cut the yarn.
Change color to main (the first sc should be at the place of the last slst of the previous round).
(I do not crochet the yarn tail into the canvas; I just tie them together with a knot.)
5-8. 4 rounds = 34 sc
9. 1hdc, 10inc dc, 1hdc, 22sc = (44)
10. 1hdc, 1dc, (1dc, 1inc dc)*9, 1dc, 1hdc, 22sc = (53)
11. 42 sc, inc, 10 sc = (54)
12-17. 6 rounds = (54)
Here you can insert the safety nose in round 4 (at that place where 3inc dc is).
Insert the safety eyes in round 9 at the distance of 8dc.
18. (7sc, dec)*6 = (48)
19. (6sc, dec)*6 = (42)
20. (5sc, dec)*6 = (36)
21. (4sc, dec)*6 = (30)
22. (3sc, dec)*6 = (24)
23. (2sc, dec)*6 = (18)
24. (1sc, dec)*6 = (12)
25. 6 dec = (6)
Tighten the hole and weave in the yarn ends.
You can immediately cut out circles from felt for whites of the eyes, slightly more than the eyes. Make holes inside and insert the eyes there. Alternatively, you can embroider white of the eyes with white plush thread after fastening.
The description of embroidery eyelids and whites of the eyes will be further.
Eyes and Muzzle Tightening
The first tightening. Take a large needle and ordinary sewing thread folded in 4 (or in 2, but there is a probability, that the high tension will break the thread).
Insert the needle from the back of the head and output from the outside of the right eye (the one, that you have on the right hand, when you hold the toy’s head to yourself), pull the thread (leave a small end of the thread behind the head).
Enter the needle from the inside of the right eye and output from the inside of the left eye. Again, enter from the outside of the left eye and put it out behind the head into the same hole where we inserted the needle at the very beginning. Repeat these actions again.
ATTENTION! The tightening thread should pass above the eyes in the first time and below the eyes in the second time.
Then tighten the muzzle.
The second tightening. Take a sewing thread folded in 4 (you can use any strong black or brown thread). Pass it through the muzzle and tie a knot. Thread the ends of the thread into the needle, stretch the thread under the muzzle and bring it out between the eyes, at the bend of the muzzle and head, tighten and tie a knot.
The third tightening.
In the last tightening, insert the needle under the muzzle and bring it out under the right eye. Insert through 3 sc under the same eye and bring it out under the left eye. Again, enter through 3 sc and return under the muzzle. Without breaking the thread, enter again into the same hole under the muzzle and first output from the inner edge of the right eye at the bend between the head and muzzle and enter from the inner edge of the left eye and return under the muzzle. Tighten tightly, tie knots and hide the tips. Watch the video above.
Embroider Eyelids, Whites of the Eyes and Eyebrows For the eyelids, take a large needle and a piece of plush thread of the main color.
Insert the needle in any part of the head and output from the outside of the right eye. Enter again slightly higher from the inside of the right eye and output from the inside of the left eye.
Enter again from the outside of the left eye and output at the initial point and tie a knot.
For whites of the eyes take long thread of white plush and embroider in the same way as the eyelids, but only pass the thread under the eyes.
Before embroidering the eyebrows, mark places of their location with pins between
rounds 10 and 11. The length is 6 dc.
Embroider the eyebrows with black thread.
Mouth
Hook size 3.5 mm
With white yarn:
1. 6sc in MR
2. 6 inc = (12)
Sew the mouth under the muzzle.
Ears (2 details)
Hook size 6 mm
1. 6sc in MR
2. 6inc = (12)
Crochet weakly.
3. (1sc, inc)*6 = (18)
4. (2sc, inc)*6 = (24)
5-7. 3 rounds = 24sc
8. (2sc, dec)*6 = (18)
9-11. 3 rounds = 18sc
12. (1sc, dec)*6 = (12)
13-15. 3 rounds = 12sc
16. 6 dec = (6)
Fold in half and crochet through both sides.
Body
Hook size 3.5 mm
1.6sc in MR
2. 6inc = (12)
3. (1sc, inc)*6 = (18)
4. (2sc, inc)*6 = (24)
5. (3sc, inc)*6 = (30)
6. (4sc, inc)*6 = (36)
7. (5sc, inc)*6 = (42)
8. (6sc, inc)*6 = (48)
9. (2sc, inc)*6, 30sc = (54)
Leave the marker at the end of the round and take another one.
10-14. 5 rounds = 54sc (align round 5 to an additional marker)
15. (2sc, dec)*6, 30sc = (48)
16. (6sc, dec)*6 = (42)
17. (5sc, dec)*6 = (36)
18. 36sc
19. (4sc, dec)*6 = (30)
20. 30sc
21. (3sc, dec)*6 = (24)
22. 24sc
23. (2sc, dec)*6 = (18)
24.18sc
Fasten off and cut the yarn. Stuff the body tightly.
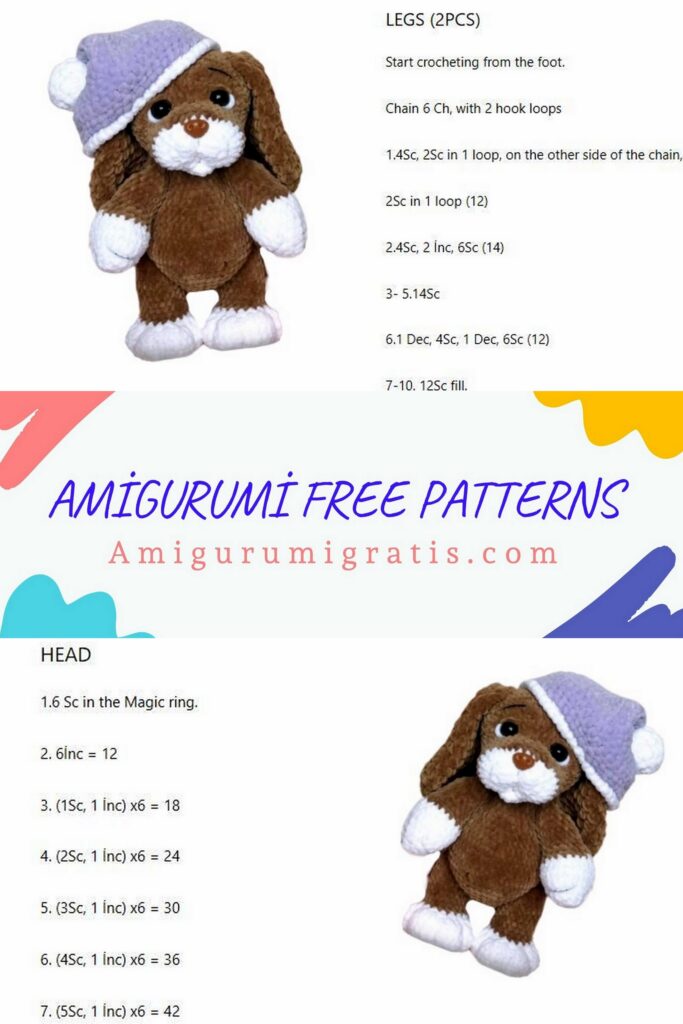
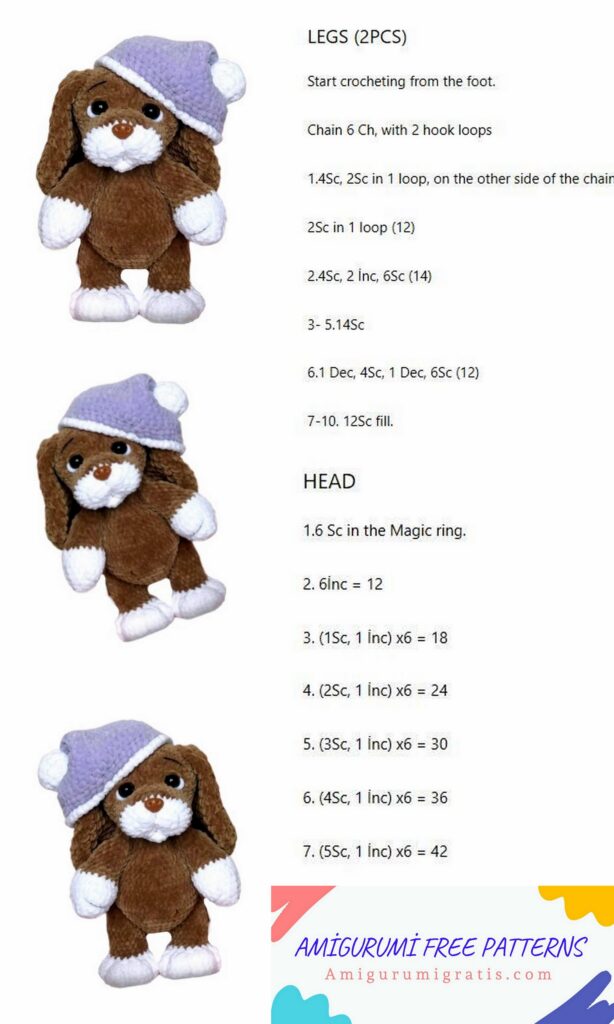
Hind Legs (2 details)
Hook size 3.5 mm
With white yarn:
1. 6sc in MR
2. 6inc(12)
3. (1sc, inc)*6 = (18)
4. (2sc, inc)*6 = (24)
5. (3sc, inc)*6 = (30)
6. 7sc, (3inc dc, dec)*3, 3inc dc, 5sc = (39)
7. 39sc
8. 7sc, (dc3tog, sc)*3, dc3tog, 5sc = (27)
9. 7sc, 7dec, 6sc = (20)
Change color to main:
10-18. 9 rounds = 20sc
Stuff the foot tightly.
19. 16 sc, 2 dec = (18)
20. 1sc, dec = (12)
Stuff the whole leg tightly.
21. 6 dec = (6)
Tighten the hole and weave in the yarn ends.
Forelegs (2 details)
Hook size 3.5 mm
With white yarn:
1. 6sc in MR
2. 6 inc = (12)
3. (1sc, inc)*6 = (18)
4. (2sc, inc)*6 = (24)
5. (3sc, inc)*6 = (30)
6. 30sc
7. (3sc, dec)*6 = (24)
8. (2sc, dec)*6 = (18)
9. 7sc, dec, 7sc, dec = (16)
Change color to main:
10-18. 9 rounds = 16 sc
Stuff the lower part slightly and the rest of the leg – tightly.
19. (1sc, dec)*4, 4 sc = (12)
20. 6 dec = (6)
Tighten the hole and weave in the yarn ends.
Tail
Hook size 3.5 mm
With white yarn:
1. 5sc in MR
2. 5 inc = (10)
3-5. 3 rounds = 10sc
Change color to main:
6-14. 9 rounds = 10 sc
Stuff the tail slightly, fold it in half and crochet through both sides.
Paws Tightening
Paw Pads
Take brown or beige cotton yarn for paw pads and hook size 2.5 mm
2 large details for the hind legs:
1. 6sc in MR
2. 6inc = (12)
3. (1sc, inc)*6 = (18)
4. (2sc, inc)*6 = (24)
2 medium details for the forelegs:
1. 6sc in MR
2. 6inc = (12)
3. (1sc, inc)*6 = (18)
8 small details for toes of the hind legs:
1. 6sc in MR
2. 6inc = (12 sc)
Embroider the paw pads on the forelegs with the same thread.
Assembly
Attach the head to the body with knitting needles and sew it on with a strong thread around the neck.
Fasten the hind legs with a thread mount between rounds 8 and 9, the forelegs – between rounds 20 and 21.
Sew the tail on the back in round 8.
Sew the ears 1 or 2 rounds above the eyebrows at the distance of 8 sc.
Done!
Thanks for crocheting with me.
Smooth loops!