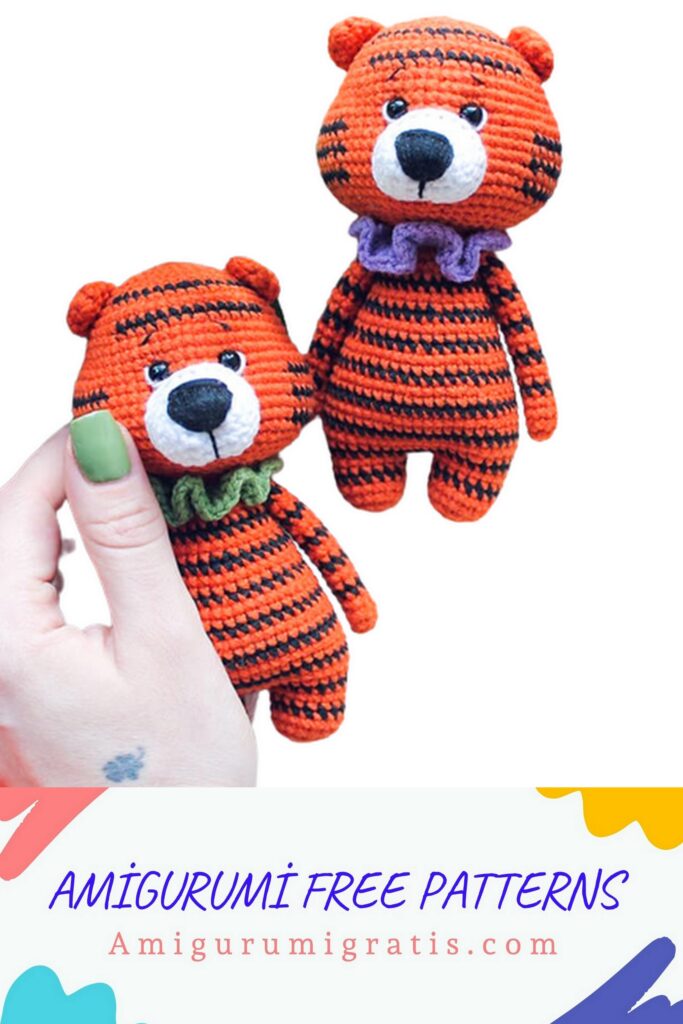
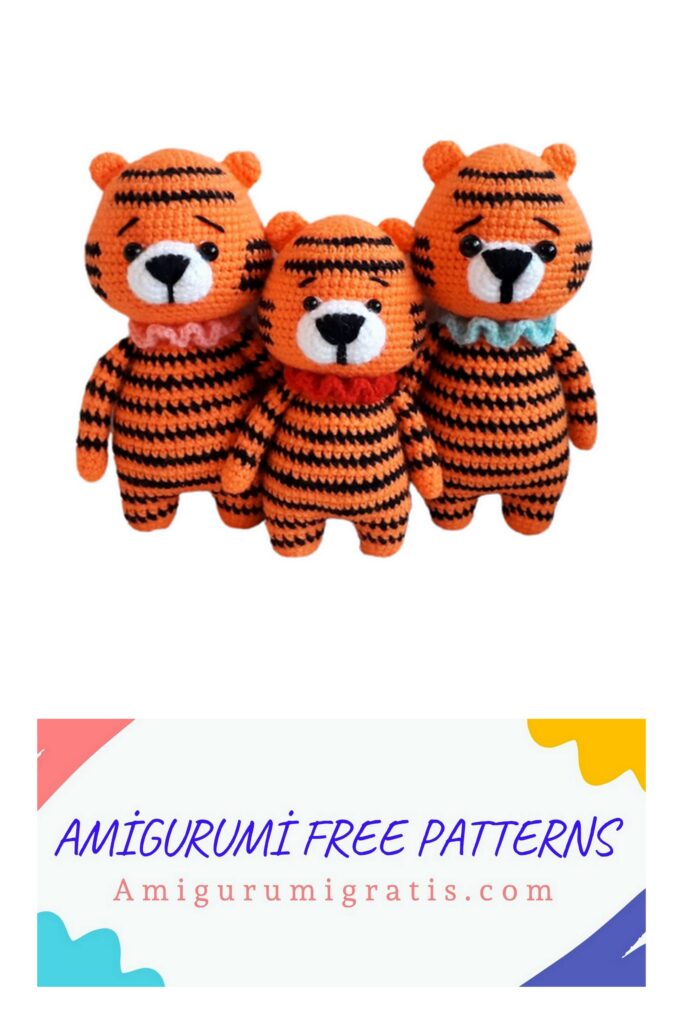
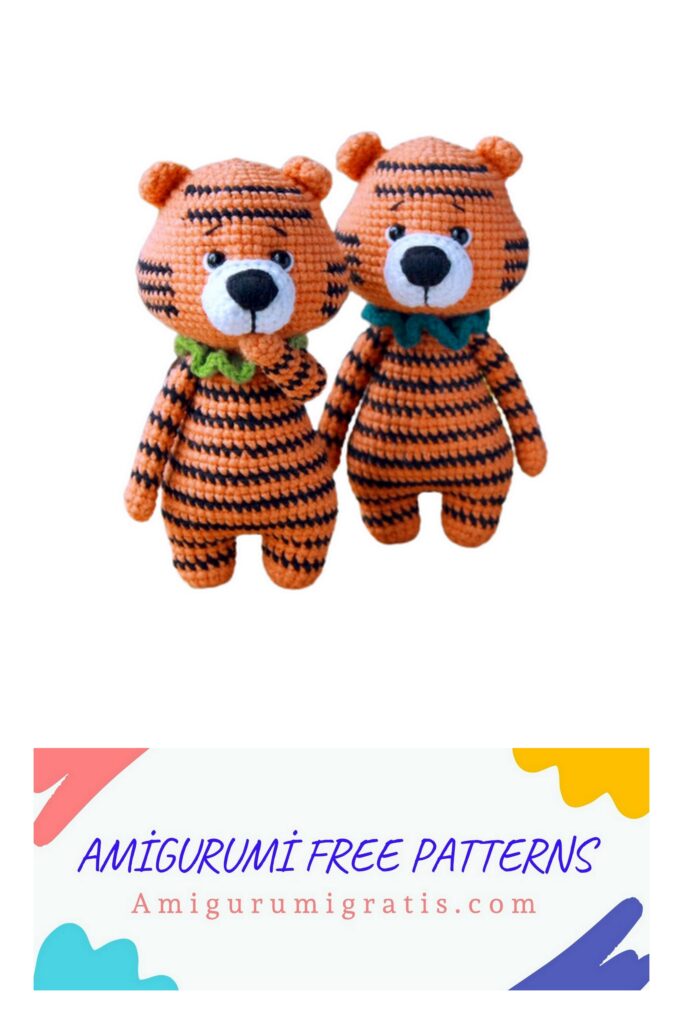
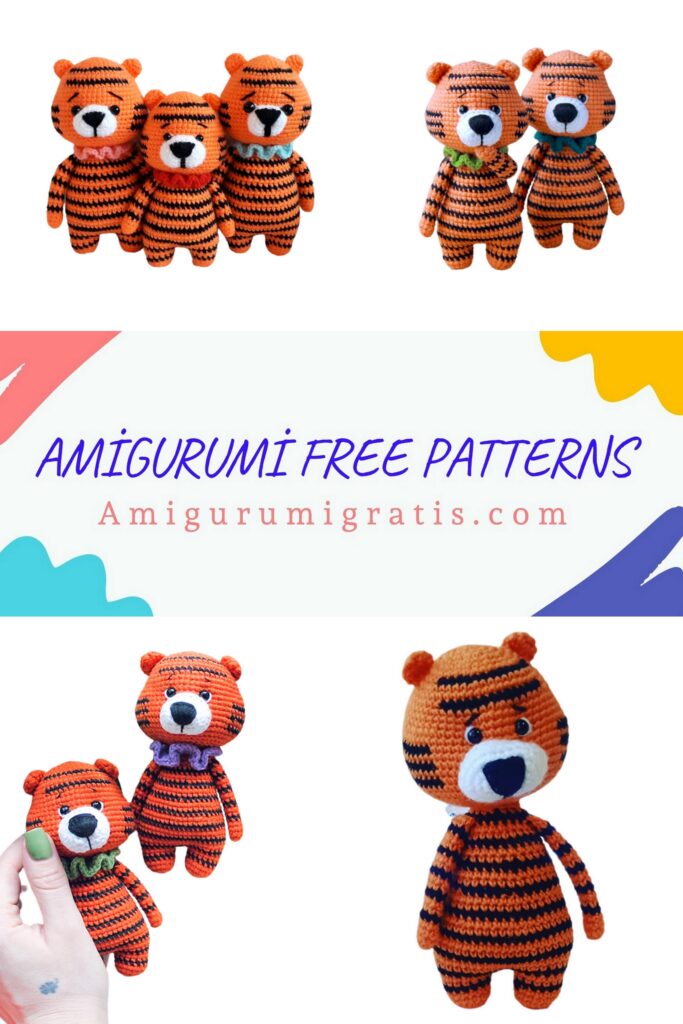
We continue to share the most beautiful amigurumi patterns. You can visit our website for Amigurumi tiger free pattern.
Necessary materials:
Primary color Yarnart Jeans yarn (I used color 23)
Black Yarnart Jeans (I used color 53)
Yarnart Jeans white yarn (I used color 62)
A bit of any colored yarn for the collar
Safety eyelets 6 mm
Filler
Hook 1.75 (choose a hook for your knitting density and yarn)
Long needle for tightening
Scissors
Legend:
SC – single crochet
P – loop
CH – air loop
İNC – increase
DEC – decrease
SL-ST – connecting post
DC – double crochet
The height of the finished toy is 13 cm
Color change:
We knit the last loop before changing the color like this:
With a hook we grab the orange working thread, pull it through the loop of the previous row, then we hook the black thread and pull it through the red loops (see photo). It turns out that we make the beginning of the column the main color, and close it with a different one.
We lay the thread of the main color from the seamy side, so as not to make large broaches.
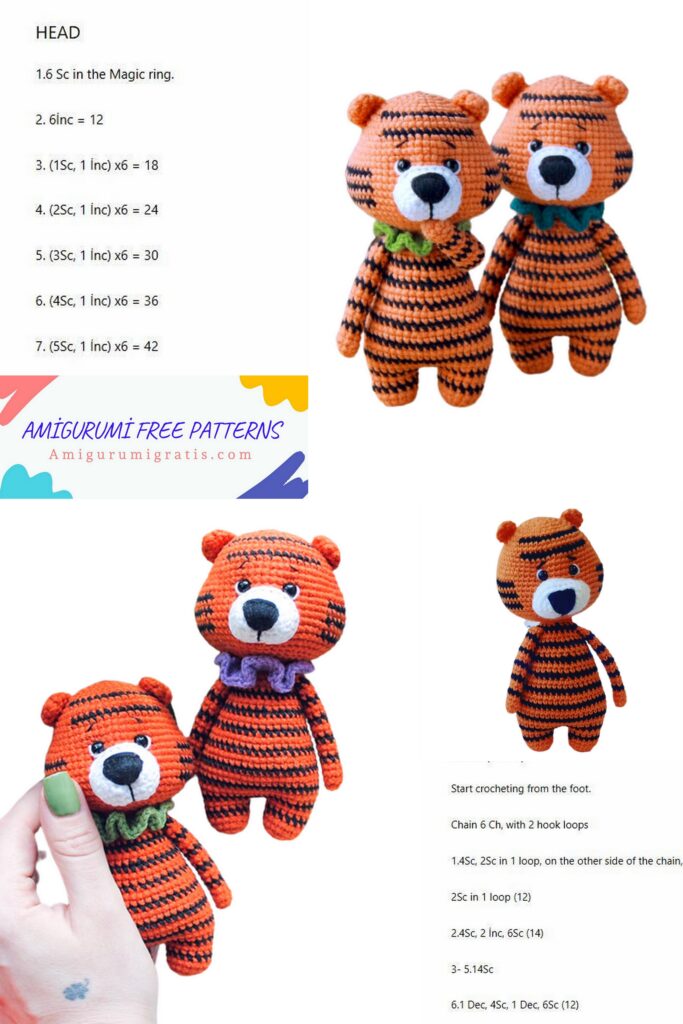
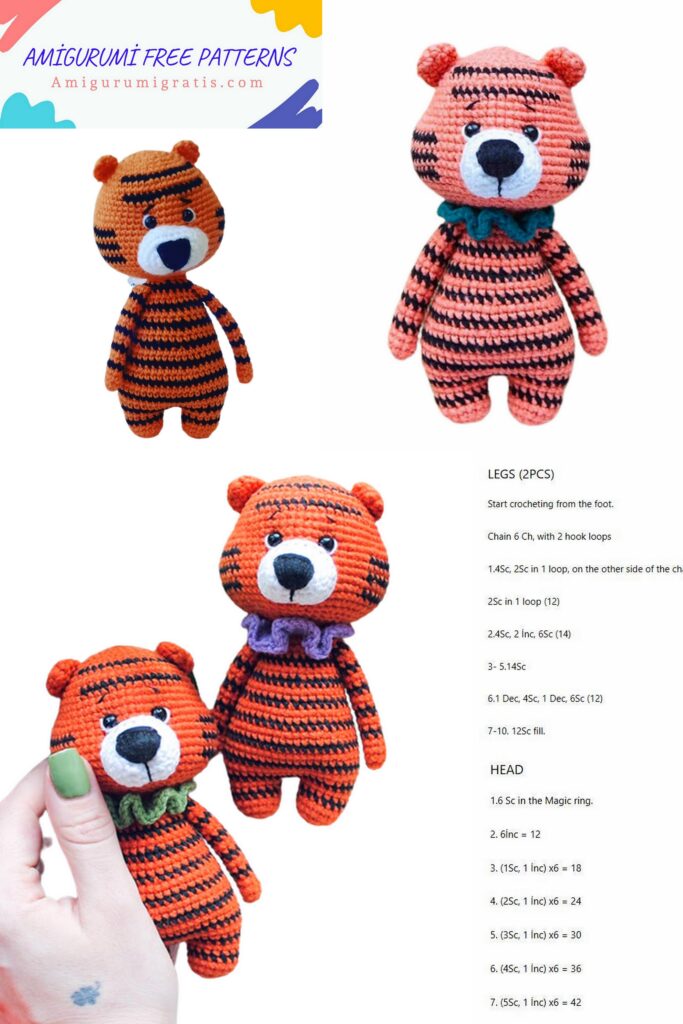
Head:
Orange yarn:
1st row: 6 sc into magic ring (6)
2nd row: 6 inc (12)
3rd row: (1 sc, inc) * 6 (18)
4th row: 1 sc, inc, (2 sc, inc) * 5, 1 sc (24)
5 row: (3 sc, inc) * 6 (30)
6 row: 2 sc, inc, (4 sc, inc) * 5, 2 sc (36)
From the next row, we begin to alternate between black and orange colors, the rows where the color change is not indicated are completely knitted with orange yarn:
7 row: orange 5 sc, inc, 5 sc, black inc, (5 sc, inc) * 2, orange (5 sc, inc) * 2 (42)
8 row: 3 sc, inc, (6 sc, inc) * 5, 3 sc (48)
9 row: 48 sc
10th row: orange 16 sc, black 14 sc, orange 18 sc (48)
11 row: (7 sc, inc) * 6 (54)
12-13 row: 54 sc (2 rows)
14th row: 9 sc, 6 inc, 20 sc, 6 inc, 13 sc (66)
In the next row we will make holes for the bladeless eyes. If using sewn or glue eyes, knit 66 sc unchanged.
15 row: 27 sc, 1 ch, skip one loop, 6 sc, 1 ch, skip one loop, 31 sc (66)
16th row: orange 9 sc, black 13 sc, orange 18 sc, black 13 sc, orange
13 sc (66)
17 row: 66 sc
18th row: orange 9 sc, black 13 sc, orange 18 sc, black 13 sc, orange 13 sc (66)
19 row: 66 sc
Row 20: orange 9 sc, black 13 sc, orange 18 sc, black 13 sc, orange
13 sc (66)
At this stage, you can insert the eyes. We begin to stuff our head. Then we do this while knitting.
When stuffing, pay special attention to the puppies, giving them shape.
21 row: (9 sc, dec) * 6 (60)
22 row: 4 sc, dec, (8 sc, dec) * 5, 4 sc (54)
23 row: (7 sc, dec) * 6 (48)
24 row: 3 sc, dec, (6 sc, dec) * 5, 3 sc (42)
25 row: (5 sc, dec) * 6 (36)
26 row: 2 sc, dec, (4 sc, dec) * 5, 2 sc (30)
27 row: (3 sc, dec) * 6 (24)
28 row: 1 sc, dec, (2 sc, dec) * 5, 1 sc (18)
Cut and fasten the thread. Leave a long tip for sewing.
Muzzle:
White yarn:
1 row: 5 ch, knit from the second from the hook: inc, 2 SC, 3 SC in one loop, 3 SC (10)
2nd row: 2 inc, 2 SC, 3 inc, 2 SC, inc (16)
3rd row: (1 SC, inc) * 2 times, 2 SC, (1 SC, inc) * 3 times, 3 SC, inc (22)
4-6 row: 22 SC (3 rows)
We do sl-st, cut and fasten the thread. Leave a long tip for sewing.
Ears (2 pcs):
Do not fill!
Orange yarn:
1st row: 6 sc into magic ring
2nd row: 6 inc (12)
3rd row: (2 sc, dec) * 3 (9)
Fold in half and knit by both sides 4 sc. Cut and fasten the thread. Leave a long tip for sewing.
Sew on the muzzle between rows 15 and 21.
Now we make a peephole tightening. We introduce the needle into the “neck” and draw it out at point 1. We introduce it at point 2, retreating 1 sc up. We deduce at point 3 at the second eye and enter at point 4, also stepping back 1 sc up. We output in the “neck”. Repeat one more time. Tie the ends in two knots and hide them in the head.
Embroider the nose with black thread, stepping back from the edge of the muzzle (from the eyelet) 3 rows, as shown in the photo.
We embroider the whites near the eyes with a white thread. We embroider the mouth and eyebrows with a black thin thread.
Sew on the ears, departing from the beginning of knitting 5 rows.
Handles / tail. Do not fill! (3 pcs):
Orange:
1st row: 6 sc into magic ring
2nd row: (1 sc, inc) * 3 (9)
3-4 row: 9 sc (2 rows)
Black:
5 row: 9 sc
Orange:
6-7 row: 9 sc (2 rows)
Black:
8 row: 9 sc
Orange:
9-10 row: 9 sc (2 rows)
Black:
11 row: 9 sc
Orange:
12-13 row: 9 sc (2 rows)
Black:
Row 14: 9 sc
Orange:
15-16 row: 9 sc (2 rows)
Black:
17 row: 9 sc
Orange:
Row 18: 9 sc
Fold in half and work 4 sc on both sides. Cut and fasten the thread. On one part, leave a long tip for sewing, on the other two, you can make it shorter, since the handles will be tied into the body.
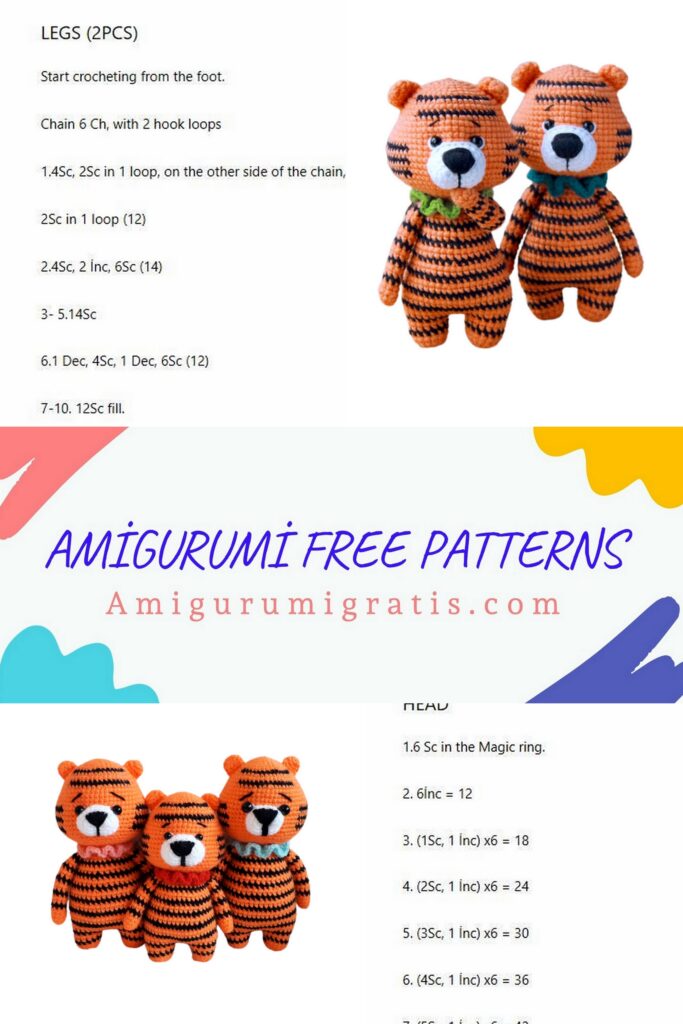
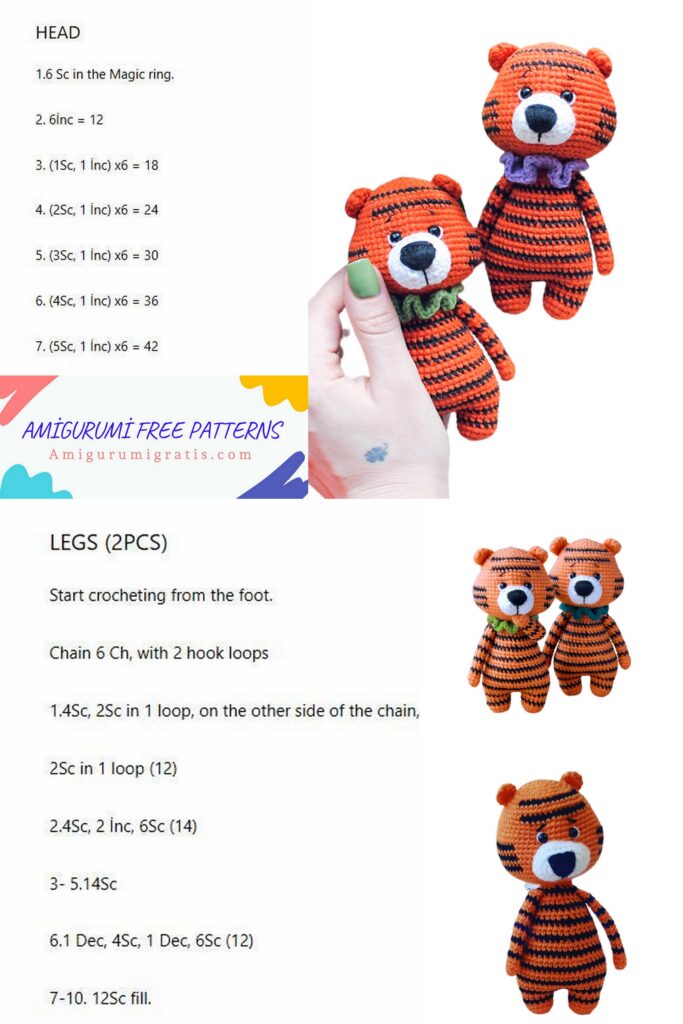
Legs / body:
We fill in the course of knitting.
Orange:
1st row: 8 sc into magic ring
2nd row: 8 inc (16)
3-4 row: 16 sc (2 rows)
Black:
5 row: 16 sc
Orange:
6 row: 16 sc
Cut and fasten the thread at the first leg.
Tie the second leg in the same way, but the thread is not cut hey. We knit one additional column of offset to hide the color transition step and do 3 ch. We attach the second leg to the first and knit further in a circle:
7 row: 16 sc along one leg, 3 sc along the chain of ch, 16 sc along the other leg, 3 sc along the chain of ch (38)
Black:
8 row: 7 sc, inc, (9 sc, inc) * 3 (42)
Orange:
9th row: (6 sc, inc) * 6 (48)
10 row: 48 sc
Black:
11 row: 48 sc
Orange:
12-13 row: 48 sc (2 rows)
Black:
Row 14: 48 sc
Orange:
15 row: 48 sc
16 row: (6 sc, dec) * 6 (42)
Black:
17 row: 42 sc
Orange:
Row 18-19: 42 sc (2 rows)
Black:
20 row: (5 sc, dec) * 6 (36)
Orange:
Rows 21-22: 36 sc (2 rows)
Black:
23 row: 36 sc
Orange:
24 row: (4 sc, dec) * 6 (30)
25 row: 30 sc
Black:
26 row: 30 sc
Orange:
27 row: 30 sc
28 row: (3 sc, dec) * 6 (24)
In the next row we knit handles.
Row 29: 4 sc, 4 sc with a handle, simultaneously engaging the loops of the arm and body, 8 sc, 4 sc with a handle, 4 sc (24)
30 row: (2 sc, dec) * 6 (18)
Cut and fasten the thread.
Sew the head to the body.
Sew the tail between the 14th and 15th rows of the body, so that it does not stick up.
Collar:
23 ch, in the fourth from the hook we begin to knit 3 dc in each loop. So we knit to the end of the row. Cut the thread and leave the tip for sewing.
We close the collar on the tiger’s neck and sew the two edges together.
Your tiger is ready!