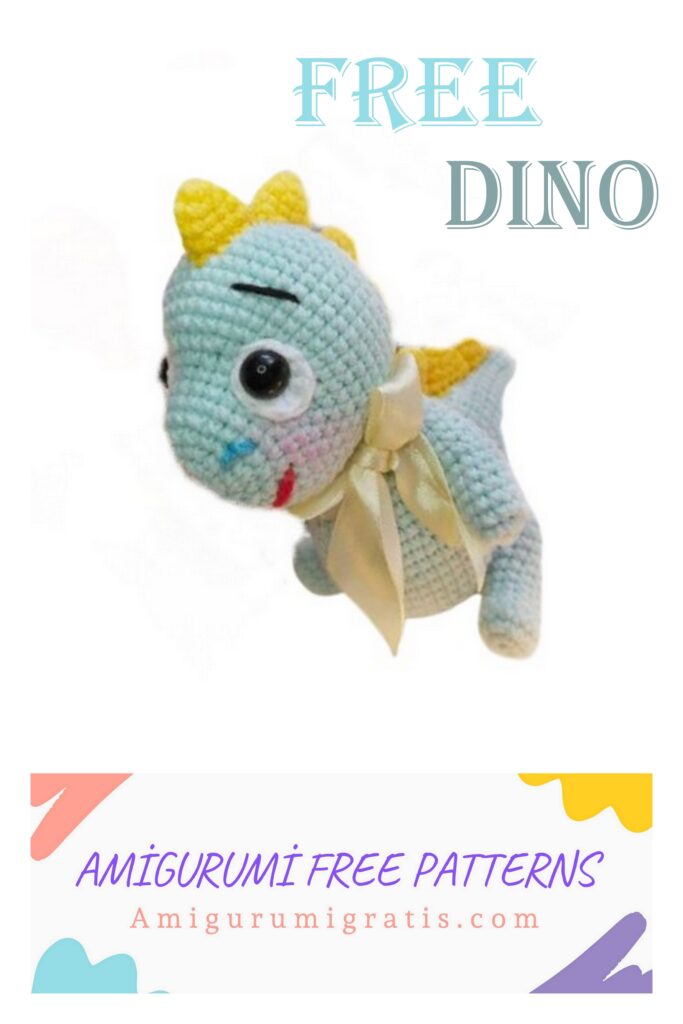
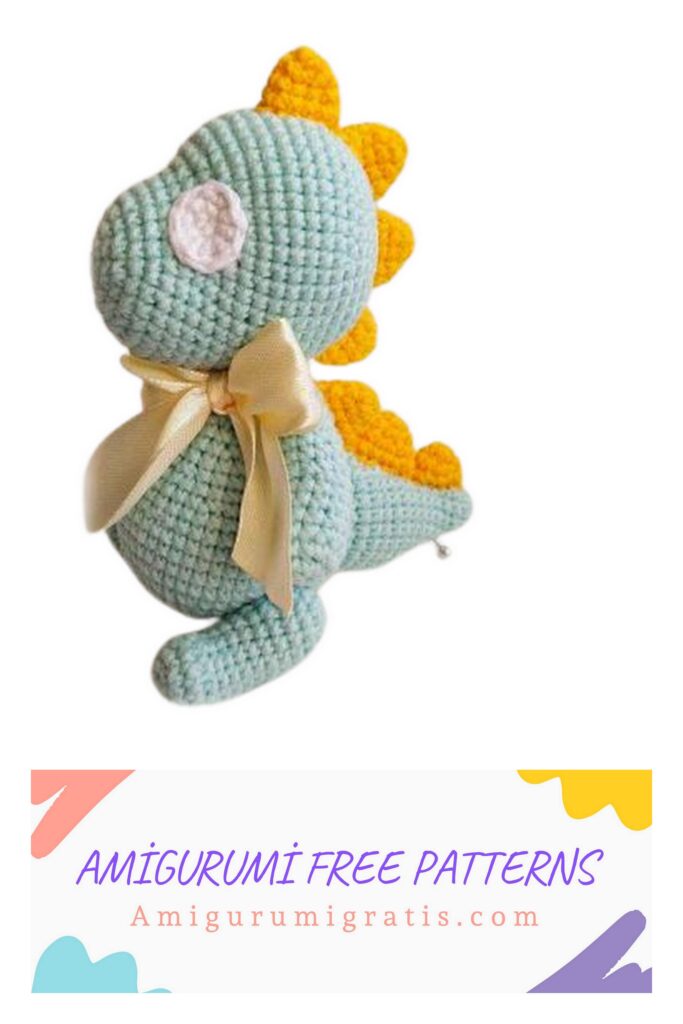
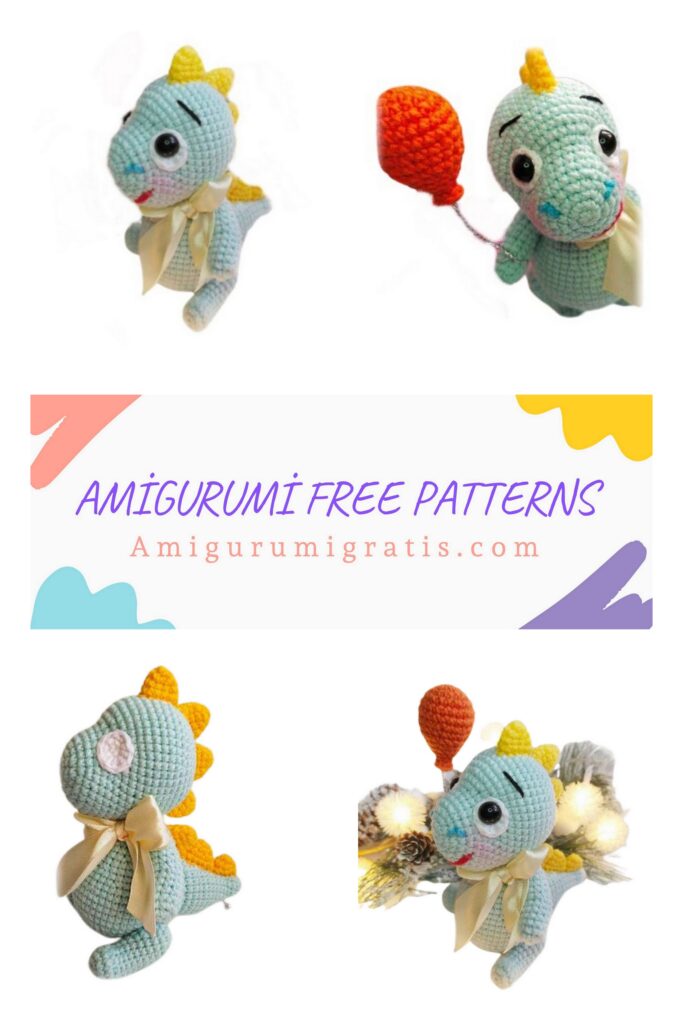
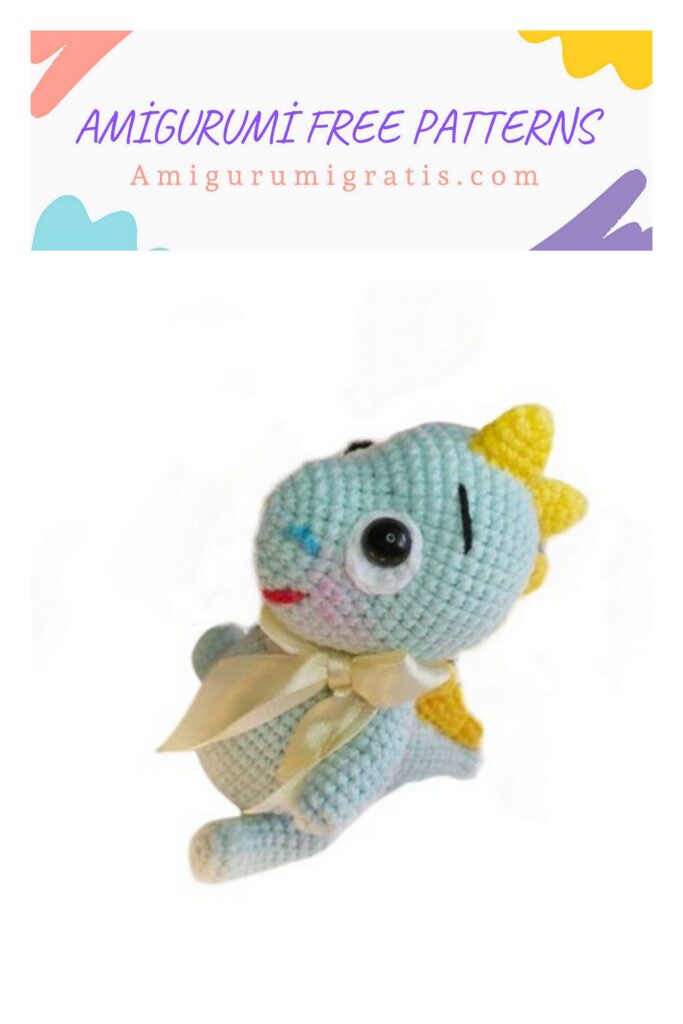
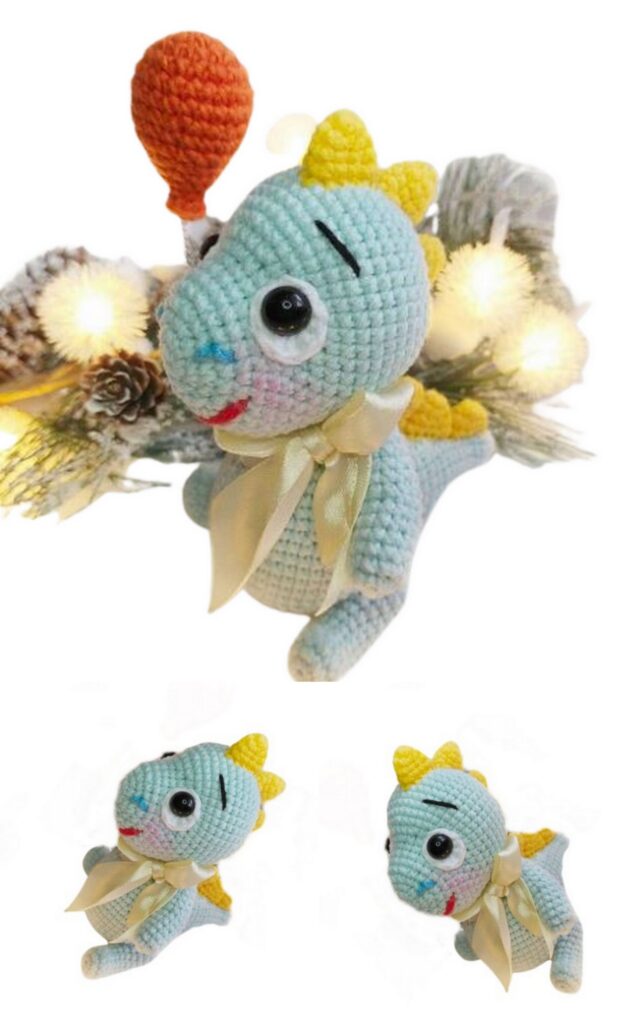
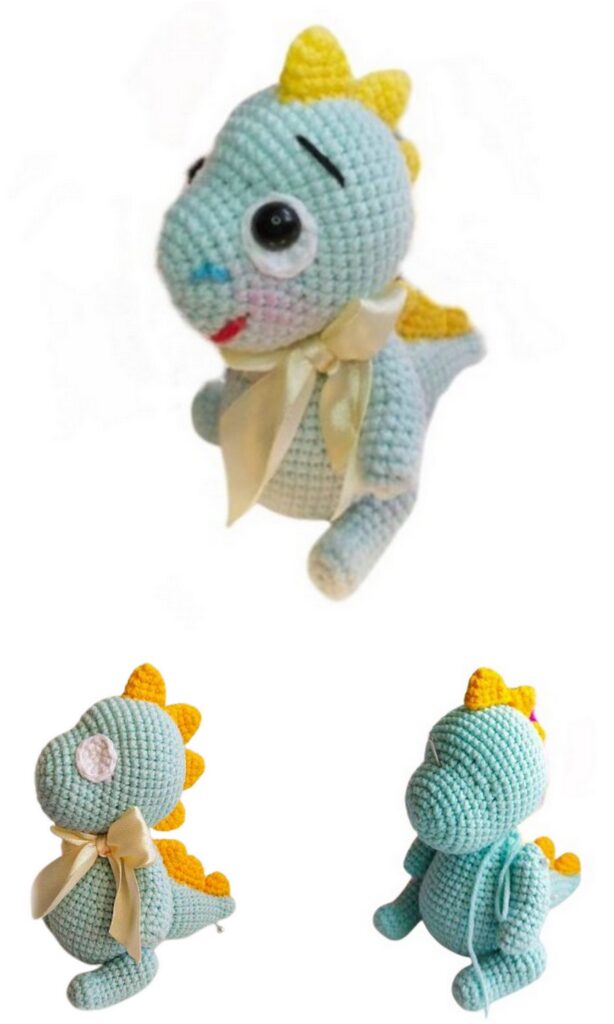
A cute dino, Free amigurumi pattern is here. Visit our website. Amigurumi Cute Dino Free Pattern
Materials required:
1. Alize cotton gold of blue (main), yellow and white (quite a few) colors, orange for the ball
2. Filler
3. Hook (I have No. 1.6)
4. Sewing needle
5. Black half-beads 2 pcs.
6. Aluminum wire about 15 cm (for a ball)
7. Satin ribbon 25mm wide – 20 cm
8. Dry pastel for toning

Legend:
Sc – single crochet
Dec – decrease
İnc – increase
Ch. – air loop
Sl-st – connecting post
Hdc – half double crochet
Dc – double crochet
İnc dc – increase the double crochet (knit two double crochet in one loop of the previous row)
Arms
1st row: 6 sc into magic ring
2nd row: 6 inc (12)
Rows 3-7: 12 sc (5 rows)
8 row: 5 sc for back wall, 7 sc (12)
9 row: 5 sc behind the front walls of the previous row, 7 sc (12)
Rows 10-13: 12 sc (4 rows)
14 row: 6 dec.
Legs
1 row: 5 ch., From the 2nd loop from the hook 3sc, 3 sc in one loop, then knit along the other side of the chain: 2 sc, inc (10)
2nd row: inc, 2 sc, 3 inc, 2 sc, 2 inc (16)
3rd row: 16 sc
4th row: 4 sc, 4 dec, 4 sc (12)
Rows 5-7: 12 sc (3 rows)
8 row: inc, 5 sc, inc, 5 sc (14)
9 row: 14 sc
10 row: inc, 6 sc, inc, 6 sc (16)
11-12 rows: 16 sc
13 row: (2 sc, dec) * 4 (12)
14th row: 6 dec

Torso
1st row: 6 sc into magic ring
2nd row: 6 inc (12)
3rd row: (sc, inc) * 6 (18)
4th row: (inc, 2 sc) * 6 (24)
5 row: (3 sc, inc) * 6 (30)
6 row: (2 sc, inc, 2 sc) * 6 (36)
7 row: (5 sc, inc) * 6 (42)
8 row: (3 sc, inc, 3 sc) * 6 (48)
9th row: (7 sc, inc) * 6 (54)
10-12 rows: 54 sc
13 row: (7 sc, dec) * 6 (48)
14 row: 48 sc
15 row: (3 sc, dec, 3 sc) * 6 (42)
16 row: 42 sc
17 row: (5 sc, dec) * 6 (36)
18 row: 36 sc
19 row: (2 sc, dec, 2 sc) * 6 (30)
20 row: 30 sc
21 row: (3 sc, dec) * 6 (24)
22 row: 24 sc
23 row: (sc, dec, sc) * 6 (18)
24-25 rows: 18 sc.
Fasten the thread, cut. Stuff the torso.
Tail
1st row: 6 sc into magic ring
2nd row: (2 sc, inc) * 2 (8)
3rd row: 8 sc
4th row: (3 sc, inc) * 2 (10)
5 row: (4 sc, inc) * 2 (12)
6 row: (5 sc, inc) * 2 (14)
7 row: (6 sc, inc) * 2 (16)
8 row: (7 sc, inc) * 2 (18)
9th row: (8 sc, inc) * 2 (20)
10 row: 9 sc, inc, 10 sc
11 row: 10 sc, inc, 10 sc
12th row: 10 sc, inc, 11 sc
Row 13: 11 sc, inc, 11 sc
Fasten the thread, cut. Fill. Sew on to the body.
Head
1st row: 6 sc into magic ring
2nd row: 6 inc (12)
3rd row: (sc, inc) * 6 (18)
4th row: (inc, 2 sc) * 6 (24)
5 row: (3 sc, inc) * 6 (30)
6-8 rows: 30 sc (3 rows)
9 row: (sc, inc) * 6, 18 sc (36)
10 row: (inc, 2 sc) * 6, 18 sc (42)
11 row: (3 sc, inc, 3 sc) * 6 (48)
12-18 rows: 48 sc (7 rows)
19 row: (3 sc, dec, 3 sc) * 6 (42)
20 row: 42 sc
21 row: (5 sc, dec) * 6 (36)
22 row: (2 sc, dec, 2 sc) * 6 (30)
23 row: (3 sc, dec) * 6 (24)
24 row: (sc, dec, sc) * 6 (18)
25 row: (sc, dec) * 6 (12)
26 row: 6 dec. Fasten the thread, cut, pull the hole. Make a tightening of the eye sockets. Sew on to the body.

Whites of the eyes
1st row: 6 sc into magic ring
2 row: 2 sc, (hdc, dc) in one loop, inc dc, (dc, hdc) in one loop, inc, sl-st.
Sew on. Glue the half-bead.
Or link the pupil with black:
1.6 sc into magic ring, sl-st.
Large scallops (5 pcs)
1st row: 6 sc into magic ring
2nd row: (2 sc, inc) * 2
3rd row: (3 sc, inc) * 2
4th row: (4 sc, inc) * 2.
We sew combs on the head, back and tail, except for the very tip.
Small scallops (1 piece)
1st row: 6 sc into magic ring
2nd row: (2 sc, inc) * 2
3rd row: (3 sc, inc) * 2. Sew on the tip of the tail.
Using the thread fastening, we install the handles and legs.
Ball
1st row: 6 sc into magic ring
2nd row: 6 inc (12)
3rd row: (sc, inc) * 6 (18)
4th row: (inc, 2 sc) * 6 (24)
5-6 rows: 24 sc
7 row: (2 sc, dec) * 6
8-9 rows: 18 sc
10 row: (sc, dec) * 6
11 row 12 sc
Fold the wire in half, leave a small ring so that you can put it on the dinosaur handle. We twist. We insert into the ball, having previously wrapped the ends with adhesive plaster.
12th row: 6 dec
13 row: (sc, inc) * 3. Fasten the thread, cut.