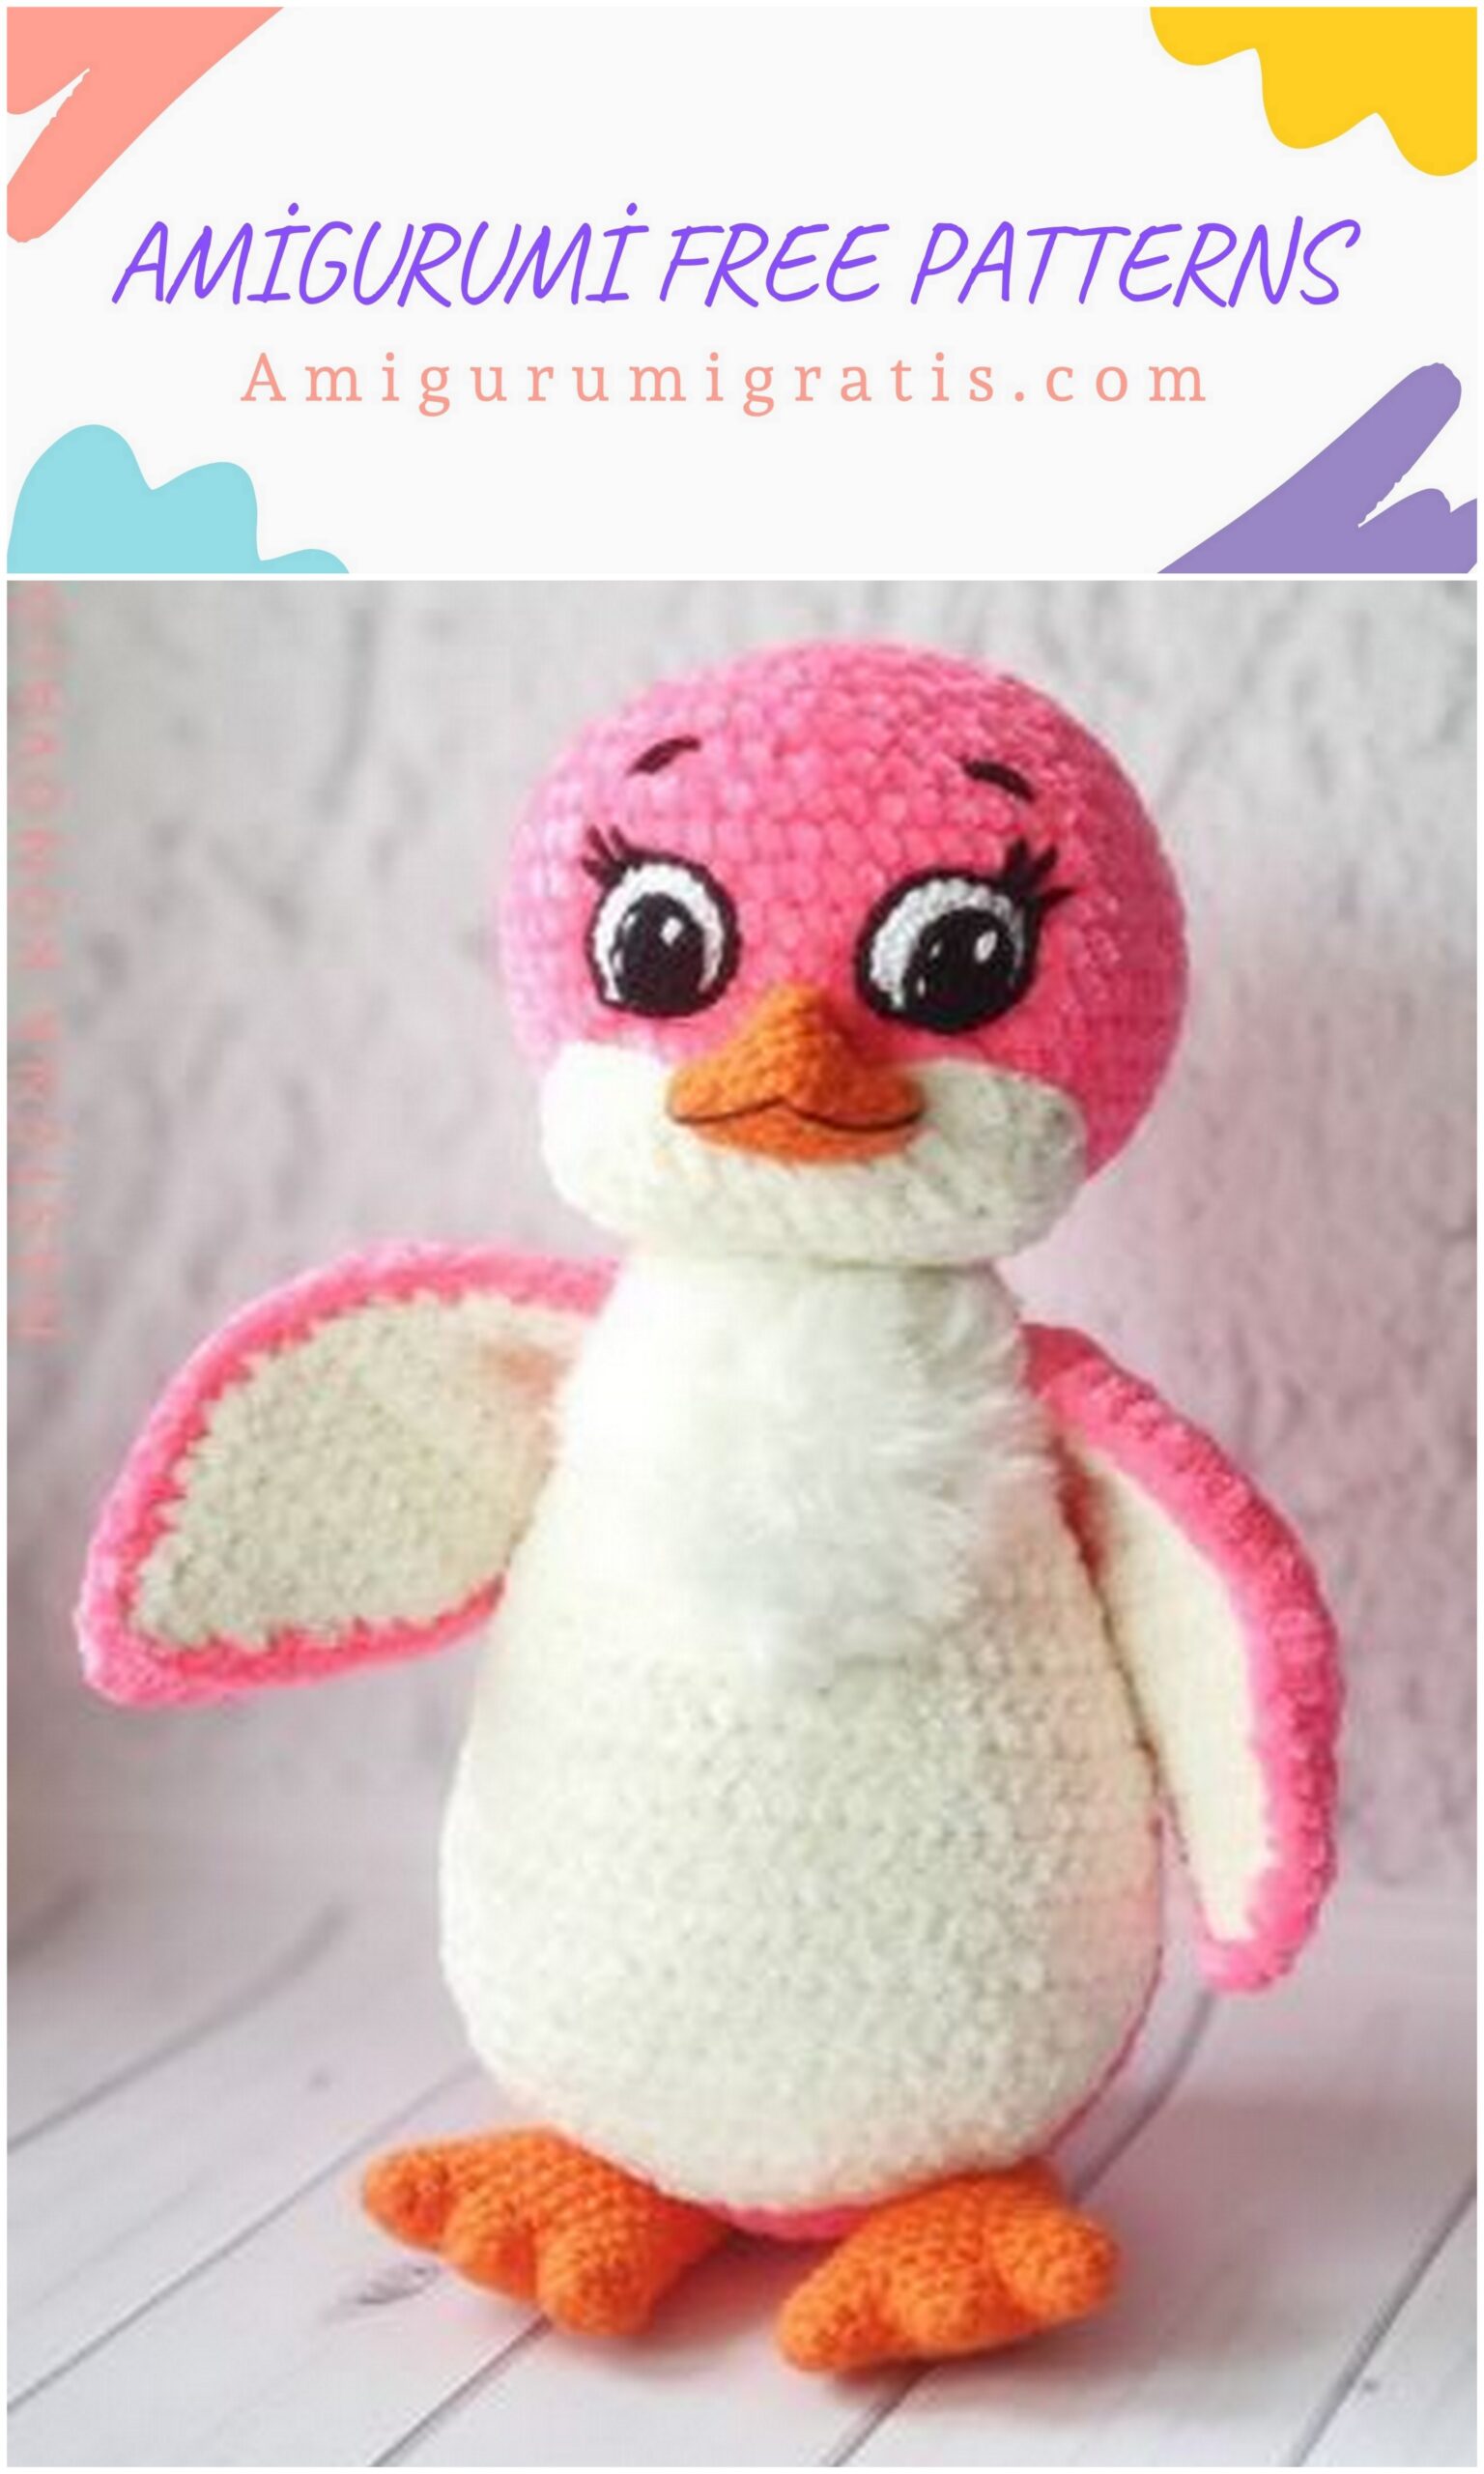
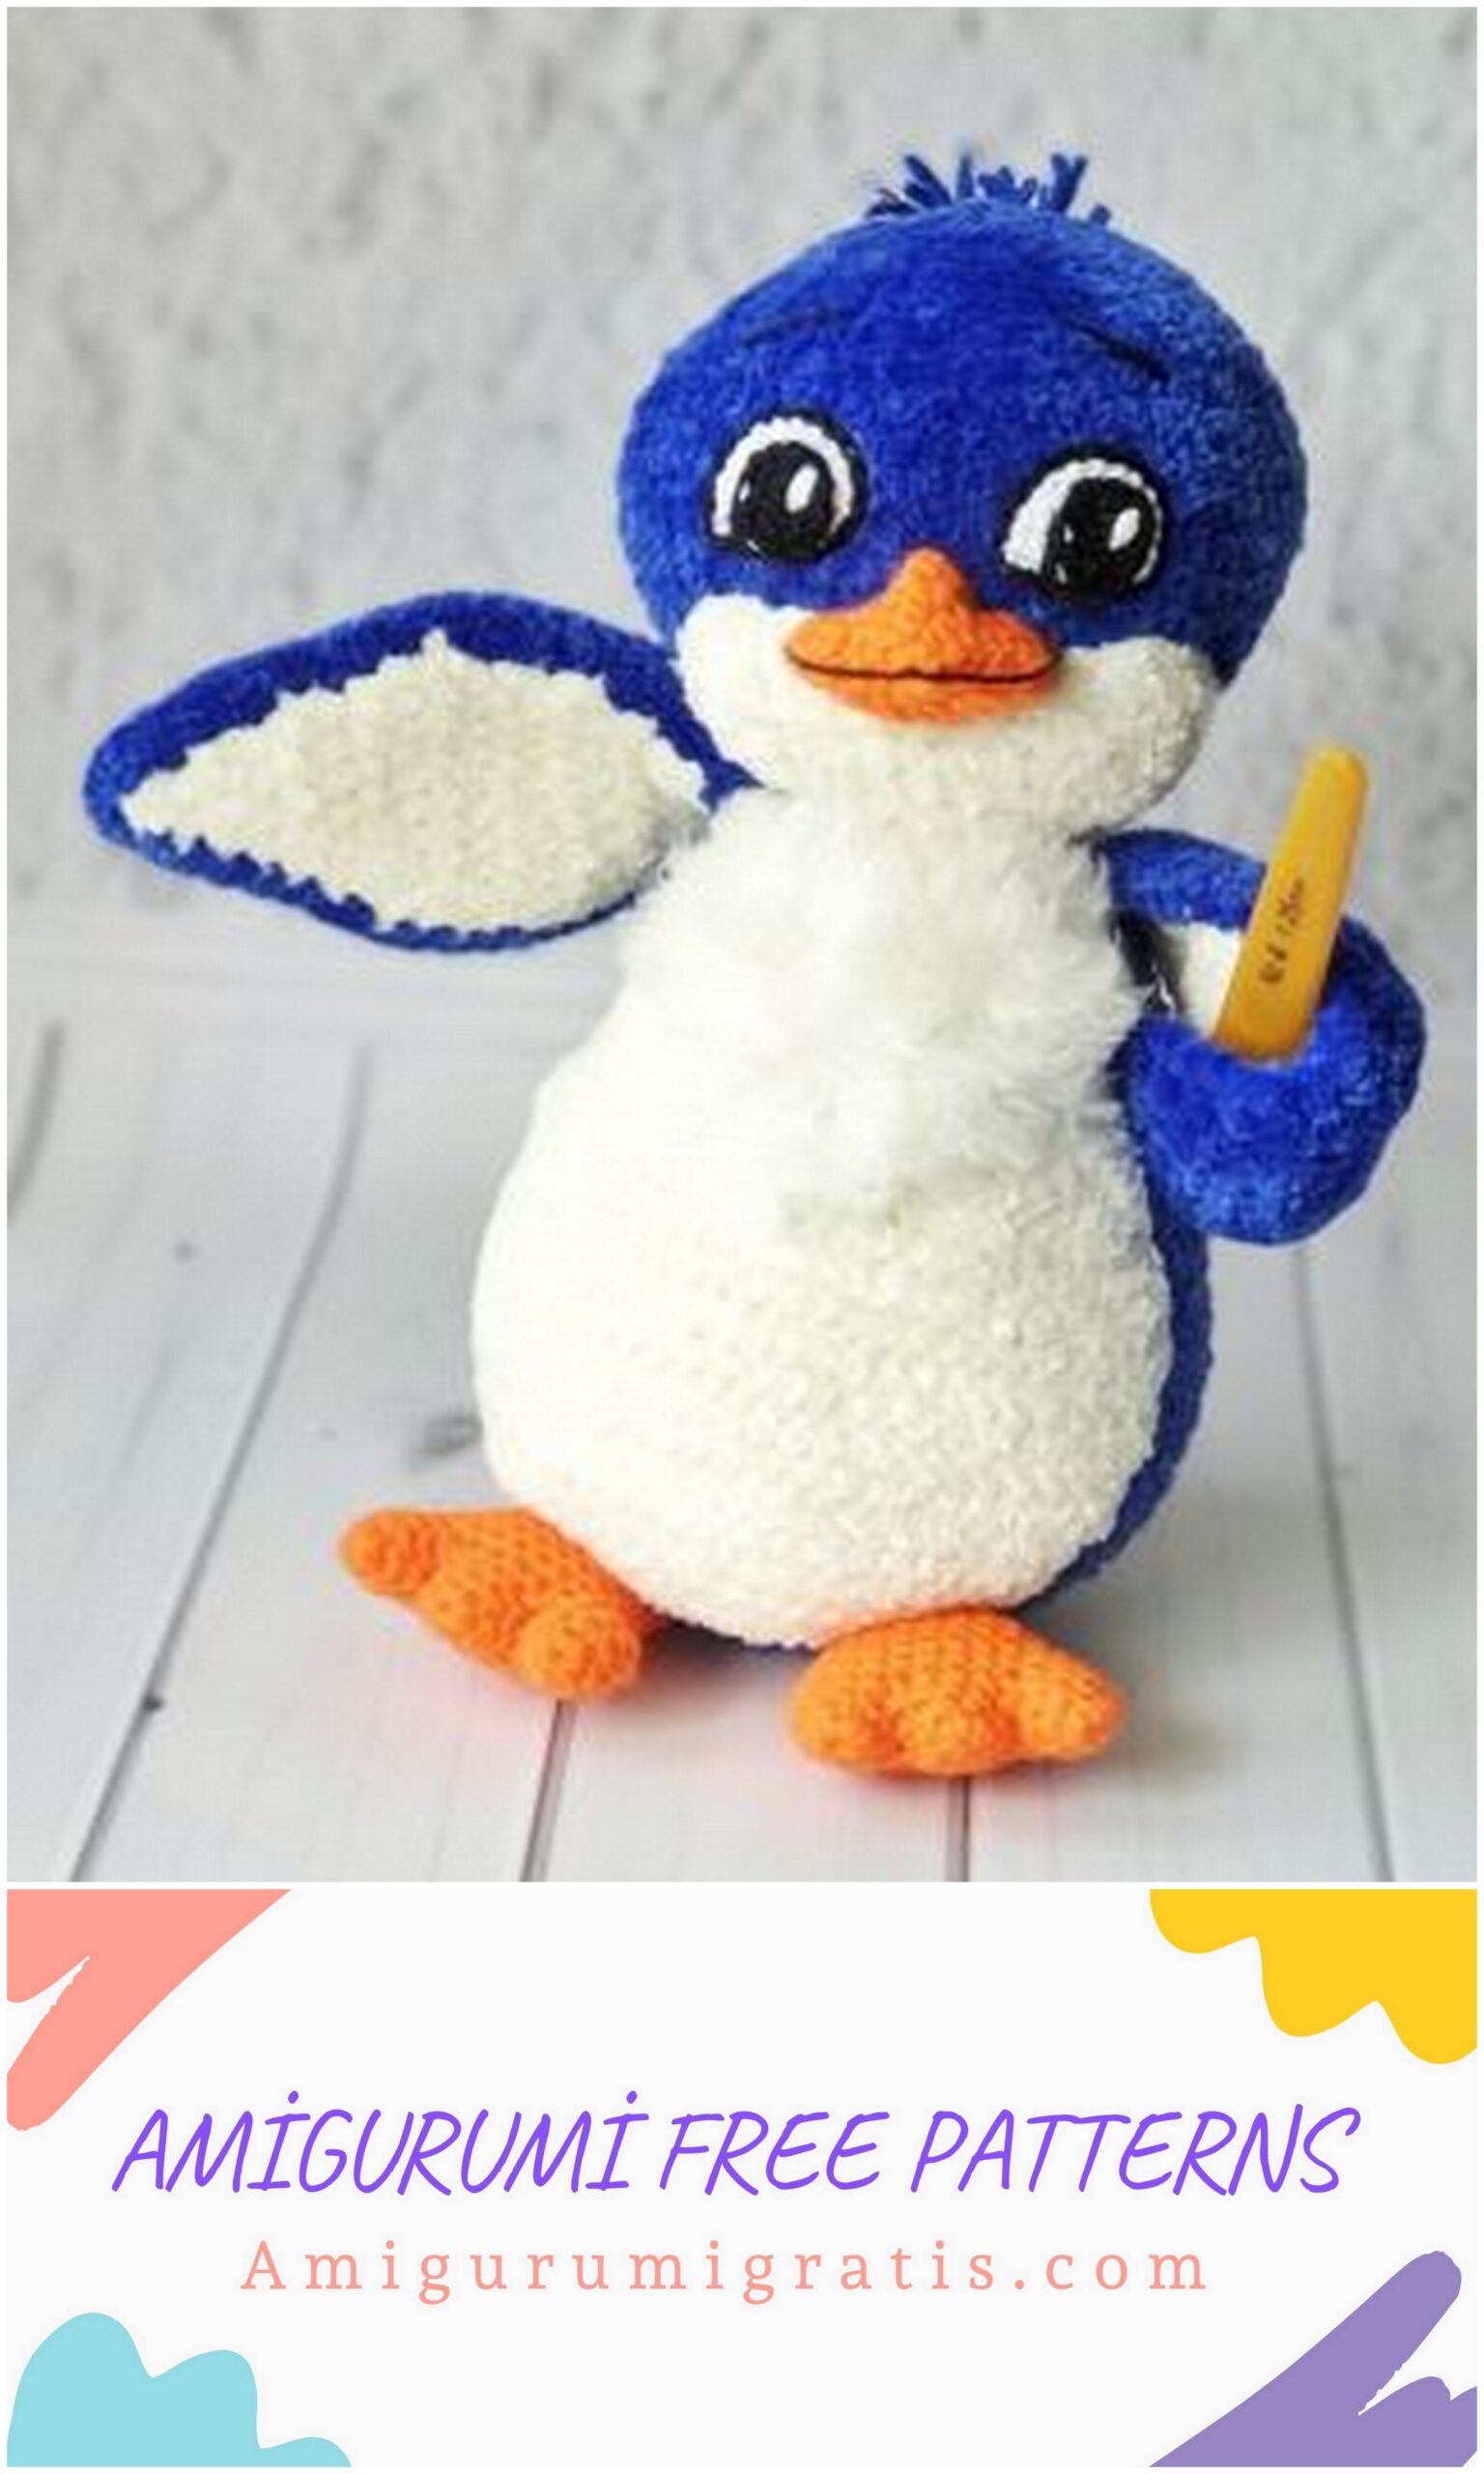
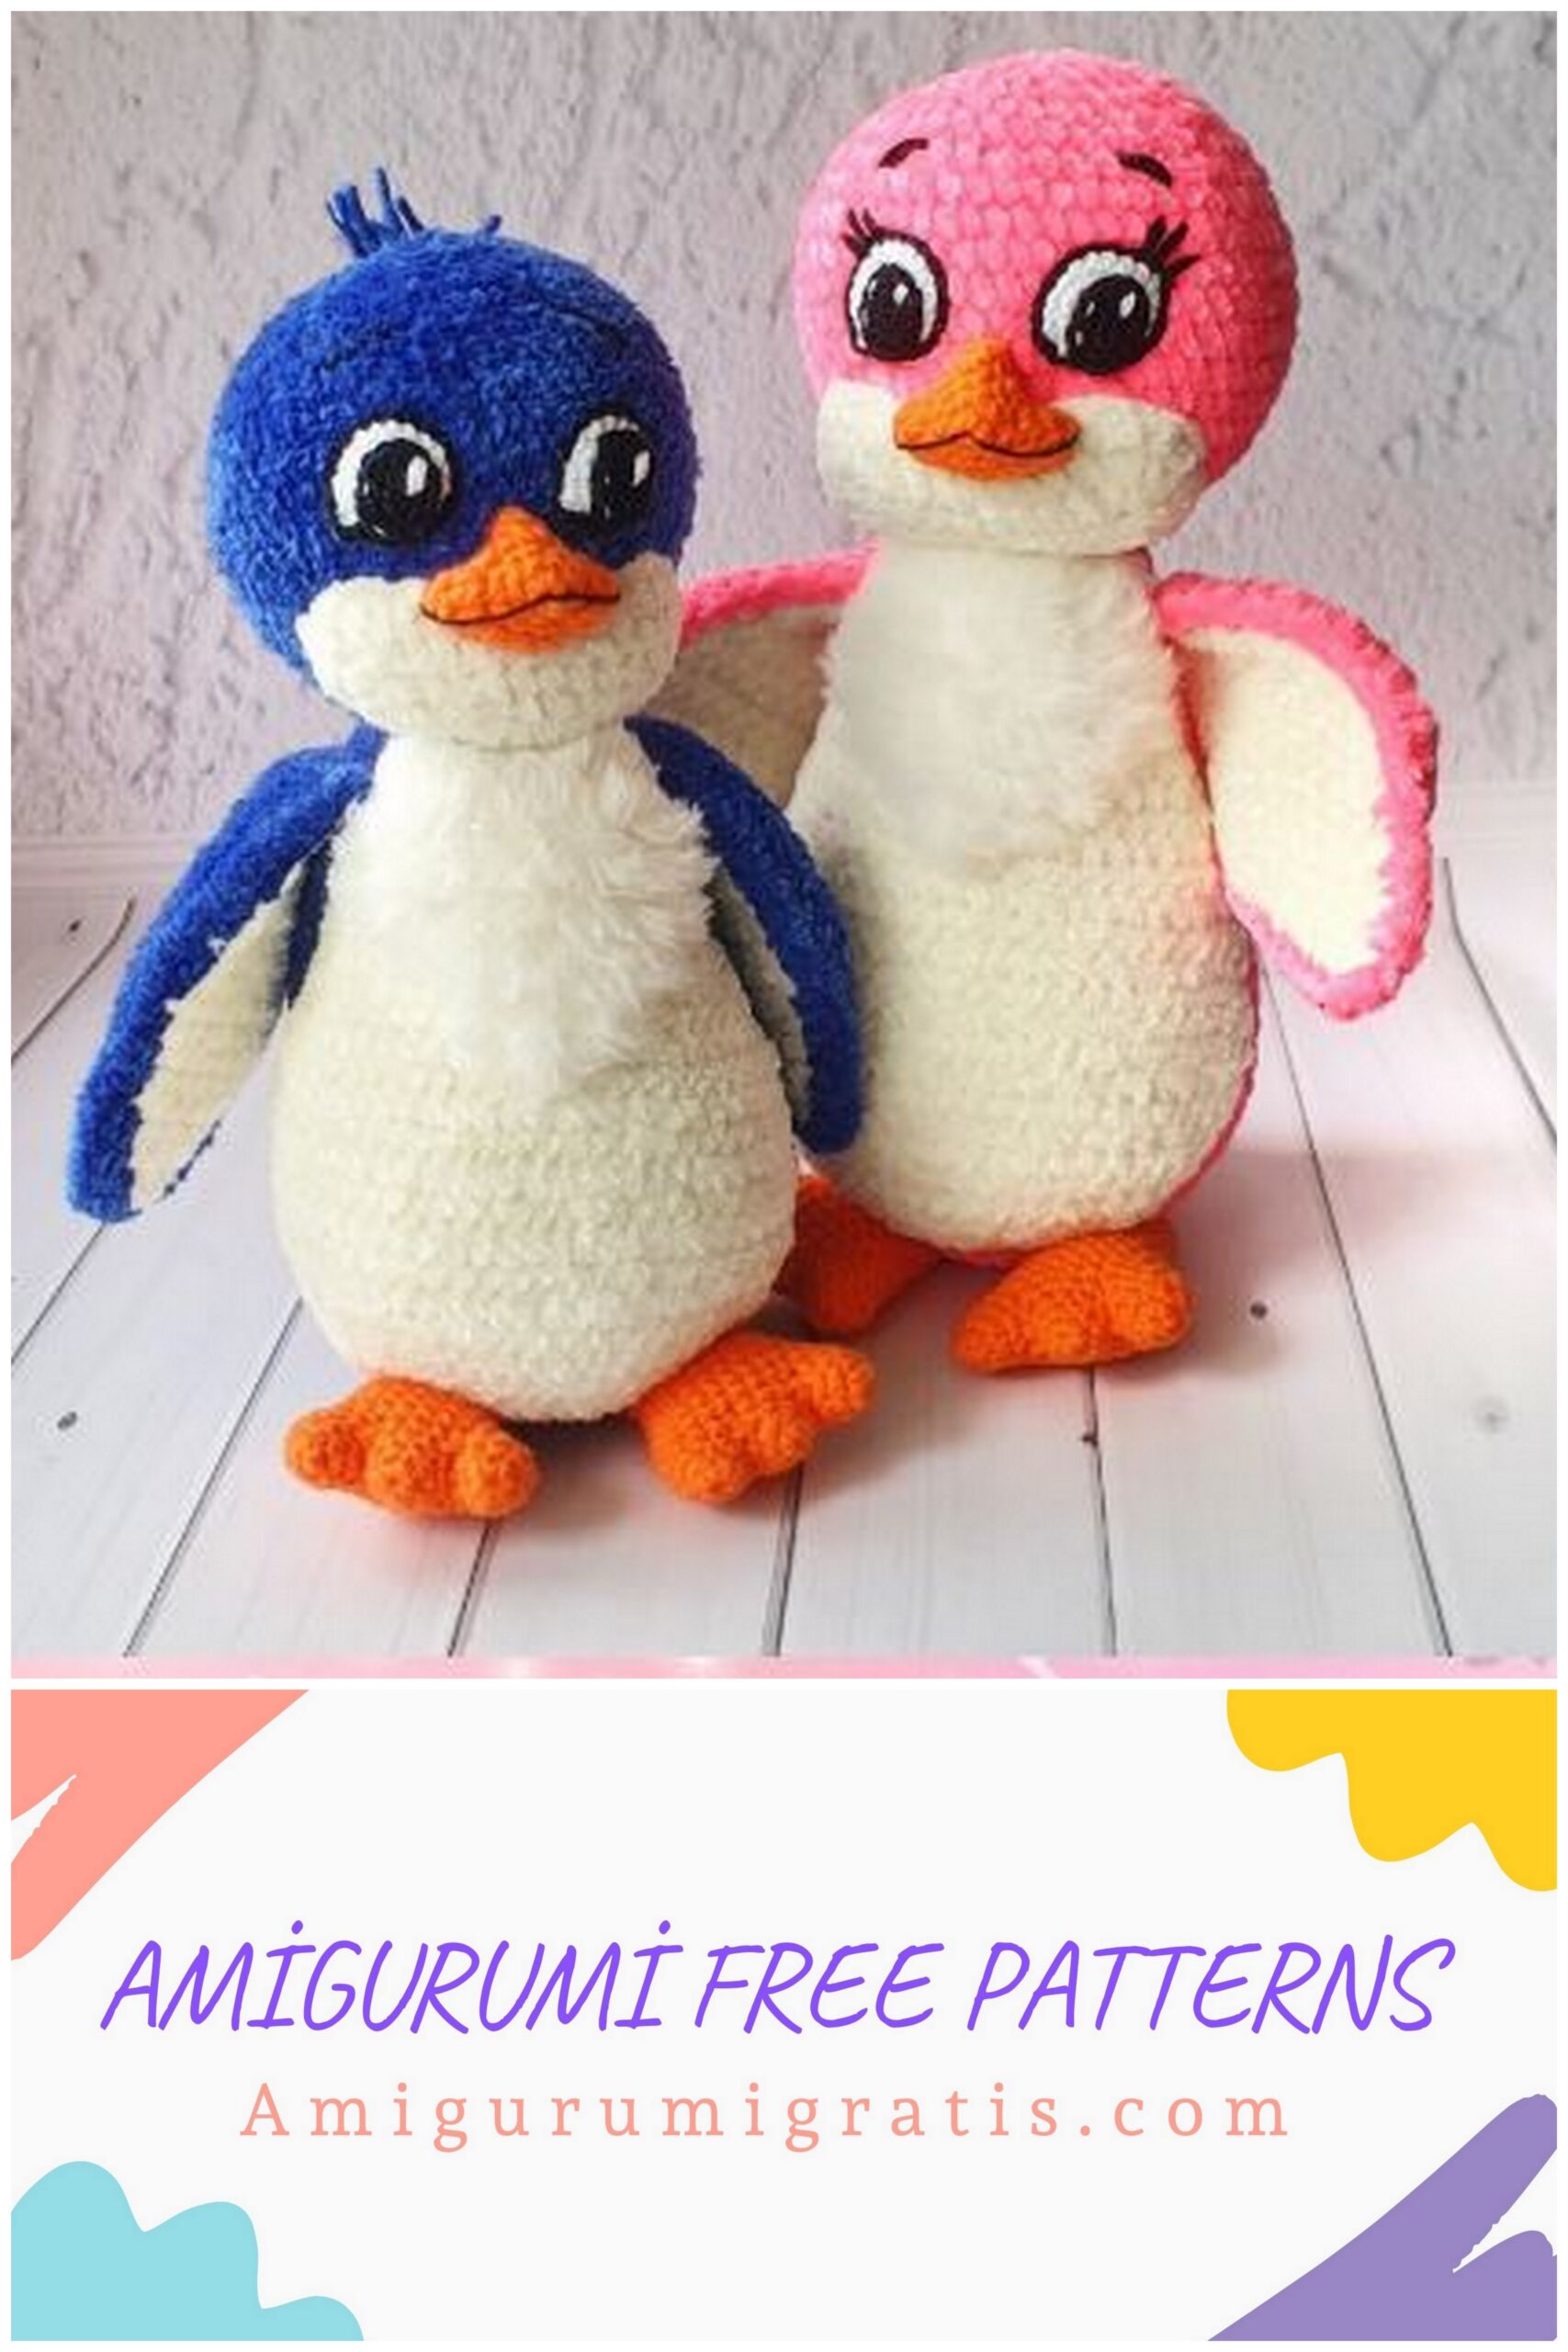
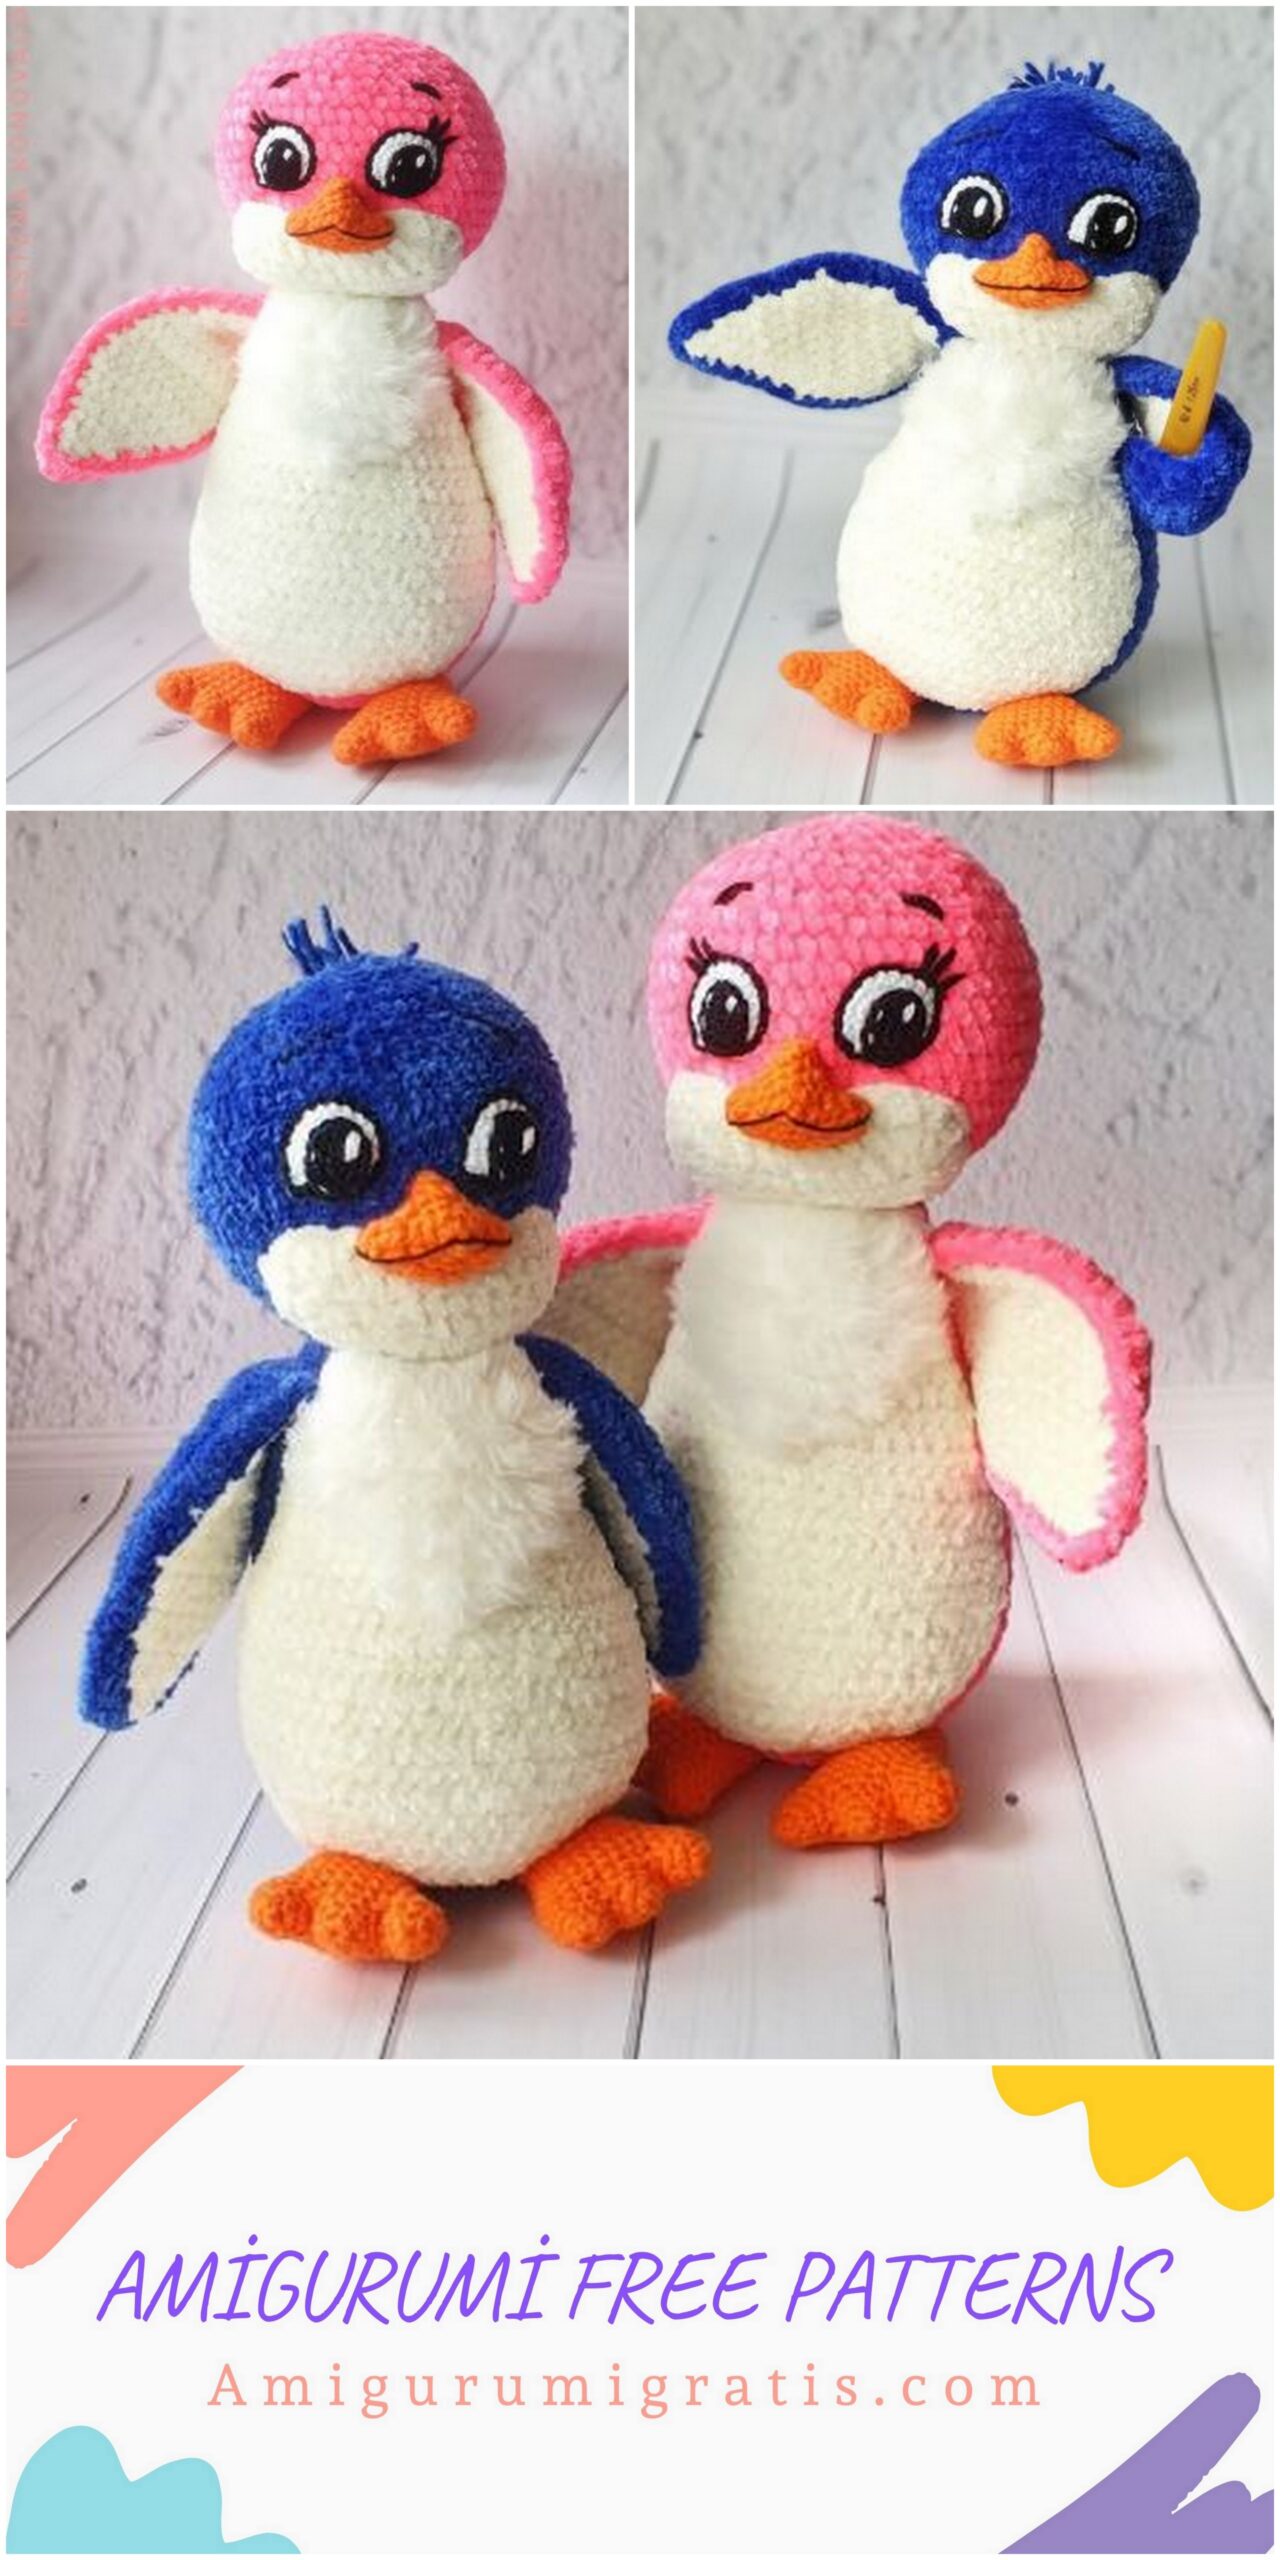
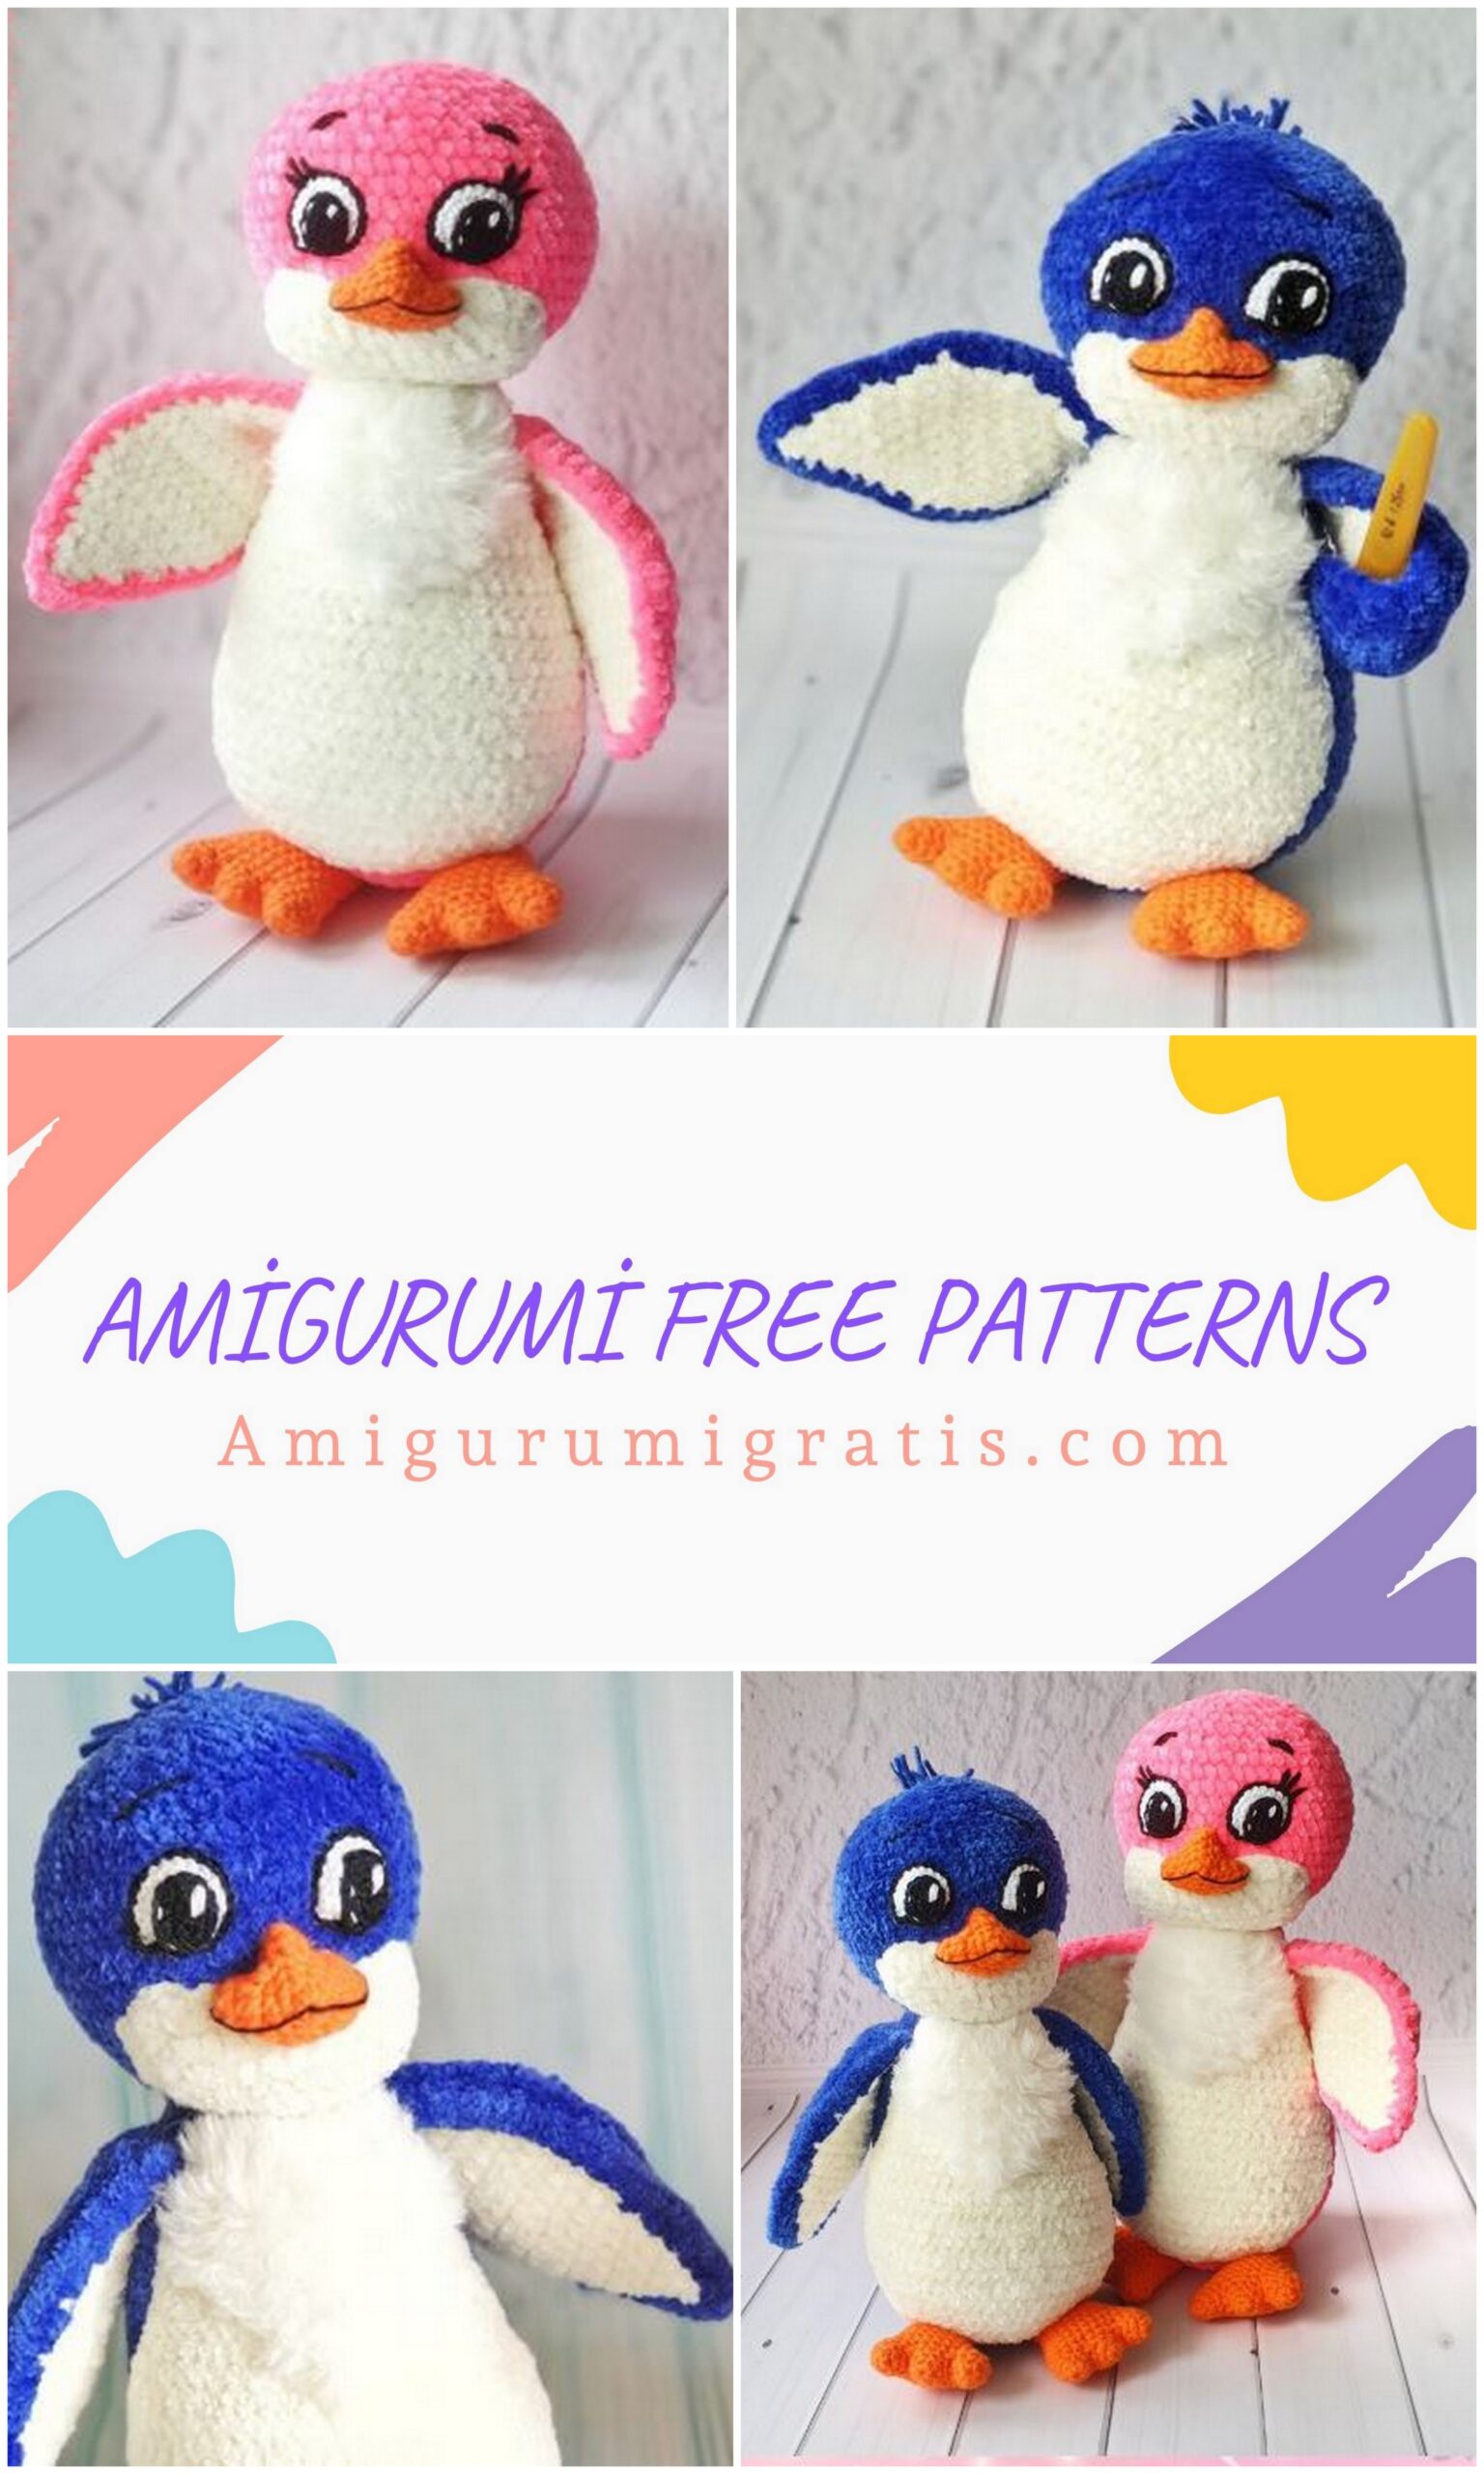
Amigurumi Penguins Lolo and Pepe Free Pattern Penguins Lolo and Pepe
The size of the toy depends on the yarn and the hook you choose. Lolo is crocheted from dolphin fine, his height is 19 cm, Pepe is crocheted from Yarnart velour, her height is 21 cm Both toys are crocheted number 2.
The master class does not include the basics of knitting, it is intended for people who are already good at crocheting and can read the pattern.
Main materials for the toy:
– plush yarn (I used “Himalaya” “Dolphin fine” (175 m / 100 gr.)): main color (less than a skein) – number 29 ( Lolo);
On Pepe “YarnArt” “Velour” – number 860
add. color – number 08 or 01 (less than half a skein);
– yarn “Vita” “Coco” or analogues – for stitching details and for knitting an eyelet (white and black);
– yarn “YarnArt” “Jeans” for the beak and paws (color number 77);
– “Yarnart” “Mink” for a small breast (color 330, quite a bit);
– hooks (I use 2 mm for the toy, 1.25 mm for the eyes);
– holofiber or sintepuh (or any filler that you usually use);
– needle, marker, scissors.
Legend:
MR – amigurumi ring
CH – air loop
SC – single crochet
İNC – increase
DEC – decrease
SS – connecting post
DC – double crochet
HDC – double crochet
The amigurumi ring on plush yarn is not made the same way as on regular yarn, since the yarn is voluminous, we do it this way: Cast on 2 CH, and in the 2nd loop from the hook we make 6 SC, connect SL-ST to the first loop, the ring is ready =)
I knit in the “crosses” way, so the fabric turns out
denser, and plush yarn seems even prettier =)

Well =) Let’s start our knitting =)
Wings (2 pcs.):
We knit in turning rows, at the beginning of each row we make CH lifting.
We knit 2 parts (2 parts add.
color and 2 main, we do not cut the thread at the end of knitting the wing with the main color)
(see diagram) 2 CH
1) from the second loop we knit 3 SC in one loop
2) 3SC
3) İNC, 1 SC, İNC ( 5 )
4) 5SC
5) İNC, 3 SC , İNC ( 7)
6) 7SC
7) İNC, 5 SC , İNC ( 9)
8) İNC, 7 Sat, İNC (11)
9) – 14) 11 SC (6 rows)
15) DEC, 7SC, DEC ( 9 )
16) 9SC
17) DEC, 5SC, DEC ( 7)
18) -19) 7 SC (2 rows), for add. We fix the colors of the thread, cut it; we do not cut off the main color (we will sew the wings together with this thread).
We connect our wings and tie SC around the entire perimeter with the main color, at the tip of the wing we make 3 SC (corner), on top you should get 7 SC, cut the thread, fasten. Wings will be tied into the body. We knit the second wing in the same way.
We knit the body – the head, and
wings will be knitted in the course of knitting.
1) 6 SC to MR
2) 6 inch ( 12)
3) (1 SC, İNC )*6 (18)
4) 1 SC, İNC, (2 SC, İNC ) *5, 1 SC ( 24)
5) (3 SC, İNC ) *6 ( 30)
6) 2 SC, İNC, ( 4 SC , İNC) *5, 2 SC ( 36)
7) (5 SC, İNC ) *6 ( 42)
8) 3 SC, İNC, ( 6 SC , İNC ) *5, 3 SC ( 48)
9) (7 SC, İNC) * 6 (54)
10) 4 SC, İNC , (8 SC , İNC)*5, 4 SC ( 60)
11)- 16) 60 SC (6 rows)
17) (8 SC, DEC) *6 ( 54 )
18- 19) 54 SC (2 rows)
20) (7SC, DEC) *6 ( 48)
21)- 23) 48 SC (3 rows)
24) (6 SC, DEC)*6 ( 42)
25) – 26) 42 SC (2 rows)
27) (5 SC, DEC)*6 ( 36)
28)-29) 36 SC (2 rows)
30) (4SC, DEC)*6 ( 30)
31)-32) 30 SC (2 rows)
33) We knit the wings (we knit through the walls of the wing and the body at the same time): 8 SC, 7 SC together with the wing, 8 SC, 7 SC together with the wing
34) (3 SC, DEC) *6 ( 24)
35) – 36) 24 SC (2 rows)
37) (2 SC, DEC) *6 (18), fill
body
Next, we knit the head at once
38) 18 İNC (36 SC)
39) (5 SC, İNC)*6 ( 42)
40) 3 SC, İNC, (6 SC, İNC ) *5, 3 SC ( 48)
41) (7 SC, İNC)*6 ( 54)
42) 4 SC, İNC , (8 SC , İNC)*5, 4 SC ( 60)
43) – 49) 60 SC (7 rows)
50) 4SC, DEC, (8SC, DEC) *5 , 4SC ( 54)
51) (7SC, DEC) *6 ( 48)
52) 3SC, DEC, (6SC, DEC) *5 , 3SC ( 42)
53) (5 SC, DEC) *6 ( 36)
54) 2SC, DEC, (4SC, DEC) *5, 2SC ( 30 )
55) (3 SC, DEC) *6 ( 24)
56) 1 SC, DEC, (2 SC, DEC) *5, 1 SC (18), fill the head
57) (1 SC, DEC) *6 ( 12)
58) 6 DEC, cut the thread, fasten, tighten the hole
Breast (we knit with rotary rads in the same way as wings):
9CH
1) from the second loop we knit 8 SC
2) İNC, 6 SC , İNC ( 10 )
3) İNC, 8 SC , İNC ( 12 )
4) İNC, 10 SC , İNC ( 14)
5) İNC, 12 SC, İNC ( 16)
6) İNC , 14 SC , İNC ( 18)
7) İNC, 16 SC , İNC ( 20)
8) 20SC
9) İNC, 18 SC , İNC ( 22)
10 ) İNC, 20 SC , İNC ( 24)
11) 3 SC in 1 loop, 22 SC, 3 SC in 1 loop (28)
12) – 18) 28 SC (7 rows)
19) DEC, 24 SC, DEC ( 26)
20) DEC, 22 SC, DEC ( 24)
21) DEC, 20 SC, DEC ( 22)
22) DEC, 18 SC, DEC ( 20)
23) DEC, 16 SC, DEC ( 18)
24) DEC, 14 SC, DEC ( 16)
Next, we tie around the entire perimeter of the SC.
The second breast (yarnart “Yarnart” “Mink”):
(we also knit in rotary rows):
10CH
1) from the second loop we knit 9 SC
2) İNC, 7 SC , İNC ( 11)
3) İNC, 9 SC , İNC ( 13)
4) İNC, 11 SC, İNC ( 15)
5) İNC, 13 SC , İNC ( 17)
6) – 7) 17 SC (2 rows)
8) DEC, 13SC, DEC (15)
9) DEC, 11SC, DEC (13)
10) DEC, 9 SC, DEC ( 11)
11) DEC, 7SC, DEC ( 9)
12) DEC, 5SC, DEC ( 7)
13) DEC, 3 SC, DEC ( 5)
14) DEC, 1 SC, DEC ( 3 SC)
15) all 3 together, thread
cut, fasten
Legs (İNC “YarnArt” “Jeans”, 2 pcs.):
We knit 3 fingers, on the 1st and 2nd
cut the thread, and on the 3rd do not cut, we will
knit further:
1) 6 SC in KA
2) (1 SC, İNC )*3 ( 9)
3) 9SC
Next, link m all the fingers between each other, at the junctions we will skip 1 loop on both fingers (see diagram).
We knit 4 SC, then on the second finger 4 SC, on the third finger 8 SC, do not forget that we skip 1 loop between the fingers on both sides, we knit again 2 fingers on the reverse side of 4 SC, and on the first finger 4 SC.
4 ) Connected ( 24 SC )
Holes formed
sew, knit further.
Now you can not follow the marker. We make decreases on both sides, through a row (just fold in half and make decreases along the very edges)
5) two reductions on 2 sides (one on each side) (22 SC)
6) 22SC
7) reductions from 2 sides (20 SC)
8) 20SC
9) reductions from 2 sides (18 SC)
10) 18SC
11) reductions from 2 sides (16 SC),
fill the foot in the course of knitting
12) 16SC
13) reductions from 2 sides (14 SC)
14) 14SC
15) reductions from 2 sides 12 SC
16) reductions from 2 sides (10 SC)
17) 5 Dec
Muzzle (knit yarn extra.
colors, see diagram):
12CH
1) from the second loop we knit:
İNC, 9 SC, 4 SC in the last loop, turn the knitting and knit along the bottom side of the chain (it turns out an oval):
9SC, İNC ( 26)
2) 2 İNC, 9 SC, 4 İNC, 9 SC, 2 İNC (34)
3) (1 HDC, İNC HDC )*2 , 3 HDC , 3 SC , 3 HDC , (1 HDC , İNC HDC )*4, 9 SC , (1 HDC , İNC HDC )*2 ( 42) ,
cut the thread, fasten
Eyes (knit yarn “Vita” “Coco”):
(eye consists of white and black part)
White part of the eye:
1) 6 SC to MR
2) 6 inch (12)
3) Turn knitting and knit in the opposite direction
(1 SC, İNC) *5 (15), look for the middle loop and knit 4 SC, SL-ST into it with the first loop
3) Next, we do not unfold the knitting and knit 6 SC, 6 DC, 6 SC (18)
Attaching a black thread
colors and tie SL-ST behind the front wall of the loop, slightly stretching the loops so as not to pull off the eye (see photo).
Black part of the eye:
4CH
1) knit from the second loop: 2 SC, into the extreme loop 3 SC, unfold the knitting, knit along the bottom side of the chain (oval) 1 SC, İNC (8)
2) İNC, 1 SC, 3 İNC, 1 SC, 2 İNC (14), SL-ST cut the thread, leaving the end for sewing, fasten Sew the black part of the eye to the white (see photo), embroider highlights.
Beak (knit yarn “YarnArt” “Jeans”):
1) 6 SC to MR
2) (1 SC, İNC)*3 (9)
3) (2 SC, İNC ) *3 (12)
4) 2 inch HDC, 1 SC, 2 inch HDC, 1 SC, 2 inch HDC, 1 SC, 2 inch HDC, 1 SC ( 20)
4) 1 SC, İNC HDC, 1 HDC, İNC HDC, 7 SC , İNC HDC, 1 HDC, İNC HDC, 6 SC (24)
5) 24SC, SL-ST
cut the thread, leave the end for sewing, fasten.
Tail
1) 6 SC to MR
2) (1 SC, İNC)*3 (9)
3) 9SC
4) ( 2 SC, İNC ) *3 ( 12)
5) 12SC
6) ( 3 SC , İNC) *3( 15)
7) 15SC
8) ( 4 SC , İNC) *3 ( 18)
9) 18 SC, SL-ST, cut the thread, fasten, fill the tail a little.
ASSEMBLY TOYS
Sew the breast from the yarn “Yarnart” “Mink” over the main breast.
Next, sew the chest to the body.
We sew the muzzle directly above the breast, fill the cheeks a little.
Next, sew the paws on the bottom of the body.
We make a muzzle.
We sew the beak in the middle of the cheeks (we shape the beak ourselves in the course of sewing, we fill it a little).
We embroider a stripe in the middle of the beak with black thread.
We sew the eyes with a white thread behind the back wall of the loop (the thread remained with us when we tied the eye around the perimeter with black thread for the front wall).
We embroider eyebrows.
We make a forelock on the back of the head (optional). For this I cut the yarn
“YarnArt” “Jeans” in blue into fragments and tied one fragment of thread to each loop in a knot.
The number of threads that need to be prepared is purely individual and depends on your desire and taste.
Then you need to cut them, namely, trim them to the length that seems optimal to you.
Sew on the tail slightly flattening it.
YOUR PENGUINE IS READY!