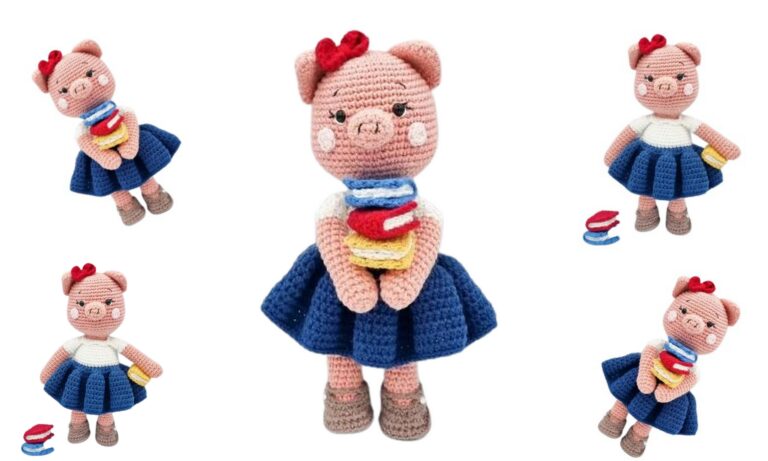
Amigurumi Cute Lama Free Pattern
We share a cute lamb pattern with you. If you want to see many amigurumi free pattern you can visit our website.
CONVENTIONS:
ch – air loop
sl-st – connecting column
sc – single crochet
inc – increase
dec – decrease
prop.X – skip the specified number of loops in the previous row
BLO – back of the hinge
FLO – front wall of the loop
The toy will need 3 skeins of the main color. The bedspread is knitted in 2 threads and crocheted larger in 2 times the size.


“FUR” CIRCLES:
1 row – (1 sc per FLO, 10 ch) * to the end of the row
2 row – bend all arcs from 10 ch forward and knit to the end of row sc for BLO
3rd row – the entire row of sc for both walls of the loop
HEAD:
1 row – 6 sc into magic ring
2 row – 6 inc = 12
3 row – (1 sc, inc) * 6 = 18
4th row – (2 sc, inc) * 6 = 24
5 row – (3 sc, inc) * 6 = 30
6 row – 30 sc
7 row – (4 sc, inc) * 6 = 36
8 – 10 rows / 3 rows / – 36 sc
11 row – (5 sc, inc) * 6 = 42
12, 13 rows – 42 sc
14 row – (6 sc, inc) * 6 = 48
15 row – (7 sc, inc) * 6 = 54
16 row – 54 sc
17 row – (8 sc, inc) * 6 = 60
18, 19 rows – 60 sc
20 row (hole for the neck, mark 1 loop) – 15 ch, prop. 15, 45 sc = 60 (45 + 15)
21 row – 15 sc in the chain, 45 sc = 60
22, 23 rows – knit 1 and 2 rows of “fur circle”
24 row – (8 sc, dec) * 6 = 54
25 – 27 rows / 3 rows / – knit 1-3 rows of “fur circle”
28, 29 rows – knit 1 and 2 rows of “fur circle”
30 row – (7 sc, dec) * 6 = 48, opposite the neck hole at the level of 15-16 rows at a distance of 13-14
hinges to fix the eyes. Lightly fill your head, it will be denser packed later.
31, 32 rows – knit 1 and 2 rows of “fur circle”
33 row – (6 sc, dec) * 6 = 42
34, 35 rows – knit 1 and 2 rows of “fur circle”
36 row – (5 sc, dec) * 6 = 36
37 row – knit 1 row of the “fur circle”
38 row – for BLO (4 sc, dec) * 6 = 30
39 row – (3 sc, dec) * 6 = 24
40 row – knit 1 row of “fur circle”
41 row – for BLO (2 sc, dec) * 6 = 18
42 row – (1 sc, dec) * 6 = 12
43rd row – knit 1 row of “fur circle”
44 row – for BLO 6 dec = 6, tighten the loop. Embroider nose with black thread.


NECK:
1 row – attach the thread to 1 loop of 20 rows of the head, 1 sc in the same loop (increase was obtained), 14 sc, inc, 14 sc = 32
2 row – (7 sc, inc) * 4 = 36
3-14 rows / 12 rows / – repeat 4 times 1-3 rows of the “fur circle”, leave a long thread for
sewing on.
BODY:
1 row – 6 sc into magic ring
2 row – knit 1 row of the “fur circle” (1MK) – 6 sc in a row
3rd row – 2MK – 6 inc = 12
4th row – 3MK – (1 sc, inc) * 6 = 18
5th row – 1MK – 18 sc in a row
6 row – 2MK – (2 sc, inc) * 6 = 24
7 row – 3MK – (3 sc, inc) * 6 = 30
8 row – 1MK – 30 sc in a row
9 row – 2MK – (2 sc, inc) * 10 = 40
10 rows – 3MK – (3 sc, inc) * 10 = 50
11th row – 1MK – 50 sc in a row
12 row – 2MK – (4 sc, inc) * 10 = 60
13th row – 3MK – 60 sc in a row
14th row – 1MK – 60 sc in a row
15 row (hole for the neck) – 2MK – 1 sc, 18 ch, prop. 18, 41 sc = 60 (42 + 18)
16 row – 3MK – 1 sc, 18 sc in the chain, 41 sc = 60
17-19 rows / 3 rows / – 1-3MK = 60, sew on the neck: check that the head is looking forward, then
insert the neck into the hole left and sew from the inside. Stuff your head and neck tight, start
to fill the body in the course of knitting.
20 row – 1MK – 60 sc in a row
21 row – 2MK – (8 sc, dec) * 6 = 54
22 row – 3MK – 54 sc in a row
23 – 58 rows / 36 rows / – 1-3MK = 54
59 row – 1MK – 54 sc in a row
60 row – 2MK – (7 sc, dec) * 6 = 48
61 row – 3MK – (6 sc, dec) * 6 = 42
62 row – 1MK – 42 sc in a row
63 row – 2MK – (5 sc, dec) * 6 = 36
64 row – 3MK – (4 sc, dec) * 6 = 30
65 row – 1MK – 30 sc in a row
66 row – 2MK – (3 sc, dec) * 6 = 24
67 row – 3MK – (2 sc, dec) * 6 = 18
68 row – 1MK – 18 sc in a row
69 row – 2MK – (1 sc, dec) * 6 = 12
70 row – 3MK – (1 sc, dec) * 4 = 8
71 row – 1MK – 8 sc in a row, tighten the loop.


LEGS (4 pieces):
1 row – 6 sc into magic ring
2 row – 6 inc = 12
3 row – (1 sc, inc) * 6 = 18
4th row – (2 sc, inc) * 6 = 24
5 row – (3 sc, inc) * 6 = 30
6 – 13 rows / 8 rows / – 30 sc
14 – 25 rows / 12 rows / – repeat 4 times 1-3 rows of the “fur circle”, leave a long thread for
sewing on.
TAIL:
1 row – 7 ch, from the 2nd loop from the hook 5 sc, inc, on the other side 5 sc = 12
2 row – 12 sc
3-14 rows / 12 rows / – repeat 4 times 1-3 rows of the “fur circle”
15, 16 rows – 1-2 rows MK – 12 sc
17th row – 3MK – 1 sc, dec, 3 sc, inc, 2 sc = 12
18, 19 rows – 1-2 rows MK – 12 sc
20 row – 3MK – 1 sc, dec, 3 sc, inc, 2 sc = 12
21, 22 rows – 1-2 rows MK – 12 sc
23 row – 3MK – 1 sc, dec, 3 sc, inc, 2 sc = 12
24 – 26 rows – 1-3 rows MK – 12 sc, leave a long thread for sewing.
EARS (2 pieces): leave a long thread for sewing.
1 row – 19 ch, short into the ring, prop. 1, 18 sc along the chain = 18
2 – 6 rows – 18 sc
7 row – (dec, 7 sc) * 2 = 16
8 row – 16 sc
9 row – (dec, 6 sc) * 2 = 14
10 row – 14 sc
11 row – (dec, 5 sc) * 2 = 12
12 row – (dec, 4 sc) * 2 = 10
13 row – (dec, 3 sc) * 2 = 8
14 row – 4 dec = 8, tighten the loop.
BANG:
Cut 20 pieces of yarn of 7.5 cm, fasten in the form of a fringe in the center of the forehead, fluff.
For the bridle and bedspread, choose one primary color and several contrasting ones.
HORSE: primary color
The front part – dial 30 ch and close in the ring, it should be freely worn on the face.
Headband – dial 49 ch, try on, adjust if stitch
front end.
Tie both belts around the perimeter behind the Z ch thread in a contrasting color using the connecting
columns. Decorate the harness with tassels.
COVER: knit in 2 threads with a larger hook.
At the beginning and at the end of the row, leave a thread 10-12.5 cm long.
Knit 1-2 and 23-24 rows with the main color, then change the colors as you wish.
1 row – 26 ch, thread cut
2 – 24 rows – turn the knitting, with a new thread 26 sc per FLO, cut the thread
Fringe.
TIE BEDS:
Attach the thread of the main color in the corner of the bedspread and tie a chain of 40 ch, cut the thread,
leaving a long end. Tie the second tie in the next corner. Decorate the ends of the ties
tassels.


ASSEMBLY:
1 – Sew front legs to the lower body directly under the shoulders at level 20
row.
2 – Sew the hind legs before starting to reduce the rows of the torso.
3 – sew on the tail and ears.
