We continue to share the most beautiful amigurumi patterns. Here’s another Jennifer doll for free.
Materials:
➢ One skein of YarnArt Jeans yarn – I have color 05.
You can use other shades of your choice. You can also use other yarns:
Alize cotton golg or Lanagold classic. The choice of yarn and crochet will significantly affect your work, or rather its dimensions.
➢ Hook 2.2 or 2.5 (I use 2.2 – the pupa is smaller)
➢ Wire
➢ Masking tape or plaster – for wrapping the wire
➢ Filler for toys
➢ Doll weft
➢ Some black thread for eye embroidery.
Legend:
SC – single crochet
DC – double crochet
DEC – decrease
İNC – increase
CH – air loop
Foreword.
1. Thread fastening of hands. Mounting options are shown in the figures.
How I do it: I take the thread of the main color, folded in half and thread it from the back into the hole of the first handle, thread it through the hand and insert the thread back into the hole of the first hand and bring it into the hole of the second.
I grab the second hand and back into the hole of the first hand through the second, repeat and when I grab the second hand for the second time, I bring the thread into the hole on the back, where the beginning was, pull it as much as possible and tie a knot, cut and hide the thread.
2. Closing knitting with a needle.
Even if in the description the knitting of the part ends in six decreases, I strongly advise not to knit this last row, ending the knitting with a hole of 12 loops.
Pulling then you will be the same yarn, grabbing the loops.
It turns out that you, as it were, add an additional row with a needle, which will replace the last 6 decreases. It is much easier to fill the toy tightly through a larger hole, plus it is much less likely to get an ugly “lump” on the top.
We insert into the needle the tail of yarn that you have left and stretch it with a needle under each of the loops in a row from the same outer side, while slowly pulling the thread so that the hole contracts. I only pull the thread under the front half loops.
If you see that more padding will fit on top, be sure to add it! The better the padding tightens the top, the neater it will look in the end!
And now we go through the needle again under the same half-loops, and if it works, then the third time, or at least under several more loops. In this case, the needle will certainly pierce the thread with which you pulled the hole during the first pass and the hole will be fixed in a tightened position without knots, which in any case will look less neat than the top without knots.
We pierce the part of the toy through with a needle, remove the thread anywhere, pull it tightly so that the part is temporarily flattened and carefully cut as close to the knitted part. After the part is straightened, the edge of the thread will hide inward. All. You now have a neatly tightened hole. And the top edge is almost indistinguishable from the bottom.
LEGS – the lower part.
Outsole – 2 parts:
1. Cast on 8ch, 6sc, 4 in 1 loop, 5sc, 1inc = 17
2.1inc, 5sc, 4inc, 5sc, 1inc, 1sc = 23
3.1sc, 1inc, 5sc, 8inc, 8sc, ss, close and cut thread = 32
You will get an insole, along which you need to cut an insole from a thick cardboard or plastic box.
Upper part – 2 parts:
We start knitting in the same way as the sole:
1.8ch, 6sc, 4 in 1 loop, 5sc, 1inc = 17
2.1inc, 5sc, 4inc, 5sc, 1inc, 1sc = 23
3.1sc, 1inc, 5sc, 8inc, 8sc = 32
4.32sc
5.32sc
6.32sc
Next, attach the sole: wrong side to wrong side. We knit both parts together.
When you knit more than half, insert the cardboard and fill it.
Knit to the end, stuffing tightly.
Handles – 2 parts:
1.6 into magic ring
2. (1sc, 1inc) * 3 = 9
3.9sc
4.9sc
5.9sc
6. (1sc, 1dec) * 3 = 6
7. (1sc, 1inc) * 3 = 9
15 rows of 9sc
Next, cut the wire to the size of your hand and wrap it in tape or plaster. This is necessary so that she does not get out of knitting when playing.
We fill our hand with the wire, I fill it with an orange stick for nails, it is very convenient for stuffing into small holes, you can use tweezers.
Next (1sc, 1dec) * 3 = 6, shrink the hole.
The result is neat hands that can move and bend. We knit the second hand in the same way.
Legs-body:
1.6 into magic ring
2.6inc = 12
21 rows of 12sc
Cut the thread on the first leg, and continue knitting on the second.
3.5ch, connect to the 1st leg, 12sc on the 1st leg, 5sc on ch, 12sc on the other, 5sc on ch = 34
4.2sc, 1inc, 2sc, 1inc, 2sc, 1inc, 4sc, 1inc, 5sc, 1inc, 2sc, 1inc, 2sc, 1inc, 4sc, 1inc, 3sc = 42
5.42sc
6.42sc
7.42sc
842sc
9.42sc
10.42sc
We stuff the legs tightly.
The marker is not in the middle!
11.8sc, 1dec, 17sc, 1dec, 13sc = 40
12.6sc, 1dec, 17sc, 1dec, 13sc = 38
13.5sc, 1dec, 17sc, 1dec, 12sc = 36
14. (4sc, 1dec) * 6 = 30
15. (8sc, 1dec) * 3 = 27
16.27sc
17.27sc
18. (8sc, 1inc) * 3 = 30
19. (4sc, 1inc) * 6 = 36
20.36sc
21.36sc
22. (4sc, 1dec) * 6 = 30
23.30sc
24.30sc
25. (3sc, 1dec) * 6 = 24
26.24sc
27. (2sc, 1dec) * 6 = 18sc
28. (1sc, 1dec) * 6 = 12
29.12sc
30.12sc
31.12sc
We finish knitting ss.
Sew the lower part to the legs. You can sew a little crookedly: with the noses to each other, now it looks I’m cute.
Head
1.6 into magic ring
2.6inc = 12
3. (1sc, 1inc) * 6 = 18
4. (2sc, 1inc) * 6 = 24
5. (3sc, 1inc) * 6 = 30
6. (4sc, 1inc) * 6 = 36
7. (5sc, 1inc) * 6 = 42
8. (6sc, 1inc) * 6 = 48
9. (7sc, 1inc) * 6 = 54
10 rows knit 54sc
20. (7sc, 1dec) * 6 = 48
21. (6sc, 1 dec) * 6 = 42
22. (5sc, 1 dec) * 6 = 36
23. (4sc, 1 dec) * 6 = 30
24. (3sc, 1 dec) * 6 = 24
25. (2sc, 1 dec) * 6 = 18
26. (1sc, 1 dec) * 6 = 12
As we knit, we stuff the head tightly, forming an even ball. The head will be sewn to the body, but first we do the securing of the head with a wire / frame.
We bend the wire into 4 pieces approximately 10cm, but not less than 5cm.
we wrap it with masking tape or plaster.
It is inserted half into the head, half into the body, so the head will not dangle and the doll will stand upright.
If you knit a doll for a small child or do not want foreign objects in the toy, then you can not use the wire at all, but to keep the head straight and not topple over, fill it very tightly and sew it tight. In this case, the head will also hold.
Sew the head with the main threads to the neck.
Sew on hands and wefts.
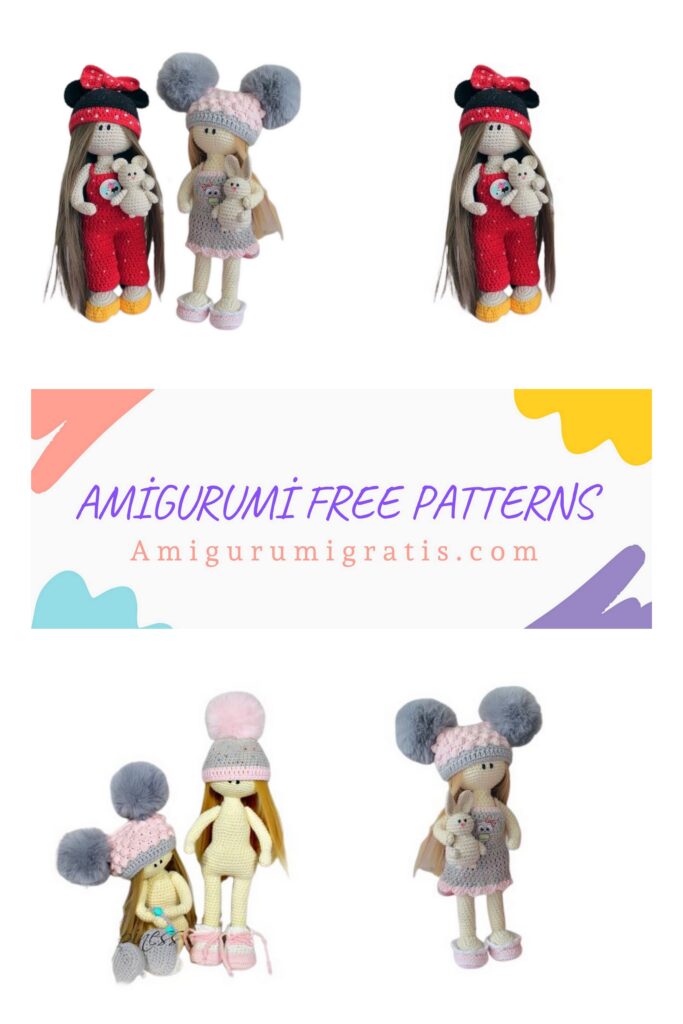
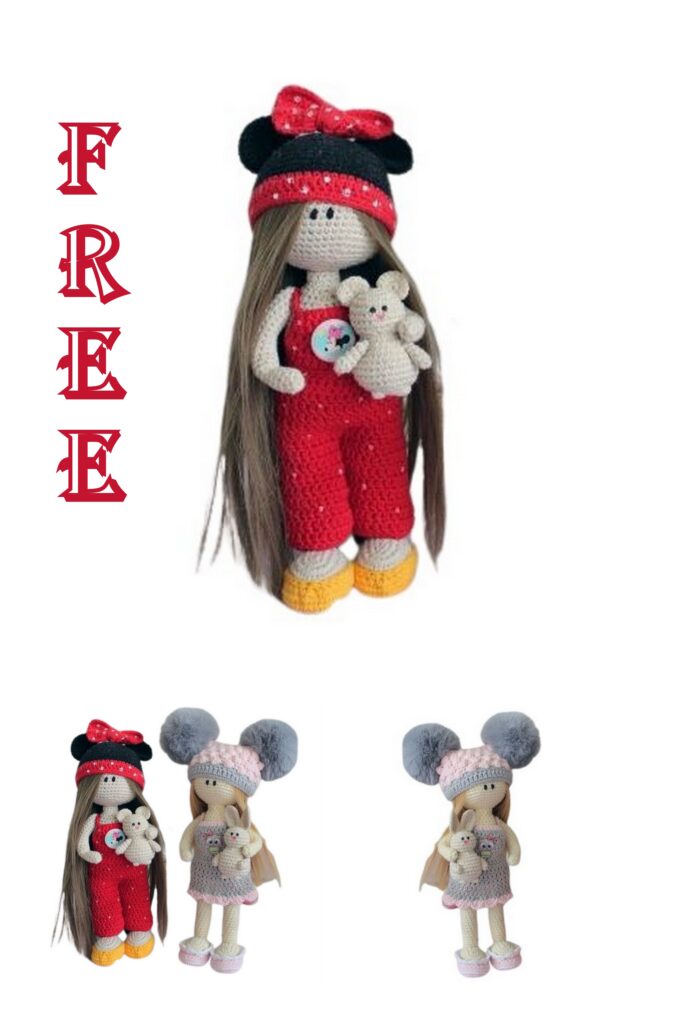
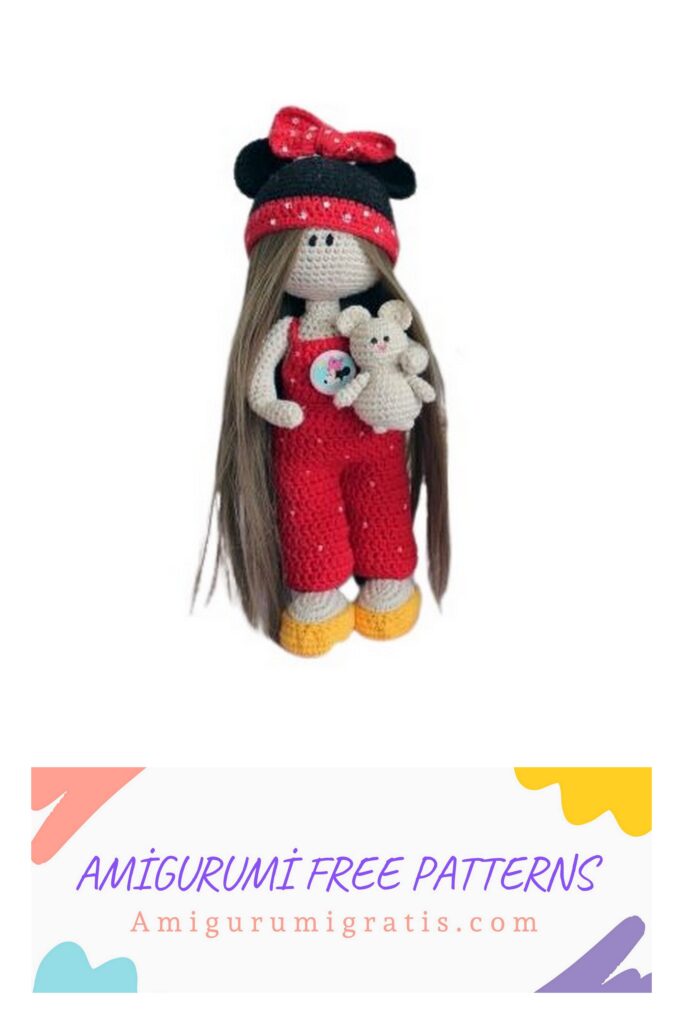
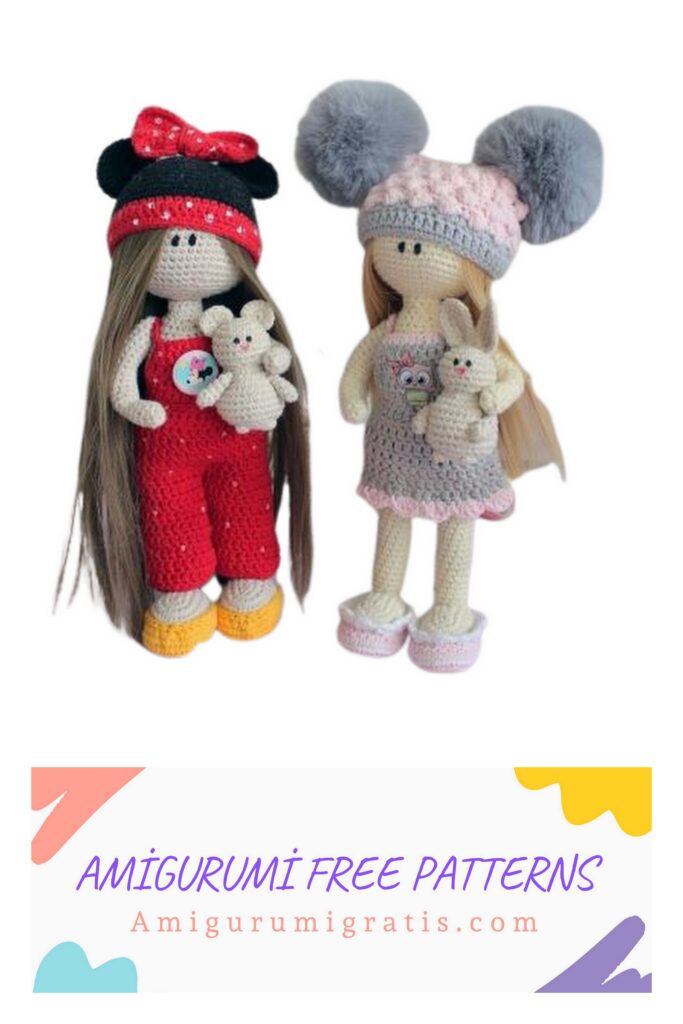
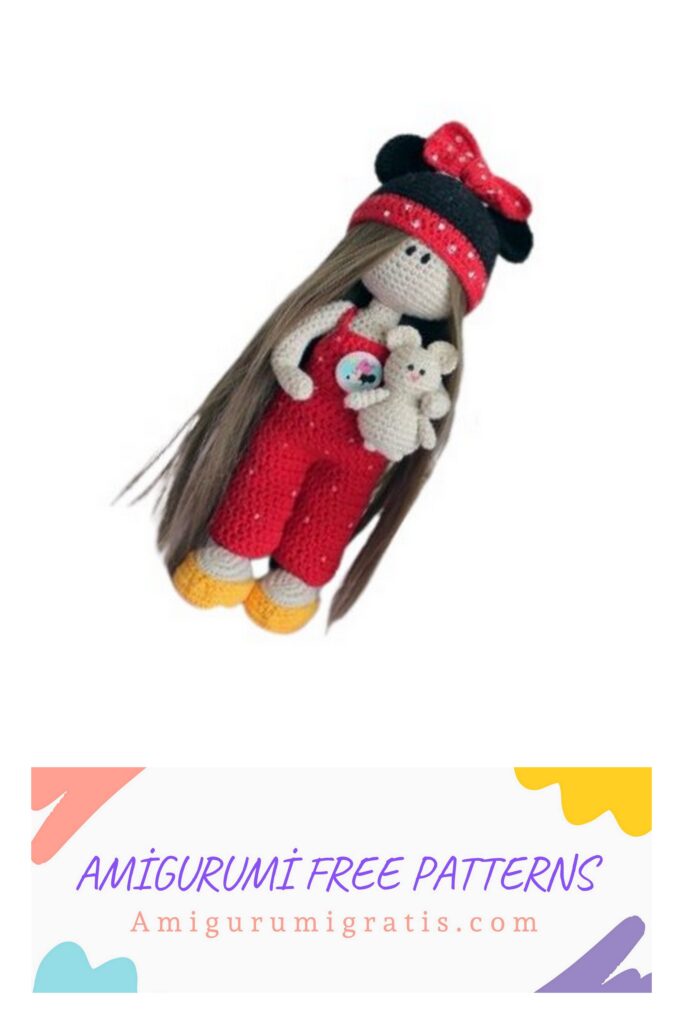
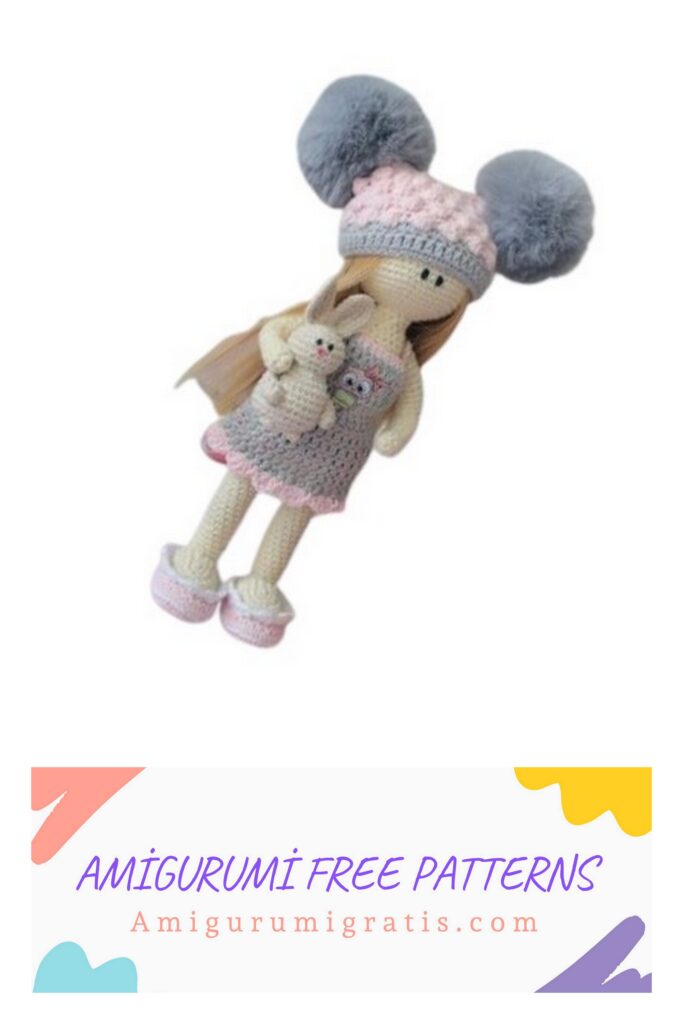
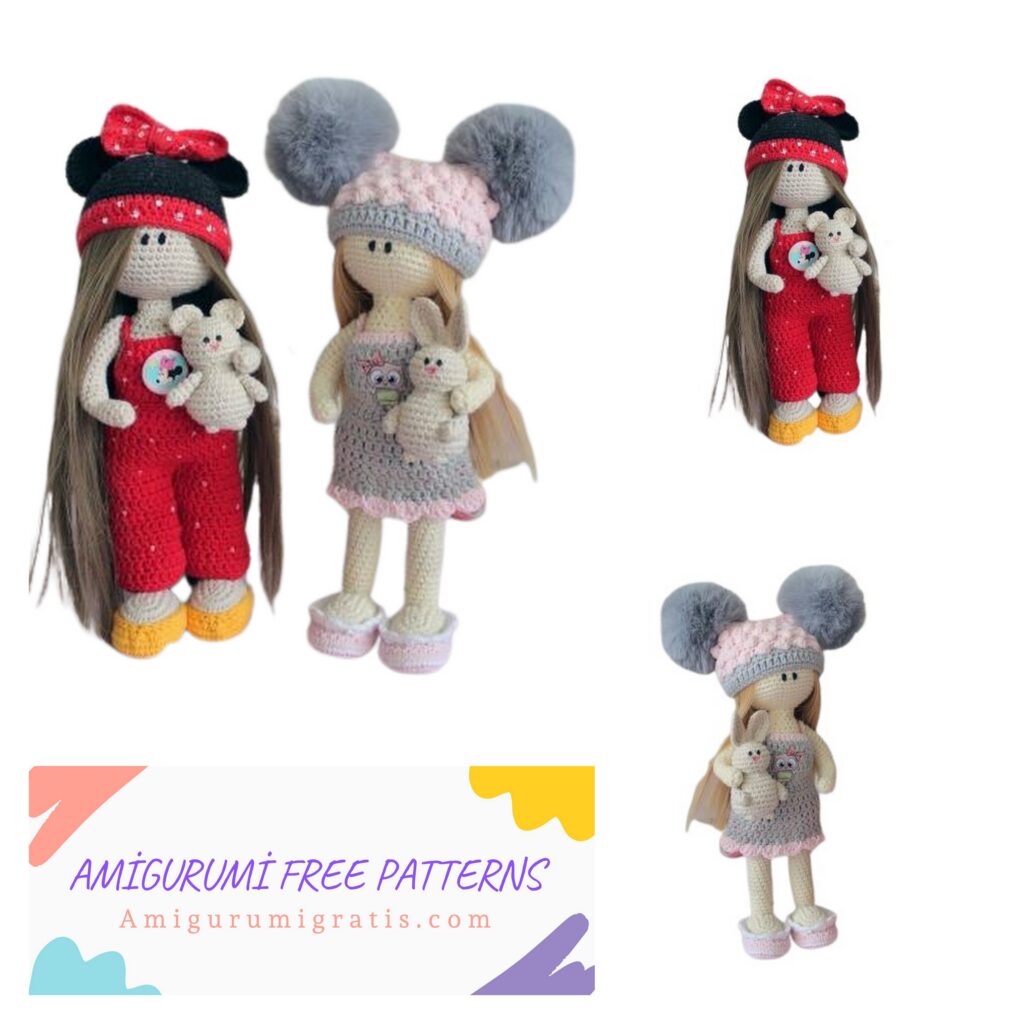
There are three dolls in the photo:
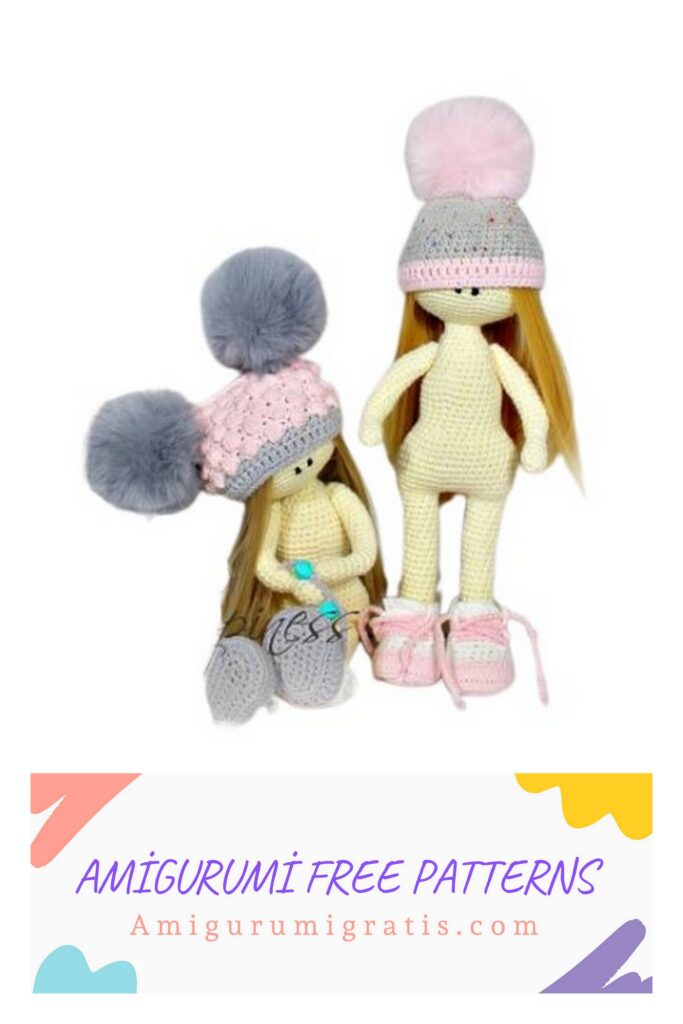
– Where only the frame is the smallest, it is crocheted from YarnArt Jeans 2.2mm. – doll 22cm
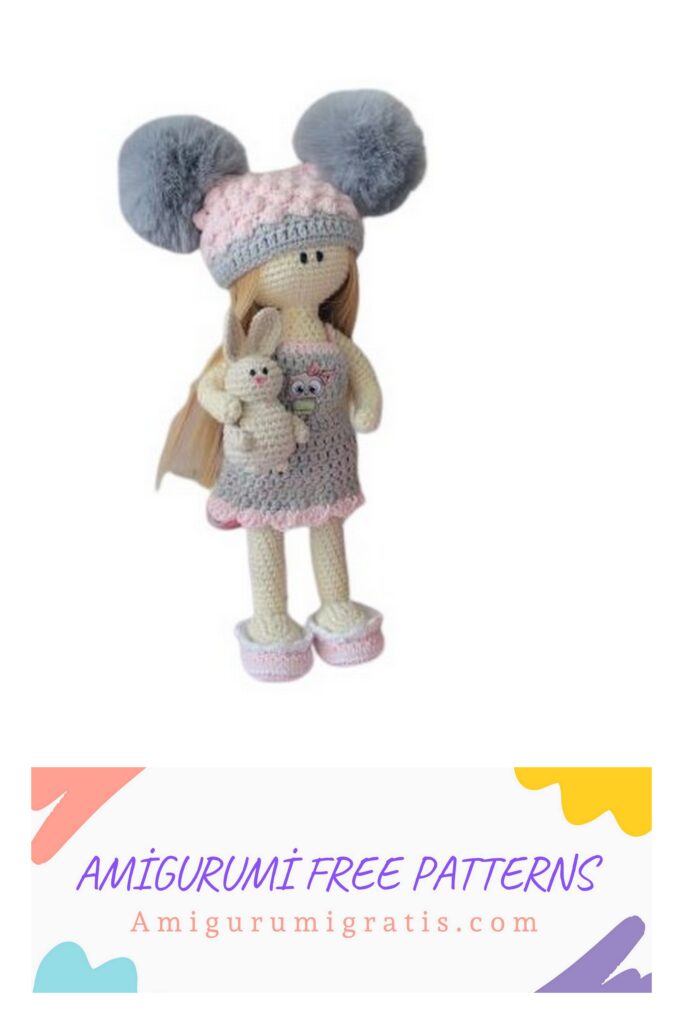
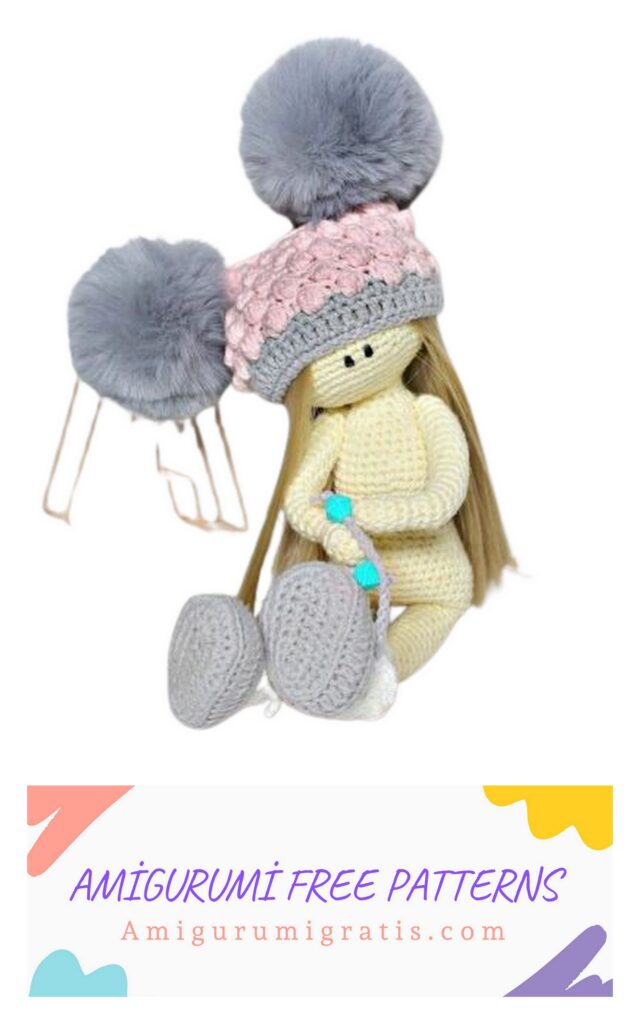
– A doll with a hat – crocheted from YarnArt Jeans 2.5mm. – doll 26cm
– The largest – crocheted from Lanagold classic 3.5mm – 35cm
Sewing on wefts.
You can find many sewing methods on YouTube. I prefer to sew in a circle.
But first, I cut off a piece of about 15 cm from the tress, which will go to the top of the head, it is important, if you knit a doll with Lanagold threads, then you need 2 pieces of tress, the doll turns out to be larger.
Next, I mark with pins where the eyes will be embroidered and begin to “outline” wefts – I attach them with pins.
I sew with sewing threads to match the tress.
When you sew everything in a spiral, a hole will remain. We glue it into it – thermo, glue the top of the head.
Twisting the remaining piece of tress and stitching it so that it does not unwind, glue the top of the head with hot glue.
We take a damp cloth or cotton cloth. Spread the top of the head in half, cover with a damp cloth and smooth the top of the head with an iron.
Your doll is ready!
Hat
1.6 into magic ring
2.6inc = 12
3. (1sc, 1inc) * 6 = 18
4. (2sc, 1inc) * 6 = 24
5. (3sc, 1inc) * 6 = 30
6. (4sc, 1inc) * 6 = 36
7. (5sc, 1inc) * 6 = 42
8. (6sc, 1inc) * 6 = 48
9. (23sc, 1inc) * 2 = 50
10-17. 50sc
18.50dc
19.50sc, close and cut the thread.
Boots.
1. Cast on 8ch, 6sc, 4 in 1 loop, 5sc, 1inc = 17
2.1inc, 5sc, 4inc, 5sc, 1inc, 1sc = 23
3.1sc, 1inc, 5sc, 8inc, 8sc, = 32
4.2sc, 1inc, 5sc, (1inc, 3sc) * 4.5sc, 1inc, 2sc = 38
5.38sc for the back wall
6.38sc
7.10sc, 9dec, 10sc = 29
8.7sc, 3dec, 3sc, 3dec, 7sc = 23
9.23sc
Doll toys: Bear and Bunny.
Body:
1.6 into magic ring
2.6inc = 12
3. (1sc, 1inc) * 6 = 18
4. (2sc, 1inc) * 6 = 24
5.24
6.24
7.24
8. (2sc, 1dec) * 6 = 18
9. (1sc, 1dec) *6 = 12
10.12inc = 24
11. (3sc, 1inc) * 6 = 30
12.30
13.30
14.30
15.30
16.29sc, 1 curvy (4dc in 1 loop) = 30
17. (3sc, 1dec) * 6 = 24
18. (2sc, 1dec) * 2, 1 lush, 1dec, 2sc, 1dec, 1 lush, (2sc, 1dec) * 2 = 18
19. (1sc, 1dec) * 6 = 12
20.6dec and pull off.
Ears:
1. Bear: 6 into magic ring – 1ch, turn – 6inc – 2 parts
2. Bunny: 8ch, in the second 6sc, 4sc in 1, 5sc – 4sc, 6inc, 5sc – 2 parts.
The muzzle is decorated with fabric paints.