List of required materials:
– yarn for the body of the main color Yarn Art Jeans – 2 skeins;
– yarn for knitting sweaters Yarn Art Jeans – 1 skein;
– yarn of additional color for embroidery of a nose and
knitting a pattern on a sweater – optional;
– thin contrasting thread – marker;
– a suitable size hook for your yarn;
– filler (holofiber, syntepuh);
– eyes: any, on a secure mount or glass or plastic, select the size based on the thickness of the thread, I have 8mm and 10mm;
– needle for stitching;
– scissors.
Legend:
sc – single crochet;
ch. – air loop;
sl-st – a connecting column, do not knit it too tight;
dec – decrease (2sc together for the front walls)
inc – increase (2sc from one loop)
hdc – half double crochet
dc – double crochet
General recommendations for knitting toys:
– You can use any yarn for knitting a hare, at your discretion. The thicker the yarn – the greater the consumption.
– You can knit a hare without a sweater, or make it
removable, then in the legs and torso do not change the color to
the color of the sweater, and knit the main color.
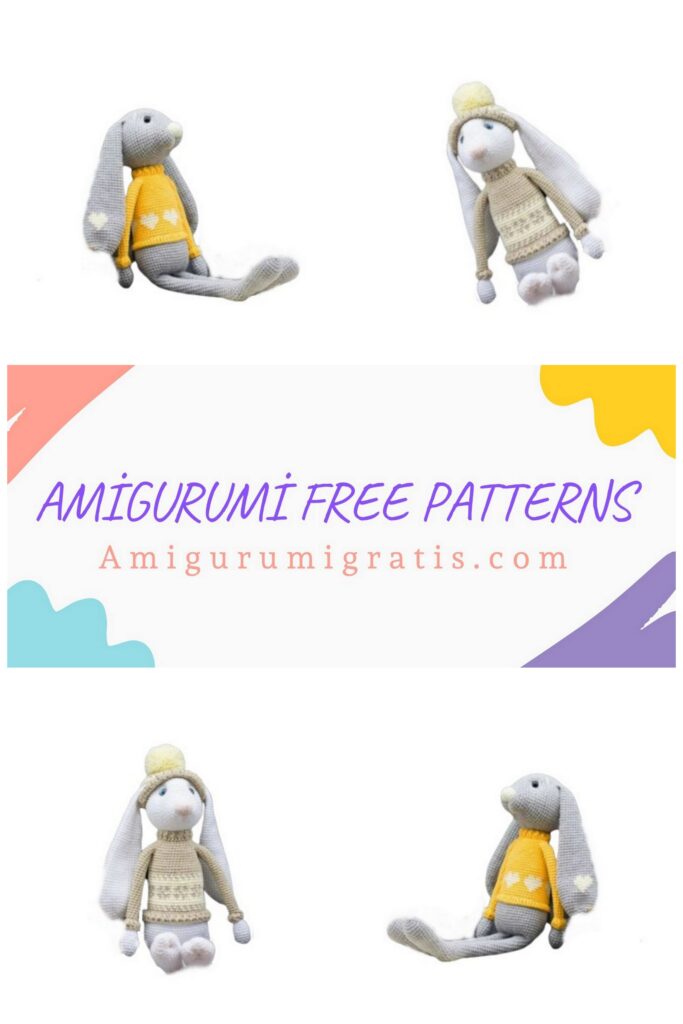
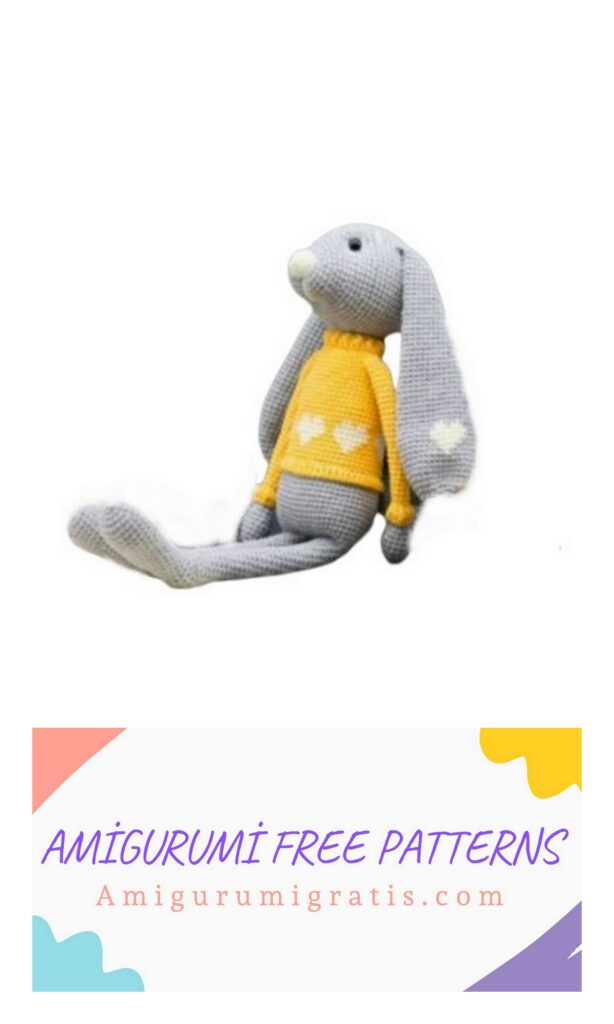
– You can not knit a pattern on a sweater, or use any pattern with a repeat of 6 or 9 loops.
For example, I used this heart when knitting a gray rabbit.
– All parts fit in a spiral, lifting loop at the beginning
row, and the connecting loop at the end of the row is not
are used.
– Please note that the connecting post does not knit tight.
– Choose a hook for your density! There should be no distance between the columns, the filler should not be visible, but knitting too tightly is not necessary, the fabric should be plastic, and not be wooden.
– The bias loop in this MK is not knitted;
– Use a good filler to prevent bumps and bumps when
stuffing toys.
– The toy fits face out.
– The color change of the thread is as follows:
Knit the last sc not to the end, i.e. insert the hook on both sides of the loop (when knitting a decrease we introduce the hook on the two front walls), bring the thread out – on the hook two loops, Fig. 2, then take a thread of a different color and knit these loops in a new color, Fig. 3
Head:
We start knitting with the main color:
1.6c into magic ring – 6sc
2.6 inc – 12sc
3. (1sc, inc) x 6 times – 18sc
4. (2sc, inc) x 6 times – 24sc
5-6. 24sc
7. inc, (sc, inc) x 5 times, 13sc – 30sc
8.30sc
9.inc, (2sc, inc) x 5 times, 14sc – 36sc
10.36sc
11. (5sc, inc) x 6 times – 42sc
12.42sc
13.3sc, inc, (6sc, inc) x 5 times, 3sc – 48sc
In the next row we make holes for eyes with a secure mount, if you use other eyes that do not require holes, then the loops where you should knit ch. mark with an additional thread, and knit the loop itself sc.
14.8sc, ch., 10sc, ch., 28sc – 48sc
In the next row, knit sc in ch.
15. (7sc, inc) x 6 times – 54sc
16. 54sc
17.4sc, inc, (8sc, inc) x 5 times, 4sc – 60sc
18-25. (8 rows) 60sc
26.4sc, dec, (8sc, dec) x 5 times, 4sc – 54sc
Insert your eyes on the secure mount and fill the muzzle tightly, then fill as you knit.
27. 54sc
28. (7sc, dec) x 6 times – 48sc
29. 48sc
30.3sc, dec, (6sc, dec) x 5 times, 3sc – 42sc
31. 42sc
32. (5sc, dec) x 6 times – 36sc
33.2sc, dec, (4sc, dec) x 5 times, 2sc – 30sc
34. (3sc, dec) x 6 times – 24sc
35. sc, dec, (2sc, dec) x 5 times, sc – 18sc
36. (sc, dec) x 6 times – 12sc
37.6dec.
Leave a long thread, cut, pull the hole.
Be sure to tighten your eyes: under the eyes,
if you use your eyes on a secure mount,
or on marked loops knitted in the 14th row.
Ears:
We knit two identical ears.
1.6c into magic ring
2.6 inc – 12sc
3. (1sc, inc) x 6 times – 18sc
4.1sc, inc, (2sc, inc) x 5 times, 1sc – 24sc
5.24sc
6. (3sc, inc) x 6 times, – 30sc
7.30sc
8. (14sc, inc) x 2 times – 32sc
9-10. 32sc
11. (15sc, inc) x 2 times – 34sc
12-16. (5 rows) 34sc
17. (dec, 15sc) x 2 times – 32sc
18-19. 32sc
20. (dec, 14sc) x 2 times – 30sc
21-22. 30sc
23. (dec, 13sc) x 2 times – 28sc
24-25. 28sc
26. (dec, 12sc) x 2 times – 26sc
27-28. 26sc
29. (dec, 11sc) x 2 times – 24sc
30-31. 24sc
32. (dec, 10sc) x 2 times – 22sc
33-34. 22sc
35. (dec, 9sc) x 2 times – 20sc
36-37. 20sc
38. (dec, 8sc) x 2 times – 18sc
39-40. 18sc
41. (dec, 7sc) x 2 times – 16sc
42-43. 16sc
44. (dec, 6sc) x 2 times – 14sc

45-46. 14sc
47. (dec, 5sc) x 2 times – 12sc
48-49. 12sc
50. (dec, 4sc) x 2 times – 10sc
51-53 (3 rows) 10sc
Knit one ch. fold your ear in half and knit 5sc. Leave a long thread for sewing.
Tail:
1.6 into magic ring
2.6 inc – 12sc
3. (sc, inc) x 6 times – 18sc
4. (2sc, inc) x 6 times – 24sc
5-6. 24sc
7.8dec, 8sc – 16sc
8.4dec, 8sc – 12sc
Pull the tail, fasten the thread, leave a long
end for sewing, cut the thread.
Upper paws:
The paws fit equally, the palm is packed tightly, the middle part is slightly, it is better not to fill the top. Start knitting the basics
new color.
1.6c into magic ring
2. (inc, sc) x 3 times – 9sc
3. (2sc, inc) x 3 times – 12sc
4. (inc, 3sc) x 3 times – 15sc
5-7. (3 rows) 15sc
8. (dec, 3sc) x 3 times – 12sc
9.12sc
10. (2sc, dec) x 3 times – 9sc
11-12. 9sc, when knitting the last loop of the 12th row, we change the color to the color of the sweater.
13.9sc
14.9sc behind the back wall
15-42. (28 rows) 9sc
We fix the thread and cut it off. The paws will be tied into the body. Find the loops of the 14th row, attach the thread of the color of the sweater and knit the cuffs: 10dc first row and 10 embossed columns,
alternating one convex and concave double crochet,
second row. If you do not know how to knit embossed columns
can knit simple dc.
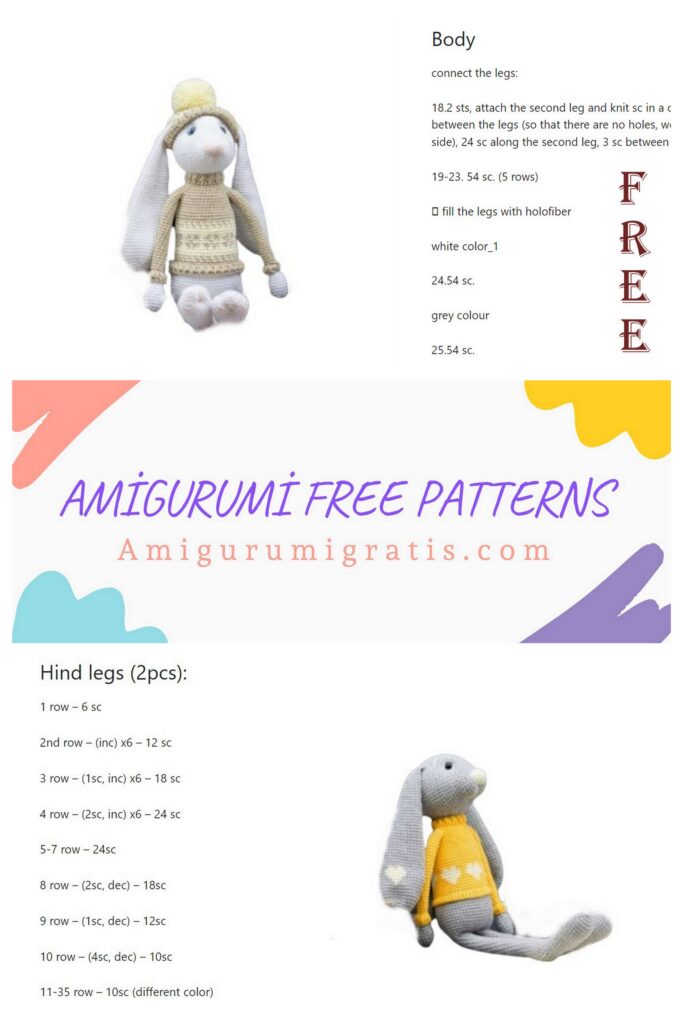
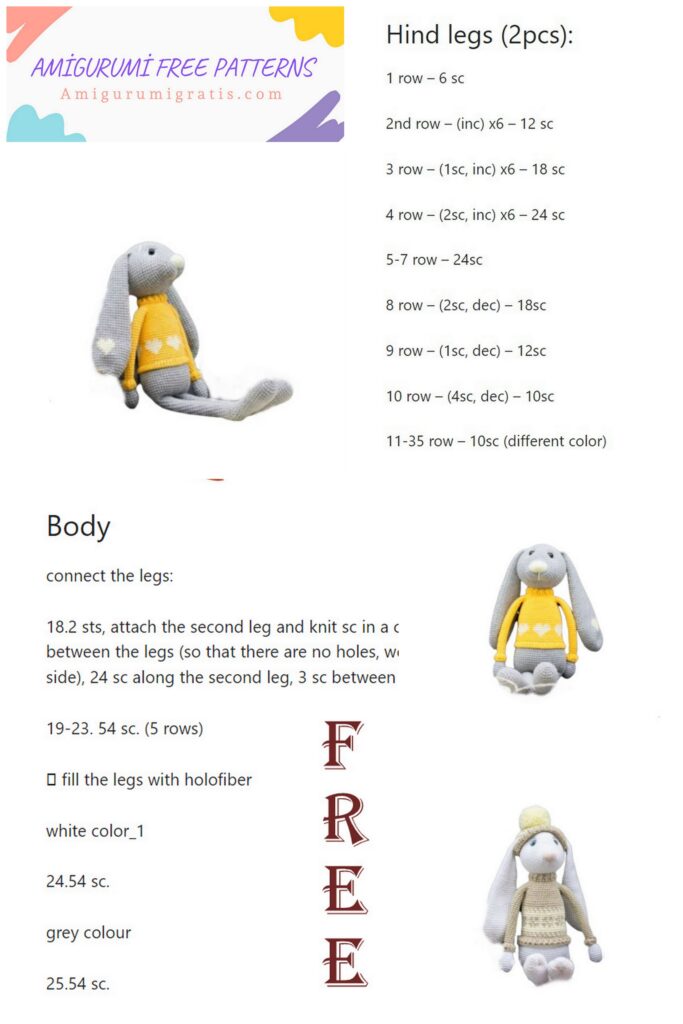
Lower paws-body:
We start by knitting the paws with the main color. We stuff in
knitting process.
1.6 into magic ring
2.6 inc – 12sc
3. (sc, inc) x 6 times – 18sc
4. (2sc, inc) x 6 times – 24sc
5-9. (5 rows) 24sc
10.5sc, dec, 10sc, dec, 5sc – 22sc
11-12. 22sc
13. (dec, 9sc) x 2 times – 20sc
14-15. 20sc
16.4sc, dec, 8sc, dec, 4sc – 18sc
17-18. 18sc
19. (4sc, dec) x 3 times – 15sc
20.15sc
21-22. 2sc, 7sl-st, 2sc, 4hdc – 15sc
23-25. (3 rows) hdc, sc, 7sl-st, sc, 5hdc – 15sc
Orange thread in the photo – marker of the beginning of the row.
26.15sc
27. (3sc, dec) x 3 times – 12sc
28-57. (30 rows) 12sc
On the first paw (left) we additionally knit
2sc and sl-st or as many sc to complete knitting in
middle leg on the right side, fasten and
cut the thread.
On the second paw (right), we additionally knit 8sc and sl-st or as much sc as to complete knitting in the middle of the leg on the left side, we do not cut the thread.
From the second, right paw we knit 6ch. and connect with the left paw to the next loop after sl-st.
We knit 12sc along the first paw, 6sc along the ch., 12 sc along the second paw, 6sc along the ch. and put the marker at the beginning of the row. Next, we knit the body, stuff in the knitting process.
The junction of the legs and body do not stuff tight so that the bunny can sit.
1. (5sc, inc) x 6 times – 42sc
2.3sc, inc, (6sc, inc) x 5 times, 3sc – 48sc
3. (7sc, inc) x 6 times – 54sc
4. 4sc, inc, (8sc, inc) x 5 times, 4sc – 60sc
5-13. (9 rows) 60sc
14.4sc, dec, (8sc, dec) x 5 times, 4sc – 54sc
15. 54sc, when knitting the last loop of the row
change the color to the color of the sweater.
16. 54sc
17. 54sc behind the back wall
18 – 29. (12 rows) 54sc
30. (7sc, dec) x 6 times – 48sc
31-33. (3 rows) 48sc
34.3sc, dec, (6sc, dec) x 5 times, 3sc – 42sc
35-36. 42sc
In the next row we attach the upper paws. Paws are placed slightly forward, not strictly on the sides. When attaching the tabs of the loop, we grab the paws first from the inside, then on the body.
37.10sc, 3sc with paw, 16sc, 3sc with paw, 10sc – 42sc
38.10sc, 6sc on the paw, 16sc, 6sc on the paw, 10sc – 48sc
39.3sc, dec, (6sc, dec) x 5 times, 3sc – 42sc
40. (5sc, dec) x 6 times – 36sc
41. 36sc
42.2sc, dec, (4sc, dec) x 5 times, 2sc – 30sc
43. 30sc behind the back wall, when knitting the last loop, change the color to the main one.
44. (3sc, dec) x 6 times – 24sc
45.24sc
We fix the thread, leave a long end for sewing and cut.
We stuff the neck tightly.
Assembly and design of the hare:
To the 17th row of the body we attach the thread of the color of the sweater and we knit a row dc.
To the 43rd row, attach the thread of the color of the sweater and knit the collar of a sweater from two to three rows of dc or embossed columns.
We make a muzzle to your liking. Embroider the nose and eyebrows.
Glue the eyes into the places of the tightenings, if necessary.
We sew the head to the body, sew the ears symmetrically, sew the tail two or three rows lower than the sweater.
When decorating a sweater, you can use various decorations: sequins, beads or translations.
On the hind legs you can make fingers tightening.
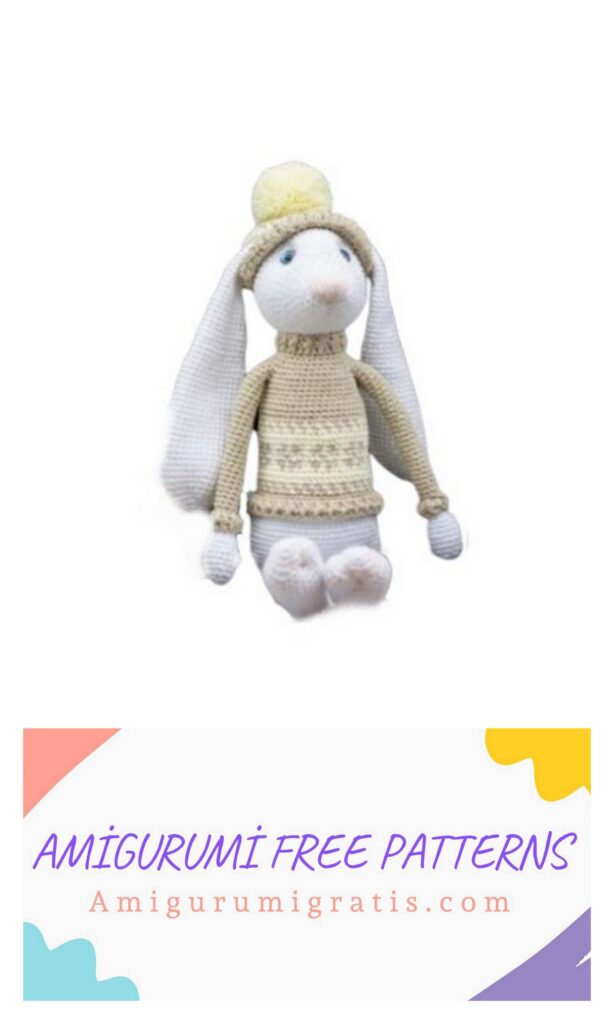
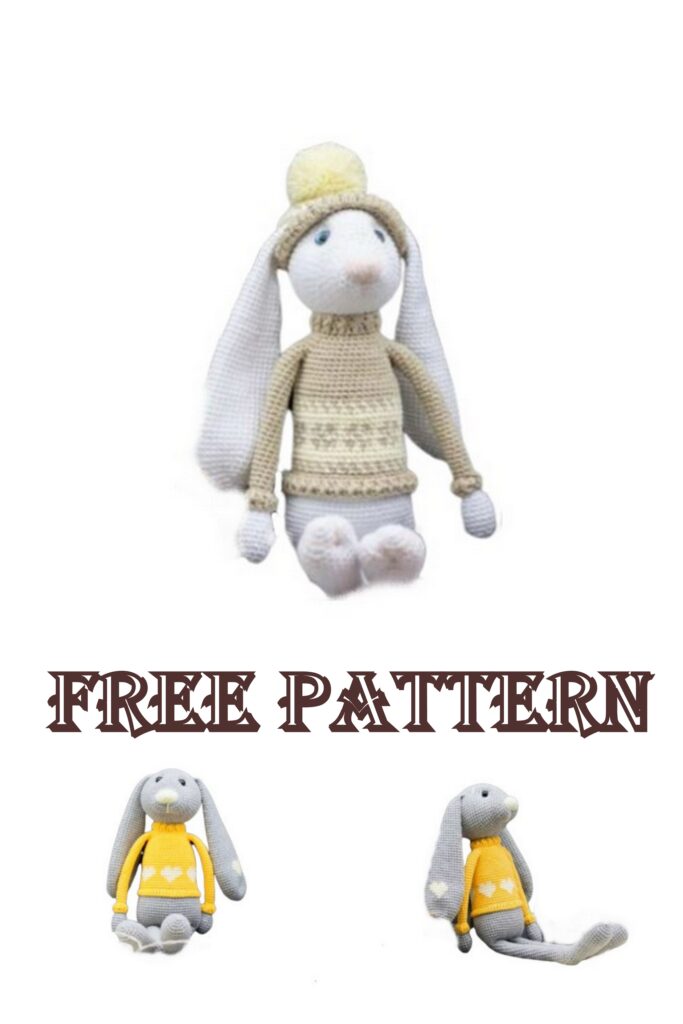
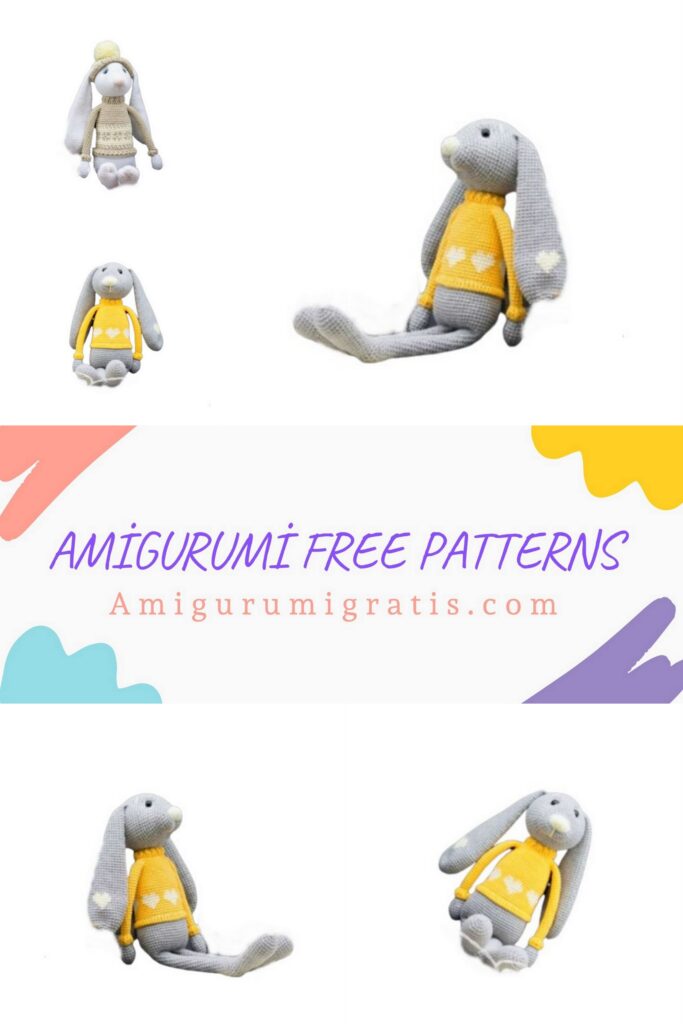
Your Bono is ready!