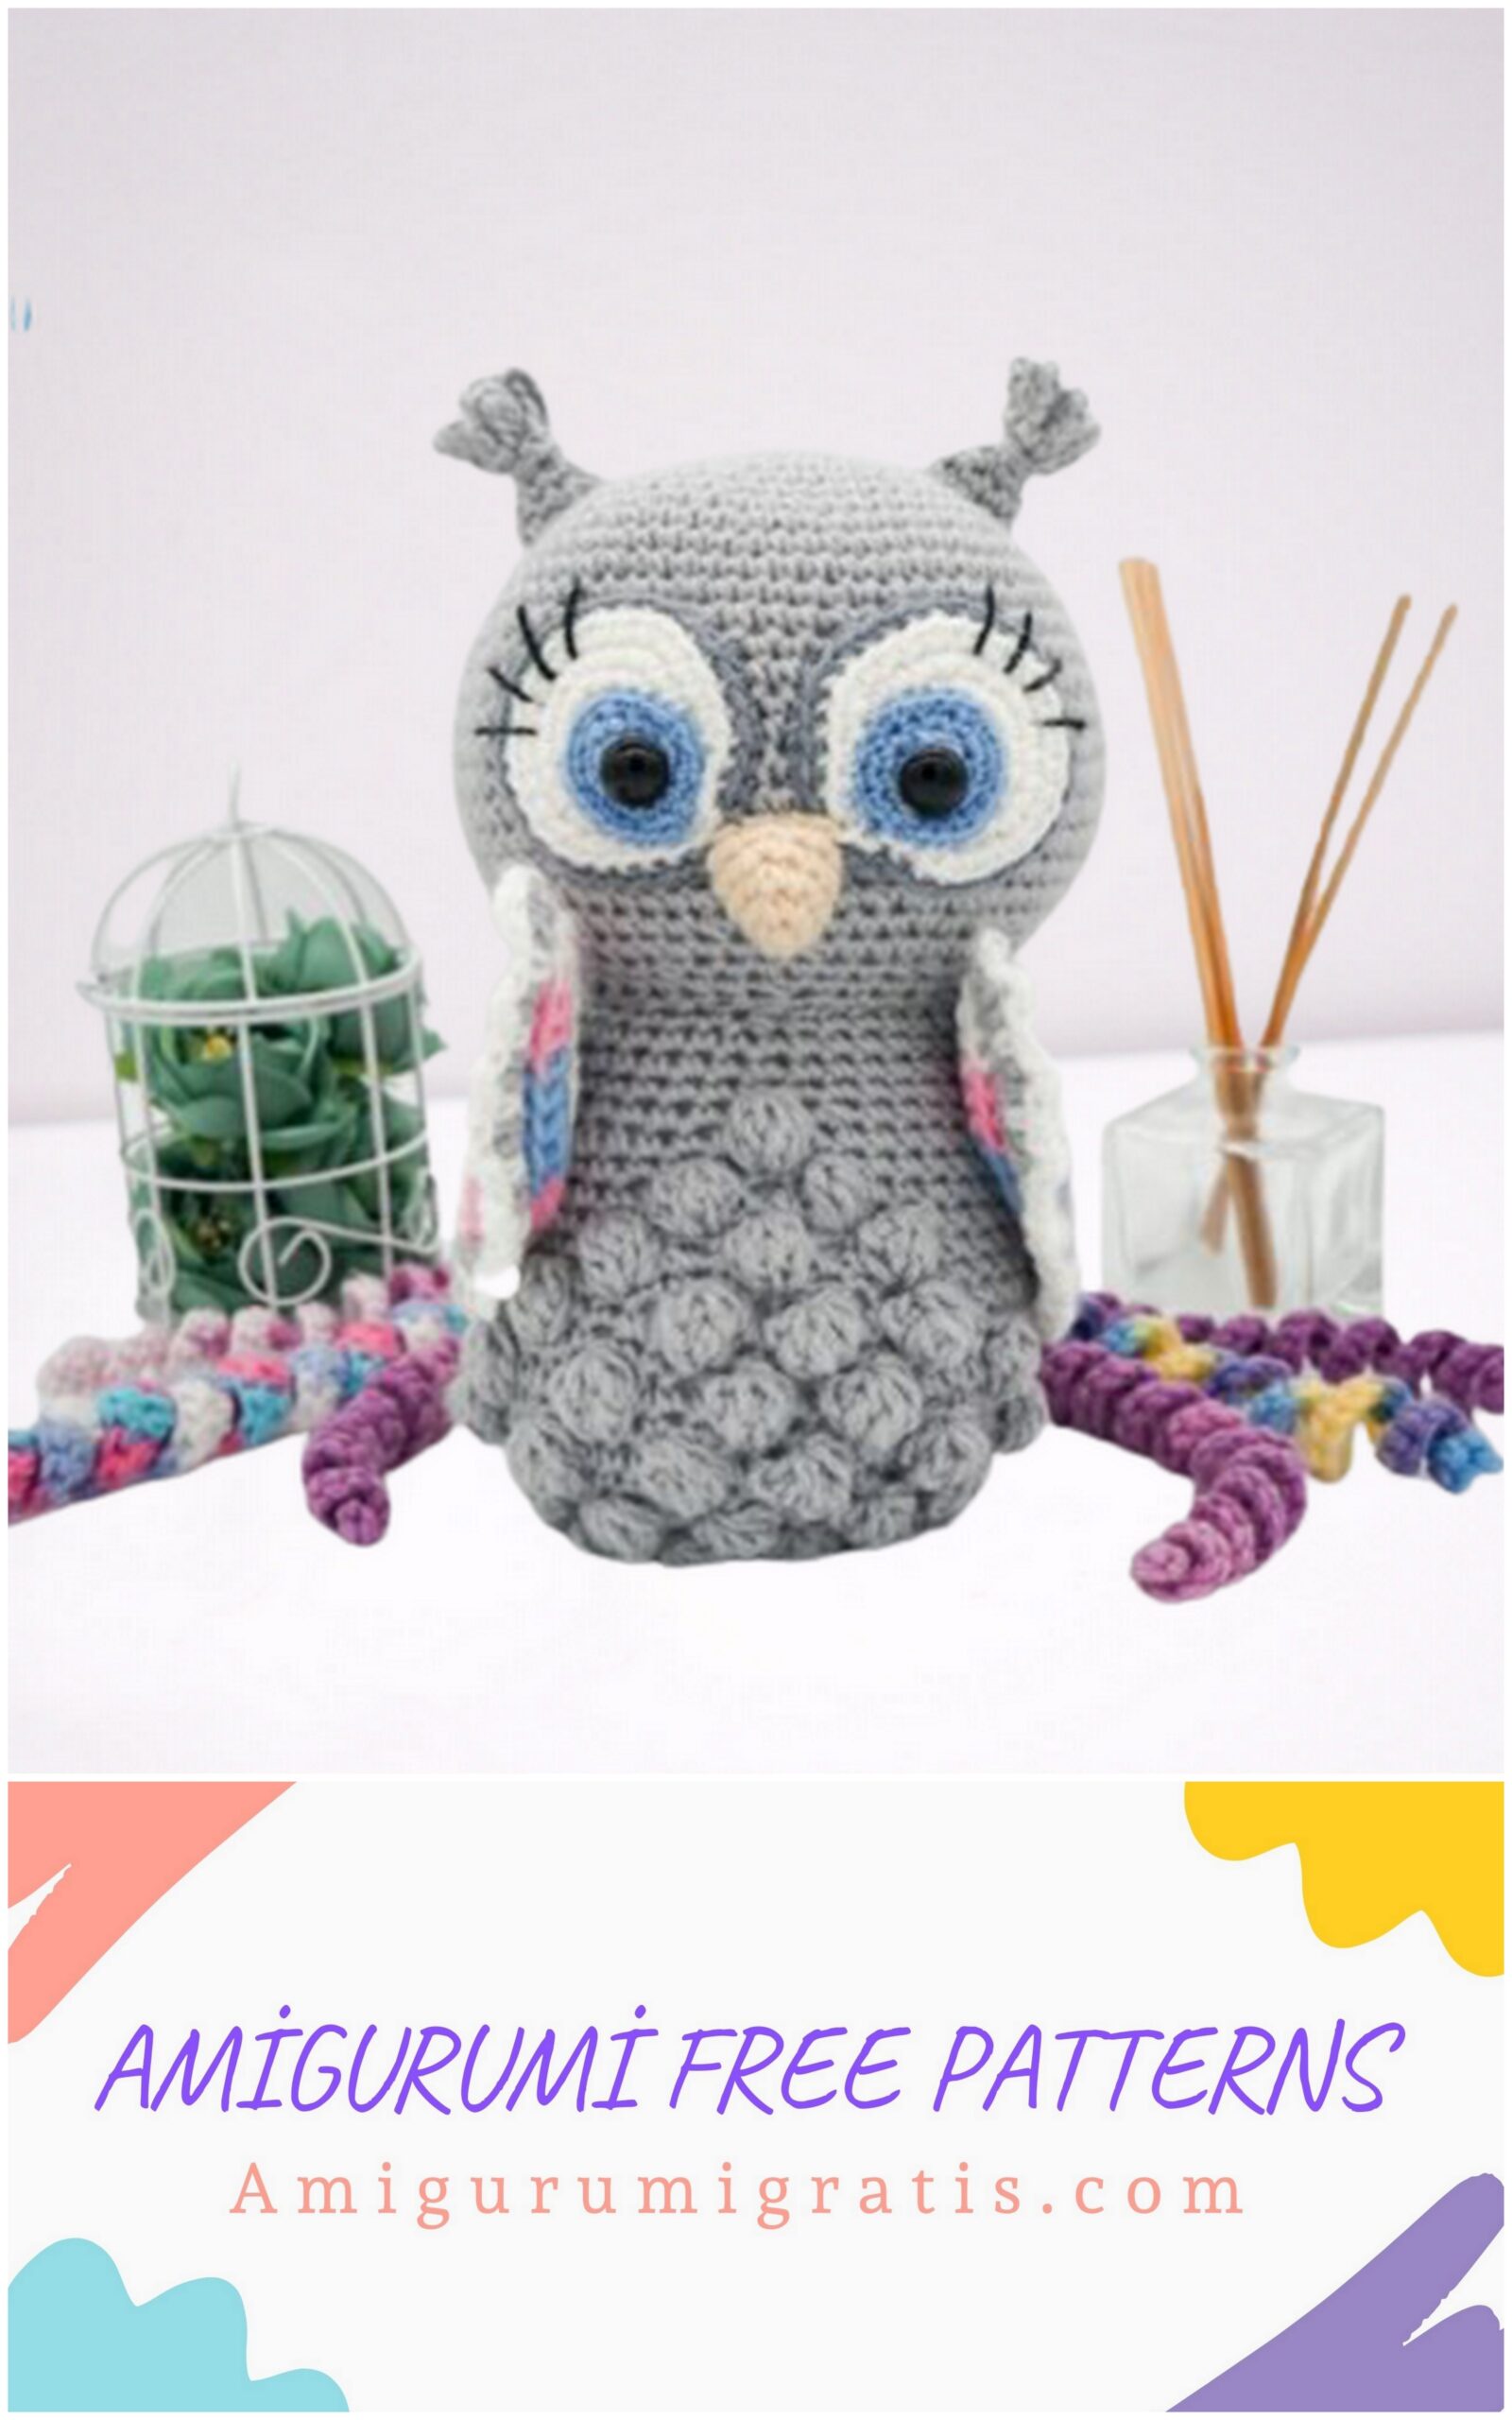
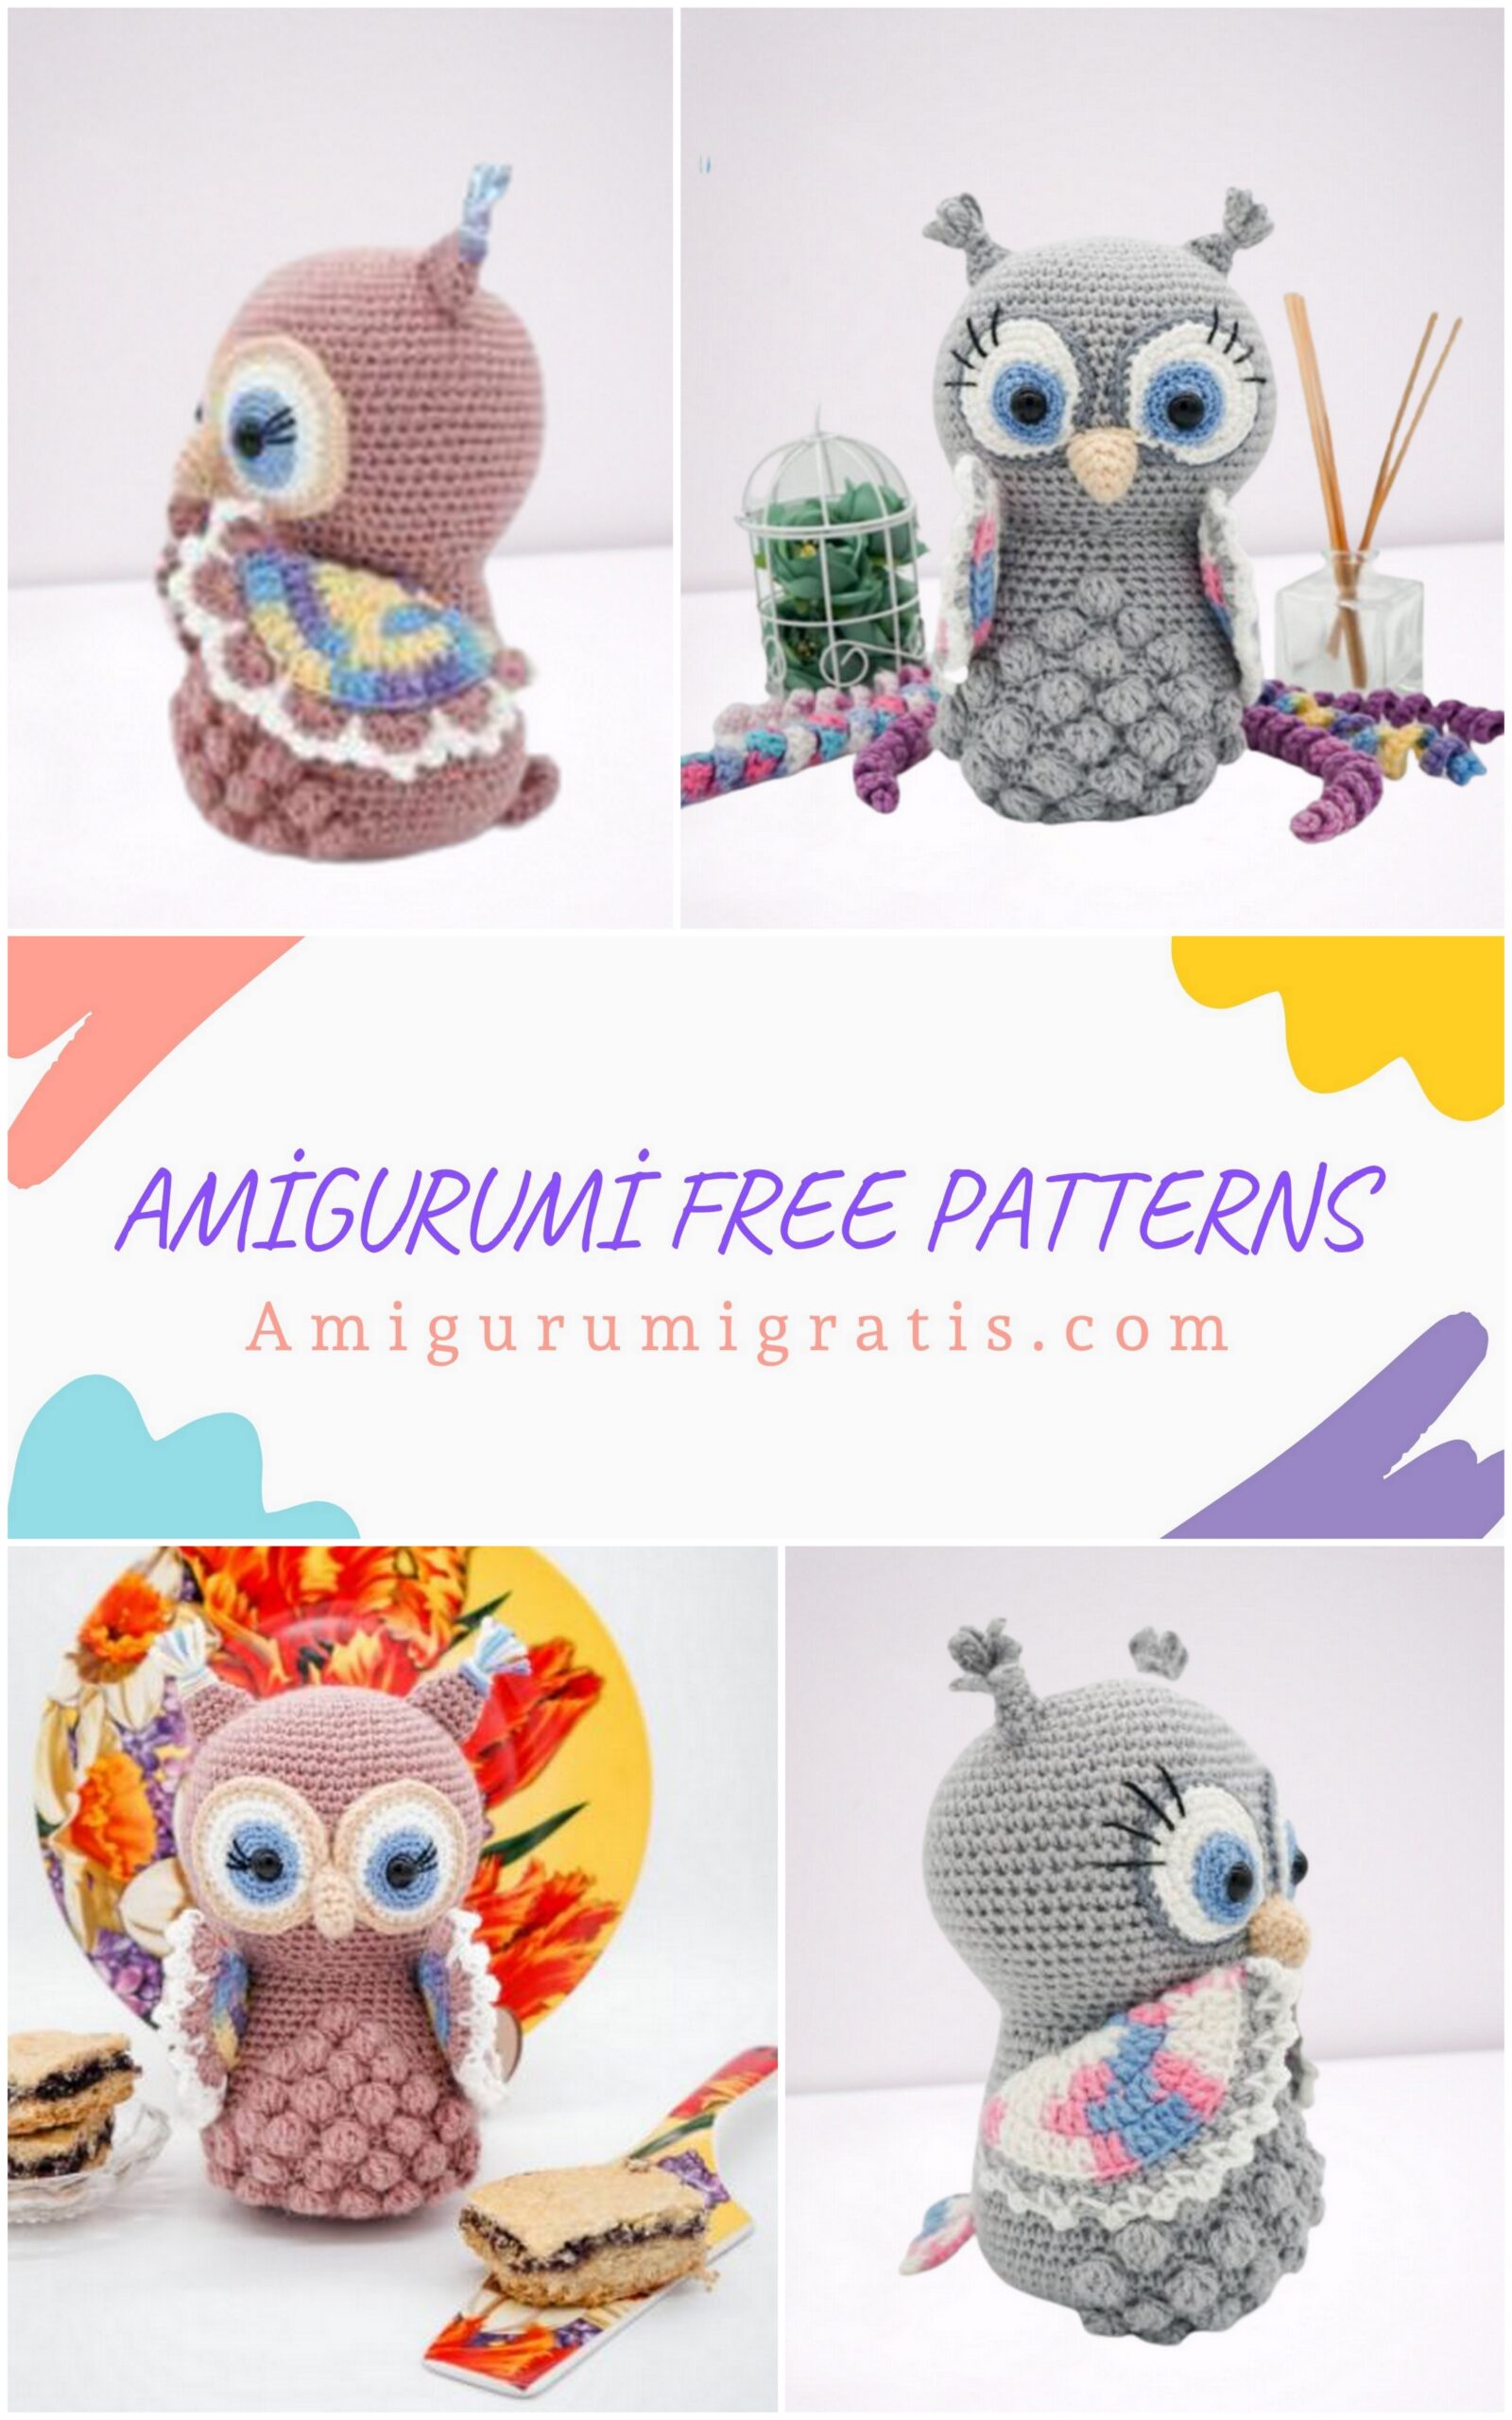
You will like the winged owl. Beautiful amigurumi free patterns from each other can be found on our website.
HEAD
1.6 sc into magic ring
2.6 inc = 12
3. (1 sc, inc) x 6 = 18
4. (2 sc, inc) x 6 = 24
5. (3 sc, inc) x 6 = 30
6. (4 sc, inc) x 6 = 36
7. (5 sc, inc) x 6 = 42
8. (6 sc, inc) x 6 = 48
9. (7 sc, inc) x 6 = 54
10. (8 sc, inc) x 6 = 60
11-21. 11 rows unchanged at 60 sc
22. (8 sc, dec) x 6 = 54
23. (7 sc, dec) x 6 = 48
24. (6 sc, dec) x 6 = 42
25. (5 sc, dec) x 6 = 36

BODY:
On the front of the body we will knit cones.
A cone is formed by crocheting by knitting several columns with a crochet together with one upper loop (columns with a common top), the “splendor” of the cone depends on the number of columns.
Unfinished double crochet (STN)
we knit not all at once, but in 2 stages with a fastening loop.
The diagram, for example, shows how to make a fastening loop.
What is the difference between a bump and a lush column:
after tying the fixing loop of the vertex – we knit sc in the next loop, do not make air loops and do not miss the loops of the previous row.
BODY (continued)
1.6 sc into magic ring
2.6 inc = 12
3.12 inc = 24
4. (3 sc, inc) x 6 = 30
5. (4 sc, inc) x 6 = 36
6. (5 sc, inc) x 6 = 42
7. (6 sc, inc) x 6 = 48
8. (7 sc, inc) x 6 = 54
From the next row, we begin to knit the bumps.
9. (8 sc, inc) x 6 = 60 – in this row we make increases and knit 7 bumps,
between cones 3 sc
10-20. 10 rows unchanged at 60 sc
11. 6 popcorn, each of which is knitted in the interval between the bumps of the previous row – in the middle sc
12. No change
13.5 popcorn
14. No change
15.4 popcorn
16. No change
17. 3 popcorn
18. No change
19.2 popcorn
20. No change
21. (8 sc, dec) x 6 = 54, make decreases and knit 1popcorn between 2 popcorns of the previous row
22. (7 sc, dec) x 6 = 48
23. (6 sc, dec) x 6 = 42
24. (5 sc, dec) x 6 = 36
TIN EARS SMALL
1.6 sc in amigurumi ring
2.6 sc for rear half loops
3. 6 inc. (12)
4.12 sc
Now go back to the 2nd row, for the front walls of which we will tie the brushes.
We attach a thread of a different color for
front half loop of the 2nd row.
A chain of 9 CH, SL-ST in the same loop, SL-ST in the next.
loop, 9 CH., SL-ST in the same loop, and so on.
Only 6 chains, collect them in a bunch, wrap around, thread the needle inside out and fasten with a needle.

CIRCLE-EYES for your taste and color
1: 6 SC
2: 6 İNC (12)
3: (1 SC, İNC) x 6 (18)
4: (2 SC, İNC) x 6 (24)
5: (3 SC, İNC) x 6 (30)
Leave a long thread for sewing Eyes can be tied around a circle SL-ST (connecting posts) with a thread of a different color, they will be more convex, thread the needle on the wrong side with a needle.
BEAK
Orange or yellow thread.
1 row: 6 sc into magic ring
2 row: (inc, 1 sc) x 3 (9)
3 row: sc in each p. (9)
4 row: (2 sc, inc) x 3 (12)
5 row: sc in each p. (12)
Fold in half and sew along the edge.
WINGS
1.12dc İNTO MAGİC RİNG – 3 CH lift, SL-ST to last CH
2.3 CH, 12 inc DC, SL-ST = 24 DC
3.3 CH, (1DC, İNC) x 12, SL-ST = 36
4.3 CH, (2 DC, İNC) x 12, SL-ST = 48 DC, we get a circle
Fold in half, attach the thread of the main color and knit together for the inner walls of the sc loops.
Make a hemming edge of the semicircle.
Wiring diagram: 5 DC in one loop,
2 loops skipped, sc, 2 loops skipped, etc.
Make another strapping, making a picot (3 CH) over DC, which in the middle, CH, long sc in sc of the previous row, CH (see photo)
TAIL in rotary rows
A chain of 10 ch.
1 row: Starting from the 2nd point from the hook 9 sc
Next, all the rows behind the rear walls of the loops!
2 row: 3 sc, 3 HDC, 3 DC, ch
3 row: sc in each p., Ch.,
4 row: 3 sc, 3 HDC, 3 DC, ch.,
5 row: sc in each p., Ch.,
6 row: 3 sc, 3 HDC, 3 DC, 3 ch.,
7 row: 3 DC, 3 HDC, 3 sc, ch.,
8 row: sc in each p., 3 ch.