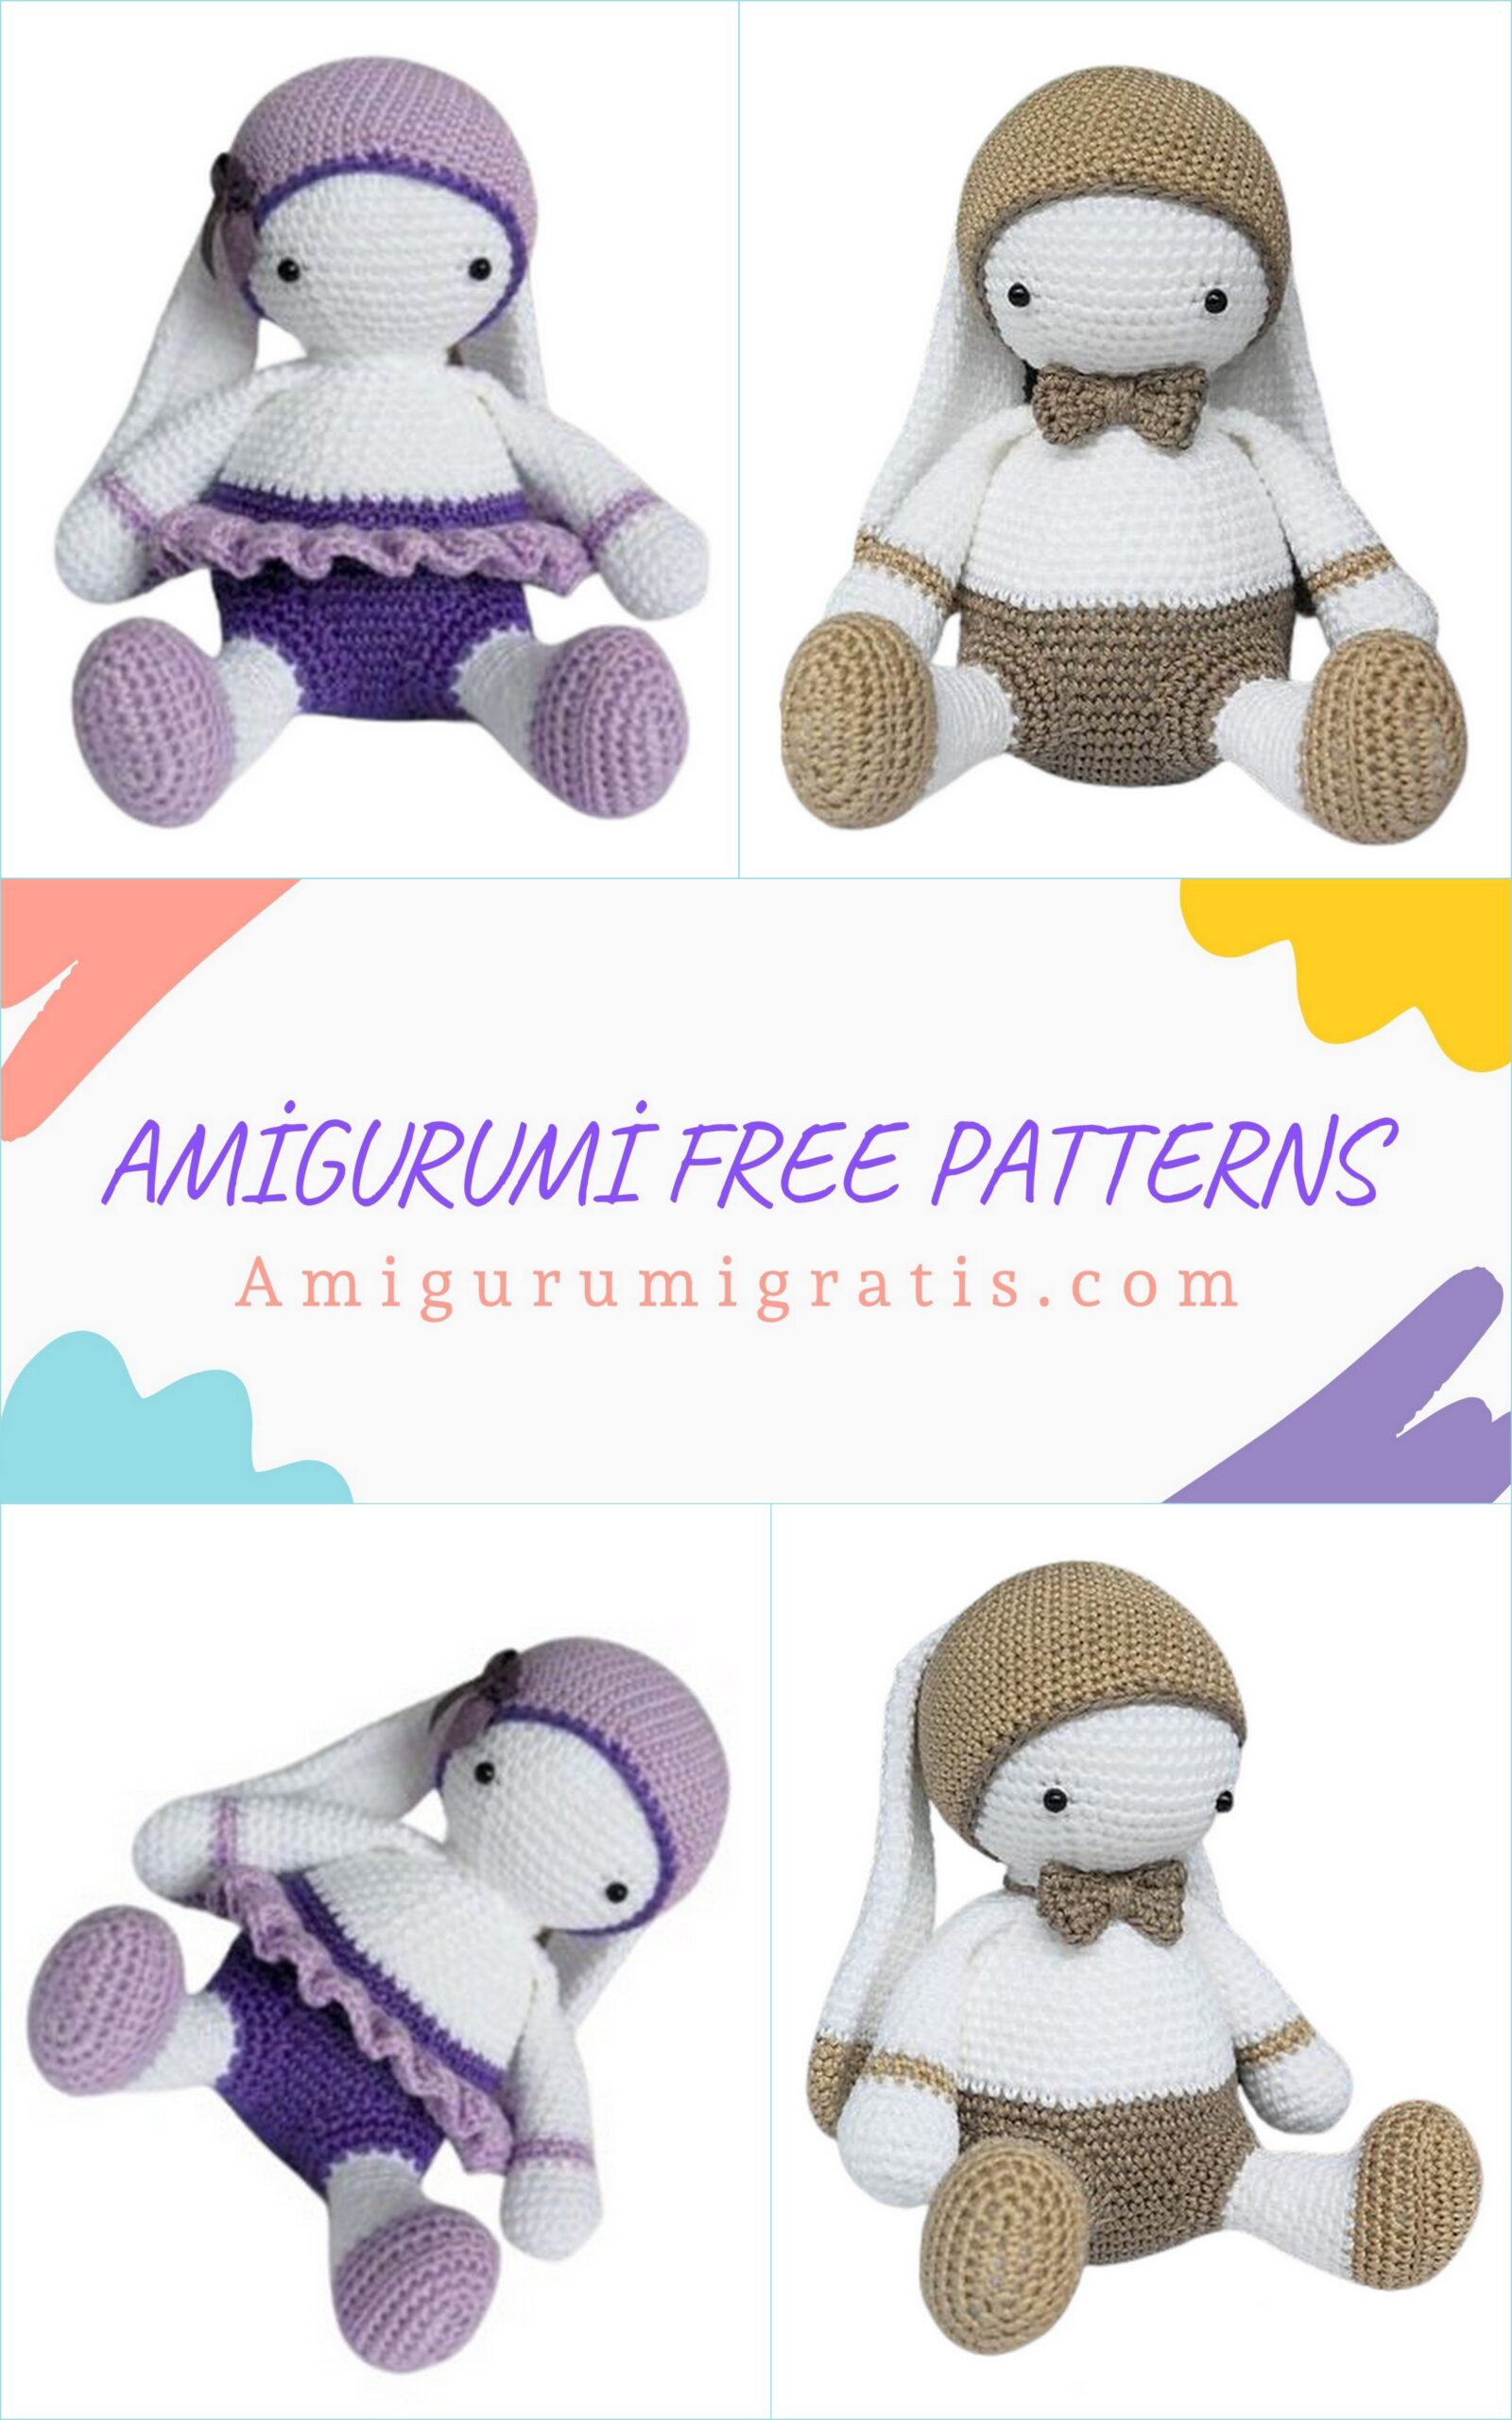
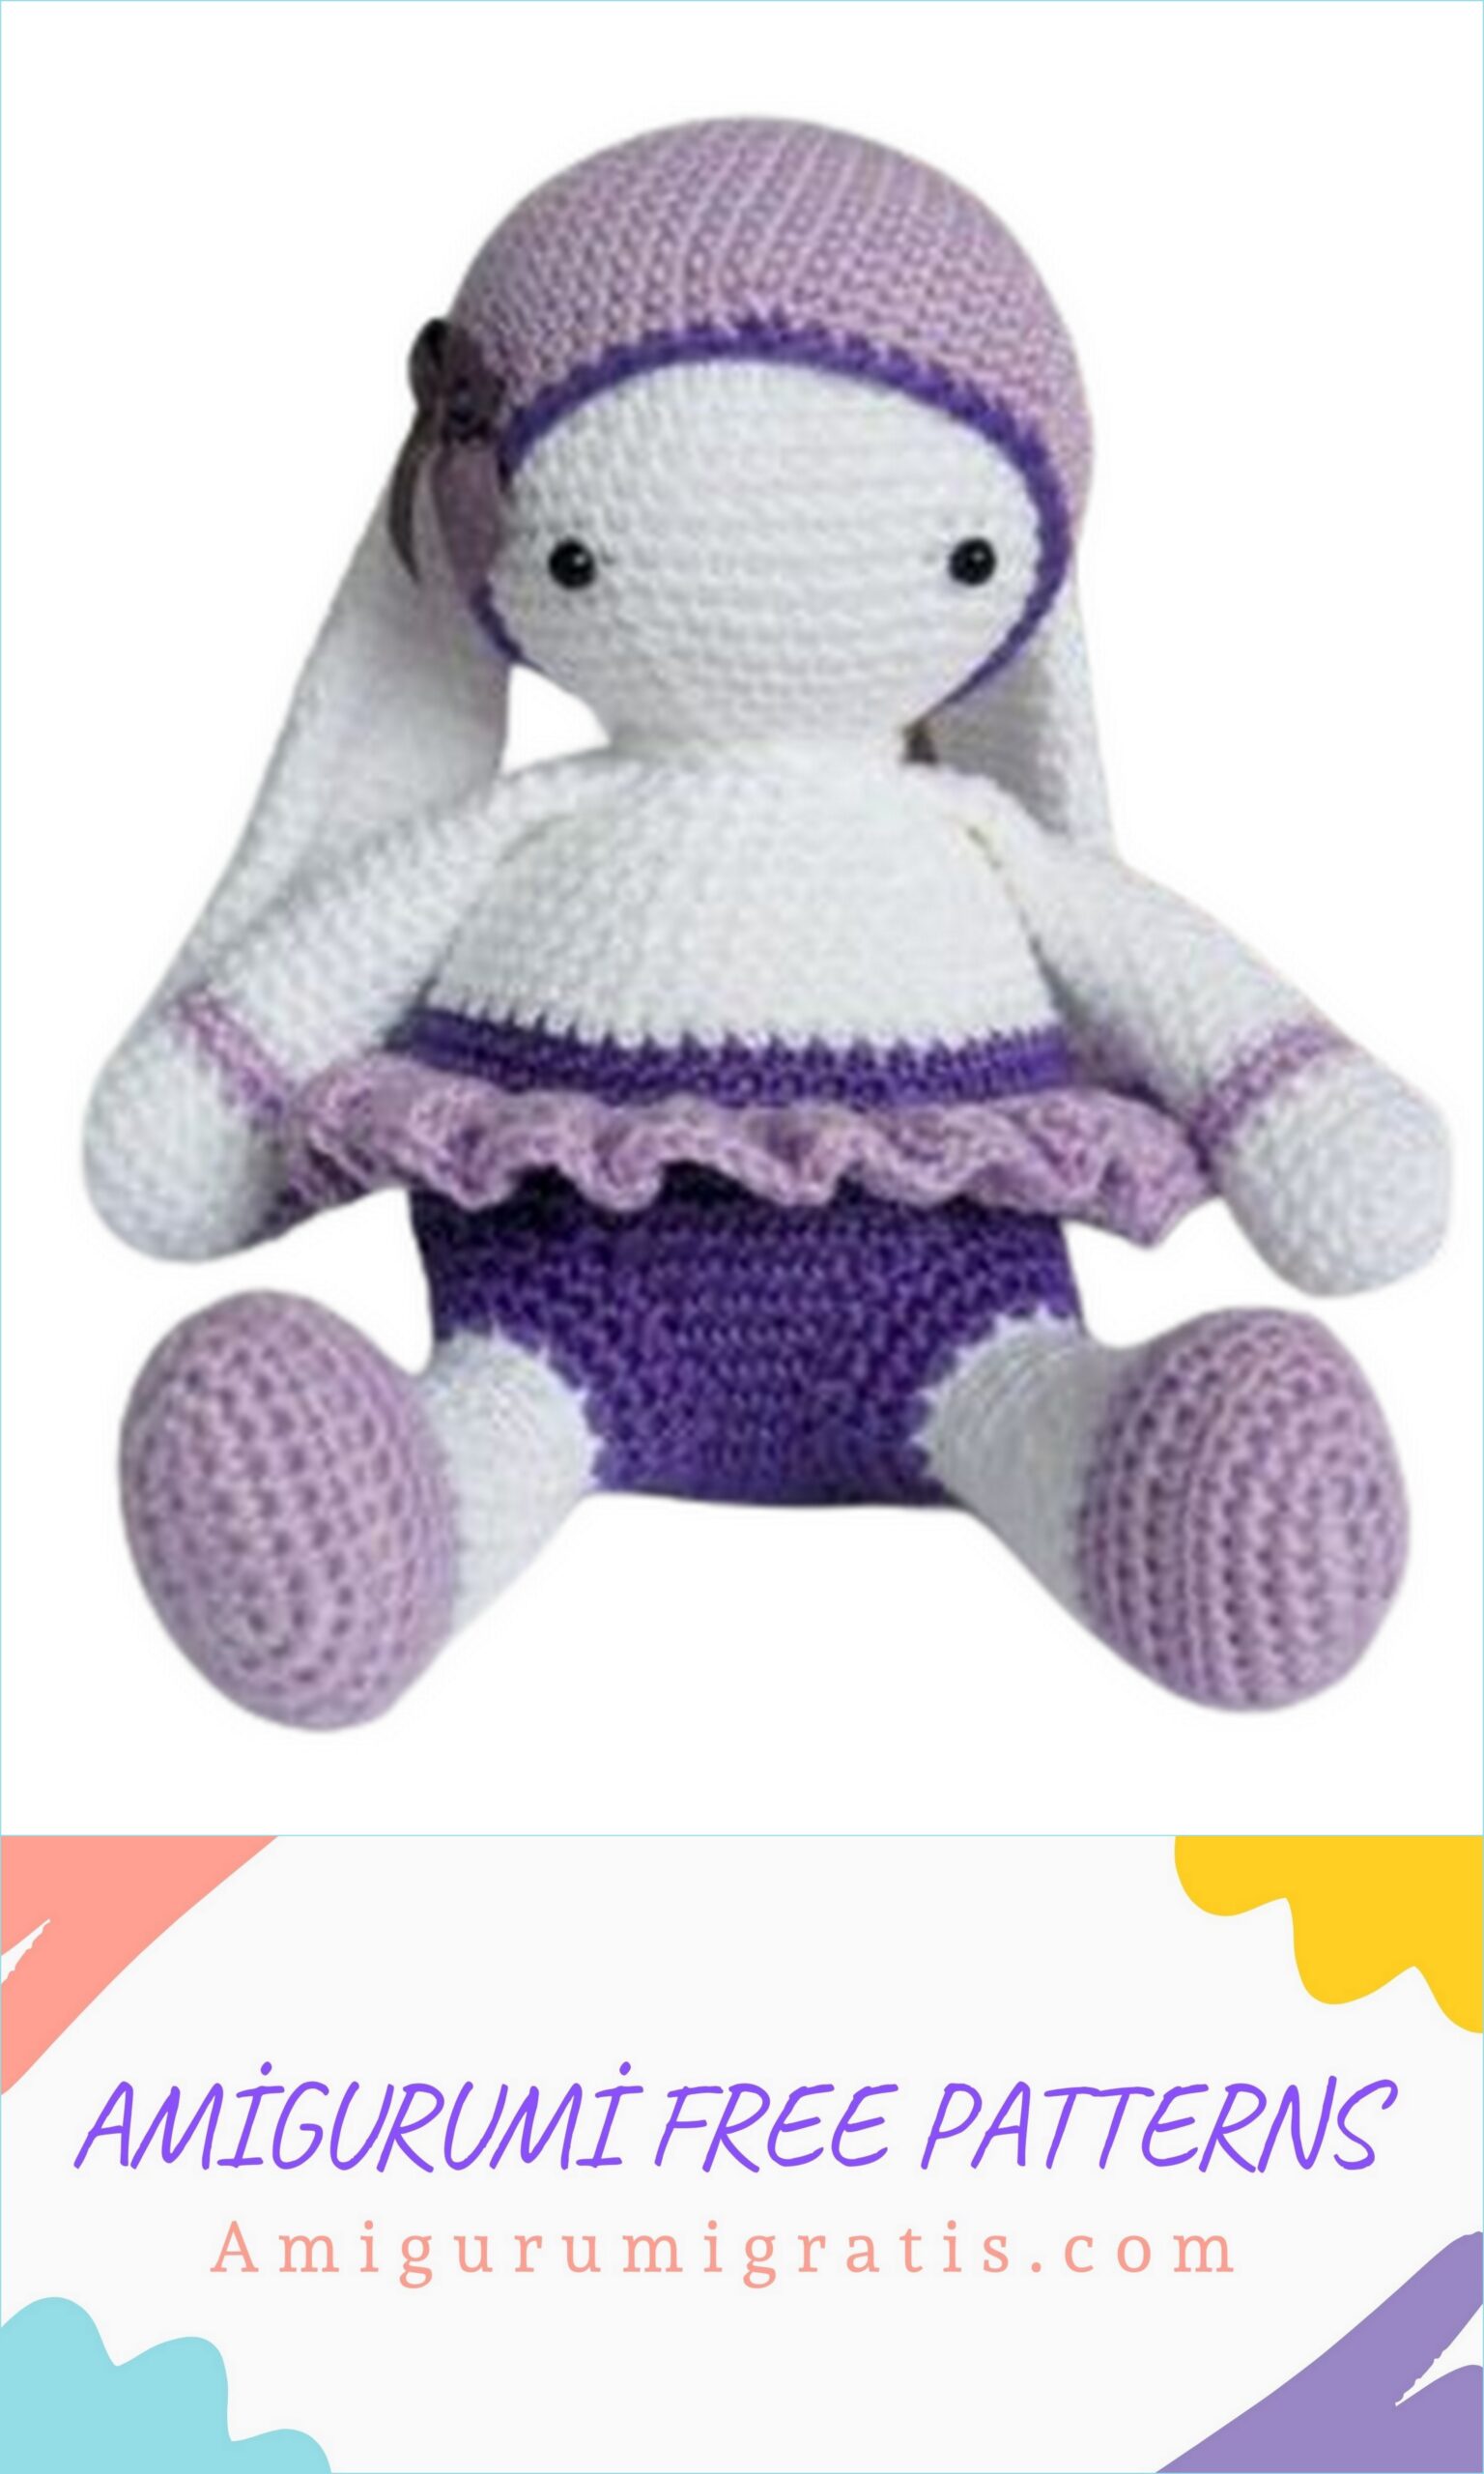
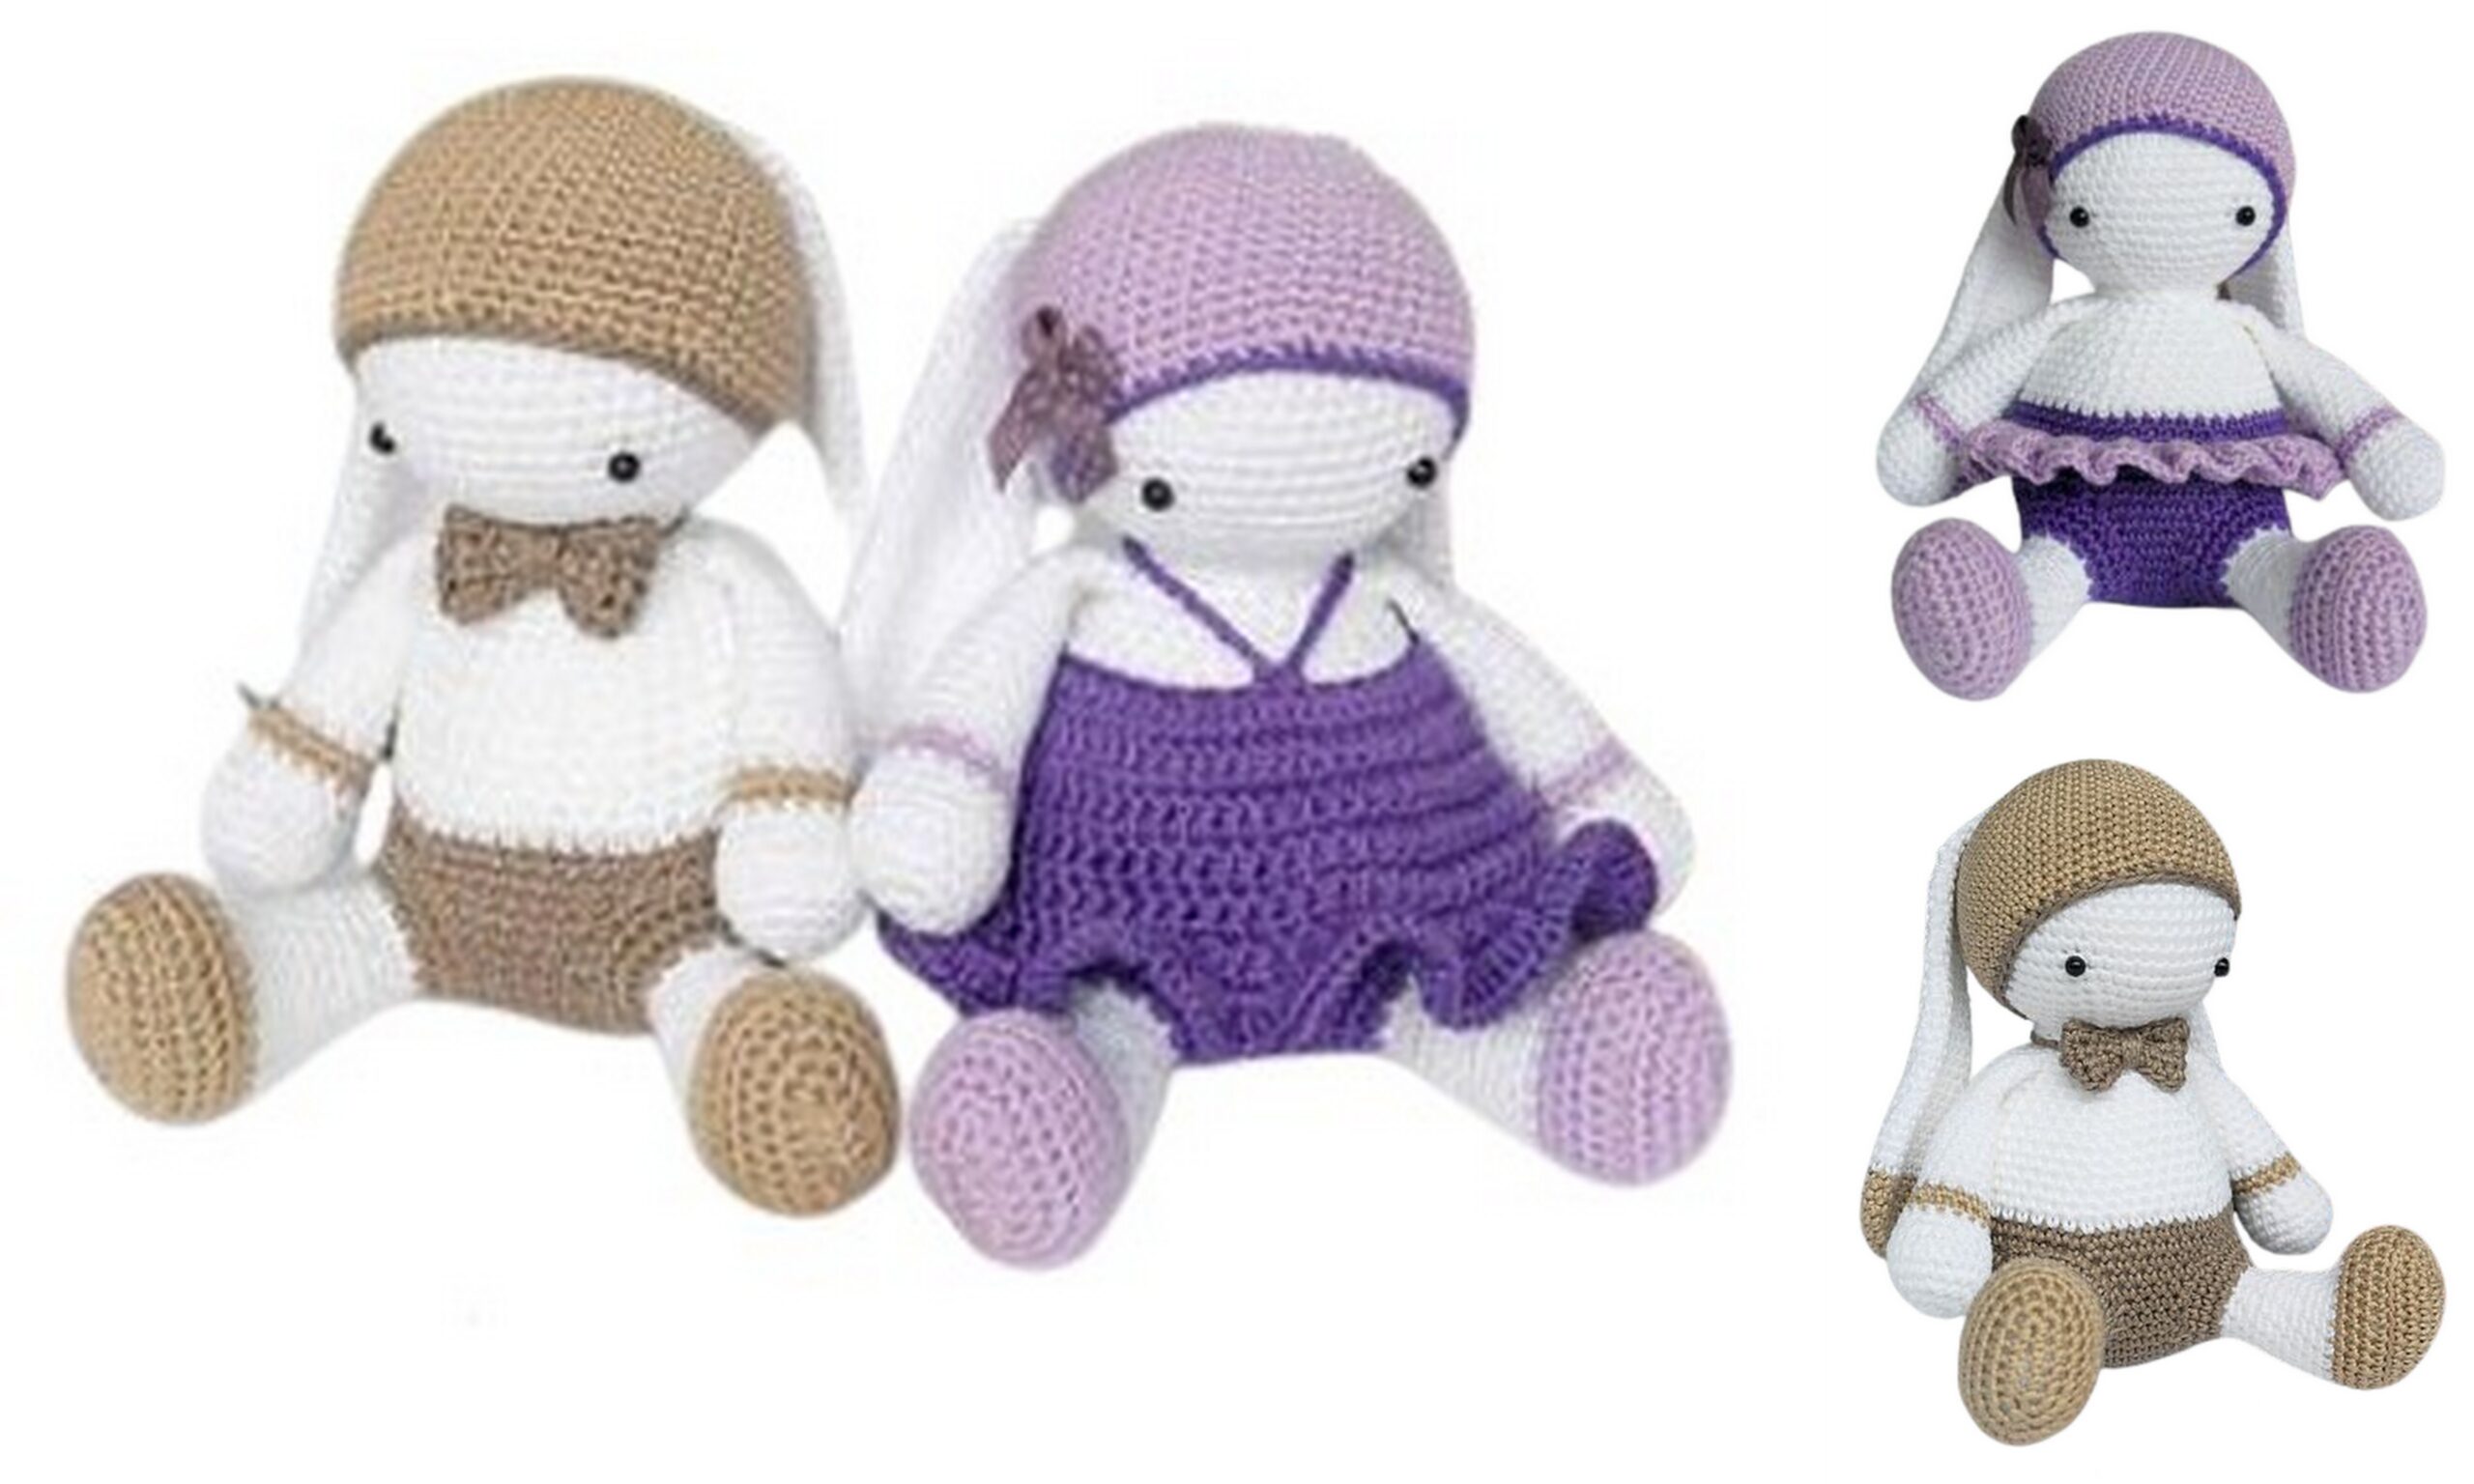
Bunny Lulu
Amigurumi bunny lulu free crochet pattern
Legend:
ch. – air loop
sl-st – connecting loop
hdc – half double crochet
sc – single crochet
dc – double crochet
inc – increase
dec – decrease
About the hook:
For good results, make sure to use a smaller crochet hook than is usually recommended for your yarn. So, you will have a tight enough knit, which will avoid large holes between the posts through which the filler could peep. Thus, if a yarn manufacturer recommends using a 3.5 hook, it is better to use a 3 hook.
About yarn:
Personally, I prefer to use cotton yarn for this kind of project, as it won’t stretch after you’ve tamped the details tightly.
It also has the advantage of being very durable. If you decide to use a different yarn, choose a non-elastic and strong yarn for best results. The thickness of the yarn does not matter much, just your toy will be of different sizes.
About filler:
There are many types of fillers and the choice is yours. For best results, I recommend stuffing as tightly as possible.
Body:
We knit with yarn of the 2nd additional color
1r – 6 sc into magic ring
2r – 6inc (12)
3r – (1sc, inc) * 6 (18)
4r – (2sc, inc) * 6 (24)
5r – (3sc, inc) * 6 (30)
6r – (4sc, inc) * 6 (36)
7r – (5sc, inc) * 6 (42)
8r – (6sc, inc) * 6 (48)
9r – (7sc, inc) * 6 (54)
10-18r – 54sc (9 rows)
19r – (7sc, dec) * 6 (48)
Change the color to the main one.
20-21r – 48sc (2 rows)
22r – (6sc, dec) * 6 (42)
23-24r – 42sc (2 rows)
25r – (5sc, dec) * 6 (36)
26r – 36sc
27r – (4sc, dec) * 6 (30)
28r – 30sc
29r – (3sc, dec) * 6 (24)
30r – 24sc
31r – (2sc, dec) * 6 (18)
32r – 18 sc
End sl-st. Cut the thread. Fill tightly with filler.
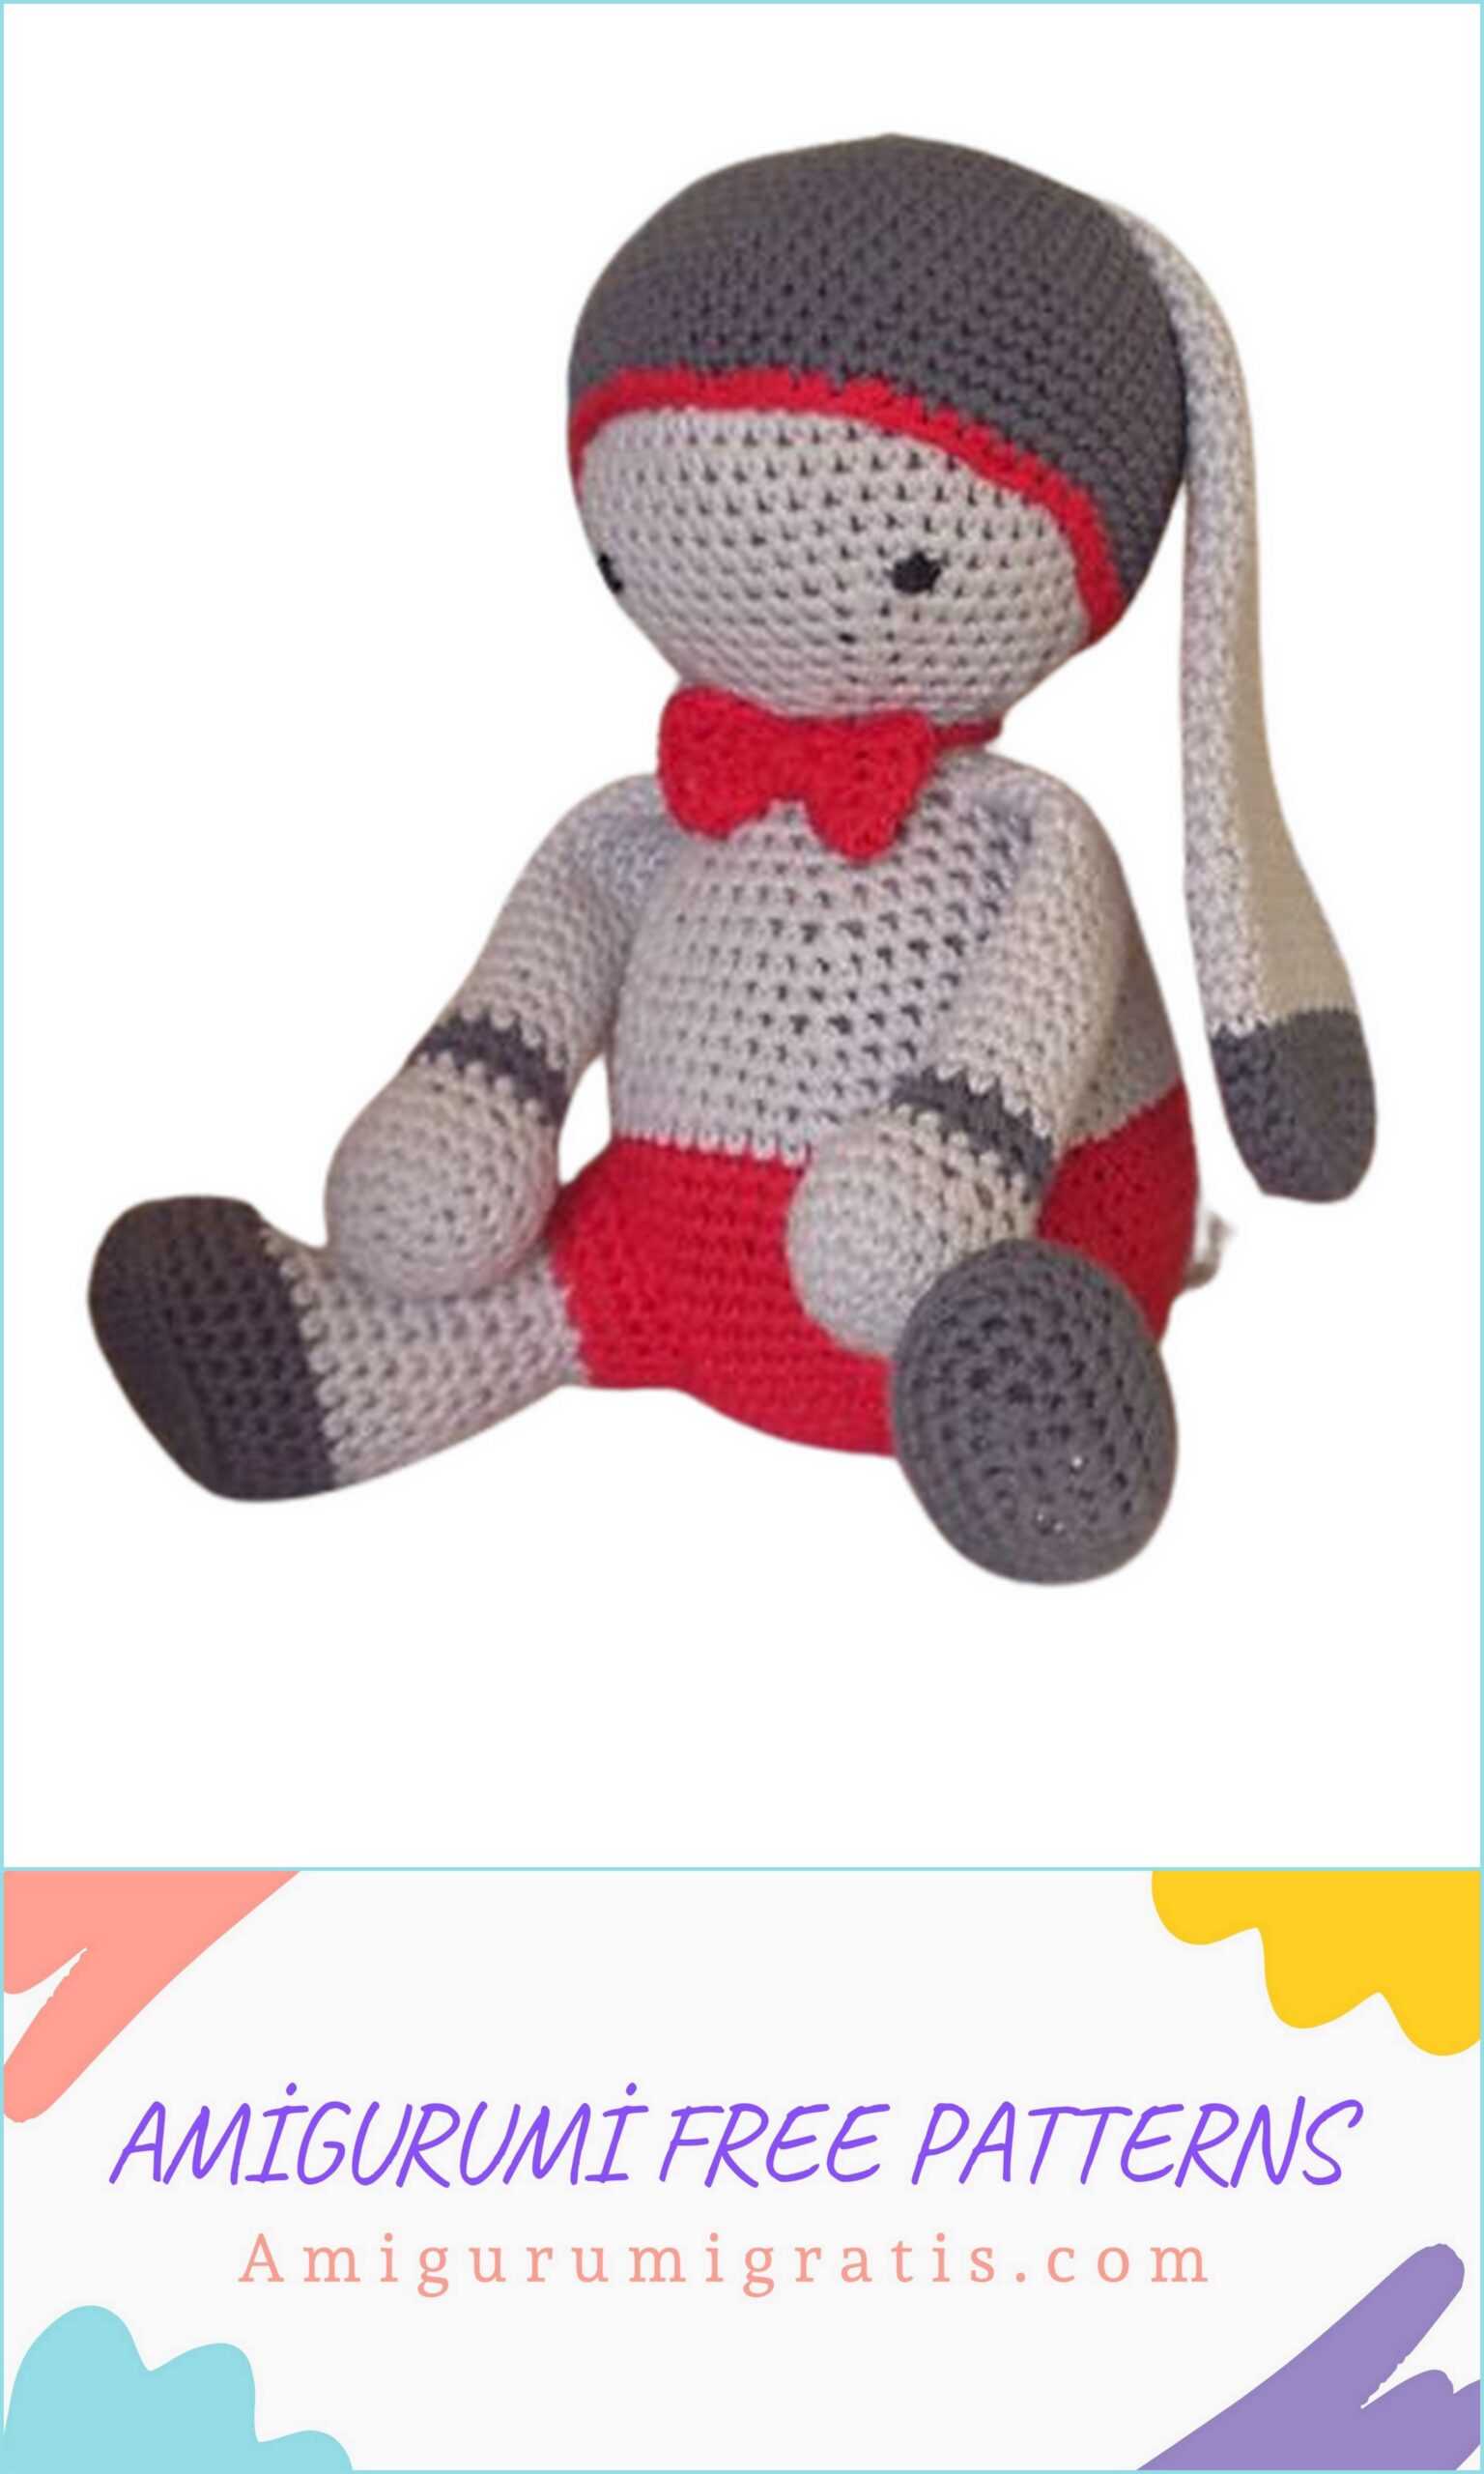
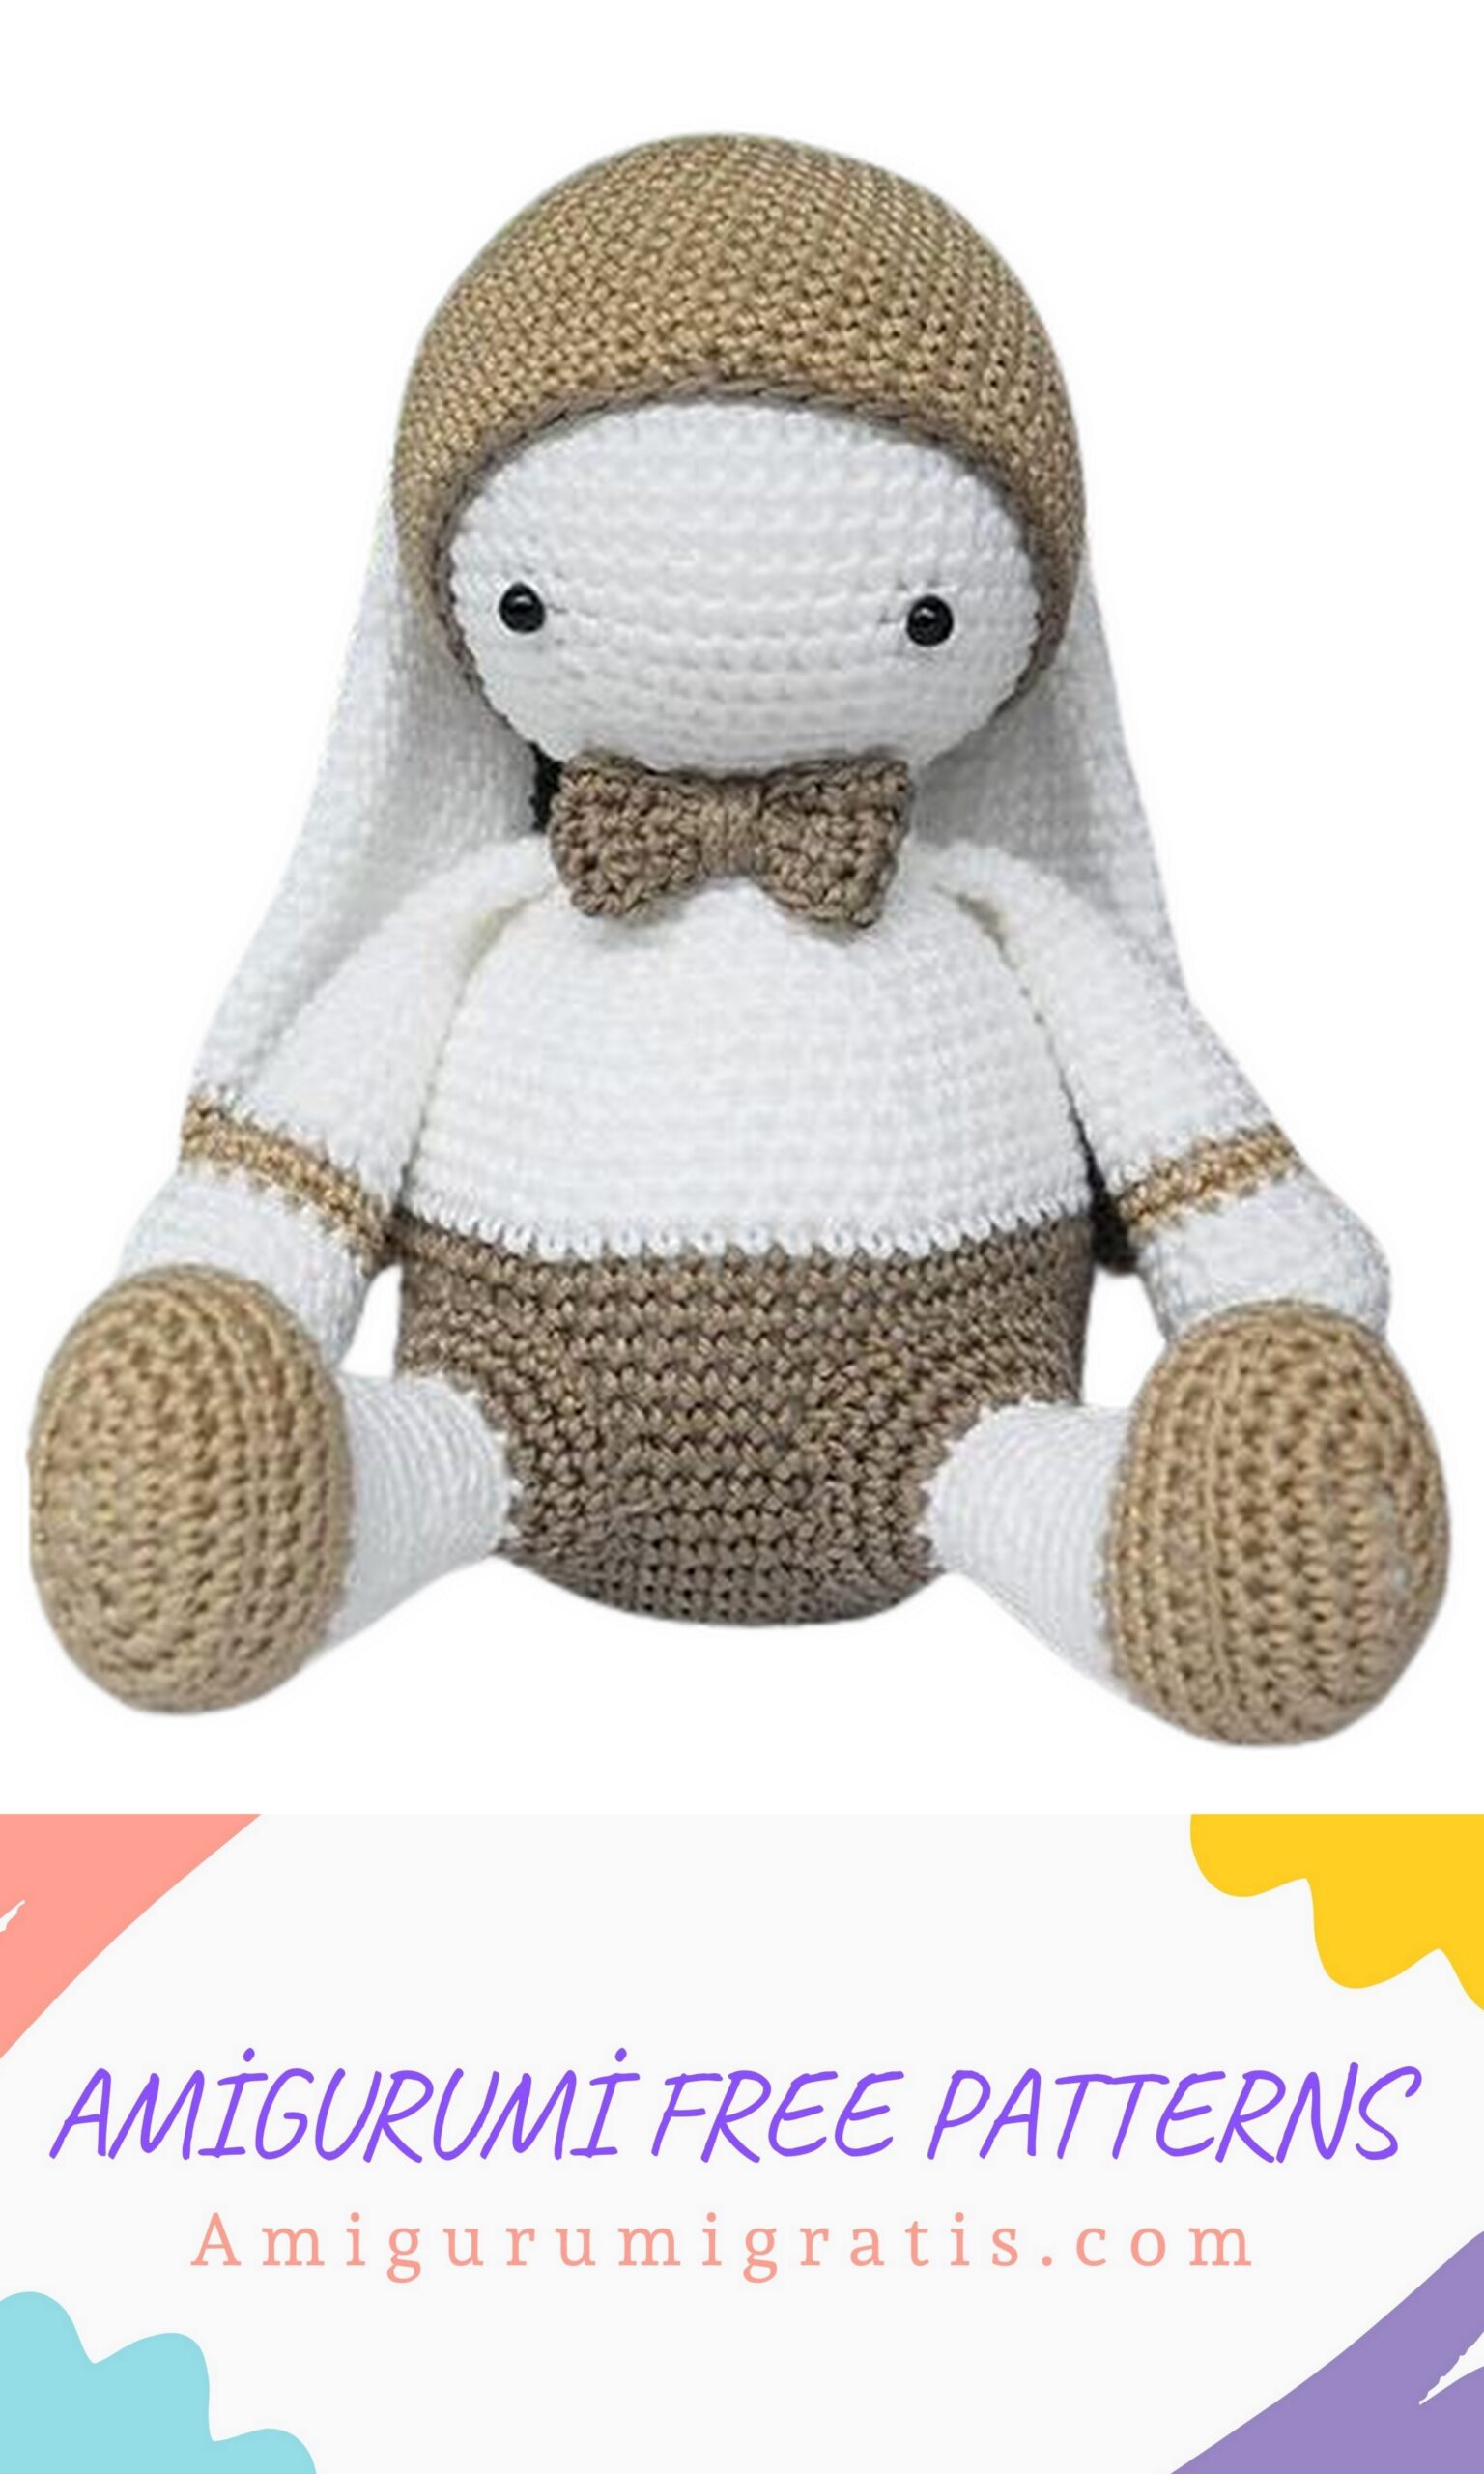
If you knit a bunny boy, then you need to change the color to the main one after the 17th row. Everything else is the same as for the girl.

Tail:
We knit with yarn of the main color
1r – 6 sc into magic ring
2r – 6inc (12)
3r – (1sc, inc) * 6 (18)
4-5r – 18sc (2 rows)
6r – (dec, 1sc) * 6 (12)
7r – 12sc
Finish knitting sl-st. Cut off the yarn, leaving a ponytail (30cm) long enough for sewing.
Head:
We knit with yarn of the main color.
1r – 6 sc into magic ring
2r – 6inc (12)
3r – (1sc, inc) * 6 (18)
4r – (2sc, inc) * 6 (24)
5r – (3sc, inc) * 6 (30)
6r – (4sc, inc) * 6 (36)
7r – (5sc, inc) * 6 (42)
8r – (6sc, inc) * 6 (48)
9r – (7sc, inc) * 6 (54)
10-18r – 54sc (9 rows)
19r – (7sc, dec) * 6 (48)
20r – (6sc, dec) * 6 (42)
21r – (5sc, dec) * 6 (36)
22r – (4sc, dec) * 6 (30)
23r – (3sc, dec) * 6 (24)
24r – (2sc, dec) * 6 (18)
Finish knitting sl-st. Cut off the yarn, leaving a ponytail (80cm) long enough to sew the head to the body. Place eyes between rows 17 and 18 at 11 sc. Stuff your head very tightly.
Beanie:
We knit with yarn of the 1st add. colors.
1r – 6 sc into magic ring
2r – 6inc (12)
3r – (1sc, inc) * 6 (18)
4r – (2sc, inc) * 6 (24)
5r – (3sc, inc) * 6 (30)
6r – (4sc, inc) * 6 (36)
7r – (5sc, inc) * 6 (42)
8r – (6sc, inc) * 6 (48)
9r – (7sc, inc) * 6 (54)
10-21r – 54sc (12 rows)
22r – (7sc, dec) * 6 (48)
Change color to 2nd add. color (purple)
23r – (6sc, dec) * 6 (42)
Finish knitting sl-st. Leave the thread to be sewn to the head about 30 cm.
Note. I knitted a hat exactly according to the description, and it turned out to be very deep for me. It may be better if you knit not 12 rows of 54sc, but 10.
Handles (2pcs):
We knit with yarn of the main color
1r – 6 sc into magic ring
2r – 6inc (12)
3r – (1sc, inc) * 6 (18)
4r – (5sc, inc) * 3 (21)
5-6r – 21sc (2 rows)
7r – (dec, 1sc, dec, 2sc) * 3 (15)
8r – 15sc
Change color to 1st additional color
9r – 15sc
10r – dec, 5sc, dec, 6sc (13)
Change color to main
11-12r – 13sc
13r – dec, 11sc (12)
14-17r – 12sc (4 rows)
Stuff tightly with filler. The rest of the handle does not need to be filled.
18r – dec, 10sc (11)
19-25r – 11sc (7 rows)
Knit 1sc more, then fold in half and knit 5sc. Cut off the yarn, leaving a ponytail (30cm) long enough for sewing.

Legs (2pcs):
We knit with yarn of the 1st add. colors
1р – We collect 6 ch. Starting from the 2nd from the hook, 4sc, 4sc into the last loop. Turn work and knit from back side, 4sc, 3sc in the last stitch (15)
2r – 1inc, 4sc, 3inc, 5sc, 2inc (21)
3r – 2inc, 6sc, 2inc, 8sc, 3inc (28)
4r – 1inc, 27sc (29)
5r – knit at the back of the loop 29sc (29)
6-7r – 29sc (2 rows)
8r – 9sc, 4dec, 10sc, dec (24)
Change color to main
9r – 9sc, 3dec, 9sc (21)
10r – 9sc, 3sc knit together, 9sc (19)
11r – 9sc, dec, 8sc (18)
12r – 18sc
13r – (dec, 4sc) * 3 (15)
14-16r – 15sc (3 rows)
17r – (dec, 3sc) * 3 (12)
18-19r - 12sc (2 rows)
Change color to 2nd additional color (purple)
20r – 12inc (24)
21-22r – 24sc (2 rows)
Finish knitting sl-st. Cut off the yarn, leaving a ponytail (30cm) long enough to sew the leg to the body. Fill very tightly.
Ears (2pcs):
We knit with yarn of the 1st additional color.
1r – 6sc into magic ring
2r – 6inc (12)
3r – (1sc, inc) * 6 (18)
4r – (8sc, inc) * 2 (20)
5r – (9sc, inc) * 2 (22)
6-8r – 22sc (3 rows)
Change color to main
9-12r – 22sc (4 rows)
13r – (dec, 9sc) * 2 (20)
14-16r – 20 sc (3 rows)
17r – (dec, 8s c) * 2 (18)
18-20r – 18sc (3 rows)
21r – (dec, 7sc) * 2 (16)
22-24r – 16sc (3 rows)
25r – (dec, 6sc) * 2 (14)
26-28r – 14sc (3 rows)
29r – (dec, 5sc) * 2 (12)
30-32r – 12sc (3 rows)
33r – (dec, 4sc) * 2 (10)
34-36r – 10sc (3 rows)
Knit 1sc more, then fold in half and knit 4sc. Cut off the yarn, leaving a ponytail (30cm) long enough for sewing.
Assembly (Head-Body-Beanie):
Place your head over your body, making sure the tails of the yarn are on one side.
This will be the back of the toy. Attach the head to the body with sc, grabbing the head and body loops at the same time.
Fasten the thread, cut, hide the tail.
Put a hat on your head and sew.
Pens:
Sew both handles to the body 1 row below the junction of the body with the head.
Ears:
Sew the ears to the cap, placing them starting from the 5th row from the center.
Legs:
Sew both legs tightly to the body
Tail:
Sew the tail tightly to the back of the body, while filling with filler.
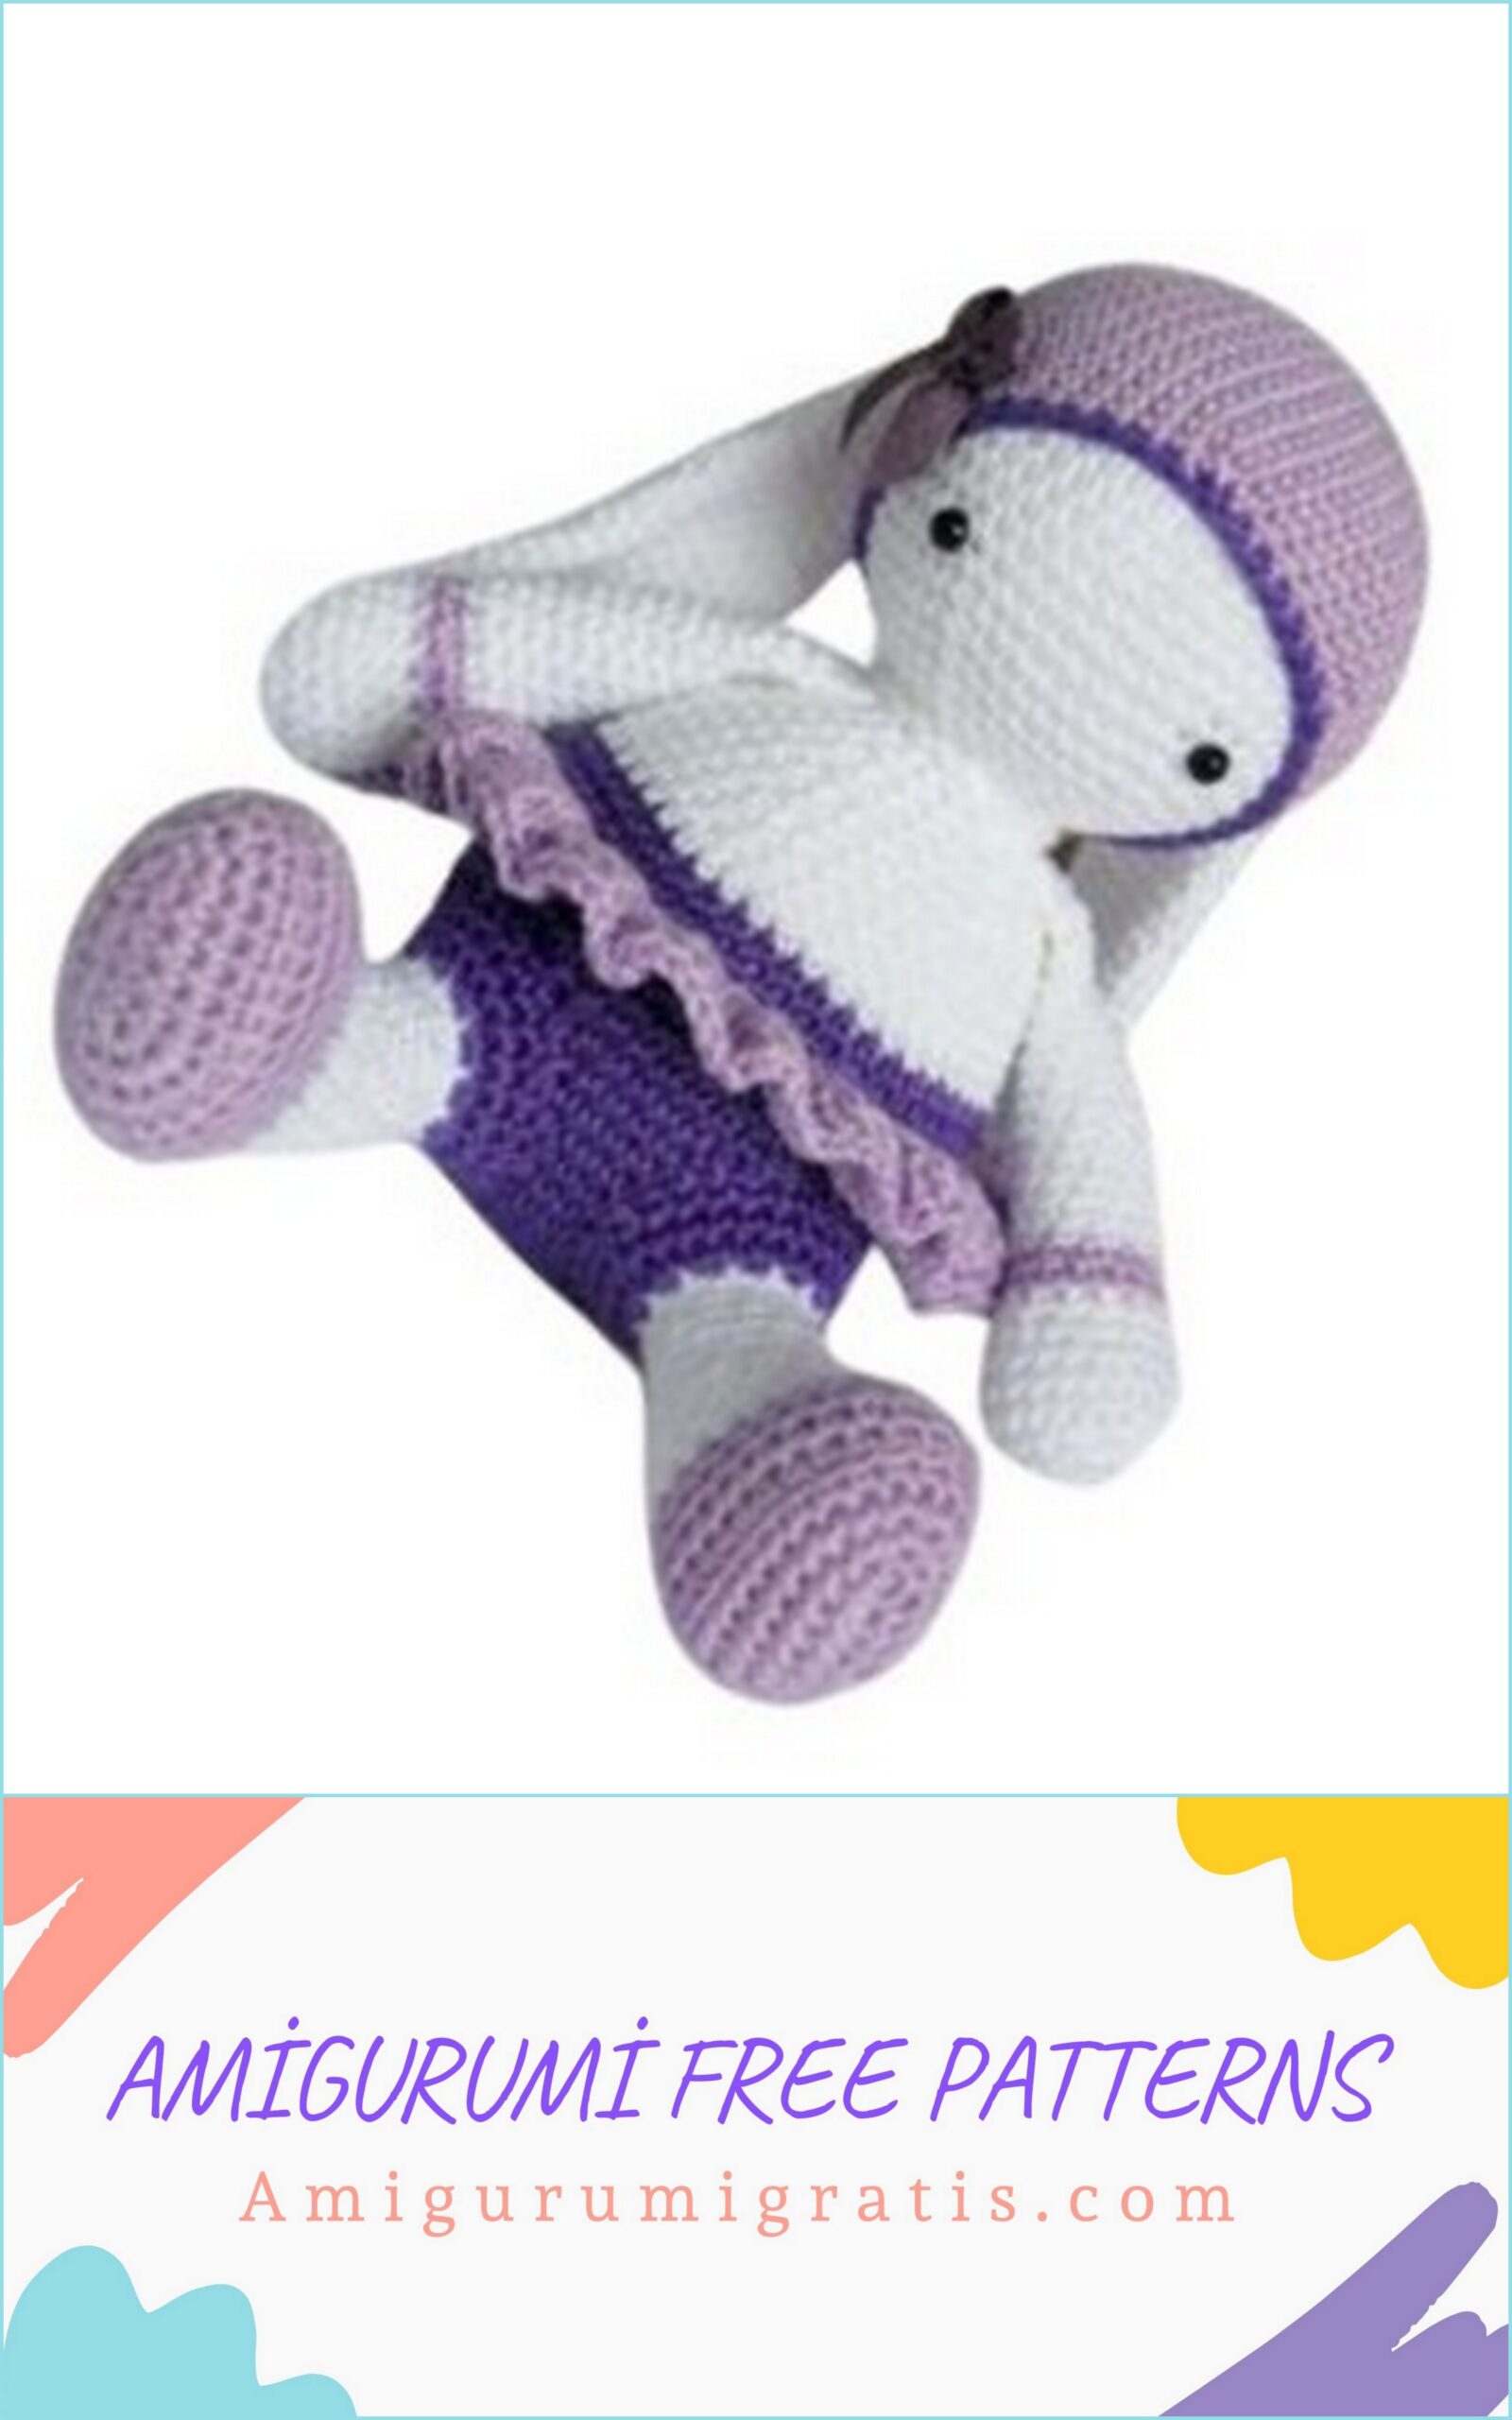
Option 1 (Tutu skirt):
Hold the toy upright with your head down, with your back to you. Choose where you want to place the pack.
1 row – you need to knit the initial row sc on the body of the toy: insert the hook horizontally under 1 loop and exit the other side of the loop, grab the yarn, stretch and knit sc (very weak). Insert your crochet hook into the next stitch of this row, knit sc as you did earlier. Repeat around the entire body, making sure to stay in the same row. Because the body is knitted in a spiral, the end of the row will not be at the same level as the beginning, therefore, being in the middle of the back, it is necessary to make a transition. Finish row with sl-st.
2nd row – 3 ch. lifting and 2dc into the same loop, then we knit 3dc into each loop of the base. Finish sl-st in 3rd ch. at the beginning of the row.
3 row – 3 ch. lifting, then 1dc in each loop of the previous row. Finish sl-st in 3rd ch. at the beginning of the row.
Option 2 (Dress):
Hold the toy upright, head down, with your back to you.
1 row – under the 6th row of the body, you need to knit the initial row sc on the body of the toy: insert the hook horizontally under 1 loop and exit the other side of the loop, grab the yarn, stretch and knit sc (very weak). Insert your crochet hook into the next stitch of this row, knit sc as you did earlier. Repeat around the entire body, making sure to stay in the same row. Because the body is knitted in a spiral, the end of the row will not be at the same level as the beginning, therefore, being in the middle of the back, it is necessary to make a transition.
Finish row with sl-st.
2nd row – 3 ch. lifting and 1dc into the same loop, then we knit 2dc into each loop of the base. Finish sl-st in 3rd ch. at the beginning of the row.
3 – 7 rows – start with 3 ch. and knit further 1dc into each loop of the previous row. Finish sl-st in 3rd ch. at the beginning of the row.
8 row (wavy) – 3 ch. lifting and 1dc into the same loop, then we knit 2dc into each loop of the base. Finish sl-st in 3rd ch. at the beginning of the row. Cut the thread and hide the ends.
Lamb. (see the location on the photo)
We fix the thread on the back of the sl-st in the 1st row of the dress, knit 19 ch. and, as if crossing, we lead forward and fix there in the middle of 2sl-st, also in the 1st row of the dress. Further 19 ch. and lead back, crossing with the first strap, fix sl-st in the 1st row of the dress on the back. Cut the thread and hide the ends.
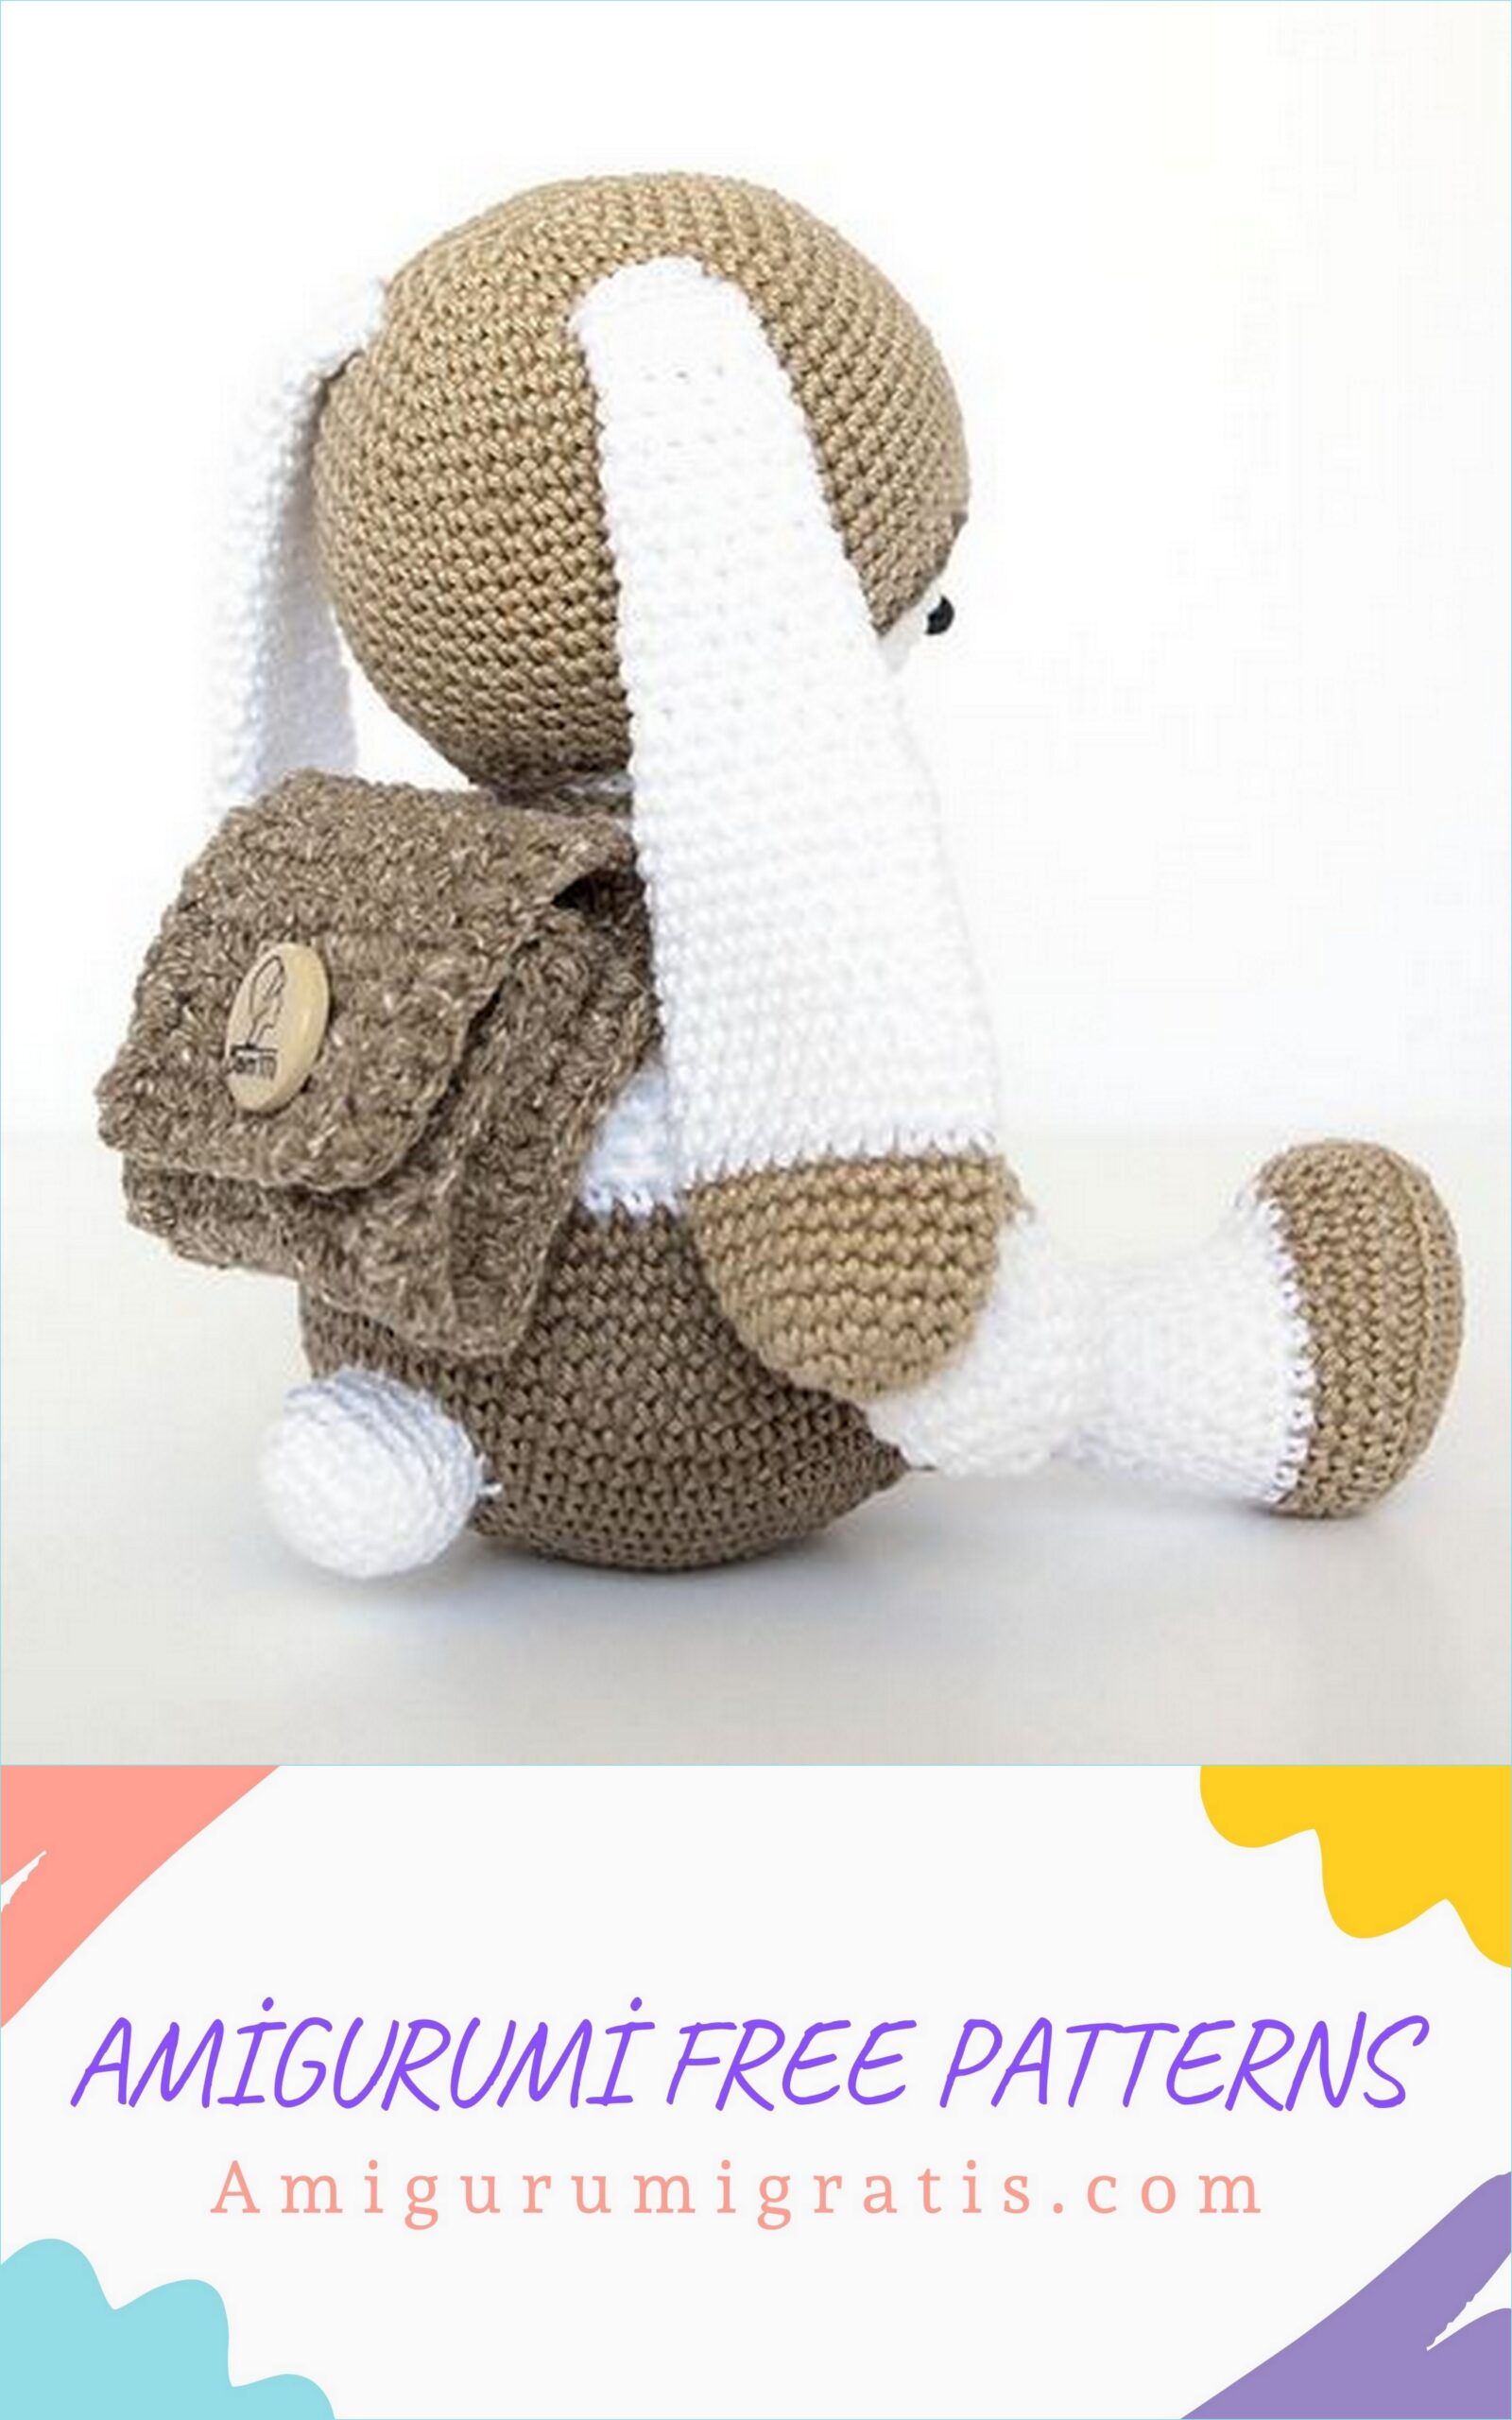
Backpack
Side parts.
We knit in rotary rows
3 ch. turn
We knit the next 10 rows: 1ch., 3sc, turn. Fasten and cut the thread.
Tie another similar piece.
The main detail.
We knit in rotary rows.
10 ch. we turn.
Knit 34 rows: 1ch., 10sc, turn.
Without breaking the thread, place the markers as follows (see figure):
Marker A (MA) – 10 rows down
Marker B (MV) – 2 rows below A
Markers D and E (MD and ME) – same as A and B, only on the other side
Marker C (MC) – 10 rows below D
Assembly and straps
Now we will connect the main piece to the sides by tying the main piece, attaching the 1st side piece, then tying the sc to the top and then attaching the 2nd side piece. To make sure that the sides are correctly positioned relative to the main body, we will focus on the markers.
Place the 1st side piece on the side of the main part of the backpack between the current loop (where we left off) and the MA. Now we will knit by capturing the loops of both parts: 1sc in the same loop, 8sc, inc (corner).
Turn work while continuing to tie the side of the hand, 1sc, inc (angle).
Turn work again, 9sc.
We have successfully attached the 1st side section.
Continue knitting around the top as follows: 11sc, inc (angle), 8sc, inc (angle), 11sc.
Now you can attach the 2nd side part to the main one, knitting again simultaneously the loops of both parts. Position the 2nd side piece along the side of the main piece between the MC and MD, 9sc, inc (angle). Rotate work, 1sc, inc (angle). Turn work, 9sc.
We have successfully attached the 2nd side section.
Don’t cut the thread just yet. We still need to make straps: we knit 3sl-st along the top of the side part to be behind the backpack, 25 ch., 1sc in the middle of the bottom of the back of the backpack (see photo), 25 ch., Sl-st to attach the 2nd strap symmetrical to the first at the top of the back of the backpack achka.
Cut the thread and hide all the ends.
The bow tie:
We knit in rotary rows 3 ch. turn
1 – 4 rows we knit: 1ch., 3sc, turn
5 row – 1 ch., 3sc together, turn
6 row – 1 ch., 3sc from 1 loop, turn
7 – 10 rows – 1 ch., 3sc, turn (do not break the thread)
Then we tie as follows: 1ch., 2sc, 3sc in 1 loop (corner), 9sc, 3sc in 1 loop (corner), 1sc, 3sc in 1 loop (corner), 9sc, 2sc in 1 loop (1st loop of the row ), sl-st. Cut the thread, leaving the end 20cm long.
Fold the bow tie in half lengthwise and secure in the middle with a few stitches. Cast on 30ch., Fasten the thread and cut, leaving an end with a length of 30cm. Wrap one end of the ch chain. around the middle of the bow tie 2-3 times. Make a knot and secure.
The other end of the ch. wrap around the bunny’s neck and secure it under a bow tie. To secure, pass the yarn through the neck and pull out at the back of the head.