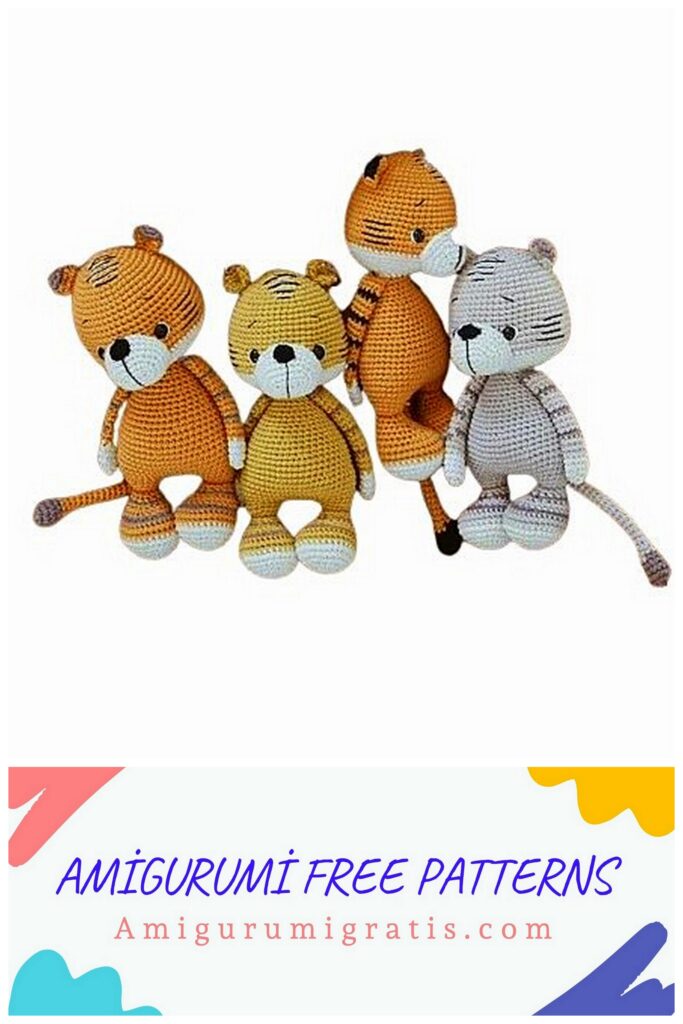
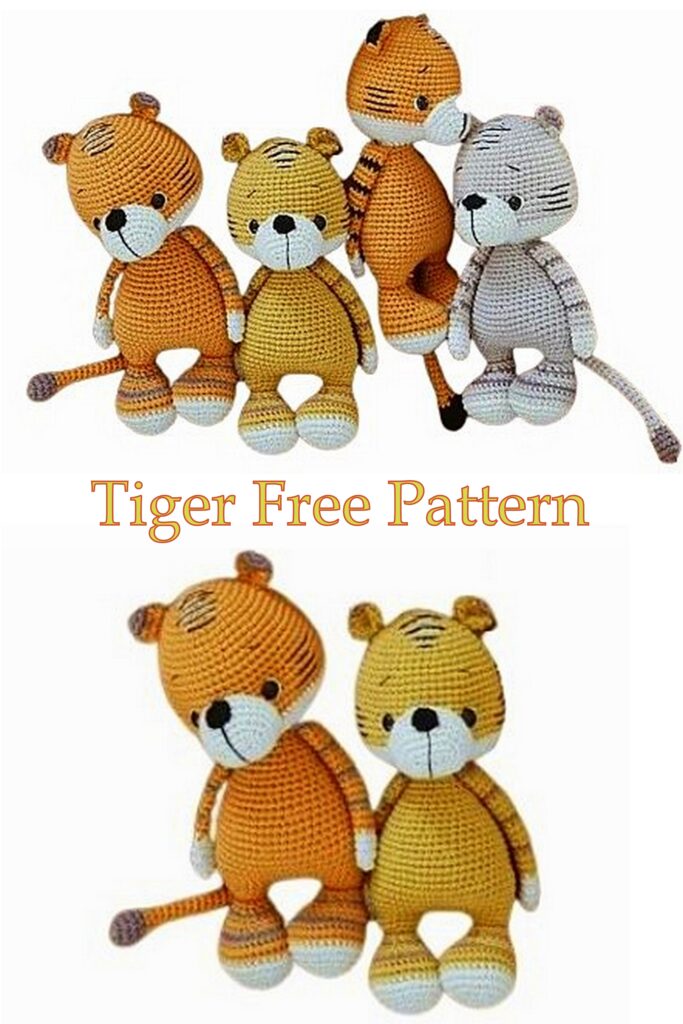
“Crochet Tiger” is definitely an inspiring project. This unique craft offers a detailed description of a tiger figure, a toy created using crochet techniques. Both a great gift option and a fun addition to your own home decor, this free pattern appeals to crochet enthusiasts of all levels. Now, roll up your sleeves and enjoy creating this sweet Crochet Tiger Amigurumi!
MATERIALS:
• Cotton yarn in 3 colors:
• O Orange-brown o White o Dark brown o
Black (a little for the nose)
• Hook 2.5 mm and 3.0 mm
• Eyes without/fastening 8 mm
• Sewing needle
• Black yarn for embroidering eyebrows and tiger stripes.
• White yarn for embroidering tiger stripes.
• Filler.
• Ball head pins.
• Stitch marker.
• Scissors.
ABBREVIATIONS:
Amigurumi MR ring
Sc-single crochet
CH-air loop
SL-ST-connecting post
Dec-decrease
İnc-increase
BLO – behind the back wall of the hinge
FLO-for the front wall of the loop
( )*-repeat the specified number of times.
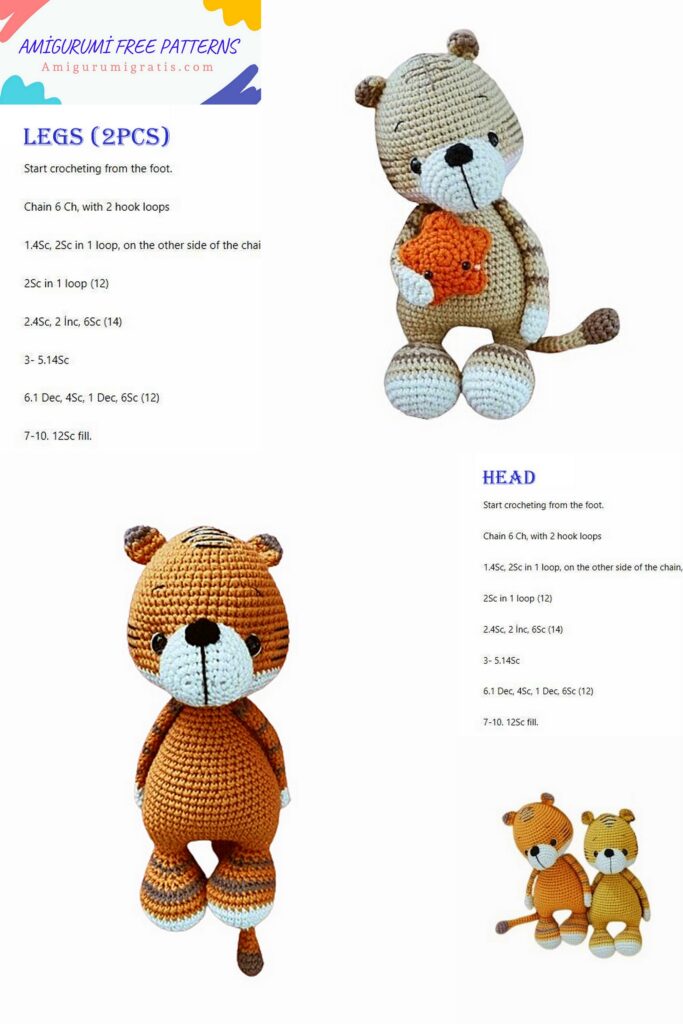
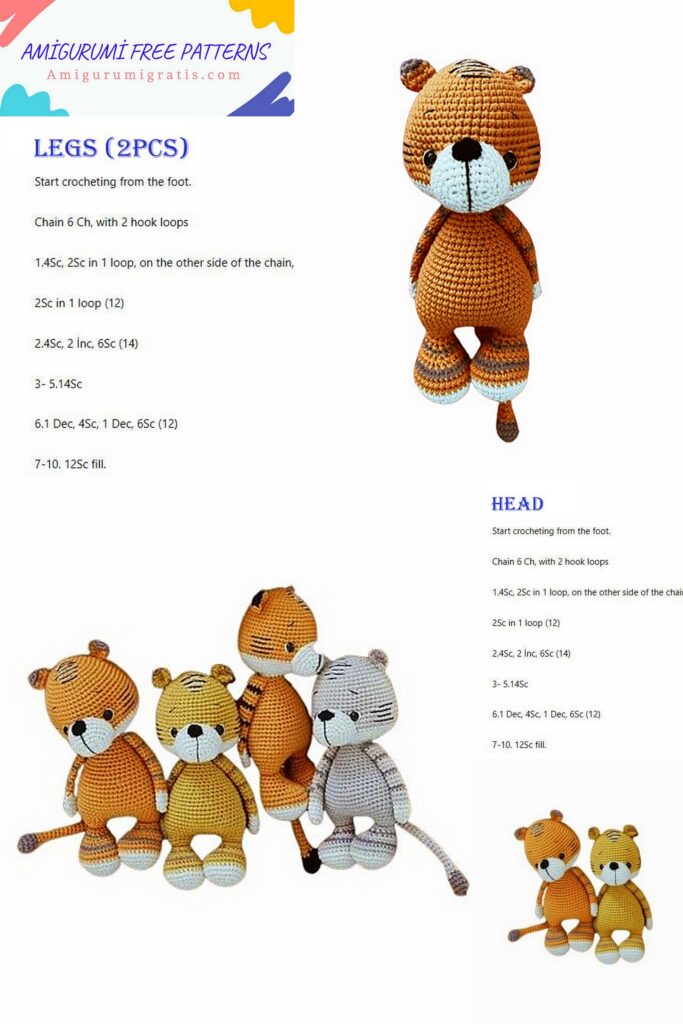
HEAD.
The yarn is orange-brown.
Row 1: 6 Sc in MR
Row 2: 6 inc (12)
Row 3: (1 Sc, İnc) x 6 (18)
Row 4: 1 Sc, inc, (2 Sc, inc) x 5, 1 Sc (24)
Row 5: (3 Sc, İnc) x 6 (30)
Row 6: 2 Sc, inc, (4 Sc, inc) x 5, 2 Sc (36)
Row 7: (5 Sc, İnc) x 6 (42)
Row 8: 42 Sc (42)
Row 9: 3 Sc, inc, (6 Sc, inc) x 5, 3 Sc (48)
Row 10: 48 Sc (48)
Row 11: (7 Sc, İnc) x 6 (54)
Row 12-15: 54 Sc (54) (4 rows)
Row 16: 4 Sc, inc, (8 Sc, inc) x 5, 4 Sc (60)
Row 17: (9 Sc, İnc) x 6 (66)
Row 18: 5 Sc, inc, (10 Sc, inc) x 5, 5 Sc (72)
Row 19: 72 Sc (72)
Row 20: 5 Sc, Dec, (10 Sc, Dec) x 5, 5 Sc (66)
Change the yarn color to white.
Row 21: (9 Sc, Dec) x 6 (60)
Row 22: 4 Sc, Dec, (8 Sc, Dec) x 5, 4 Sc (54)
Row 23: (7 Sc, Dec) x 6 (48)
Insert eyes between rows 17 and 18 at a distance of 11 Sc from each other.
Row 24: 3 Sc, Dec, (6 Sc, Dec) x 5, 3 Sc (42)
Row 25: (5 Sc, Dec) x 6 (36)
Row 26: 2 Sc, Dec, (4 Sc, Dec) x 5, 2 Sc (30)
Row 27: (3 Sc, Dec) x 6 (24)
Row 28: 1 Sc, Dec, (2 Sc, Dec) x 5, 1 Sc (18)
Fasten and cut the thread. It’s good to fill the head and area neck.

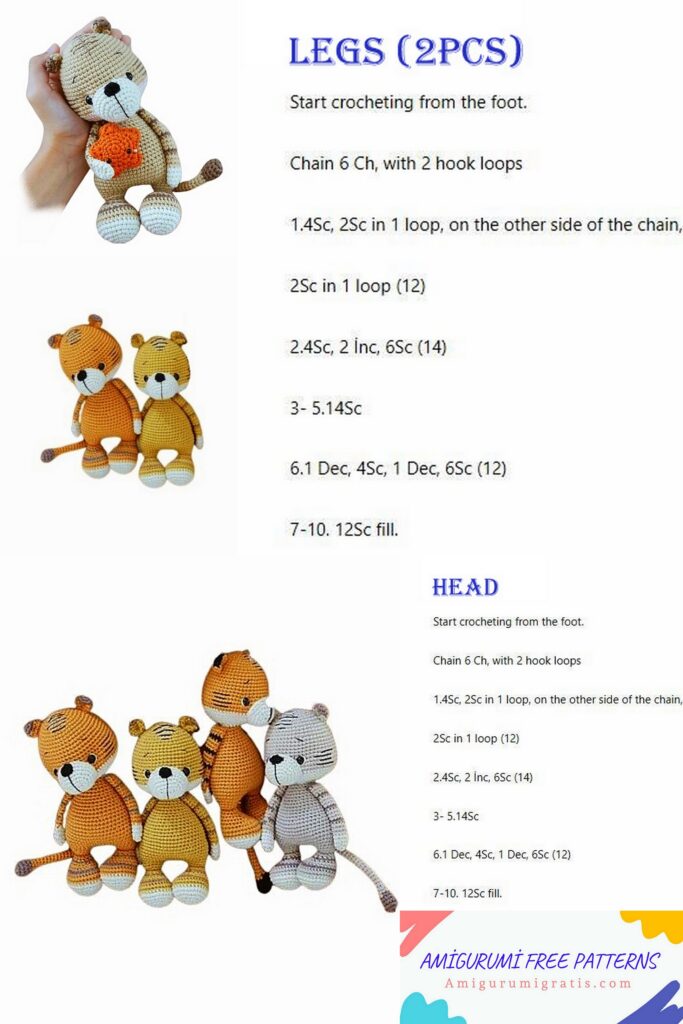
First leg.
Start with white yarn.
Row 1: 6 Sc in MR (6)
Row 2: İnc x 6 (12)
Row 3: (1 Sc, İnc) x 6 (18)
Row 4: 1 Sc, inc, (2 Sc, inc) x 5, 1 Sc (24)
Row 5: (3 Sc, İnc) x 6 (30)
Row 6: 30 Sc
Change the yarn color to orange-brown.
(thirty)
Row 7-8: 30 Sc
Change yarn color to brown
(30) (2 rows)
Row 9: 30 Sc
Change the yarn color to or-kor.
(thirty)
Row 10: 9 Sc, Dec x 6, 9 Sc (24)
Row 11: 9 Sc, Dec x 3, 9 Sc (21)
Change the yarn color to brown.
Row 12: 7 Sc, Dec, 1 Sc, Dec, 1 Sc, Dec, 6 Sc (18)
Change the yarn color to or-kor.
Row 13: 5 Sc, Dec, 1 Sc, Dec, 1 Sc, Dec, 5 Sc (15)
Start stuffing the leg very tightly.
Row 14: (3 Sc, Dec) x 3 (12)
Row 15: 12 SL-ST (12)
Row 16: (3 Sc, İnc) x 3 (15)
Row 17: 15 Sc (15)
Continue stuffing the leg.
Finish knitting SL-ST, leaving thread for sewing.
2nd leg, connect both legs and continue with the BODY.
Knit the 2nd leg up to the 16th row in the same way as the first.
Row 17: 11 Sc (place marker here) (11)
Row 18: 6 CH, join 1st leg 1 Sc in 7th loop, 14 Sc on leg, 6 Sc on chain, 15 Sc on the second leg, 6 Sc on the chain (42)
Row 19: 3 Sc, inc, (6 Sc, inc) x5, 3 Sc (48)
Row 20: (7 Sc, İnc) x 6 (54)
Row 21-23: 54 Sc (54) (3 rows)
Row 24: (7 Sc, Dec) x 6 (48)
Row 25-27: 48 Sc (48) (3 rows)
Row 28: 3 Sc, Dec, (6 Sc, Dec) x 5, 3 Sc (42)
Row 29-30: 42 Sc (42) (2 rows)
Row 31: (5 Sc, Dec) x 6 (36)
Row 32-33: 36 Sc (36) (2 rows)
We begin to stuff the body. You need to stuff it very tightly, especially in the abdominal area.
Row 34: 2 Sc, Dec, (4 Sc, Dec) x 5, 2 Sc (30)
Row 35-36: 30 Sc (30) (2 rows)
Row 37: (3 Sc, Dec) x 6 (24)
Row 38-39: 24 Sc (24) (2 rows)
Row 40: 1 Sc, Dec, (2 Sc, Dec) x 5, 1 Sc (18)
Row 41: 10 Sc. Finish knitting. Stuff the body.
MUZZLE.
The yarn is white.
Make a chain of 6 CH.
Row 1: (from second stitch from hook), 4 Sc, 3 Sc in last stitch,
Continue knitting on the other side, 3 Sc, İnc (12)
Row 2: İnc, 3 Sc, (İnc) x 3, 3 Sc, (İnc) x 2 (18)
Row 3: 1 Sc, İnc, 3 Sc, (1 Sc, İnc) x 3, 3 Sc, (1 Sc, İnc) x2 (24)
Row 4: (3 Sc, İnc) x 6 (30)
Row 5-6: 30 Sc (30) (2 rows)
Finish SL-ST and leave thread for sewing.
NOSE.
The yarn is black.
Dial 3 CH.
Row 1: (from second stitch from hook), 1 Sc, 3 Sc in last stitch, continue
knitting on the other side, İnc (6)
Finish SL-ST and leave thread for sewing.
EYES (2 children)
The yarn is dark brown.
Row 1: 5 Sc in MR (5)
Row 2: İnc x 5 (10)
Change the yarn color to orange-brown.
Row 3: (1 Sc, İnc) x 5 (15)
Row 4: (Dec) x 7, 1 Sc (8)
Finish SL-ST and leave thread for sewing.
HANDS (2 children)
Start with white yarn.
Row 1: 4 Sc in MR (4)
Row 2: İnc x 4 (8)
Row 3: İnc, 7 Sc (9)
Row 4-5: 9 Sc (9) (2 rows)
Change the yarn color to orange-brown.
Row 6-8: 9 Sc(9) (3 rows)
Change the yarn color to brown.
Row 9: 9 Sc (9)
Change the yarn color to or-kor.
Row 10-12: 9 Sc (9) (3 rows)
Change yarn color to brown.
Row 13: 9 Sc (9)
Change the yarn color to or-kor.
Row 14-16: 9 Sc (9) (3 rows)
Change yarn color to brown.
Row 17: 9 Sc (9)
Change the yarn color to or-kor.
Row 18-20: 9 Sc (9) (3 rows)
Change yarn color to brown.
Row 21: 9 Sc (9)
Fold the piece in half and knit 4 Sc on both sides. Leave the thread for sewing.
TAIL.
Start with brown yarn.
Row 1: 6 Sc in MR (6)
Row 2: İnc x 6 (12)
Row 3: 12 Sc (12)
Row 4: (2 S c, Dec) x 3 (9)
Row 5: 9 Sc (9)
Change the yarn color to or-kor.
Row 6: 9 Sc (9)
Row 7: (1 Sc, Dec) x 3 (6)
Rpoison 8-25: 6 Sc (6) (18 rows.)
MODELING OF THE MUZZLE.
Using a needle, pull both ends of the thread through the head very close to the ear and bring it out again head hole. Take one end of the thread and repeat the same with the other eye.
Pull both ends of the thread as hard as possible until the eyes move inward. Carefully tie both ends.
Once the eyes have been modeled, you can add white to the outer edge of the eye.
Take a long white cotton thread and sew a small stitch on the outer parts of the eye. Repeat these steps for the second eye. Tie the ends at the bottom of your head.
Before sewing, secure the muzzle with pins symmetrically between both eyes.
The eyes should be located close to the muzzle. The top of the muzzle ends between 14 and 15
in rows. Now carefully sew the muzzle to the head using a braided stitch. Occasionally check that the muzzle is still symmetrical. Before finishing sewing, sew muzzle as tightly as possible. Close the remaining hole and carefully sew the thread into the inside of the head.
Then sew the nose to the top of the muzzle, exactly in the middle. Sew with black floss
horizontal line from the nose 6 rows down.
Again, take the long black embroidery thread and stitch the eyebrows exactly 4 rows above eye diagonally at 2 Sc.
Now embroider tiger stripes starting from the forehead. Sew the black and white stripes horizontally in an uneven pattern using embroidery thread or thin cotton yarn. Repeat the same for the cheeks, using only black. Between the eyes and stripes make a distance of at least 4 Sc.
We sew the ears on the left and right to the head, with a distance of 6 rows between the MR of the head and the ear.
SEW ON THE REST OF THE BODY PARTS.
Carefully sew the head to the body. Make sure the head is sewn facing straight forward.
Sew the arms directly under the head on the left and right to the body.
Finally, sew the tail to the lower back, exactly in the middle.