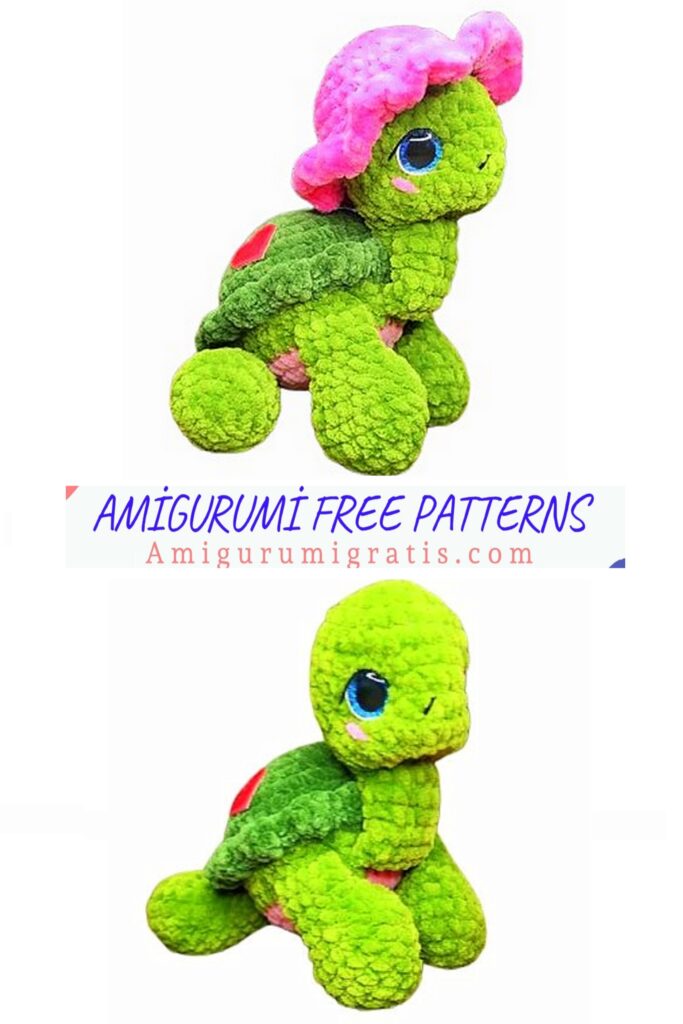
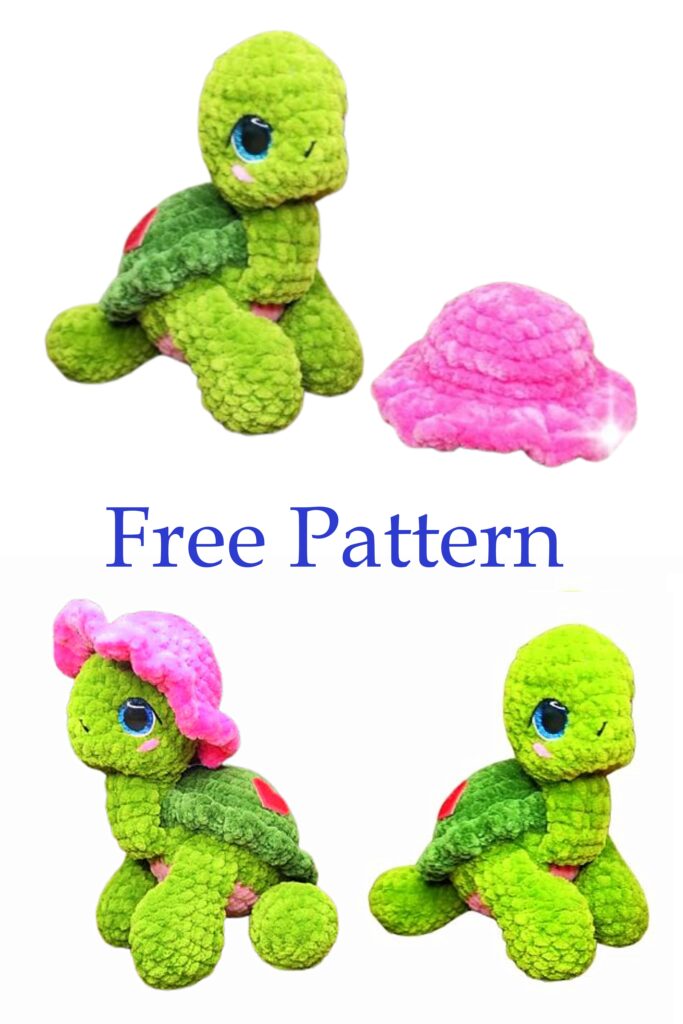
Welcome to the world of amigurumi, where crochet meets cuteness in the most charming way possible! Today, we’re excited to introduce you to our “Amigurumi Hat Turtle Pattern,” a delightful project that combines the practicality of a hat with the whimsical charm of a turtle.
This adorable pattern is perfect for crocheters of all levels, from beginners to seasoned pros. Whether you’re looking to add a unique accessory to your wardrobe or create a special gift for a loved one, this pattern has you covered.
Necessary materials:
• Plush (or any at your request) yarn of 4 different colors – back, tummy, body, hat
• Filling – holofiber (synthetic ball)
• Eyes on a safe fastening with a trapezoid sparkle, size 18 (can also be 16)
• Hook to match your yarn (mine is number 4)
• black embroidery thread
• white thread for decorating the whites of the eyes
• pink thread for embroidering blush on the cheeks
• marker
• glue
• lighter
• needle and thread for tightening
• scissors
Abbreviations
• Ch – air loop
• Sc – single crochet
• Hdc – half double crochet
• Dc – double crochet
• İnc – increase
• Dec – decrease
• SL-ST – connecting post
• (12) – number of loops in a row

Legs 4 pcs turtle body color
1. 6 Sc to amigurumi ring (6)
2.6 inc (12)
3. (1 Sc, İnc)*6 (18)
4. 18 Sc
5.18Sc
6. 18 Sc
7. (2 Sc, Dec)*5 (13)
the last 5th decrease is located at the beginning of the next row, in the next 8th row I count it as the first column
8. (3 Sc, Dec) *3 (10)
here, in the same way, the last decrease goes to the next row and is the first column in it
9.10Sc
10. 10 Sc
Fill the foot halfway
We knit 5 Sc on both sides
Close the knitting, leaving the end of the thread 7-8 cm
Tail and body color of turtle
Dial 7 Ch
Starting from the 2nd loop from the hook, knit 6 Sc
Tie the ends and leave them 7-8 cm long
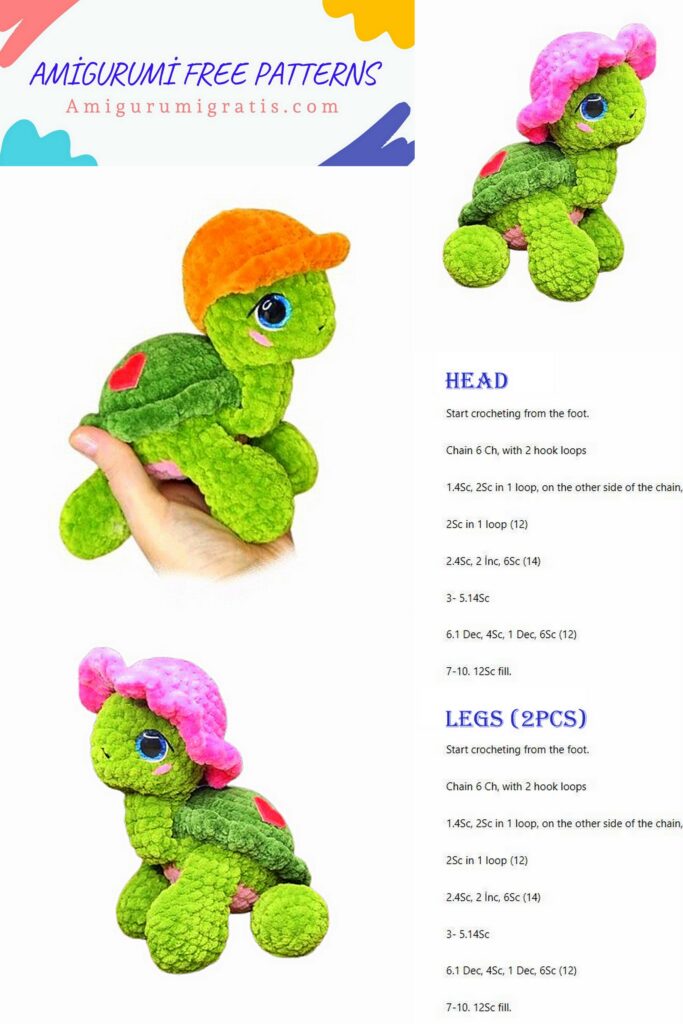
Head (In the color of the turtle’s body):
1. 6 Sc in amigurumi ring (6)
2.6 inc (12)
3. (1 Sc, İnc)*6 (18)
4. (2 Sc, inc)*6 (24)
5. (3 Sc, İnc)*6 (30)
6. 30 Sc
7. 30 Sc
8. 30 Sc
9. 30 Sc
10. (3Sc, Dec)*6 (24)
11. (2 Sc, Dec)*6 (18)
At this stage, insert the eyes We insert them between the 7th and 8th rads, between the legs of the eyes I left 8 columns when the eyes are 18 in size, in the finished toy you can see 6 columns between the eyes. If you use smaller eyes, then choose the optimal location for them
12. (1 Sc, Dec) *6 (12)
We stuff the head with filler. Next we knit 6 more rows of 12 Sc. This will be the neck of the turtle.
Stuff half of the neck (closest to the head), but not tightly. Knit 6 Sc on both sides.
Close the knitting, leaving the end of the thread 7-8 cm
Body (In pink color, or your preferred color):
1. 6 Sc to amigurumi ring (6)
2.6 inc (12)
3. 12 inc (24)
4. (1 Sc, İnc)*12 (36)
5.36Sc
Change color to body color
6.36Sc
Next, we will knit the paws, head and tail into the tummy. Pay attention to the location of the parts. All ends of the threads and knitting seams should be on the wrong side. Between the back and front legs, 4 Sc each.
Then tie all the ends of the threads from the paws, head and tail
7. Knit 6 increases in a row, placing them in any order
order (alternating with Sc) (42)
Finish knitting, cut the thread, leaving a tip of 7-8 cm for tying inside the body
Back brown or dark green
1. 6 Sc in amigurumi ring (6)
2.6 inc (12)
3. (1 Sc, İnc)*6 (18)
4. (2 Sc, inc)*6 (24)
5. (3 Sc, İnc)*6 (30)
6. (4 Sc, İnc)*6 (36)
7. 2 Sc, İnc, (5 Sc, İnc)*5, 3 Sc (42)
8.42Sc
9. 42 Sc
Do not cut the thread, then we will connect the back with the tummy and the paws, tail and head knitted into it. We attach the back to the tummy and knit in a circle Sc.
I start where the head is tied.
Please note that the right sides are on the outside, and all the threads remain inside.
Leave a small hole for stuffing. Stuff the body of the turtle and then tie Sc
Total for the circle we have 42 Sc Next, we will make a beautiful edging of the back Without cutting the thread, we continue to knit
(İnc from Dc, 2 Sc) we knit the whole row like this
We finish knitting, cut the thread and hide it
We tighten the turtle’s eyes and shape its face
– Pull the eyes down
We insert a needle and thread under the chin near the neck, we remove under the eye from the outside, then we also introduce under the eye, but from the inside and we bring it out where started under the chin, retreating 1 column.
Tighten and tie a knot
Now we do the same with the second eye.
– now let’s pull our eyes together
To do this, we also insert the needle from below and bring it out under the eye with the inside, then we introduce above the eye from the inside sides, then lead to the second eye from above from the inner sides and enter from below from the inside and leave already down under the chin.
We stretch the threads, correct the eyes, make them cute facial expression)
We tie the threads and hide them inside the head.
Embroider the whites of the eyes with white yarn
Embroider eyelashes and nostrils with black thread
We embroider rosy cheeks with pink yarn
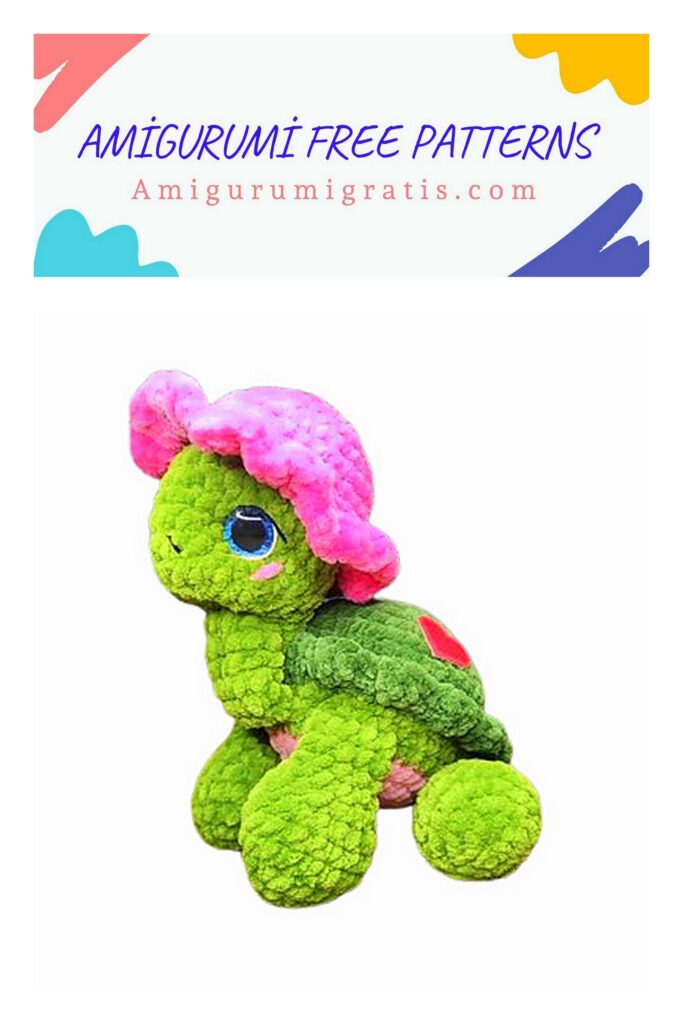
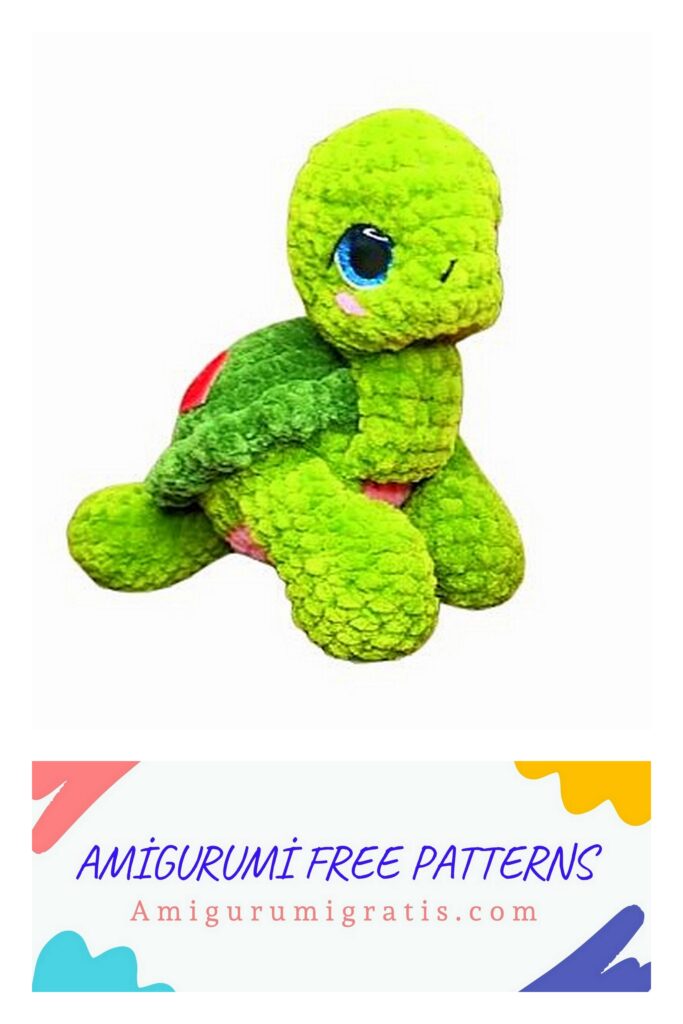
Using a couple of stitches we sew the neck to the back so that the head does not
hung and the turtle proudly looked forward!)
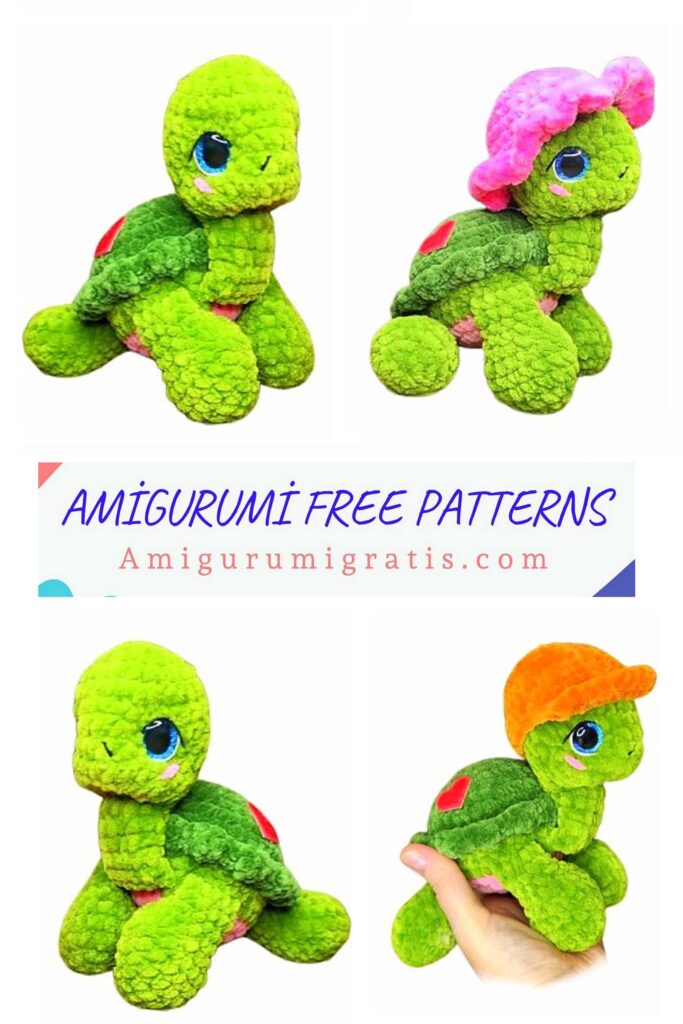
The turtle is ready, all that remains is to knit its headdress)
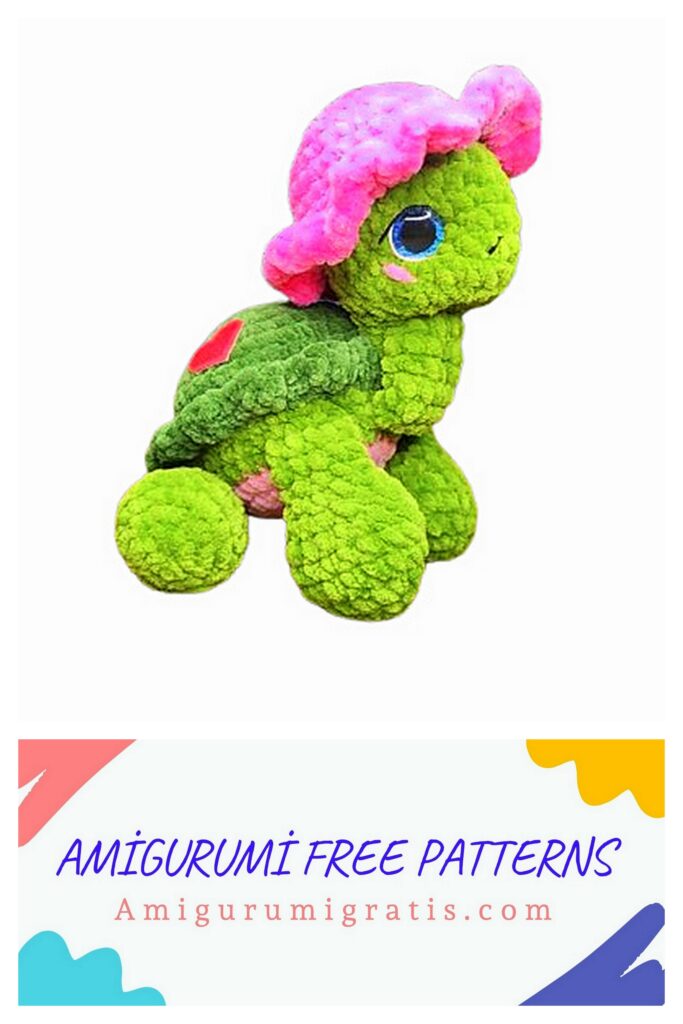
Panama/cap color at your discretion
Try it on your head while knitting
Panama
1. 6 Sc in amigurumi ring (6)
2.6 inc (12)
3. (1 Sc, İnc)*6 (18)
4. (2 Sc, inc)*6 (24)
5. (3 Sc, İnc)*6 (30)
3 rows of 30 Sc
6. We knit the fields of the Panama hat – we knit 3 Dc in each loop
After knitting a row, you can align the row – to do this, knit 1-2
Sc, after Sl-st and close knitting
I thread the tip of the yarn to the beginning of the knitting and tie it there the initial and final ponytail, I cut off the ends and I glue it carefully (you can set fire)