List of required materials:
– Alize Softy (about 1.5 skeins).
– Alize Happy Baby (not much for heels).
– hook number 2.
– Cotter pins: T-cotter pin (size 2.5x28mm) – 4pcs, O-cotter pin (size 2×25) – 2pcs.; discs for pens and
legs: 20 mm – 8 pcs. for mounting the head discs: 25 mm – 2pcs; washers – 10 pcs. (can be replaced by
any fastening familiar to you).
– Filler (syntepuh, holofayber or swan fluff).
– Screw eyes with a diameter of 12mm.
– Strong thread for tightening and for sewing parts, needle, safety pins, scissors.
– Round pliers.
– Clay Moment Crystal.
– Dry pastel for tinting or any other means of tinting familiar to you (optional),
false eyelashes (optional).
– Mouline thread for the design of the face.
– Plastic for sculpting a nose or a finished nose.
Designations:
İnc – increase;
Dec – decrease;
Sc- single crochet;
(sc, inc) x N – repeat knitting N times;
We knit in a circle, without a lifting loop.
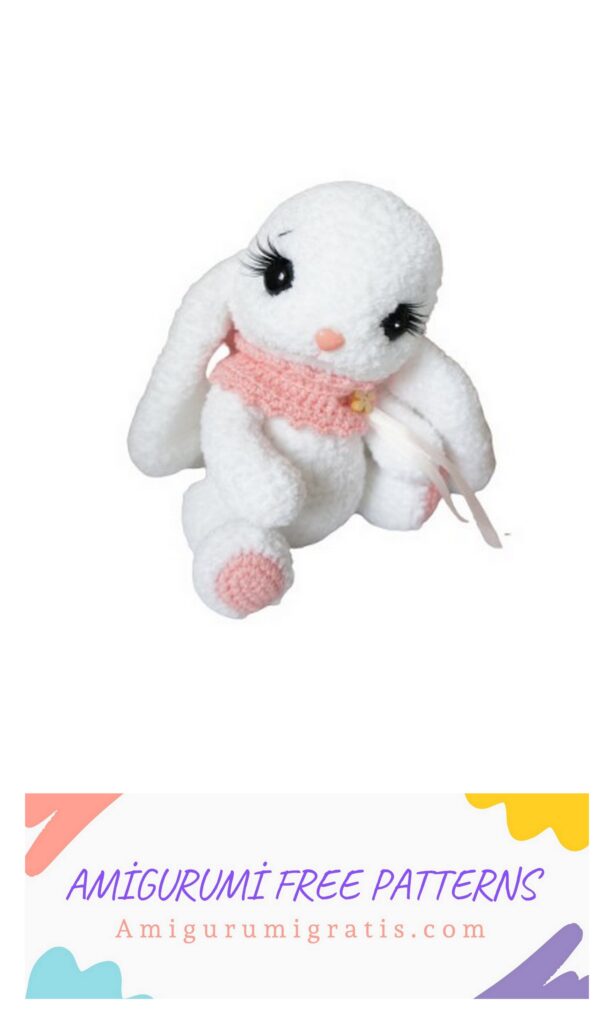
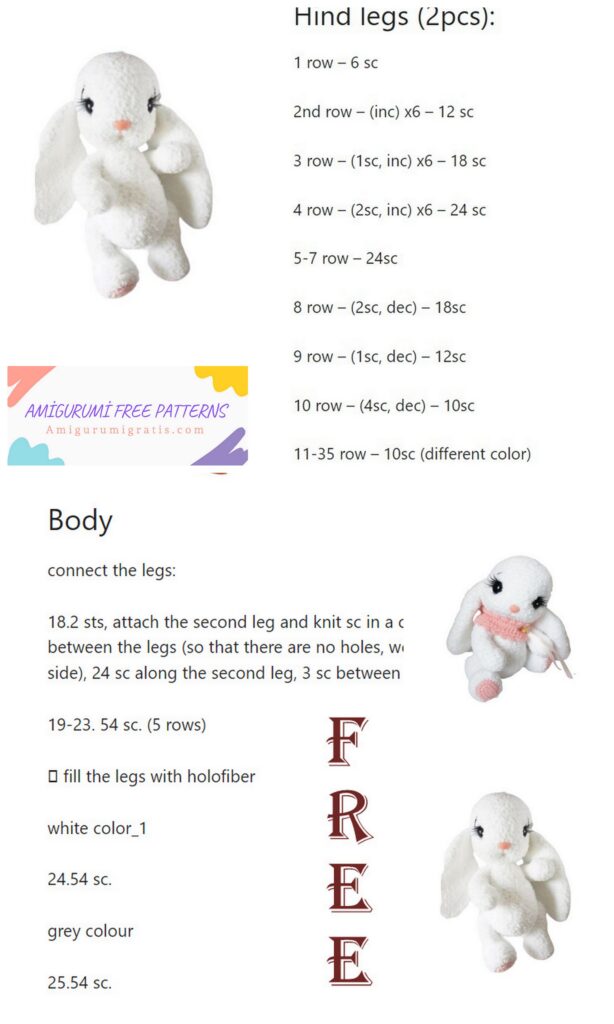
Legs
The marker runs in the middle of the heel
We start knitting in pink:
1 row – we draw a chain of 7ch, start knitting with the second ch: 5sc, 3sc in 1 loop, continue
knitting on the other side of the chain: 4sc, inc (14sc)
2 row – inc, 4sc, 3inc, 4sc, 2inc (20sc)
3 row – inc, 5sc, (sc, inc) x4, 5sc, inc (26sc)
change the color to the main one and continue knitting
4-6 row – 26sc
7 row – 7sc, (sc, dec) x4, 7sc (22sc)
8 row – 7sc, 4dec, 7sc (18sc)
9 row – 3sc, 6dec, 3sc (12sc)
10-18 row – 12sc
we retreat 2 rows down and put the mount (the disk should fit tightly into
part, without stretching the canvas).
Stuff
19 row – 6dec, tighten the hole, hide the thread.
Pens
1 row – 6sc at MAGİC RİNG
2 row – incx6 (12sc)
3 row – (3sc, inc) x 3 (15sc)
4-6 row 15sc
7 row – 5sc, 3dec, 4sc (12sc)
8-18 row – 12sc
we retreat 2 rows down and put the cotter pin (the disk should fit tightly into the part, while not
stretching the canvas).
We are stuffing.
19 row – 6dec, tighten the hole, hide the thread.
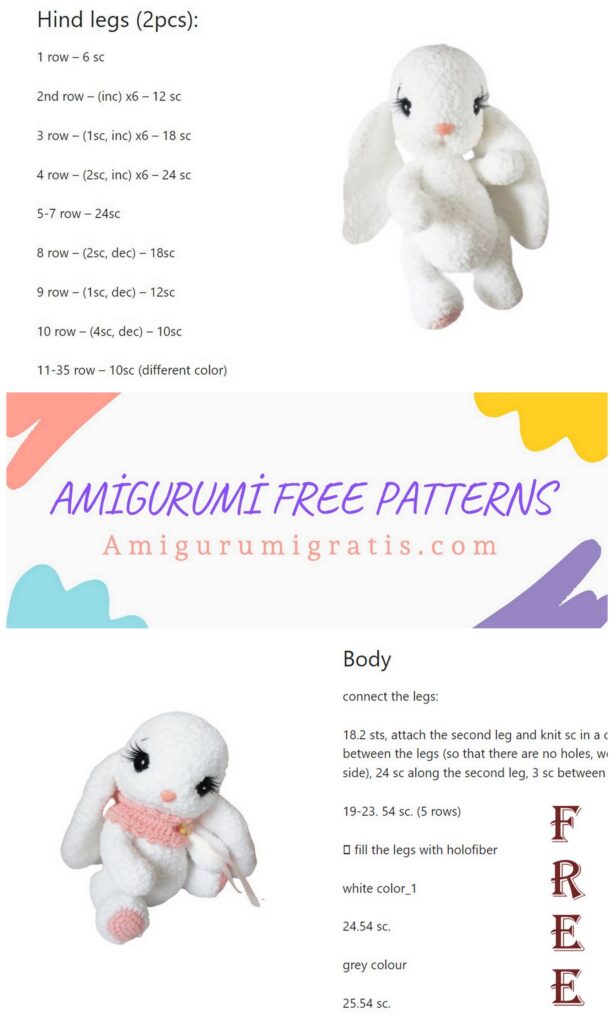
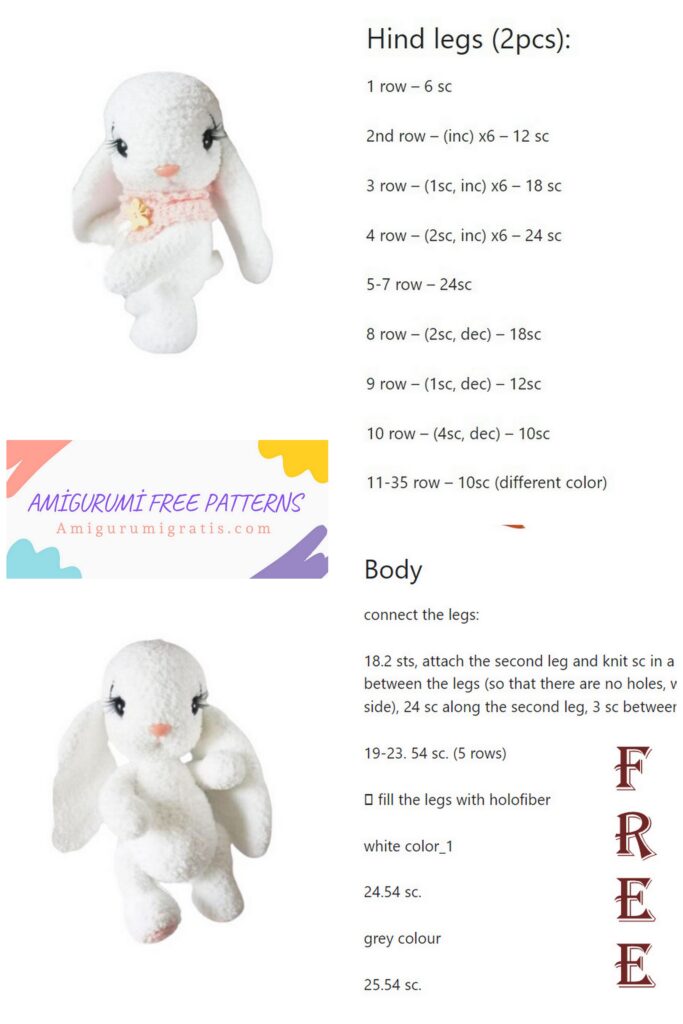
Body (marker align in the middle of the back)
Add. marker – additional marker
1 row – 6sc at MAGİC RİNG
2 row – inc x6 (12sc)
3 row – (sc, inc) x6 (18sc)
4 row – (2sc, inc) x6 (24sc)
5 row – (3 sc, inc) x6 (30sc)
6 row – (4 sc, inc) x6 (36sc)
7 row – (11sc, inc) x3 (39sc)
8-14 row – 39sc (in 8th row we leave an additional marker at the end of the row)
15 row – 15sc, (sc, dec) x3, 15sc (36sc)
in the 8th row we install the legs. Make sure that the legs are
symmetrically mounted.
16-17 row – 36sc
18 row – 9sc, (sc, dec) x6, 9sc (30sc)
19-21 row – 30sc
22 row – (3sc, dec) x6 (24sc)
23 row – 24sc
24 row – (2sc, dec) x6 (18sc)
25 row – 18sc
retreating 3 rows down (23 row) we fix the handles. Stuffing the body
install the mount for the head.
26 row – (sc, dec) x6 (12sc)
27 row – 6dec
Head
1 row – 6sc at MAGİC RİNG
2 row – incx6 (12sc)
3 row – (sc, inc) x6 (18sc)
4 row – (2sc, inc) x6 (24sc)
5 row – (3sc, inc) x6 (30sc)
6 row – (4sc, inc) x6 (36sc)
7 row – (5sc, inc) x6 (42sc)
8 row – (6sc, inc) x6 (48sc) in the 8th row, leave extra. marker at the end
a number of
9-18 row – 48sc
To fix the head.
19 row – (6sc, dec) x6 (42sc)
20 row – (5sc, dec) x6 (36sc)
21 row – (4sc, dec) x6 (30sc)
22 row – (3sc, dec) x6 (24sc)
23 row – (2sc, dec) x6 (18sc)
Stuff quite tight, the head should be right round
forms.
24 row – (sc, dec) x6 (12sc)
25 row – 6dec
Pull off the remaining hole, hide the thread.
Ears
1 row – 6sc at MAGİC RİNG
2 row – incx6 (12sc)
3 row – 12sc
4 row – (sc, inc) x6 (18sc)
5 row – 18sc
6 row – (2sc, inc) x6 (24sc)
7 row – 24sc
8 row – (3sc, inc) x6 (30sc)
9-25 row – 30sc (17 rows)
26 row – (3sc, dec) x6 (24sc)
27 row – 24sc
28 row – (2sc, dec) x6 (18sc)
29 row – 18sc
30 row – (sc, dec) x6 (12sc
31 row – 12 sc
Fold in half and tie sc
Tail
1 row – 6sc at MAGİC RİNG
2 row – incx6 (12sc)
3-5 row – 12sc
Sew while stuffing while sewing.
Ducks
Point 1 on – 1 row below the additional marker
Points 2, 3, 4, 5 – 5 rows above the additional marker
Between points 2-3 and 4-5 for 3 sc
We introduce a needle with a long thread at point 1 and output at point 2. Enter at point 3 and output at point 4.
We introduce at point 5 and output at point 1. Well tightened. Repeat the drag again, okay
we fix and hide the tails.
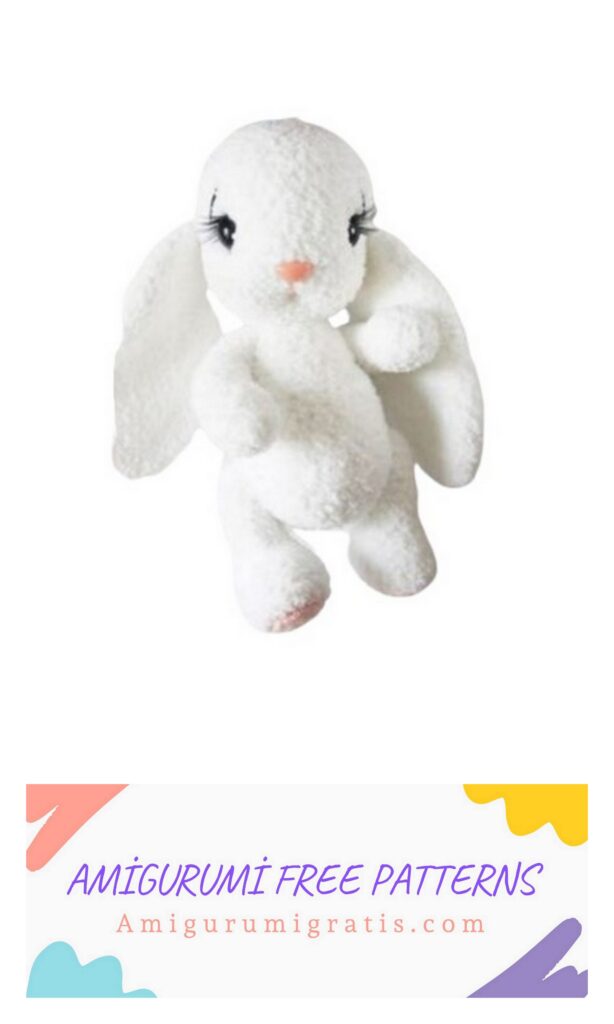
We find a good position for the ears, sew. We embroider eyebrows and a line from nose to mouth, you can
tint the “dimple” of the mouth and cheeks. If desired, glue cilia to the eyes and glue the eyes themselves.