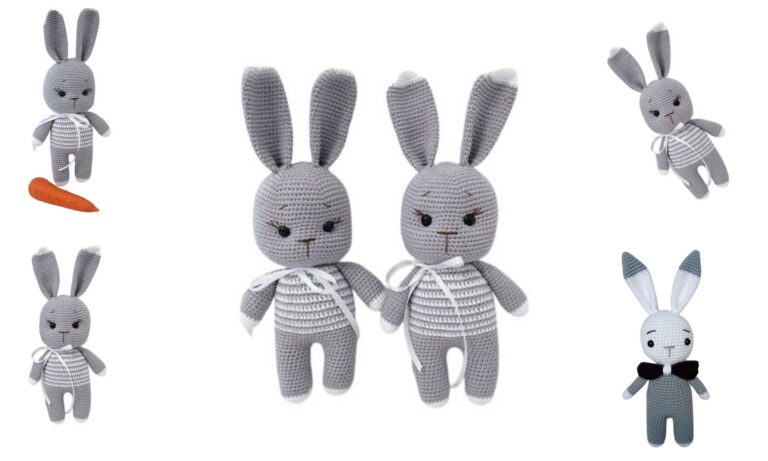
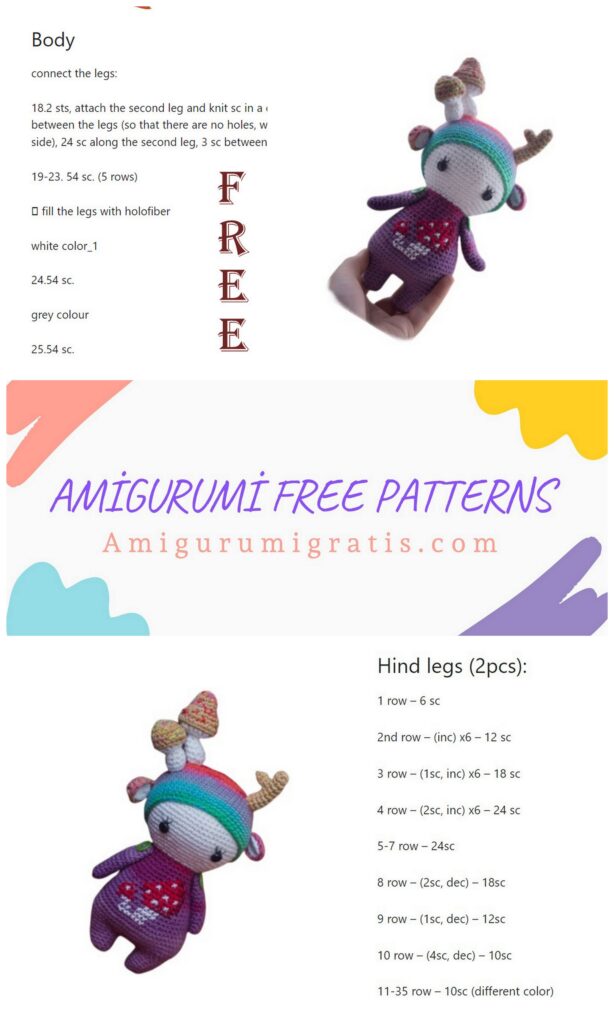
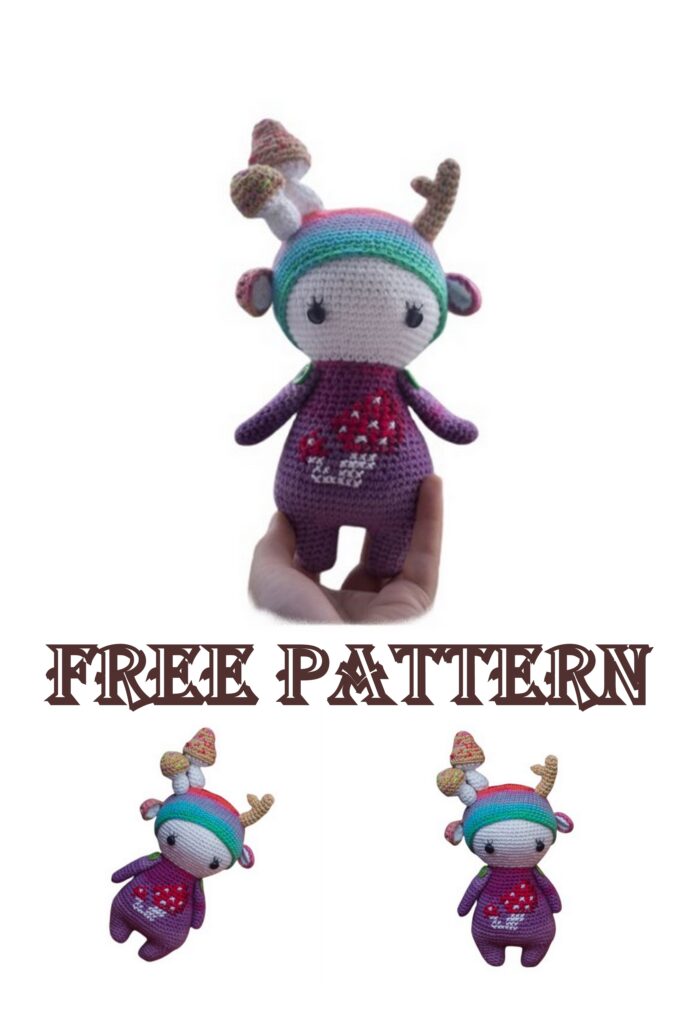
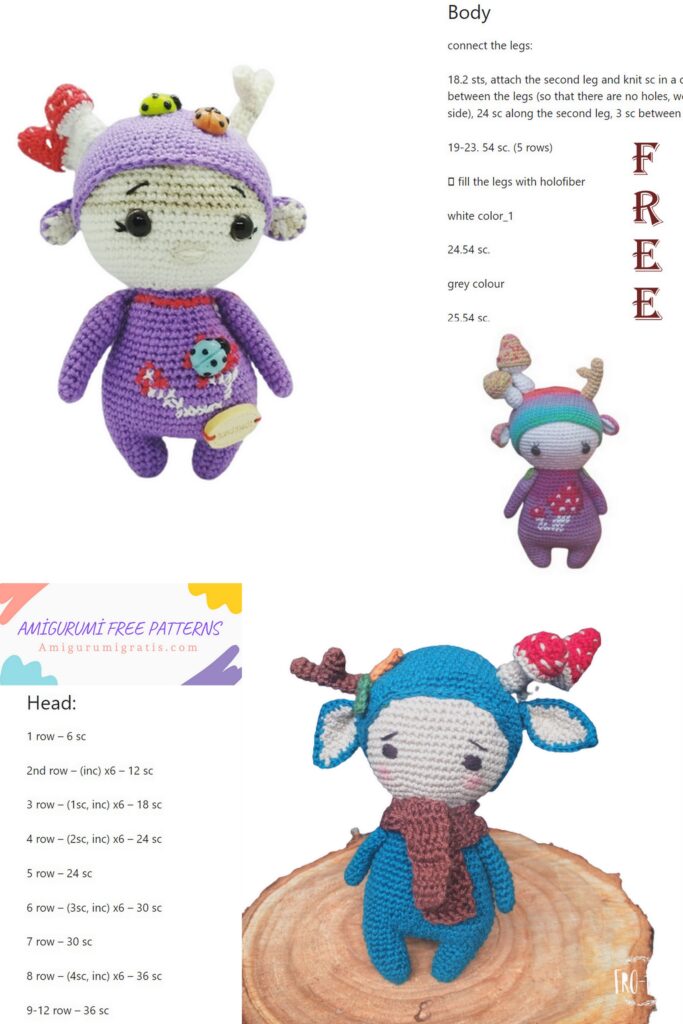
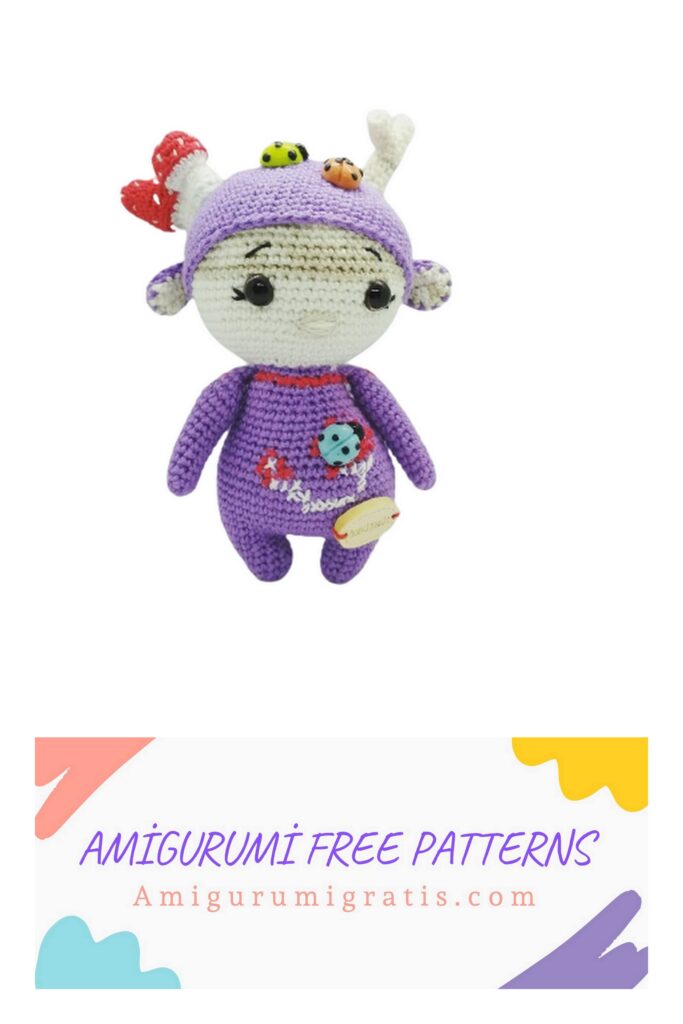
Amigurumi Mushroom Forest Gnome Pattern
You can visit our website for beautiful amigurumi patterns. Hope you like our new pattern.
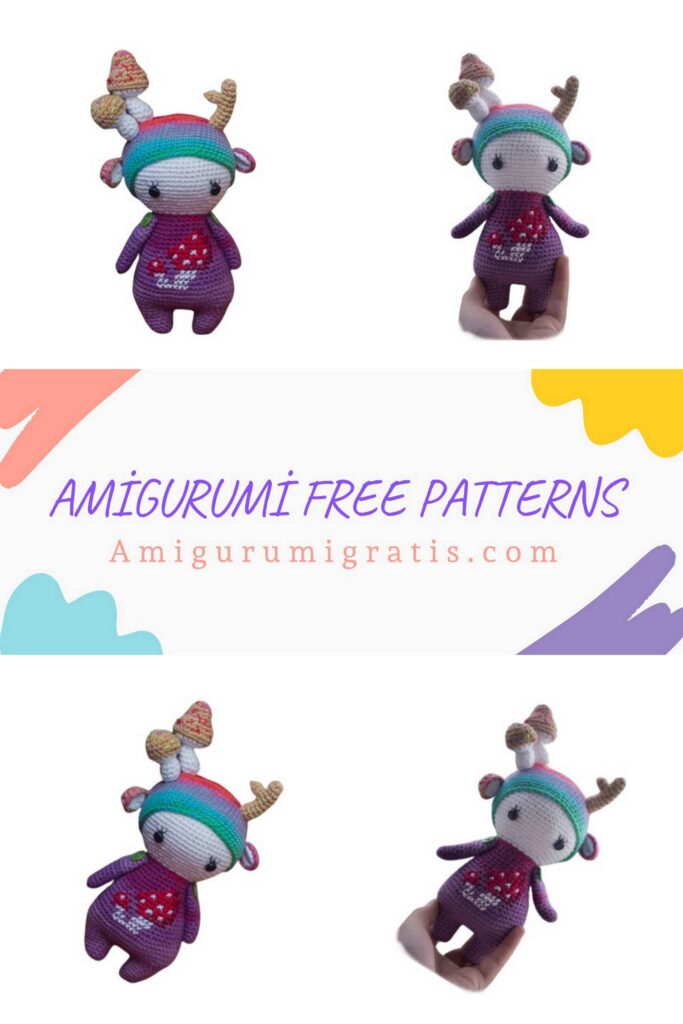
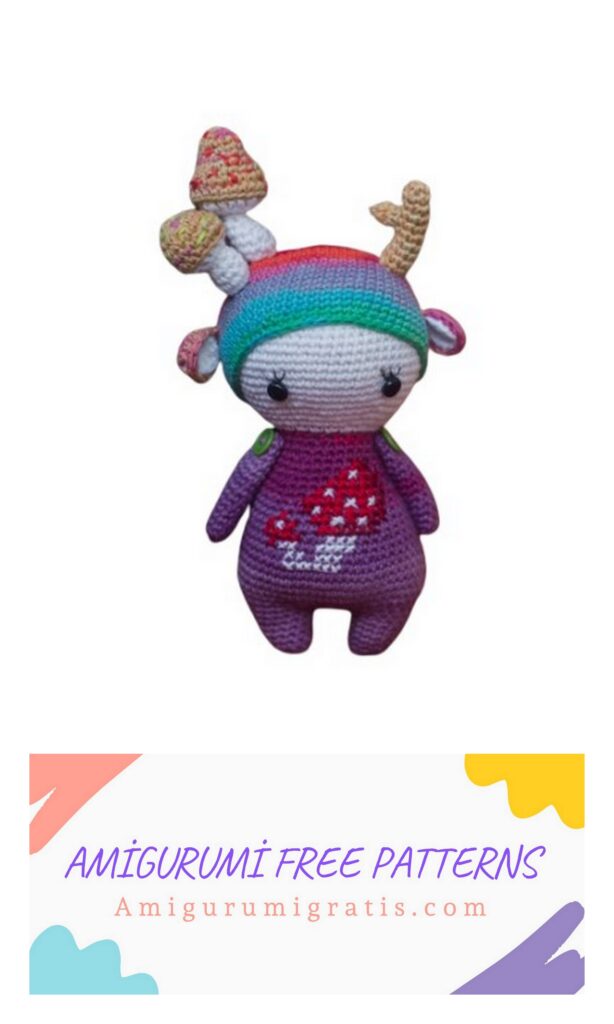
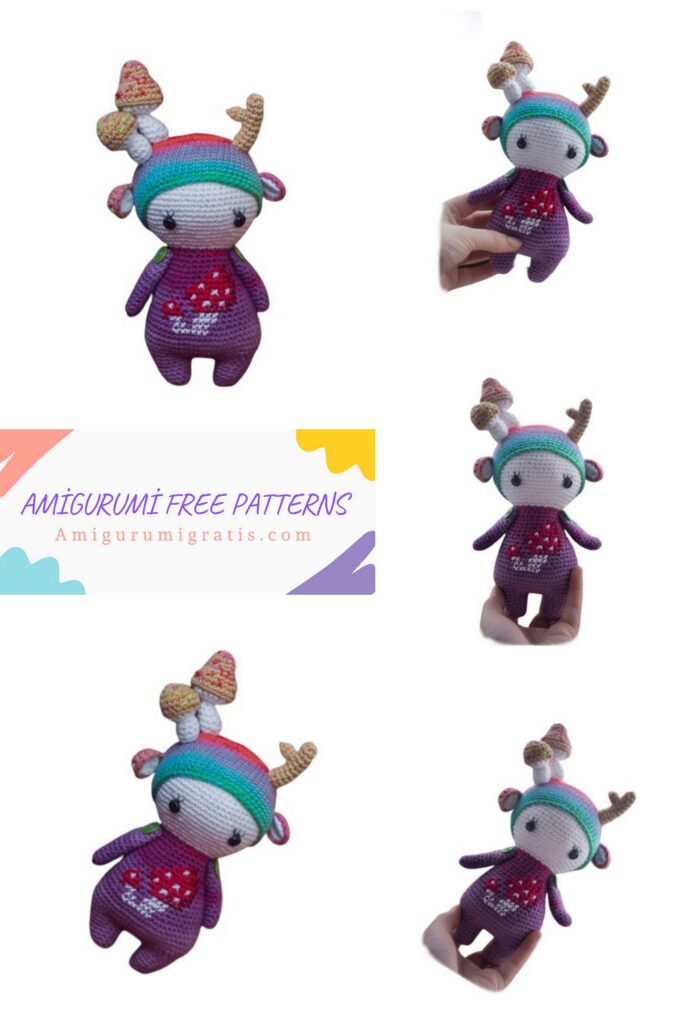
Designations:
sc – single crochet
inc – increase (2 sc in one loop)
dec – decrease (2 loops knit as 1 sc)
hdc – half crochet
dc – double crochet
Ss2n – double crochet
sl-st – connecting column
ch – air loop
(…) x 2 (repeat the item twice)
Yarn:
– Primary color (O)
– Body color (T)
– Color of mushroom cap (W)
– The color of the legs of the mushroom (N)
– Horn color (P)
– Color of leaflets / decor (optional)
You will also need: glass
eyes, stitching needle, hook
Knitting all parts of the toy goes in a spiral (circle), unless otherwise specified in the instructions.
Details begin with the Amigurumi magic ring.
Pen (2 pcs): Color About
1 row. 6 sc in the ring (6)
2. inc, 5 sc (7)
3. inc, 6 sc (8)
4.8 sc (8)
5. inc, 7 sc (9)
6.9 sc (9)
7. inc, 8 sc (10)
8.10 sc (10)
9. inc, 9 sc (11)
10.11 sc (11)
11. inc, 10 sc (12)
12.12 sc (12)
13.4 sc, 2 dec, 4 sc (10)
14.3 sc, 2 dec, 3 sc (8)
15.2 sc, 2 dec, 2 sc (6)
Finish knitting, close the loops, leave the thread for sewing.
Leg (2 pcs): Color O
1 row. 6 sc in the ring (6)
2. (1 sc, inc) x 3 (9)
3.inc, 8 sc (10)
4. inc, 9 sc (11)
5. inc, 10 sc (12)
6. inc, 11 sc (13)
7. inc, 12 sc (14)
8. For the first leg: 7 sc to the middle of the leg; sl-st
cut and thread
8. For the second leg: 7 sc, 4 ch.
Do not cut the thread !!!
Take the first leg and place it to the left of
second; connect them by knitting 1 sc on the first leg.
This column will be the first column in the next row of the Body.
Body: Color About
We continue knitting on both legs.
Remember that the first column of the 9th row is already connected with us. Thus, at the beginning we knit not 14 sc, but 13.
9. (14 sc, 4 sc in the chain of ch) x 2 (36)
10. (5 sc, inc) x 6 (42)
11.8 sc, inc, 5 sc, (inc, 1sc) x2, (1 sc, inc) x2, 5sc, inc, 14 sc (48)
12. (7 sc, inc) x 6 (54)
From 13 to 17 rows: 54 sc in a circle (54)
18. (7 sc, dec) x 6) (48)
19. 48 sc in a circle (48)
20. (6 sc, dec) x 6 (42)
21 and 22 rows: 42 sc in a circle (42)
23.10 sc, dec, 4 sc, (dec, 1 sc) x2, (1sc, dec) x2, 4 sc, dec, 8 sc (36)
24. 36 sc in a circle (36)
25. (10 sc, dec) x 3 (33)
26. (9 sc, dec) x 3 (30)
27.30 sc in a circle (30)
28. (8 sc, dec) x 3 (27)
29.27 sc in a circle (27)
30. dec, (2 sc, dec) x 5 (21)
31. 21 sc in a circle (21)
We do not cut the thread, but change it to a color
skin (color T). Do not forget to stuff legs
and body! Next, knit the head.
Head: Color T
32. Increments in a circle in each loop (42)
33. 42 sc in a circle (42)
34. (6 sc, inc) x 6 (48)
35. (7 sc, inc) x 6 (54)
36. (8 sc, inc) x 6 (60)
37 to 47 rows: 60 sc in a circle (60)
In the 40th row, insert the eyes at a distance of 14
loops between each other. In the process of knitting we stuff
the head.
48. (8 sc, dec) x 6 (54)
49. (7 sc, dec) x 6 (48)
50. (6 sc, dec) x 6 (42)
51. (5 sc, dec) x 6 (36)
52.36 sc in a circle (36)
53. (4 sc, dec) x 6 (30)
54. (3 sc, dec) x 6 (24)
55. (2 sc, dec) x 6 (18)
56. (1 sc, dec) x 6 (12)
57. dec x 6 (6).
Close the loop (see photo A), thread
hide.
Hood: Color About
1 row. 6 sc in the ring (6)
2.inc x 6 (12)
3. (1 sc, inc) x 6 (18)
4. (2 sc, inc) x 6 (24)
5. (3 sc, inc) x 6 (30)
6. (4 sc, inc) x 6 (36)
7. (5 sc, inc) x 6 (42)
8. (6 sc, inc) x 6 (48)
9. (7 sc, inc) x 6 (54)
10. (8 sc, inc) x 6 (60)
From 11 to 21 row: 60 sc in a circle (60)
22. (1 sc, inc) x 6 (54)
23. (1 sc, inc) x 6 (48)
Hide the thread
Horn: Color P
1 row. 5 sc in the ring (5)
2. inc, 4 sc (6)
3. 6 sc in a circle (6)
4. inc, 5 sc (7)
From 5 to 8 row: 7 sc in a circle (7)
9. inc, 6 sc (8)
10.8 sc in a circle (8)
Finish knitting, lightly fill, leave thread for sewing to the head.
1 row. 5 sc in the ring (5)
2.5 sc in a circle (5)
3. inc, 4 sc (6)
The resulting process is slightly stuffed and sewn on the side to the main horn.
Ears (4 pcs): 2x colors T, 2x colors O
Knit 3 ch (count them as 1 hdc), then – in the first ch:
1.2 hdc, 1dc, 1 ss2n, 1 dc, 3 hdc, 3 sc (12)
2.3 sc, 1 hdc, 1 dc, 1hdc, 6 sc (12)
Note: For color T parts (inner part of the ear), cut and hide the thread.
For details of color O, leave the thread long enough to tie the details in a circle and sew to the head.
Fold the 2 parts of the ear (T – inner and O – outer) together, with the wrong sides to each other. We tie the parts in a circle (12 sc), clinging to the wall of the inner part of the ear closest to us and both walls (loops) of the outer part of the ear (see photo B). We turn out the finished parts, as shown in the photo.
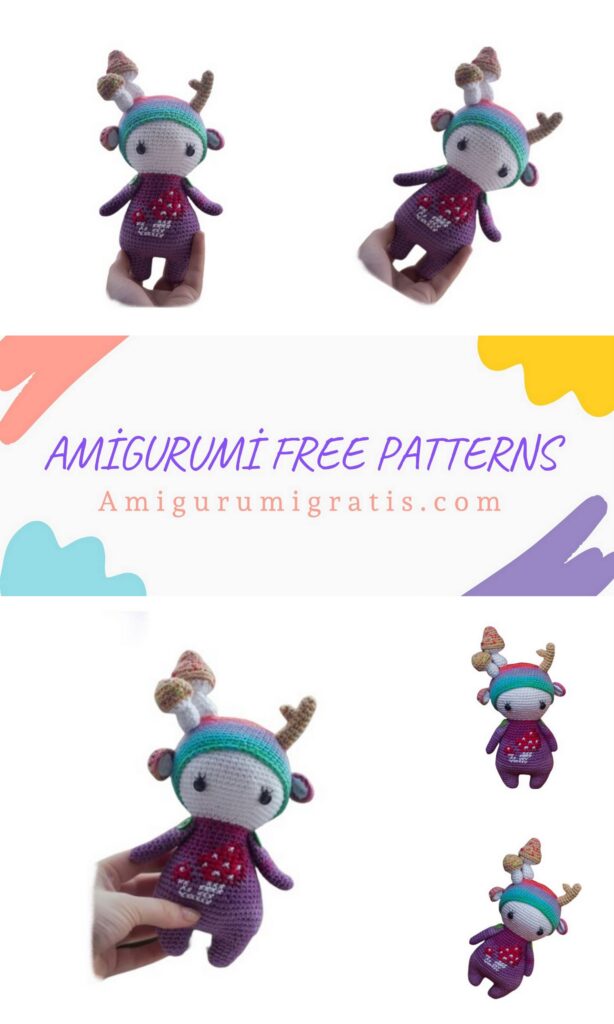
Little mushroom:
Hat (color W):
1 row. 6 sc in the ring (6)
2.inc x 6 (12)
3. (1 sc, inc) x 6 (18)
From 4 to 6 row: 18 sc in a circle (18)
Change the yarn to color H (lower part of the mushroom cap). To fill.
7. (1 sc, dec) x 6 (12)
8.4 sc, 2 dec, 4 sc (10)
9. dec x 5 (5).
Finish knitting, hide the thread.
Leg: (color N):
1 row. 5 sc in the ring (5)
2.inc x 5 (10)
3.10 sc in a circle (10)
4. dec, 8 sc (9)
5. dec, 7 sc (8). Finish knitting leg
Stuff and sew to the hat.
Hat (color W):
1 row. 5 sc in the ring (5)
2.inc x 5 (10)
3.10 sc in a circle (10)
4. inc, 9 sc (11)
5. inc, 10 sc (12)
6. (1 sc, inc) x 6 (18)
7.18 sc in a circle (18)
8. (2 sc, inc) x 6 (24)
9.24 sc in a circle (24)
Change the yarn to color H (lower part of the mushroom cap). To fill.
10. (2 sc, dec) x 6 (18)
11. (1 sc, dec) x 6 (12)
Finish knitting, hide the thread.
Leg: (color N):
1 row. 6 sc in the ring (6)
2.inc x 6 (12)
3.4 sc, 2 dec, 4 sc (10)
4.3 sc, 2 dec, 3 sc (8)
5.2 sc, 2 dec, 2 sc (6)
Finish knitting, fill the leg and sew to the hat
Tail: Color O
1 row. 6 sc in the ring (6)
2. (1 sc, inc) x 3 (9)
3 and 4 row: 9 sc in a circle (9)
5. (1 sc, dec) x 3 (6)
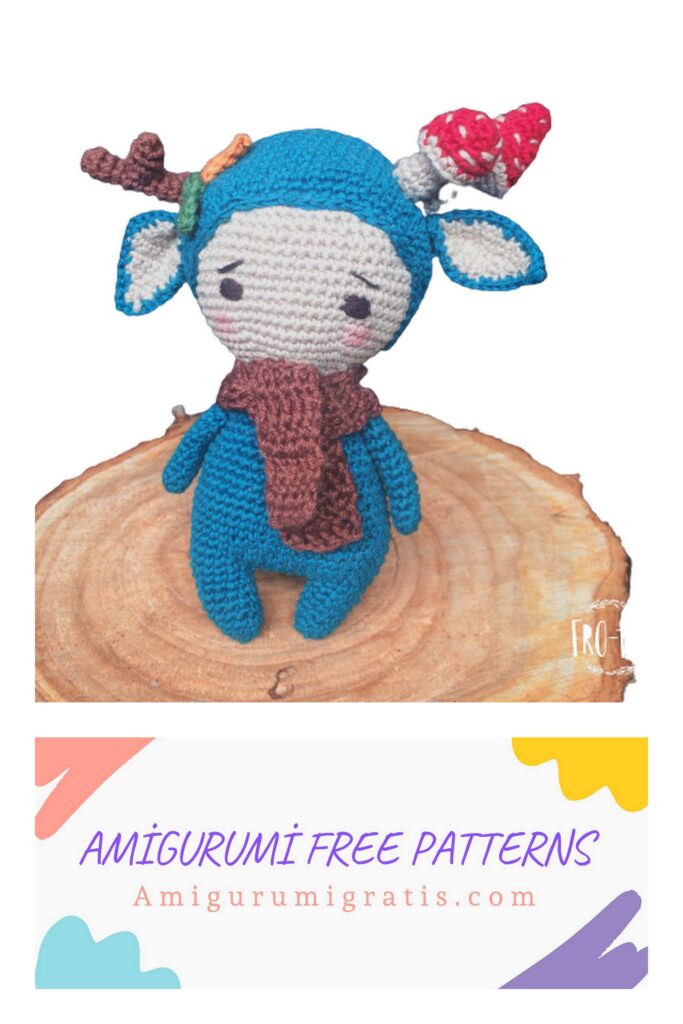
Decor:
The author of the original scheme suggests linking the leaflets to decorate the body of the gnome, but you can come up with something of your own: add embroidery over knitting, sew on buttons, beads, beads and much more. Turn on fantasy and create your own unique Forest Miracle!
