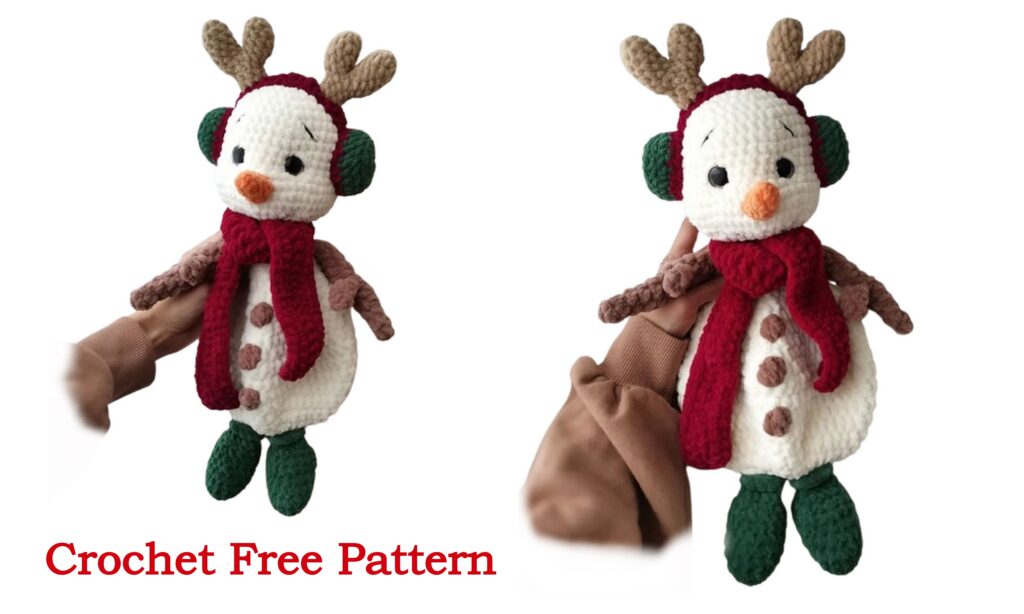
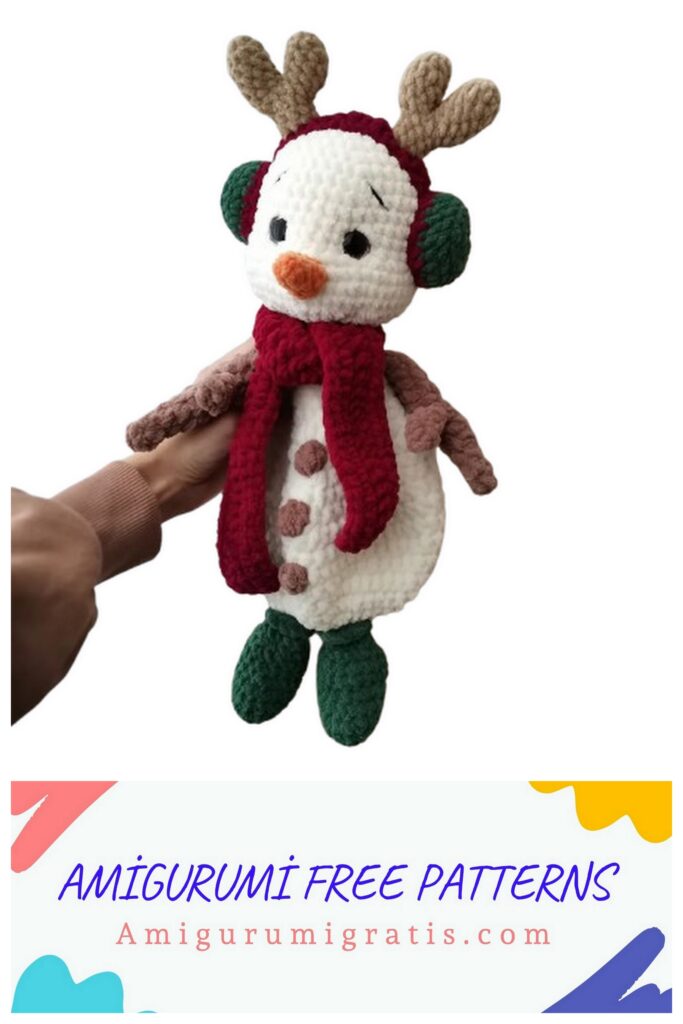
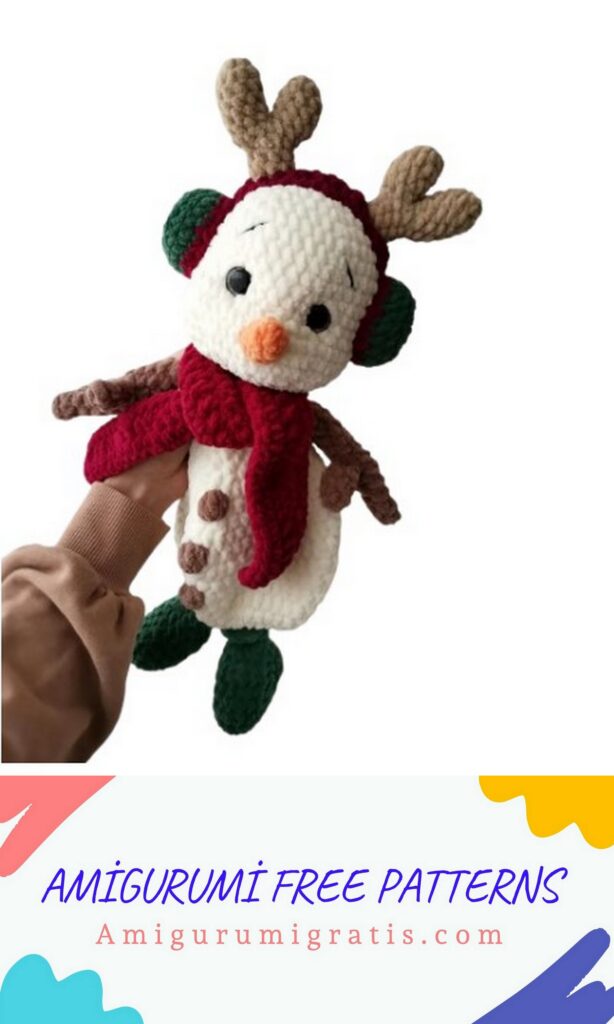
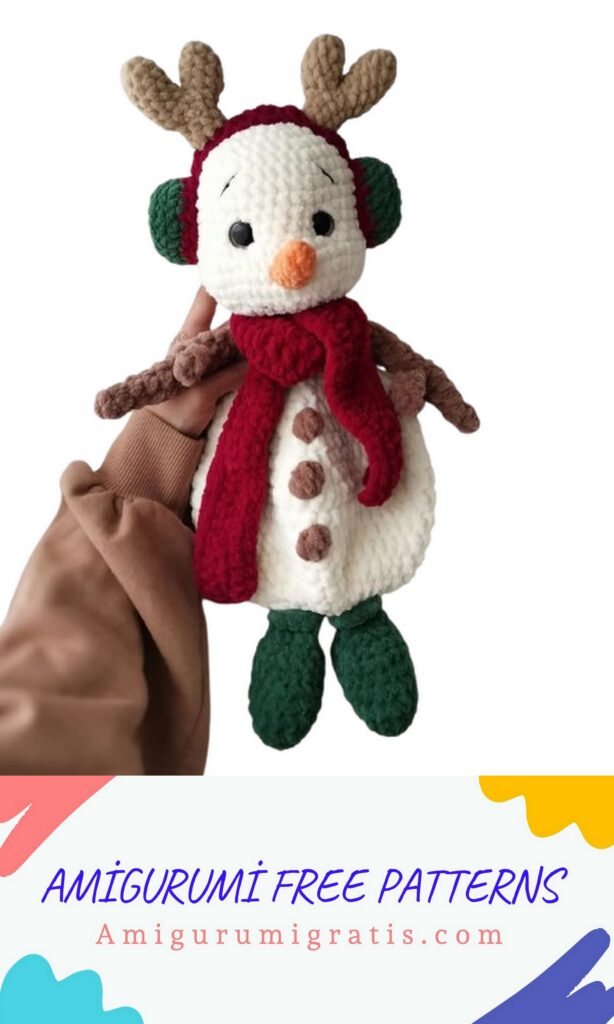
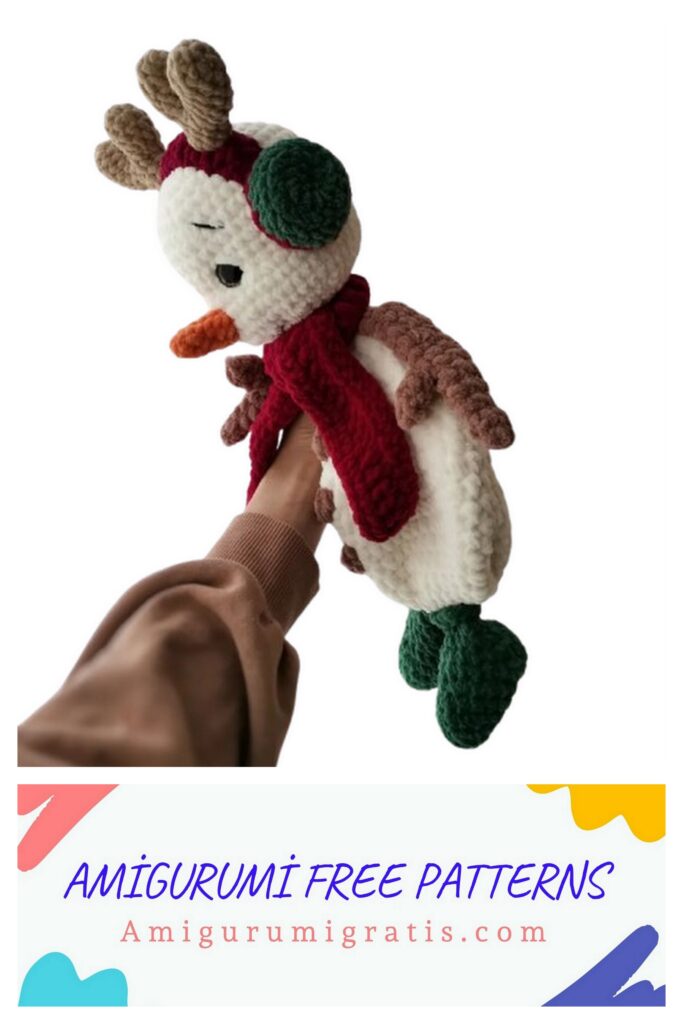
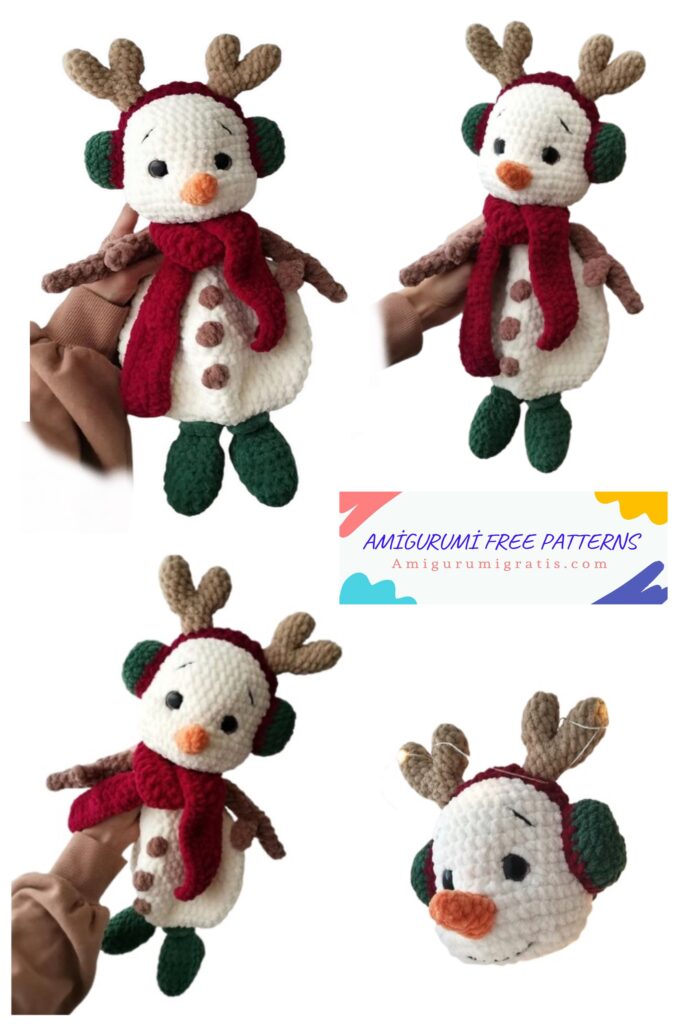
He came out about 38 cm tall, Looking for a fun winter crochet project? This Crochet Snowman Free Pattern is perfect for creating a charming and cozy snowman that makes a delightful holiday decoration or a gift.
Whether you’re an experienced crocheter or a beginner, this pattern is easy to follow, allowing you to craft an adorable snowman with just a few simple stitches. Grab your hook and get started with this Crochet Snowman Free Pattern to create your own winter wonder!
Materıals
Alize velluto yarn 100g/68m (crochet with 5.5 crochet hook)
62 (main color) 2 skeins
329 (handles, BONES) 10.5 skeins
532 (legs, headphones) 0.5 skein
107 (scarf, headphones) 0.5 skein
-yarn 100g/120m (crochet with 4 crochet hook)
I used
wolans bunny baby 45 (horns)
himalaya dolphin baby 80316 (carrot)
– cotton acrylic yarn for decoration (eyebrows, smile) I have Yarnart Jeans 53
– trapezoid eyes 18mm on a safe fastening
– needle with a wide eye
– stuffing for toys
Crochet Snowman- Hands
(2 pcs.)
In to His row are knitted the same way
1. 4Sc in MR
2. 4Sc
3. 2Sc, İnc. 1Sc = 5
4. 2Sc, 2İnc, 1Sc = 7
5. 7 Sc
RIGHT
6. 7Sc, 4 Ch, from the 2nd loop – 3Sc, turn, along the back wall 3Sc, Ch, fold the piece in half and knit 3Sc for both snips (for half loops), dec (capture the base of the piece and the 1st column of the next row), hang a marker on this decrease
7. finish knitting 6Sc = 7
8. turn the “finger”, 1Sc along the finger, 6Sc 7
9. 4Sc, İnc, 2Sc = 8
10-11. (2 rows) 8 Sc
LEFT
6. 7Sc
7. 1Sc, 4Ch, from the 2nd loop 3Sc, turn, along the back. wall 3Sc, Ch, fold in half, knit 3Sc for both walls (for half loops), Dec (grab the base of the piece and the 2nd column), finish knitting 5 Sc = 7
8. 1Sc, turn the “finger”, 1Sc along the finger, 5Sc = 7
9. 4Sc, İnc, 2Sc = 8
10-12. (3 rows) 8Sc, 2Sc
12. 7Sc* fold the piece in half, offsets*, fold the piece
knit 4Sc for both
walls, Ch, cut the thread in half, knit 4Sc for both walls, Ch, cut the thread
*add. Sc is not needed, depends on the density of knitting
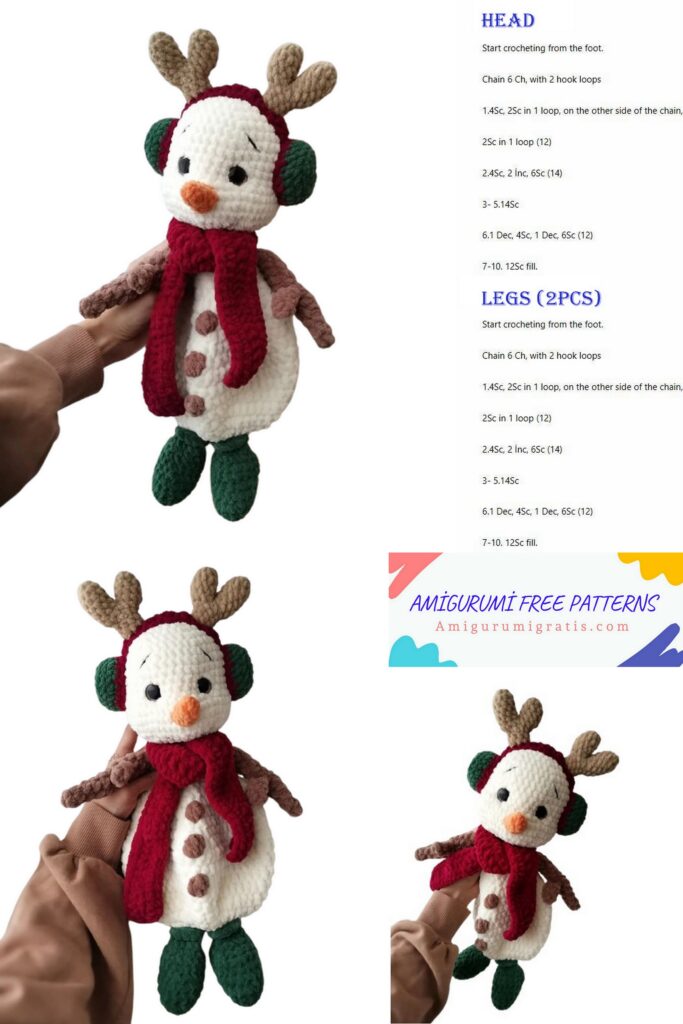
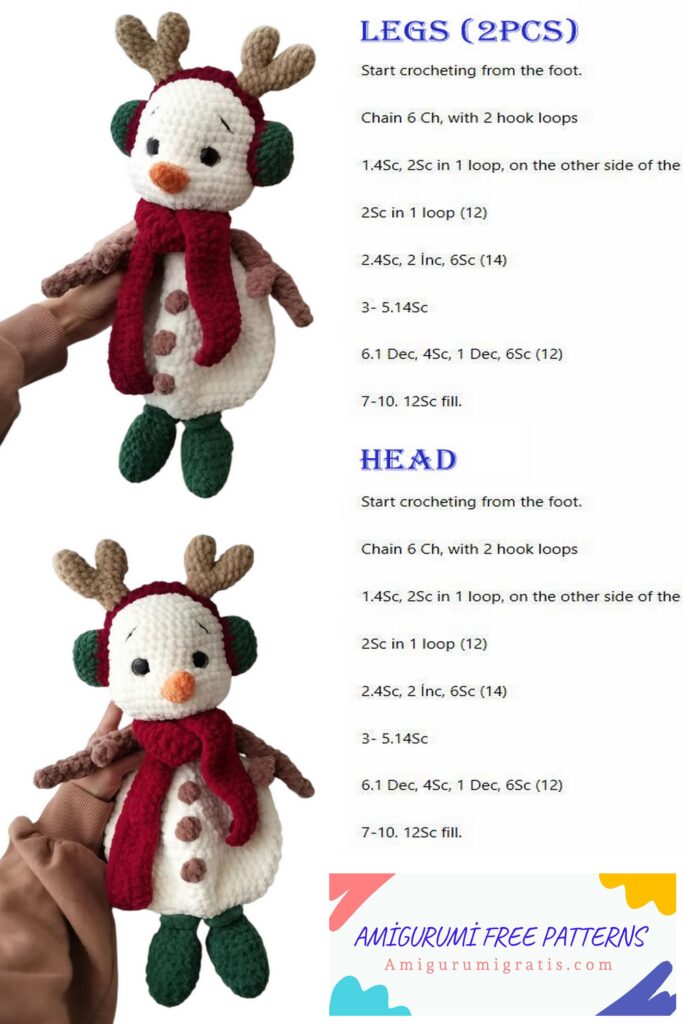
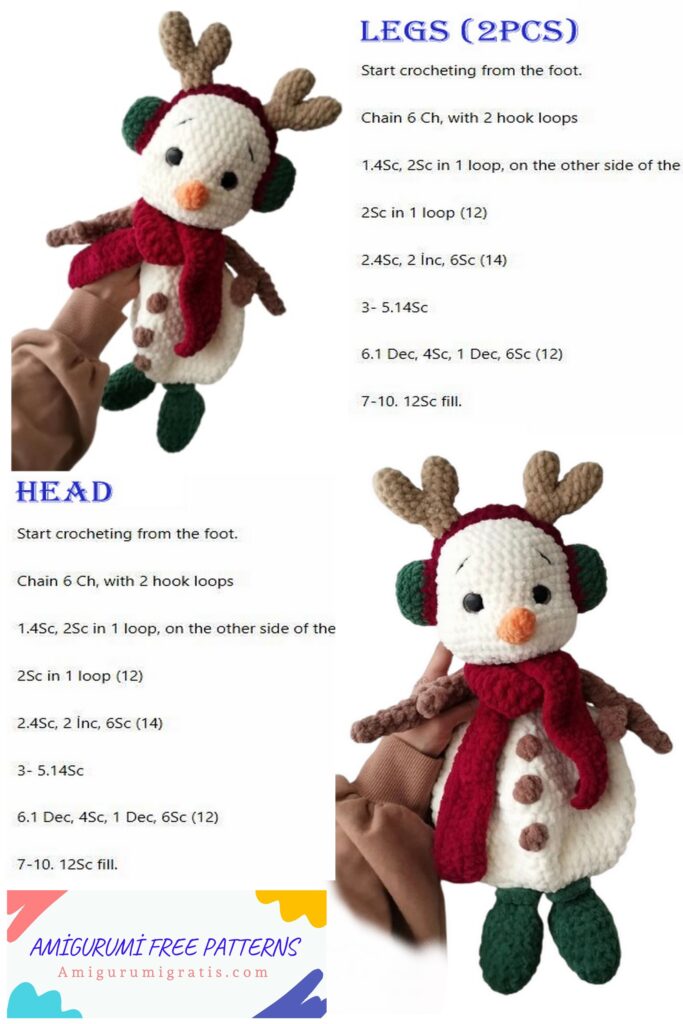
Crochet Snowman- Legs
(2 pcs.)
1. 6Sc in MR
2. 6 İnc =12
3. 4Sc, 4İnc, 4Sc =16
4. 7Sc, 2İnc, 7Sc=18
5. Dec, (4Sc, İnc)*3, do not finish the row, move the marker to the loop back =20 6. (knit for the front, wall) Dec, 12Sc, Ch, turn knitting, 6Sc, Ch, turn, 6Sc, Dec from 3x* (2 loops along the heel, 1 loop on the main fabric (4 yarn overs on the hook) knit), 5Sc to the end of the row =19
7. Dec, 4Sc, Dec from 3x (the same as in the 6th row, only the other way around), 2Sc, Dec, 2Sc, Dec, 4Sc = 16
8. (1Sc, Dec) 5, 1 İnc = 12 stuff the leg, not tightly
9. (1Sc, Dec) * 4, + 2-3 sb shifts (if necessary) = 8
10. fold the piece in half, knit 4 Sc for both walls, Ch, cut the thread
* watch the video on knitting the 6th row in the Current
Crochet Snowman- Body
knit (HDC! EXCEPT for the 1st row!
Cast on 27 CH, from the 2nd loop
1. 15Sc 3 Sc in 1 loop, along the back wall 15Sc, 3Sc in 1 loop = 36 Next knit HDC + KNIT the legs
2. 3Hdc, 4 Hdc with a leg, 2 İnc from Hdc, 4 Hdc with a leg, 4 Hdc, İnc from song, 8Hdc, İnc, 15Hdc, 2İnc=42
3. 6Hdc,İnc x 6=48
4. 7 Hdc,İnc x = 84
5-6.(2 rows) 54 song
7. 14 Hdc, ШИШ®, 39 Hdc=54
8-9.(2 rows) 54 Hdc
10. 7 Hdc, Dec, 5Hdc, Dec, ШИШ, Dec, 5Hdc, Dec, 7 Hdc, Dec, 9Hdc, Dec, 8Hdc=48
11. 48Hdc
12. 13Hdc, 3 Dec (decreases over CONES) 29posn=45
13. 1 Hdc, Dec on the side, 11Hdc, ШИШ, 10Hdc, Dec on the side, 9Hdc, Dec in the middle of the back, 7 Hdc=42
14. 42Hdc, (we tighten the bottom on the sides if you want the snowman to be more rounded)
15. (1Hdc, Dec)*14=28
16-17. (2 rows) 28Hdc
18. we knit the handles, 2Hdc, 4 Hdc with the left. handle, 12Hdc, 4 with the İnc. hand, 6Hdc=28
19. (1Hdc, Dec)*2=18 we move the marker
20. 9 Dec, Sl-st, we leave a thread of 30-40 cm for sewing
ATTENTION! After the 6th row, we move on to knitting the top of the legs HDC, in a circle. This way the legs will have a “finished” look, and the transition from the body to the legs will be hidden)*
Crochet Snowman- Head
1. 6Sc in MR
2. 6İnc =12
3. (1 Sc, İnc)*6 =18
4. (2Sc, İnc)*6 =24
5. (3Sc, İnc)*6 =30
6. (4Sc, İnc)*6 =36
7. (5Sc, İnc)*6 =42
8-13. (6 rows) 42Sc
14. 10Sc, 3Inc, 2Dec, 6Inc, 2Dec, 3Inc, 12Sc, 2Dec =48 (insert eyes between rows 11 and 12, approximately above the decrease stitches, at a distance of 7Sc)
15-16. (Ridge) 48Sc
17. (2Sc, Dec)*12 =36
18. (4Sc, Dec)*6 =30
19. (3Sc, Dec)*6 =24 stuff the head with filler
20. (2Sc, Dec)*6 =18
21. (1Sc, Dec)*6 =12
22. 6Dec, carefully tighten the knitting, hide the thread
Headlamps
(3 parts)
1. 6Sc in MR
2. 6İnc =12
3. (1Sc, inc)*6 =18
4. knit behind the back wall 18Sc
5. (2Sc, İnc)*6=24 in the last column we change the thread
6. 24Sc, ss, leave the tip for sewing about 30 cm. (2 pcs.)
HEAD
4 CH, from the 2nd loop knit 3Sc, Ch,
turn the knitting, knit for both walls 3Sc, Ch, and so on to the desired length, try on the head, I got 17 rows
MOPKOBKA
1. 4Sc in MR
2. (1Sc, İnc)2=6
3. 6Sc
4. (2Sc, İnc) 2=8
5. 3Sc, 2İnc, ЗSc =10
6. 10Sc, Sl-st, leave the thread for sewing about 15 cm.
Scarf
Cast on 71 CH, from the 2nd loop knit
1. 70 Hdc, Ch, turn knitting
2. 70 DC, Ch, turn knitting
3. 70 Hdc, fix the thread and hide in the fabric
Horns
SMALL (2 pcs.)
1. 6Sc in MR
2. (1Sc, İnc)*3 = 9
3-4. (9Sc, Sl-St, cut the thread
LARGE (2 pcs.)
1. 6Sc in MR
2. (1Sc, İnc)*8 = 9
3-6. (4 rows) 9Sc,
attach the small horn, grab the loop on the small and knit 1Sc, Next along the small horn 9Sc, 10th in a column in the short one attached
7. 1st Sc in the connection loop, 9Sc along the large one, *9 Sc along the small horn = 18 fill the horns with filler
8. 9Dec = 9
9-11. (Charge) 9Sc, Sl-St, leave a thread about 20 cm. for sewing, fill the horns
– count the remaining loops in advance, you may need to make a decrease
Design and assembly
1. Sew on the CARROT, pay attention that the increases are at the bottom Catch the column on the head, then hook the carrot column from the inside out, ENTER INTO The same column on the head from which the thread was taken out earlier, and so on in a circle, fix the thread, hide it in the head.
2. Tightening the EYES (tighten with the same THREAD that you used to knit the head if you knitted Alize velluto), Insert the needle into point 21, leave a small tip so that it is convenient to tighten later, bring it out to point 2, bring it in to point 3, bring it out to point 4, bring it in to point 5, bring it out to point 1 skipping 1Sc from the point. Tie a knot and pull the threads down, controlling the depth of tightening, as soon as you like the result, fix the tightening by tying another knot, hide the threads in the head.
3. Sew on the RIM of the headphones.
Design and assembly
4. Sew on the HEADPHONES. According to the principle of the headband,
At the end, stuff the earphone. Finish knitting, secure the thread and bring it out to point 1, tie two threads from the headphones, and hide it in the head.
We tighten the headphones, using the same principle as tightening the eyes.
5. Sew the horns to the headband of the headphones. Using the carrot principle. We also bring the threads to point 1 and hide them.
6. We design the eyelids, smile and eyebrows.
7. Sew the head to the body.
CONGRATULATIONS, your Snowman Toto comforter is ready!
Congratulations on completing your adorable snowman! This Crochet Snowman Free Pattern is not only fun but also a great way to add some handmade charm to your winter décor. Whether you display it as a festive centerpiece or gift it to a loved one, your crochet snowman is sure to spread holiday cheer.
Don’t forget to share your creations and inspire others with your crochet journey. We hope you enjoyed making this project using the Crochet Snowman Free Pattern and look forward to seeing your next crochet masterpiece!