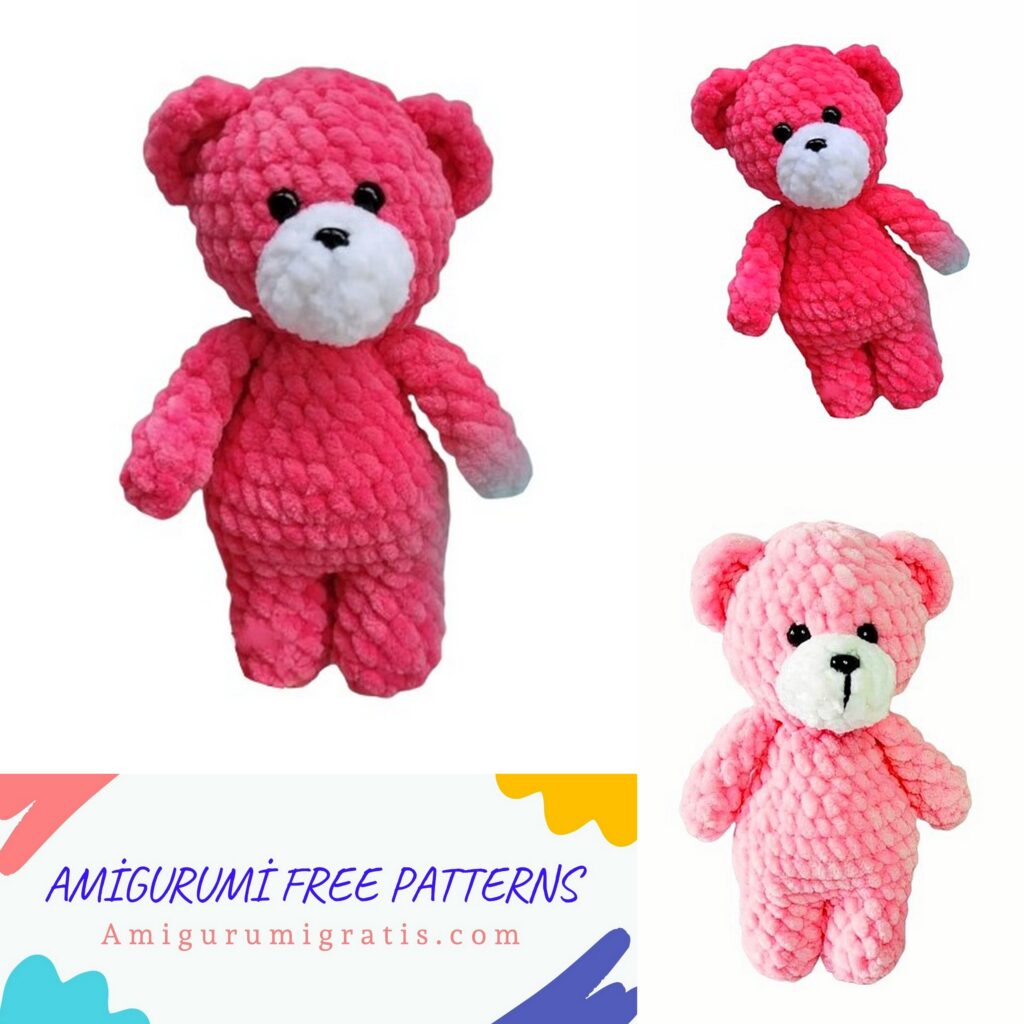
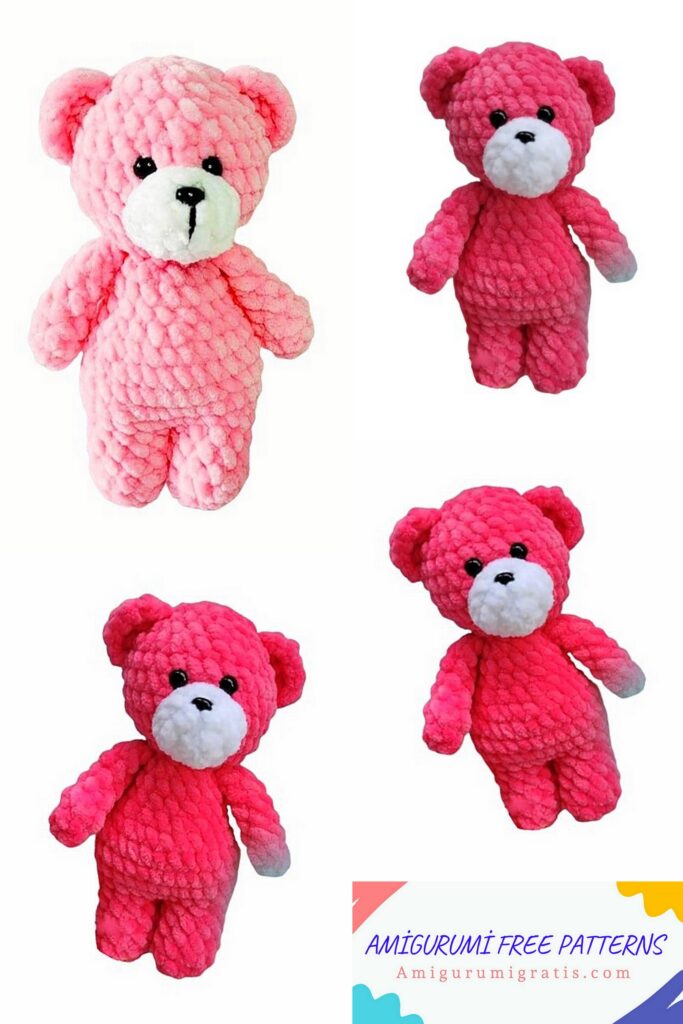
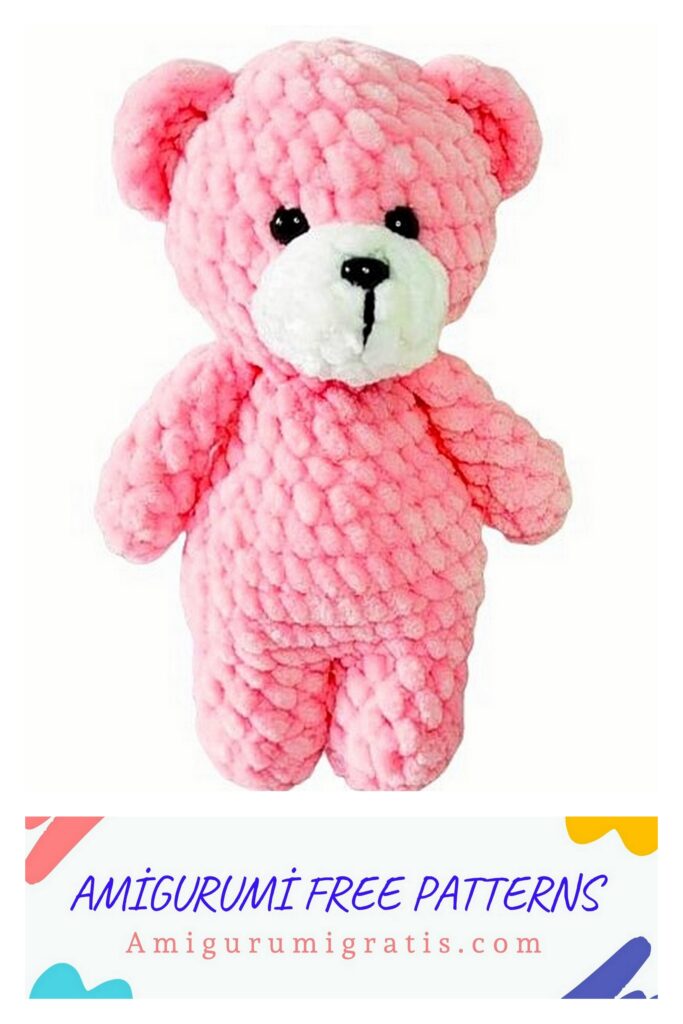
Discover a free and easy amigurumi pattern to create an adorable pink plush bear. help you crochet a cute and cuddly bear in no time! Welcome to our free and easy Amigurumi pattern tutorial! In this guide, we’ll show you how to crochet a charming pink plush bear that’s perfect for gifting or adding to your collection. Whether you’re new to Amigurumi Bear or a seasoned crafter, this pattern is designed to be simple and fun. Follow our detailed instructions and create your own delightful bear with ease. Let’s get started on your next crochet adventure!
Amigurumi Easy Pink Plush Bear-Materials:
✓ plush yarn
✓Hook 443.5
✓Filler
✓Marker for crocheting
✓Eyes 8 mm
✓Spout 8x10mm
✓Scissors
Amigurumi Abbreviations
MR: Amigurumi Magic ring
sc : Single Crochet
inc : Increase
dec : Decrease
tr : Triple Crochet/ Treble Crochet
st: Stitch
dc : Double Crochet
hdc: Half Double Crochet
slst : Slip Stitch
ch : Chain
..in : make increase into same stitch as many as the number which is given in front of “inc” abbreviation (exp; 3inc, 4inc..).
FLO : Crochet into front loops only
BLO : Crochet into back loops only
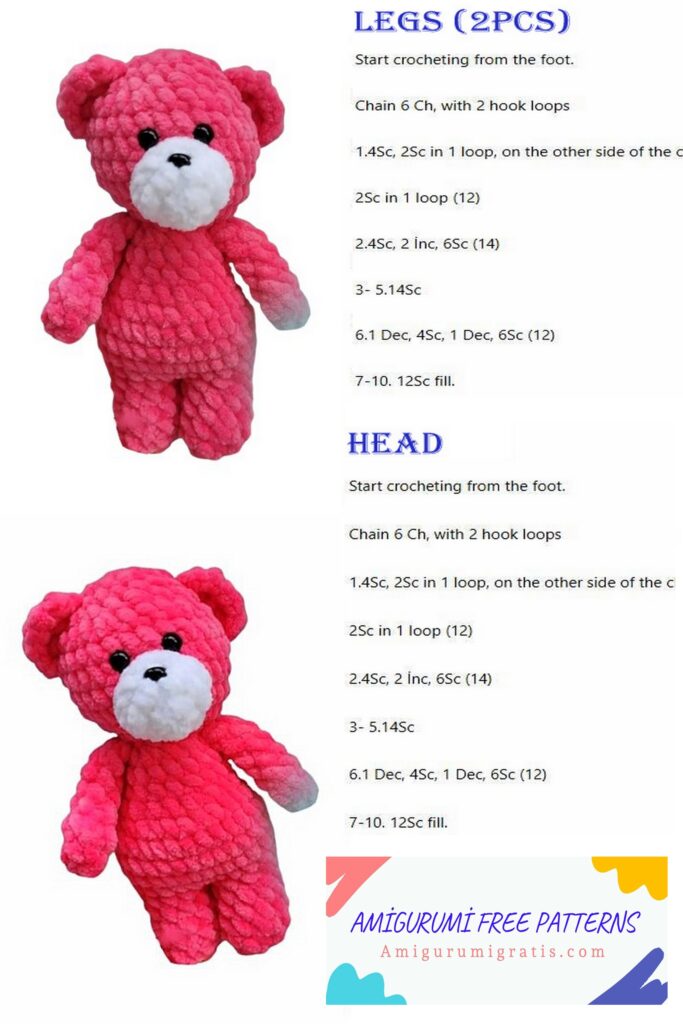
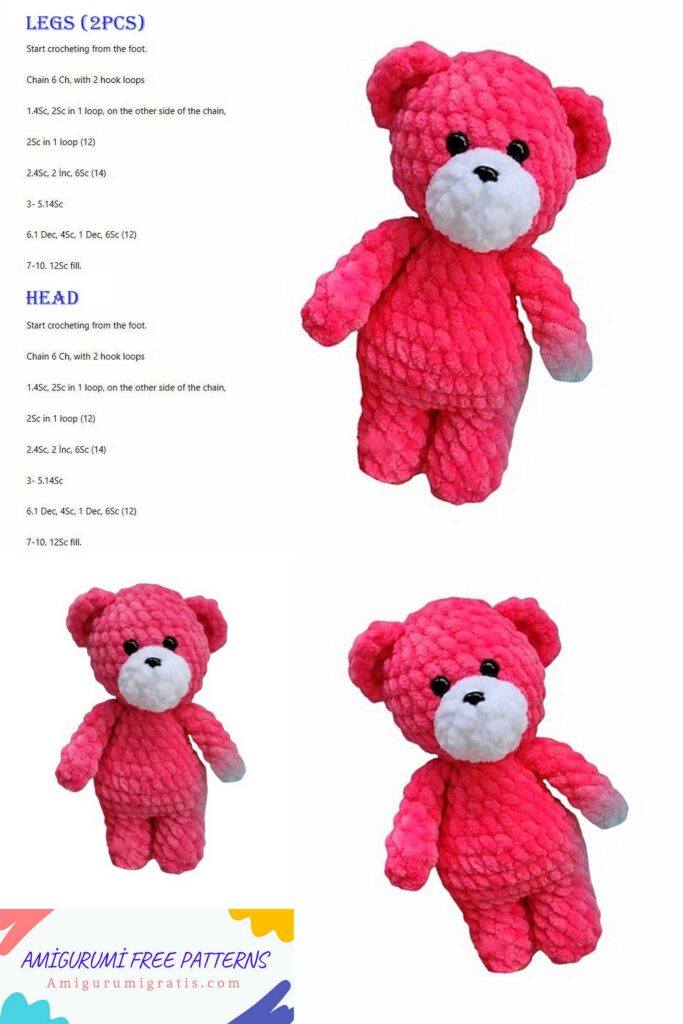
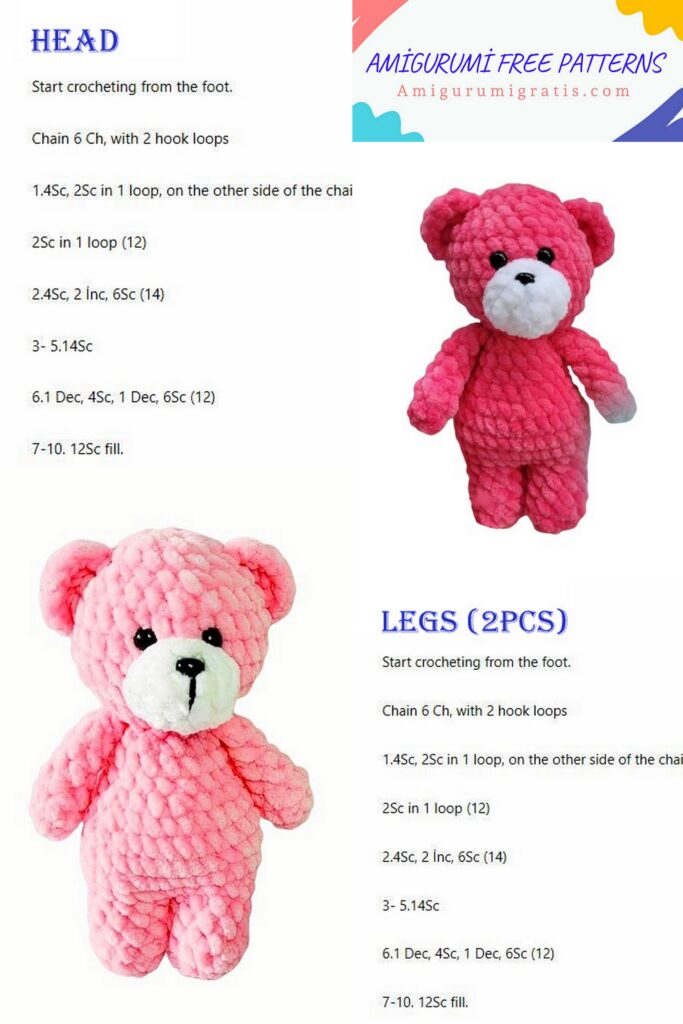
Amigurumi Easy Pink Plush Bear- Legs
1 Rnd: 10 sc in MR (10)
2-5 Rnd: 4 rows 10 sc (10)
If you crochet the first leg – cut the yarn, when you crochet the second – do not cut the yarn
Make a second piece of the same
Amigurumi Easy Pink Plush Bear- Arms
1 Rnd: 6 sc in MR (6)
2-6 Rnd: 5 rows 6 sc (6)
7 Rnd: (dec,1 sc) x2 (4)
We do not stuff the arms.
Fold in half and crochet 2 sc.
Muzzle
1 Rnd: 6 sc in MR (6)
2 Rnd: 6 inc (12)
3 Rnd: 12 sc (1:2)
Amigurumi Easy Pink Plush Bear- Tail
1 Rnd: 6 sc in MR (6)
2 Rnd: 6 sc (6)
Amigurumi Easy Pink Plush Bear- Body and Head
We connect the legs and start crocheting the body
1 Rnd: do not cut the yarn at the second leg and continue crocheting 1 ch, we attach the other leg, crochet 4 sc, inc, 5 sc, 1 sc along the ch (which was done at the beginning), on the other leg 5 sc, inc, 4 sc, 1 sc along the ch (24)
2 Rnd: 5 sc, inc, 5 sc, incx2, 5 sc, inc, 3 sc, incx2 (30)
3-4 Rnd: 30 sc (30)
5 Rnd: 4 sc, dec, 12 sc, dec, 10 sc (28)
6 Rnd: 3 sc, decx2, 9 sc, decx2, 8 sc (24)
7 Rnd: (2sc, dec) x6 (18)
8-9 Rnd: 18 sc (18)
10 Rnd: (1 sc, dec) x6 (12)
11 Rnd: 2 sc, 2 sc with arm, 4 sc, 2 sc with arm, 2 sc (12)
it is important to make the arms symmetrically!
12 Rnd: incx12 (24)
13 Rnd: (3 sc, inc) x6 (30)
14-17 Rnd: 30 sc (30)
18 Rnd: (3 sc, dec) x6 (24)
19 Rnd: (2 sc, dec) x6 (18)*
20 Rnd: 18 sc (18)
21 Rnd: (1 sc, dec) x6 (12)
22 Rnd: decx6 (6)
Pull the hole, cut the yarn
* After the 19th row, set aside the crocheting of the head and crochet the muzzle to find out in which row to install the eyes.
Sew the muzzle right under the eyes