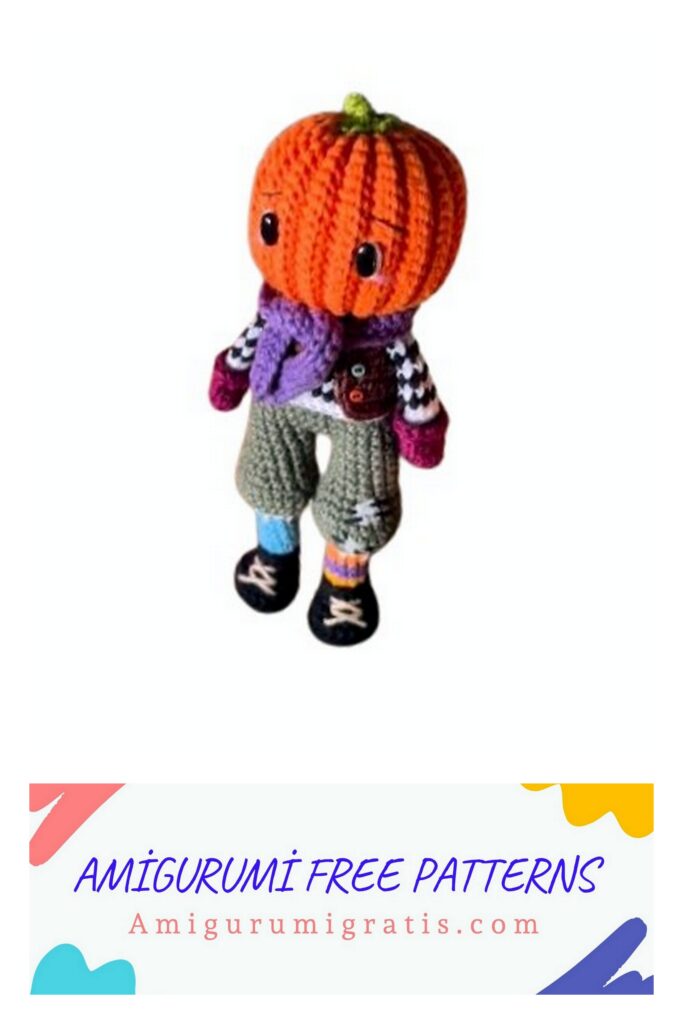
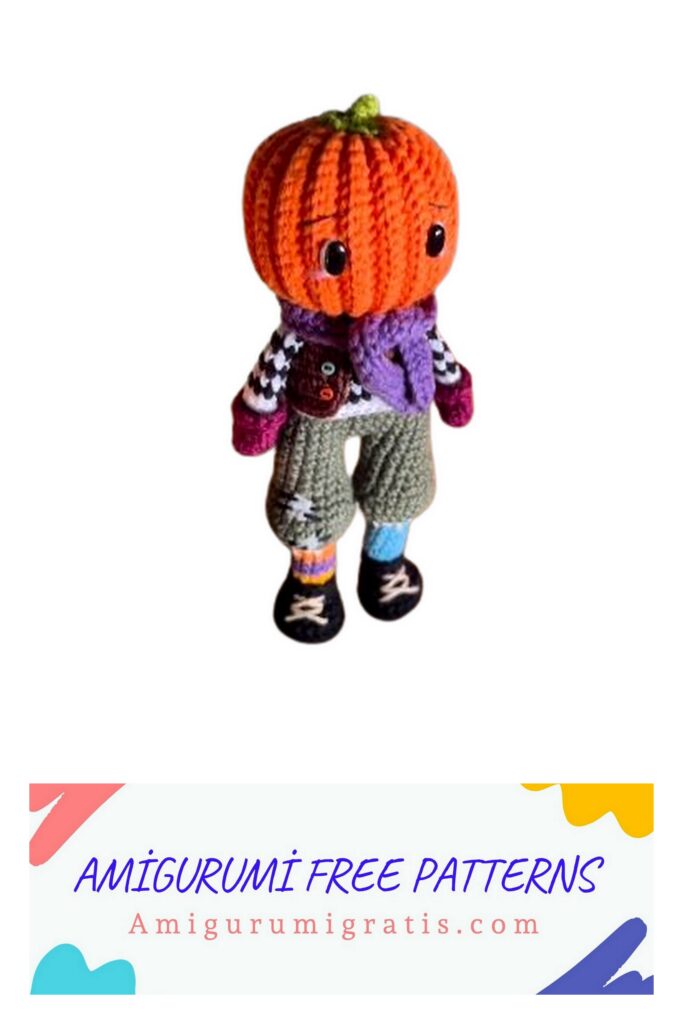
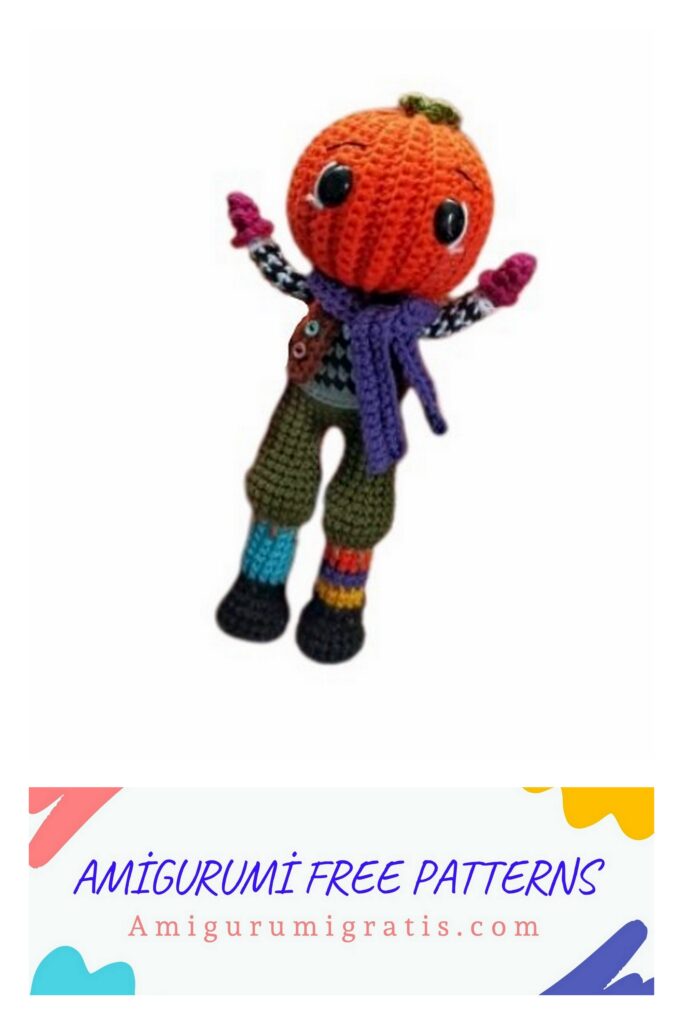
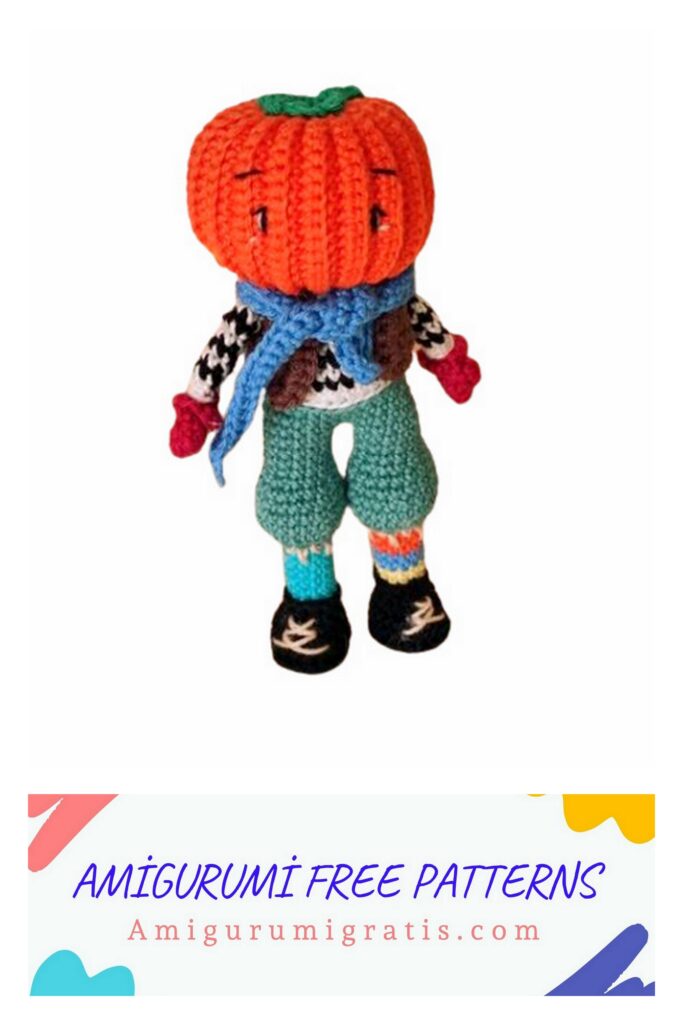
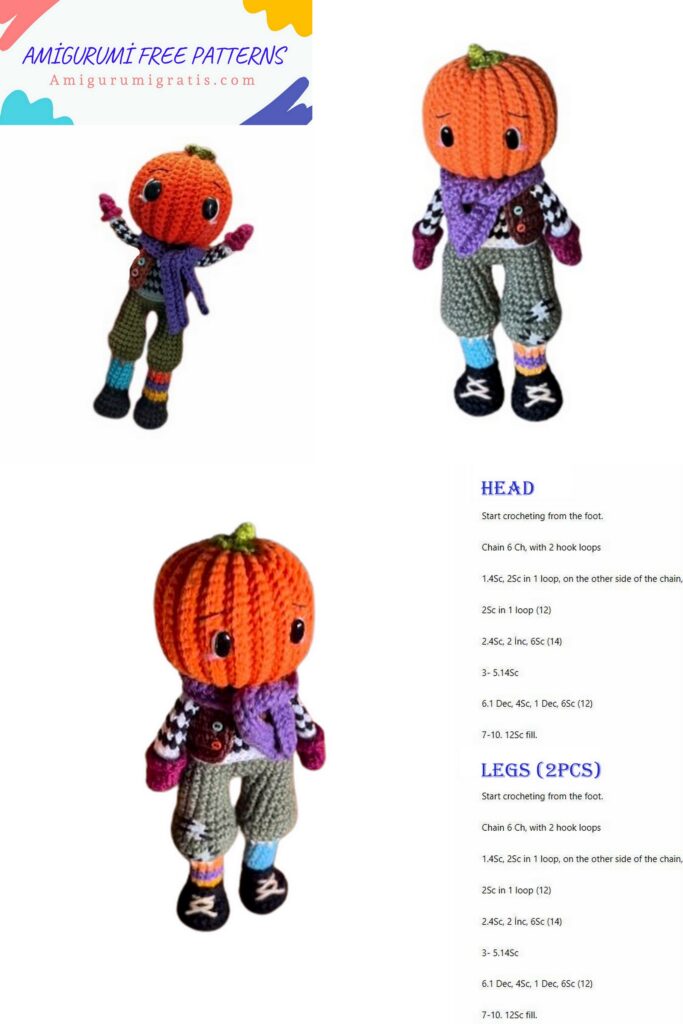
Hello, your child will like the amigurumi Halloween Pumpkin Man Pattern, follow it for the most beautiful current patterns. halloween preparation begin.
Materials
- 2.20 mm crochet hook or compatible with chosen yarn
- Oval safety eyes 8x6mm or preferred size
- Tapestry needle
- Scissors
- Pins
- Liquid silicone glue or universal craft glue
- Stuffing fiber (Optional)
- Fabric of your choice (Optional)
- 2 Mini colored buttons (Optional)
Yarns I used:
(Feel free to use yarns and colors of your choice)
- Balloon Amigo – Delicious (2288)
- Balloon Amigo – Black (0100)
- Amigurumi Circle – White (8001)
- Amigurumi Circle – Brigadeiro (7569)
- Duna Circle – Military (5368)
- Amigurumi Circle – Pistachio (5800)
- Scheepjes Catona – Delphinium (113)
- Scheepjes Catona – Peach (386)
- Amigurumi Circle – Chantilly (7563)
- Amigurumi Circle – Wine (3154)
- Drops Safran – Pink (02)
- Scheepjes Catona – Sky Blue (510)
Abbreviations:
MR – Magic Ring
CH – Chain
SL-ST – Slip stitch
SC – Single crochet
DEC – Decrease
İNC – İNCrease
FLO – Front Loop Only
BLO – Back Loop Only
HDC – Half double crochet
(…) x n° – Repeat
[…] – Total stitches in the round
Difficulty Level: Intermediate
With these materials and my stitch tension, Zucca measures approximately 18.5cm.
Arms (Make 2)
Start with wine color
(No need to stuff them)
1st Row: 6 SC in magic ring [6]
2nd Row: (1 SC, 1 İNC) x 3 [9]
3rd Row: SC all around [9]
4th Row: 1 bobble stitch of 3 half double crochets, 1 DEC, 6 SC [8]
5th Row: In BLO, SC all around [8]
Switch to white color
6th Row: In BLO, slip stitch all around [8]
7th Row: In BLO, SC all around [8]
For the next rounds until the end of the arm, alternate between black and white for each round.
8th-14th Row: SC all around [8] – 7 rounds
Flatten the arm and, using white color, close it by joining both sides with 4 SC, cut the yarn and fasten off.
Glove Detail:
In the front loops left from round 4, use wine color:
1st Row: (1 SC, 1 İNC) x 4 [12]
Finish with an invisible finish and hide the yarn end.
Legs and Body
Start with black color
1st Row: 6 SC in magic ring [6]
2nd Row: 6 İNC [12]
3rd Row: 3 SC, 6 İNC, 3 SC [18]
4th Row: SC in the back loop of each stitch all around [18]
5th-6th Row: SC all around [18] – 2 rounds
7th Row: 3 SC, 6 DEC, 3 SC [12]
8th Row: SC all around [12]
9th Row: In the front loops only (FLO), slip stitch all around [12]
Cut the yarn and fasten off.
Switch to yellow color:
Note: For the other leg, switch to blue, and then follow the pattern in beige.
Insert the new yarn into the back loop left from round 8 (see photo 1 on the side).
10th Row: In BLO, SC all around [12]
11th Row: SC all around [12]
Switch to purple (only for the first leg):
12th-13th Row: SC all around [12] – 2 rounds
Switch to orange (only for the first leg):
14th-15th Row: SC all around [12] – 2 rounds
Stuff the leg.
Switch to beige:
16th Row: (1 SC, 1 pspike) x 6 [12]
See images on the next page…
Spike Stitch:
Switch to green:
17th Row: In FLO, (1 SC, 1 İNC) x 6 [18]
18th Row: 1 SC, 1 İNC, (2 SC, 1 İNC) x 5, 1 SC [24]
19th Row: SC all around [24]
20th Row: (10 SC, 1 DEC) x 2 [22]
21st Row: (3 SC, 1 DEC) x 4, 2 SC [18]
22nd Row: SC all around [18]
23rd Row: (2 SC, 1 DEC) x 4, 2 SC [14]
24th-26th Row: SC all around [14] – 3 rounds
Fasten off one leg, but don’t cut the yarn. When finishing the other leg, make the necessary number of SC to position it on the inner side. Then, chain 2, attach to the other leg with 1 SC, and this will be the first stitch of the next round (place a marker on it).
27th Row: 13 SC on the first leg, 2 SC in the chains, 14 SC on the other leg, 2 SC in the chains [32]
28th Row: SC all around [32]
29th Row: 6 SC, 1 DEC, 14 SC, 1 DEC, 8 SC [30]
30th Row: SC all around [30]
Switch to white:
Note: Ensure that the color change is made towards the back. If it’s towards the front, fasten off and insert the new color in the middle of the back of the doll (so that it faces away from you).
31st Row: In BLO, slip stitch all around [30]
32nd Row: In BLO, 6 SC, 1 DEC, 13 SC, 1 DEC, 7 SC [28]
For the next rounds until the end of the body, alternate between black and white for each round.
33rd Row: (5 SC, 1 DEC) x 4 [24]
Start stuffing as you go.
34th-36th Row: SC all around [24] – 3 rounds
37th Row: 6 SC, 1 DEC, 10 SC, 1 DEC, 2 SC, 1 DEC [21]
38th-39th Row: SC all around [21] – 2 rounds
In the next round, İNClude each arm on the sides and crochet them along with the body (see image 1 on the next page).
40th Row: SC all around [21] attach arms
41st Row: (1 SC, 1 DEC) x 7 [14]
42nd Row: (5 SC, 1 DEC) x 2 [12]
Finish with 1 slip stitch, leave a long tail for sewing.
Arms crocheted together with the body
Pants and Sneakers Details
To make the pants details, cut two pieces of fabric in square shapes of your choice and sew the sides onto the pants with black yarn (as shown in the image below).
Sneaker Laces:
Using beige yarn, make an X and another one slightly larger below the first one.
Vest
In brown
Work in flat crochet
1st Row: Chain 23, starting from the second chain, do 1 İNC, 20 SC, 1 İNC, chain 1, and turn [24]
2nd Row: 1 SC, 1 İNC, chain up 7, skip 7 stitches, 2 SC, 1 İNC, 3 SC, chain up 7, skip 7 stitches, 1 İNC, 1 SC, chain 1, and turn [27]
3rd-5th Row: 27 SC, chain 1, and turn [27] – 3 rows
6th Row: 27 SC
Note: If you want a larger vest, simply continue with more rows.
At the end, make 1 SC in the last stitch worked in the last row, and then SC all around the vest to
finish the edges. At the corners, make 1 İNC, fasten off, and hide the yarn end.
(Optional): Sew two buttons of your choice on one side of the vest.
Pumpkin Head
In orange
1st Row: Chain 22, starting from the second chain, do 21 SC, chain 1, and turn
2nd-37th Row: In BLO, 21 SC, chain 1, and turn
38th Row: 21 SC
Fold the rectangle in half and join the side edges with 21 slip stitches (see images 2 and 3).
Cut the yarn, leaving a long tail, and with a tapestry needle, pass the yarn through the top, making a running stitch, pull it tight to close the hole, shape it by pushing it inside to make it easier
Add some stuffing, do the same to close the other side (if needed, insert a new yarn for sewing), and before pulling and closing everything, add more stuffing until the correct shape is achieved (if you have long tweezers, you can use them to adjust and make it more uniform).
Trunk and Leaf
In green
1st Row: 6 SC in magic ring [6]
2nd Row: (1 SC, 3 chains) x 6 [6]
Finish with 1 slip stitch, chain up 4, and make 3 half double crochets (one in each chain starting from the 2nd chain).
Cut a long yarn end, fasten off, and sew it in the center to form the trunk. Then, sew it to the top of the pumpkin.
In purple
Scarf
Work in flat crochet
1st Row: Chain 66, starting from the second chain, do 65 SC, chain 1, and turn
2nd Row: In BLO, 65 SC
Cut the yarn and fasten off.
Finishing
Sew the pumpkin head onto the body.
Position the eyes with 6 visible stitches between them (I did it by eye). Put a bit of glue on the end of the eye stalk and glue it to the pumpkin where you marked.
Create the eye expression with white yarn, the cheeks with pink yarn, and embroider the eyebrows with thin black thread.Halloween Pumpkin Man