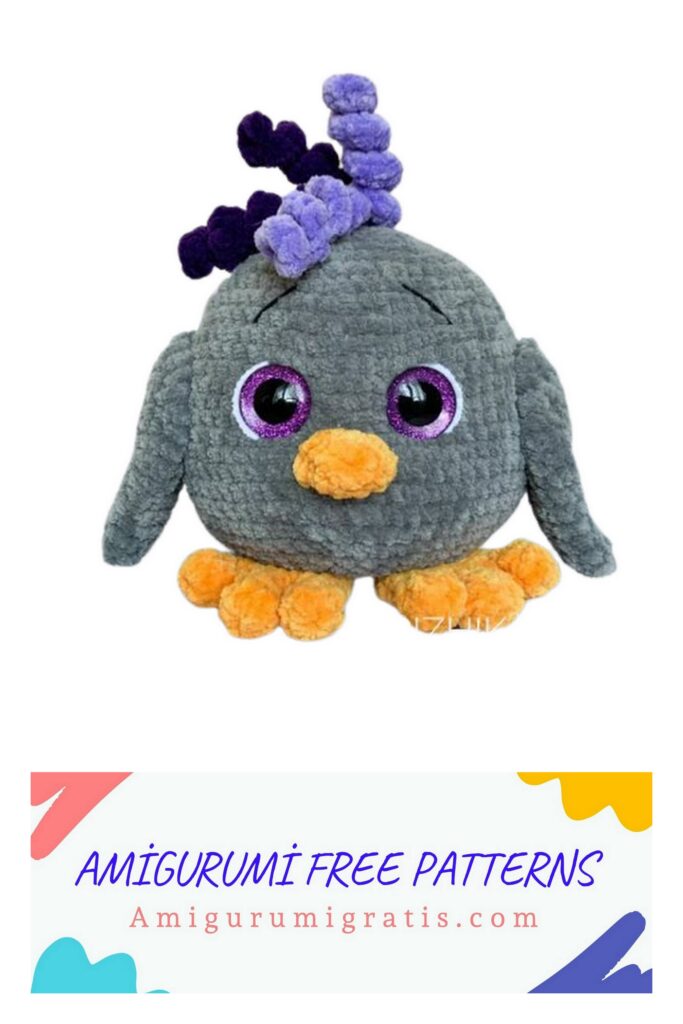
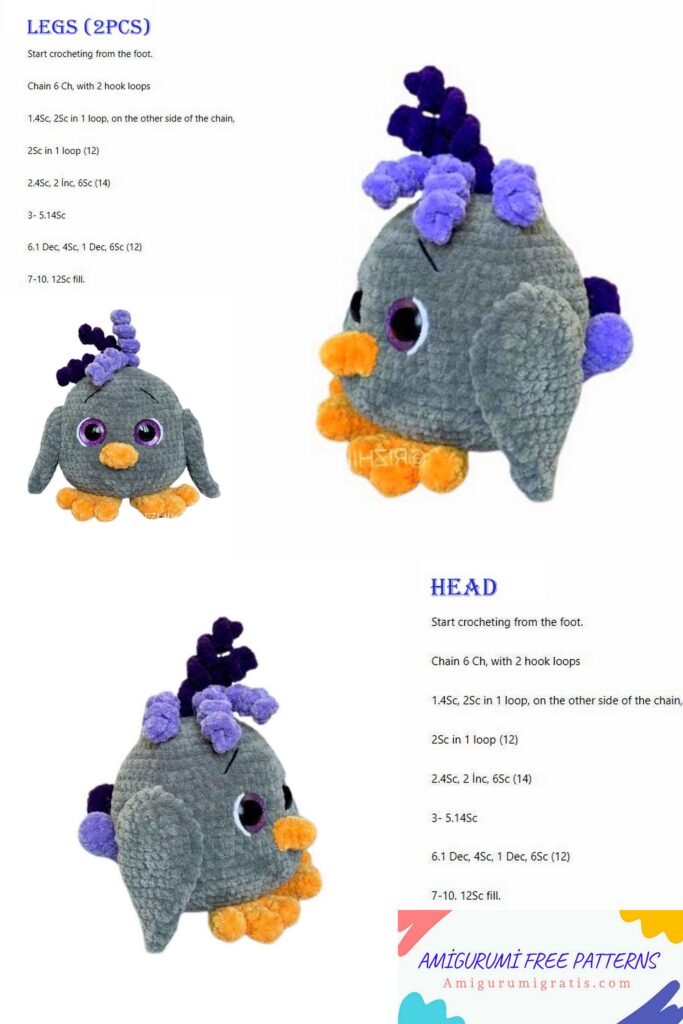
When knitting from the specified materials, the size of the toy it turns out to be about 17 cm. Please note that
The size of the finished toy may vary depending on selected yarn, hook number, style and weight knitting. I knit with Lavita Yarn Velur and use a hook 3.75.
NECESSARY MATERIALS
1. Yarn 100g/120m LaVita Yarn Velur (or its analogues: Himalaya Dolphin Baby, Wolans Bunny baby)
Main color – 1 skein (it took me 80 g);
Add. color (for beak and paws) – 20 g;
Add. color (for ponytail and forelock) – 40 g.
2. Semi-cotton black yarn for edging (I use Yarnart Jeans);
3. Hook No. 3.75;
4. Filler;
5. Eyelets on a safe mount 25 mm (trapezoid);
6. White plush thread for decorating the whites of the eyes (a little);
7. Sewing pins;
8. Needle with a wide eye for sewing on details;
9. Markers to mark the beginning of the row;
10. Long needle for tightening the muzzle;
11.Strong thread for tightening the muzzle and stitching details;
12. Eyelashes (optional);
13.Glue for gluing eyelashes (I use B-7000, you can use a moment crystal).
Abbreviations
MR – amigurumi ring;
CH – air loop;
SL-ST – connecting post;
SC – single crochet;
İNC – increase;
DEC – decrease;
(…..)*6 – repeat the combination in brackets 6 times.
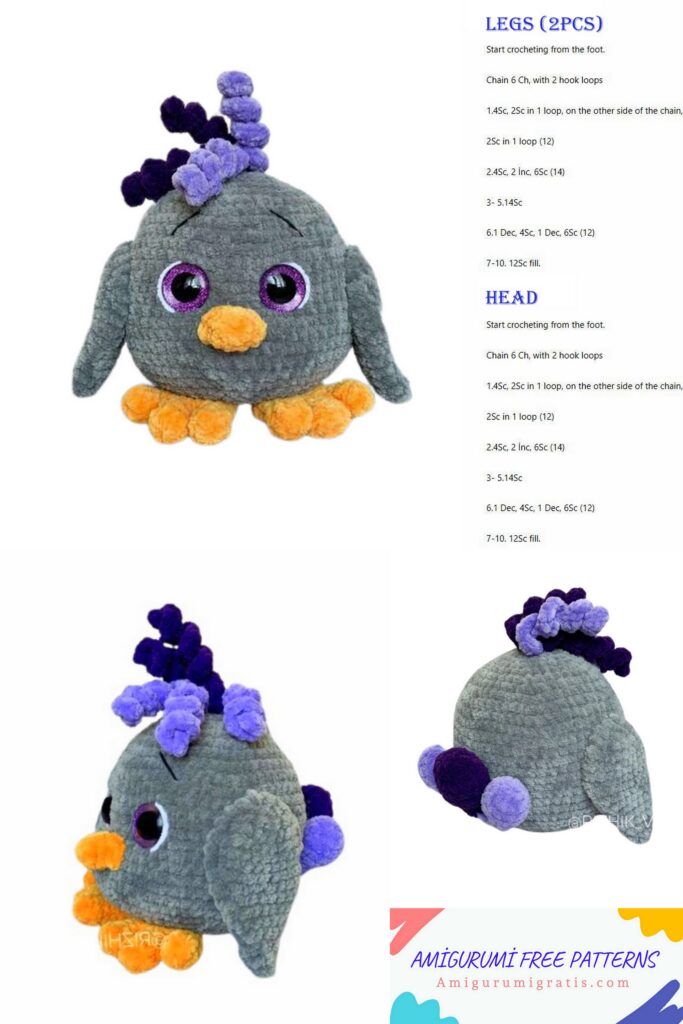
FEET (2 PARTS)
We knit in an additional color. We do not stuff the part. For
We knit three identical fingers for each paw.
1. 6 SC to MR (6)
2-3. 6 SC (2 rows) (6)
We make SL-ST on two fingers, fasten the thread and cut it off.
On the third, we do not cut the thread, we continue knitting.
We connect three fingers together.
4. 3 SC on the first finger, 3 SC on the second, 6 SC on the third, 3 SC on the second finger, 3 SC on the first finger (18)
5-6. 18 SC (2 rows) (18)
7. (1 SC, DEC)*6 (12)
8. 12 SC (12)
9. (1 SC, DEC)*4 (8)
Fold the piece in half and knit 4 SC on both walls. We fasten the thread, cut it, leaving a long end of the thread for sewing.
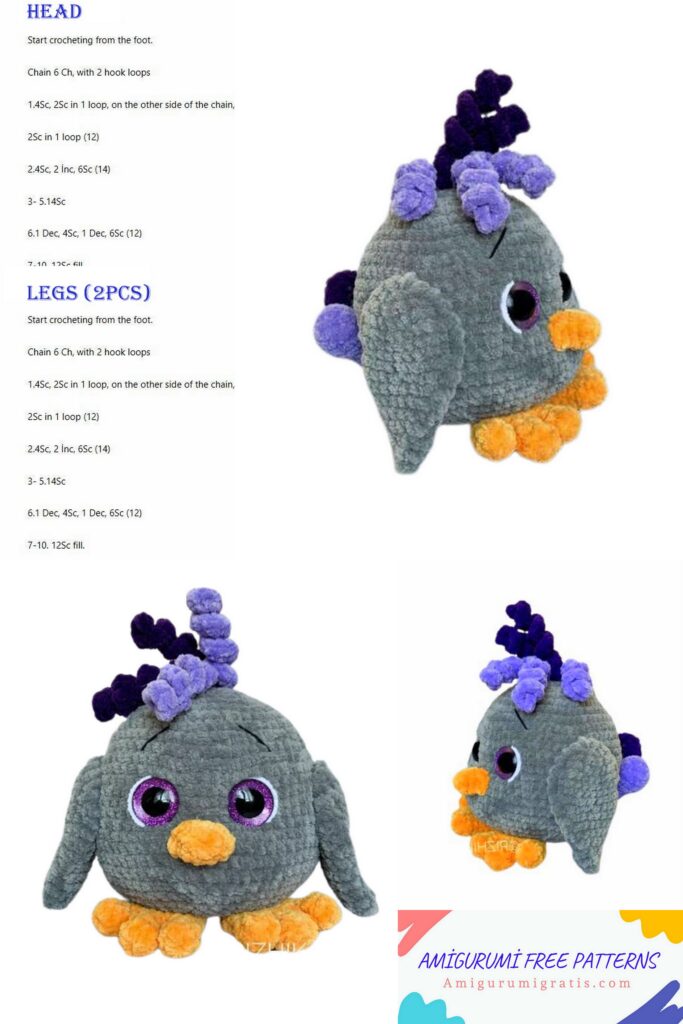
WINGS (2 PARTS)
We knit with the main color. We do not stuff the part.
1. 6 SC to MR (6)
2.6 İNC (12)
3. (1 SC, İNC)*6 (18)
4. (2 SC, İNC)*6 (24)
5-7. 24 SC (3 rows) (24)
8. (6 SC, DEC)*3 (21)
9. (5 SC, DEC)*3 (18)
10. (7 SC, DEC)*2 (16)
11. (6 SC, DEC)*2 (14)
12. (5 SC, DEC)*2 (12)
13. (4 SC, DEC)*2 (10)
14. (3 SC, DEC)*2 (8)
15. (2 SC, DEC)*2 (6)
16. (1 SC, DEC)*2 (4)
We tighten the hole, fasten the thread, cut it off, leave it the long end of the thread for sewing to the body.
BEAK
We knit with a thread of an additional color.
1. 6 SC to MR (6)
2. (1 SC, İNC)*3 (9)
3. (2 SC, İNC)*3 (12)
4. 12 SC (12)
We fasten the thread, cut it, leaving a long end of the thread for sewing.
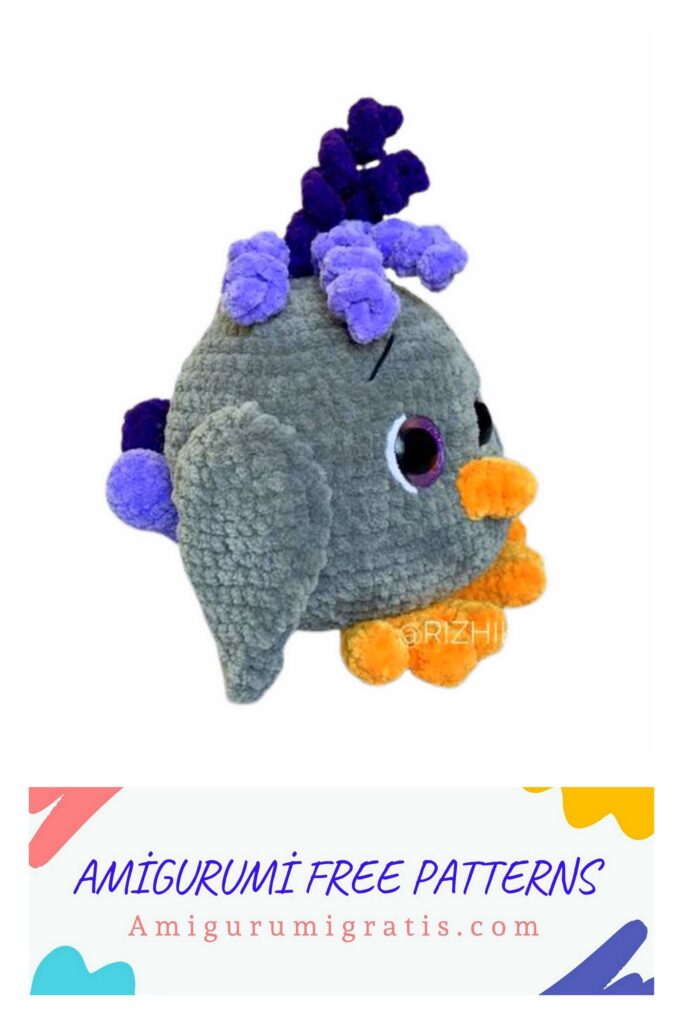
TAIL
We knit in an additional color. We stuff each feather a little.
MEDIUM FEATHER
1. 6 SC to MR (6)
2.6 İNC (12)
3. (3 SC, İNC)*3 (15)
4-5. 15 SC (2 rows) (15)
6. (3 SC, DEC)*3 (12)
7. (1 SC, DEC)*4 (8)
8-10. 8 SC (3 rows) (8)
We fasten the thread and cut it.
END FEATHER (2 PARTS)
1. 6 SC to MR (6)
2.6 İNC (12)
3-4. 12 SC (2 rows) (12)
5. (2 SC, DEC)*3 (9)
6. (1 SC, DEC)*3 (6)
7-8. 6 SC (2 rows) (6)
We fasten the thread on the first feather and cut it off. On the second, we do not cut the thread, we continue knitting.
We connect all the feathers into a tail: 3 SC on the first outermost one
feather, 4 SC for the middle feather, 6 SC for the second outer feather, 4 SC for the middle feather, 3 SC for the first outer feather (20)
Next we knit in the round: 4 SC, DEC, 8 SC, DEC, 4 SC (18)
Fold the piece in half and knit 9 SC on both walls. We fasten the thread, cut it, leaving a long end of the thread for sewing.
CURLS FOR A FORECAST
We knit with a thread of an additional color. You can knit each curl in a different color. We knit 5 identical curls.
We cast on a chain of 18 CH, from the second loop from the hook we knit an increase from SC in each loop.
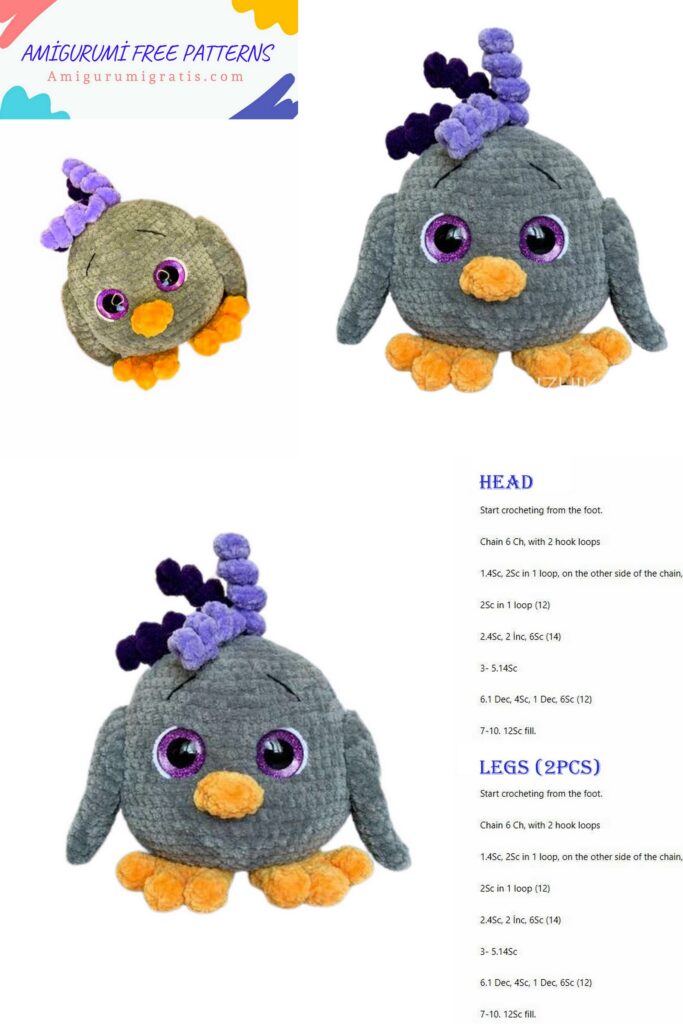
BODY-HEAD
We stuff the body tightly as we knit. We knit with the main color.
1. 6 SC to MR (6)
2.6 İNC (12)
3. (1 SC, İNC)*6 (18)
4. (2 SC, İNC)*6 (24)
5. (3 SC, İNC)*6 (30)
6. (4 SC, İNC)*6 (36)
7. (5 SC, İNC)*6 (42)
8. (6 SC, İNC)*6 (48)
9. (7 SC, İNC)*6 (54)
10. (8 SC, İNC)*6 (60)
11. (9 SC, İNC)*6 (66)
12-23. 66 SC (12 rows) (66)
We install the eyes between the 16th and 17th rows of the head, the distance between the legs of the eyes is 9 SC.
24. (9 SC, DEC)*6 (60)
25. (8 SC, DEC)*6 (54)
26. (7 SC, DEC)*6 (48)
27. (6 SC, DEC)*6 (42)
28. (5 SC, DEC)*6 (36)
29. (4 SC, DEC)*6 (30)
30. (3 SC, DEC)*6 (24)
Fill the part tightly.
31. (2 SC, DEC)*6 (18)
32. (1 SC, DEC)*6 (12)
33.6 DEC (6)
We tighten the hole, fasten the thread, cut it off and hide it inside.
ASSEMBLY AND DESIGN
We do tightening. To do this, take a long needle and strong thread. Insert the needle into
T1 below, output to
T2 near the inner lower corner of the eye, insert the needle into
T3 at the inner upper corner of the eye and bring it to
T4 (inner upper corner of the second eye). Insert the needle into
T5 (inner lower corner of the second eye) and display it in
T6 retreating one column from T1. At the same time we pull on both tails, slightly tightening the eyes. You don’t need to tighten it too much, we don’t need to form the cheeks and bridge of the nose, we’re just shaping the look so that the eyes move a little towards the middle and look straight at you. We make a strong knot. We cut the thread and hide the tails inside.
We embroider the eyebrows with black semi-cotton thread (I use Yarnart jeans). We embroider the whites of the eyes with white plush thread.
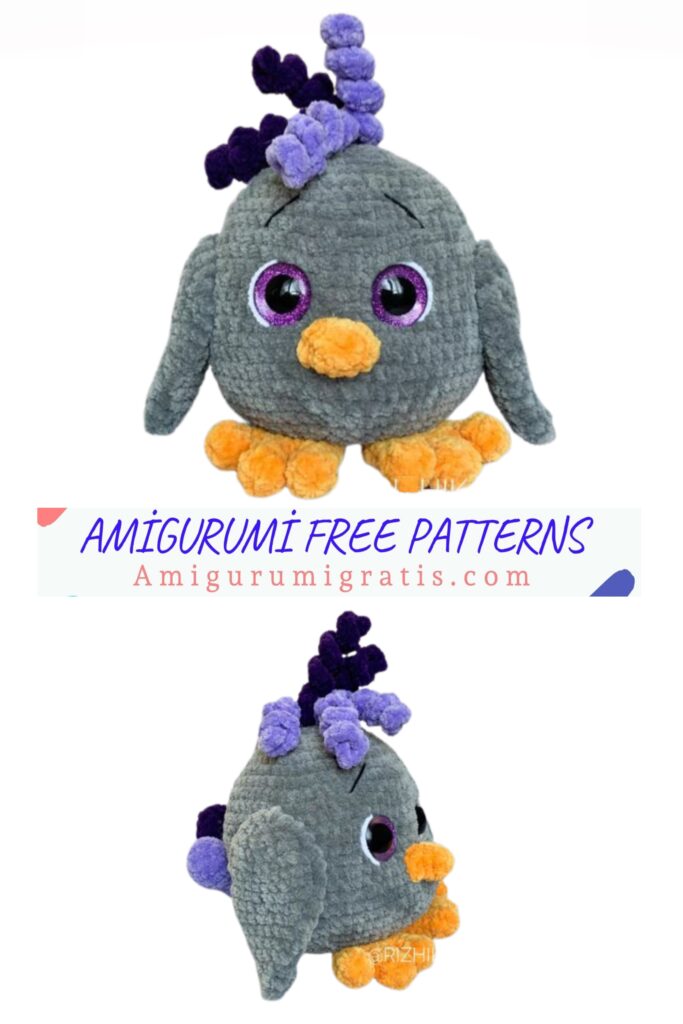
We pin the wings on the sides with pins. We sew the wings around the circumference, making sure that they are located symmetrically.
We sew the paws on the bottom of the body.
Sew the tail at the bottom center back. We sew on the last row in the same way as the paws, and attach each of the three feathers in the middle with a couple of stitches to the body.
Sew the beak in the middle between the eyes.
We make a forelock. Attach curls at the top to MR.
We thread a thread from each curl into a loop on the head, tie knots and hide the ends of the threads in the head.
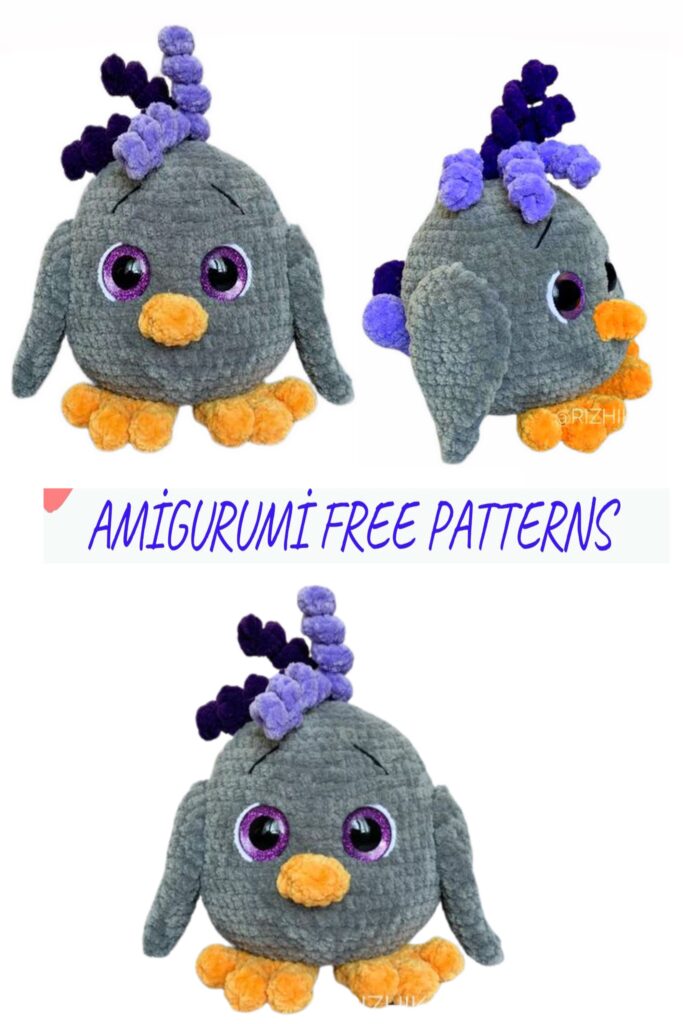
Our little siskin is ready! He turned out so cute!
Thanks for knitting with me!