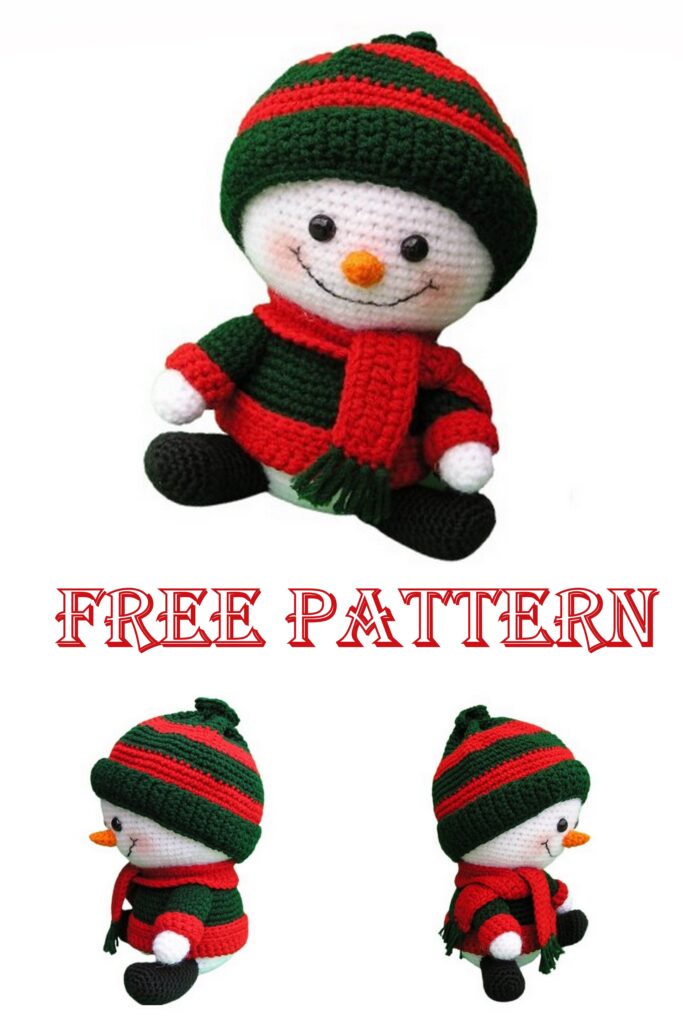
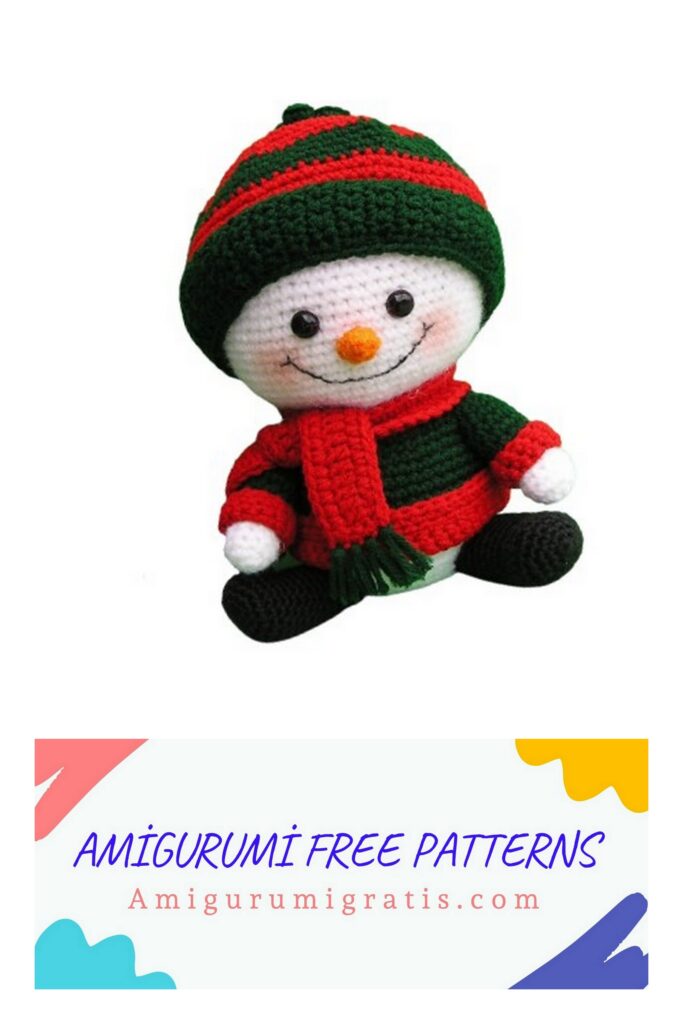
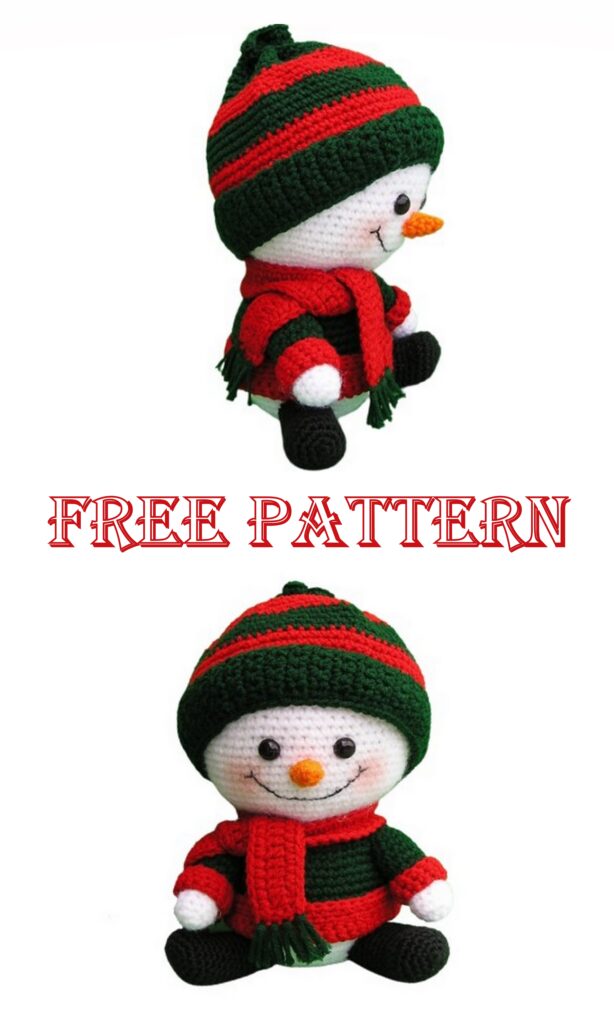
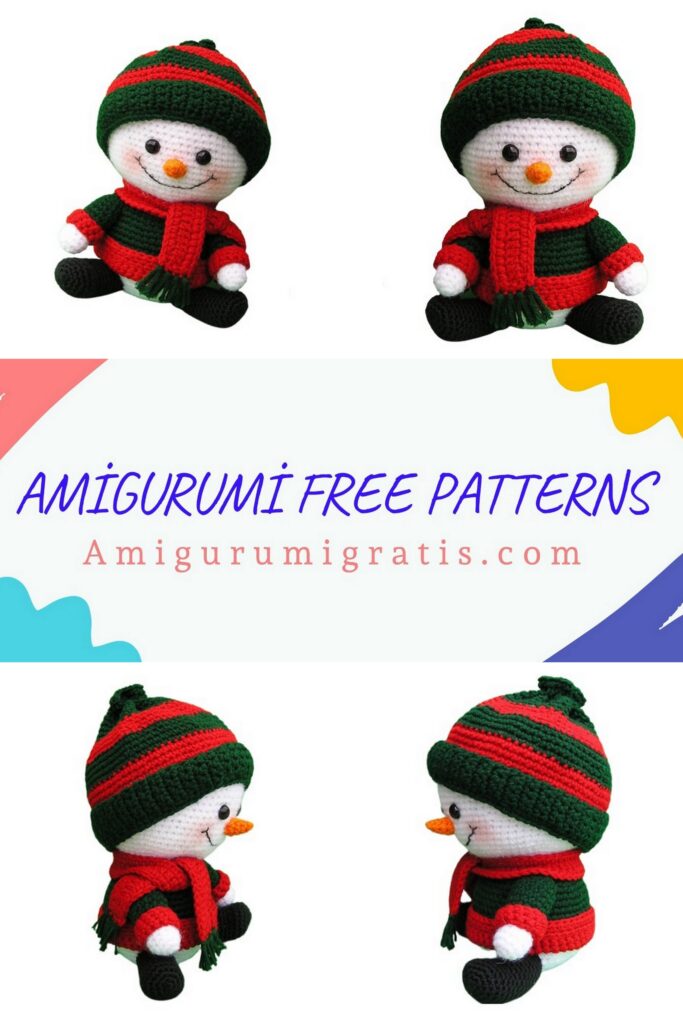
BILLY THE SNOW BOY
You can visit our website for the Amigurumi Snowman free pattern.
MATERIALS USED
Wool-Ease worsted weight yarn in White Frost
Worsted weight yarn in Forrest Green, Red and a little bit of Orange for nose and Black for the feet
Black embroidery floss for mouth
Pair of 18mm Black post eyes
Polyfill
Size G crochet hook
Yarn needle
Powder blush for cheeks
BODY
(starting with the bottom and working up to the large head)
With White yarn:
Rnd 1: Magic circle 8 stitches
Rnd 2: 2 sc in each sc – 16 sc
Rnd 3: *2 sc in next sc, sc in next 3 sc; rep from * around – 20 sc
Rnd 4: *2 sc in next sc, sc in next 4 sc; rep from * around – 24 sc
Rnd 5: *2 sc in next sc, sc in next 5 sc; rep from * around – 28 sc
Rnd 6: *2 sc in next sc, sc in next 3 sc; rep from * around – 35 sc
Rnd 7: *2 sc in next sc, sc in next 4 sc; rep from * around – 42 sc
Rnd 8: sc in each sc
Rnd 9: *2 sc in next sc, sc in next 5 sc; rep from * around – 49 sc
Rnds 10 – 16: sc in each sc
Rnd 17: *sc 2 tog, sc in next 5 sc; rep from * around – 42 sc
Rnd 18: sc in each sc
Rnd 19: *sc 2 tog, sc in next 4 sc; rep from * around – 35 sc
Rnd 20: sc in each sc
Rnd 21: *sc 2 tog, sc in next 3 sc; rep from * around – 28 sc
At this point you will be starting the head.
Rnd 22: *2 sc in next sc, sc in next 3 sc; rep from * around – 35 sc
Rnd 23: *2 sc in next sc, sc in next 4 sc; rep from * around – 42 sc
Rnd 24: *2 sc in next sc, sc in next 5 sc; rep from * around – 49 sc
Rnd 25: *2 sc in next sc, sc in next 6 sc; rep from * around – 56 sc
Rnd 26: sc in each sc
Rnd 27: *2 sc in next sc, sc in next 7 sc; rep from * around – 63 sc
Rnds 28 – 31: sc in each sc
Rnd 32: *2 sc in next sc, sc in next 8 sc; rep from * around – 70 sc
Rnds 33 – 36: sc in each sc
Rnd 37: *2 sc in next sc, sc in next 9 sc; rep from * around – 77 sc
Rnds 38 – 40: sc in each sc
Rnd 41: *sc 2 tog, sc in next 9 sc; rep from * around – 70 sc
Rnd 42: *sc 2 tog, sc in next 8 sc; rep from * around – 63 sc
Rnd 43: *sc 2 tog, sc in next 7 sc; rep from * around – 56 sc
Rnd 44: *sc 2 tog, sc in next 6 sc; rep from * around – 49 sc
Rnd 45: *sc 2 tog, sc in next 5 sc; rep from * around – 42 sc
Rnd 46: *sc 2 tog, sc in next 4 sc; rep from * around – 35 sc
Start to stuff snowman.
Rnd 47: *sc 2 tog, sc in next 3 sc; rep from * around – 28 sc
Rnd 48: *sc 2 tog, sc in next 2 sc; rep from * around – 21 sc
Finish stuffing.
Rnd 49: *sc 2 tog, sc in next sc; rep from * around – 8 sc
Rnd 50: sc 2 tog, until closed. End off.
JACKET
With Green yarn:
Chain 35, join
Rnd 1: sc in each ch – 35 sc
Rnd 2: *2 sc in next sc, sc in next 4 sc; rep from * around – 42 sc
Rnd 3: sc in each sc
Rnd 4: *2 sc in next sc, sc in next 5 sc; rep from * around – 49 sc
Rnds 5 – 11: sc in each sc
Changing to Red yarn:
Rnds 12 – 14: sc in each sc
Rnd 15: dc in each sc – 49 sc
Rnd 16: dc in each dc – 49 sc, end off.
Squeeze body (smaller part) into top of jacket. Pull jacket up to neck.
Turn up red cuff.
ARMS
With Green yarn:
Rnd 1: Magic Circle 7
Rnd 2: 2 sc in each sc – 14 sc
Rnds 3 – 7: sc in each sc
Change to Red yarn
Rnds 8 – 12: sc in each sc, end off. Turn Red cuffs up.
HANDS
With White yarn:
Rnd 1: Magic Circle 6
Rnd 2: 2 sc in each sc – 12 sc
Rnds 3 – 6: sc in each sc, end off.
Place a little stuffing in arms mostly towards the middle because the top part of the arm will be flattened and sewn onto the body and the cuff part of the arm will have the hand inserted.
Stuff the hands and insert them into ends of arms as shown. Tack them in place.
Sew the arms to the body, with the top of the arm just at the top of the jacket and have the arms slightly pointed forward. See photo on next pg.
FACE:
Glue eyes into the head at a point halfway down the head and edges of the eyes exactly 1 ¼” apart.
Using Embroidery floss and a back stitch, stitch mouth on face, the corners of the mouth being about ¾” below and to the left of the eyes. Stitch a little “V” at each corner.
Put a little blush on the corners of the mouth area as shown in my photo on next page.
NOSE
With Orange yarn:
Rnd 1: Magic Circle 4
Rnd 2: *2 sc in next sc, sc in next sc; rep from * – 6 sc
Rnd 3: *2 sc in next sc, sc in next 2 sc; rep from * – 8 sc
Rnd 4: sc in each sc, end off.
Stuff nose with some of the orange yarn (so you won’t see any of the white stuffing through the stitches) and sew nose onto face as shown.
SCARF
With Red yarn:
Ch 70, dc in each ch
Continuing around bottom of ch and around whole piece:
Sc in each ch and 2 sc in each corner at ends, continuing in the dc’s and go around one more time, so you will have a row of dc and 2 rows of sc around it. End off.
FRINGE
Cut 16 pieces of Green yarn
Using crochet hook, hold 2 pieces together and pushing the crochet hook into each of the 4 stitches at each end of the scarf pull up the 2 green pieces into a loop, yarn over the ends of the pieces and pull through to make one fringe. Do the same for the remaining 3 stitches at the end of the scarf and do the same for the other end. Trim the fringe to about 1”.
Tie the scarf around his neck as shown.
HAT
Starting with Green yarn:
Chain 77, join.
Rnd 1: sc in each ch around – 77 sc
Rnds 2 – 4: sc in each sc
Change to Red
Rnds 5 – 8: sc in each sc
Change to Green
Rnds 9 – 12: sc in each sc
Change to Red
Rnds 13: sc in each sc
Rnd 14: *sc 2 tog, sc in next 9 sc; rep from * around – 70 sc
Rnds 15 – 16: sc in each sc
Change to Green
Rnd 17: sc in each sc
Rnd 18: *sc 2 tog, sc in next 8 sc; rep from * around – 63 sc
Rnd 19: *sc 2 tog, sc in next 7 sc; rep from * around – 56 sc
Rnd 20: *sc 2 tog, sc in next 6 sc; rep from * around – 49 sc
Rnd 21: *sc 2 tog, sc in next 5 sc; rep from * around – 42 sc
Rnds 22 – 24: sc in each sc, end off.
Using green yarn threaded on yarn needle, put a running stitch around rnd
22 and pull to gather top of hat. Stitch to lock gather in place.
HAT CUFF
With Green yarn:
Chain 6
Sc in each ch, ch 1, turn
*Sc in each sc, ch 1, turn
Repeat from * for enough rows to go all the way around the bottom of the hat. Sew short ends together.
Place the cuff on the hat as shown in finished hat photo (already turned up)
With Green yarn, attach cuff to bottom of hat by doing a sc stitch through both the first row of the hat and the long side of the cuff.
See photo of finished hat on next page.
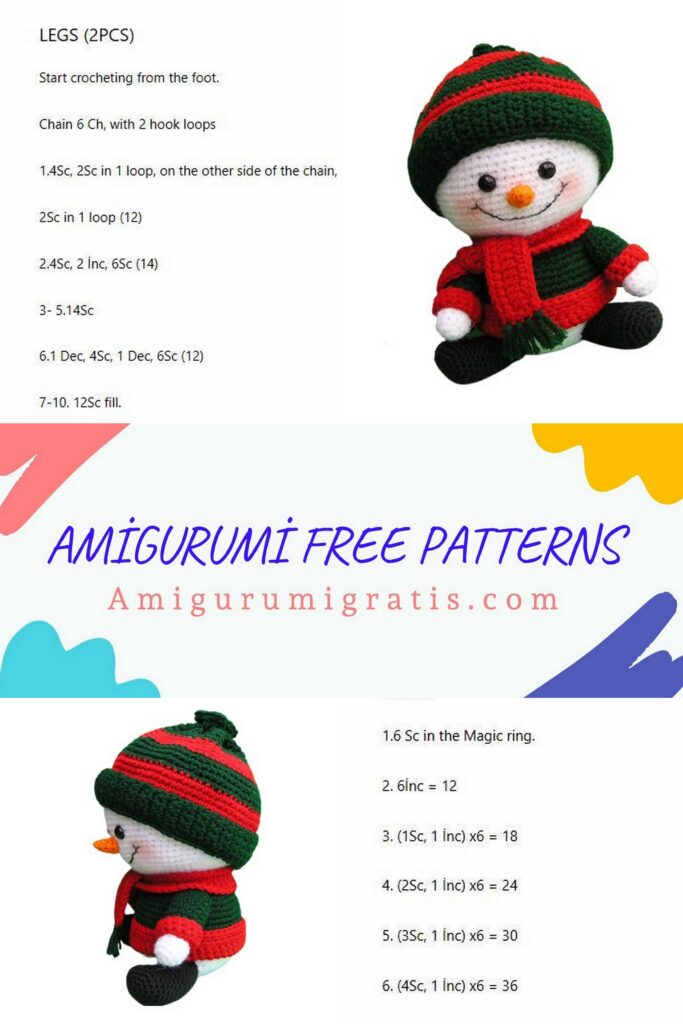
FEET/LEGS
With Black yarn:
Rnd 1: Magic Circle 6
Rnd 2: 2 sc in each sc – 12 sc
Rnd 3: *2 sc in next sc, sc in next sc; rep from * around – 18 sc
Rnd 4: *2 sc in next sc, sc in next 2 sc; rep from * around – 24 scRnds 5 – 6: sc in each sc
Rnd 7: sc in next 7 sc, *sc 2 tog; rep from * 4 x, sc in next 7 sc – 19 sc
Rnd 8: sc in next 8 sc, sc 2 tog, sc in remaining sc – 18 sc
Rnds 9 – 15: sc in each sc, end off, leaving tail.
Stuff feet and sew to bottom of snowman as shown in my photos:
You are all finished. I hope you had fun.