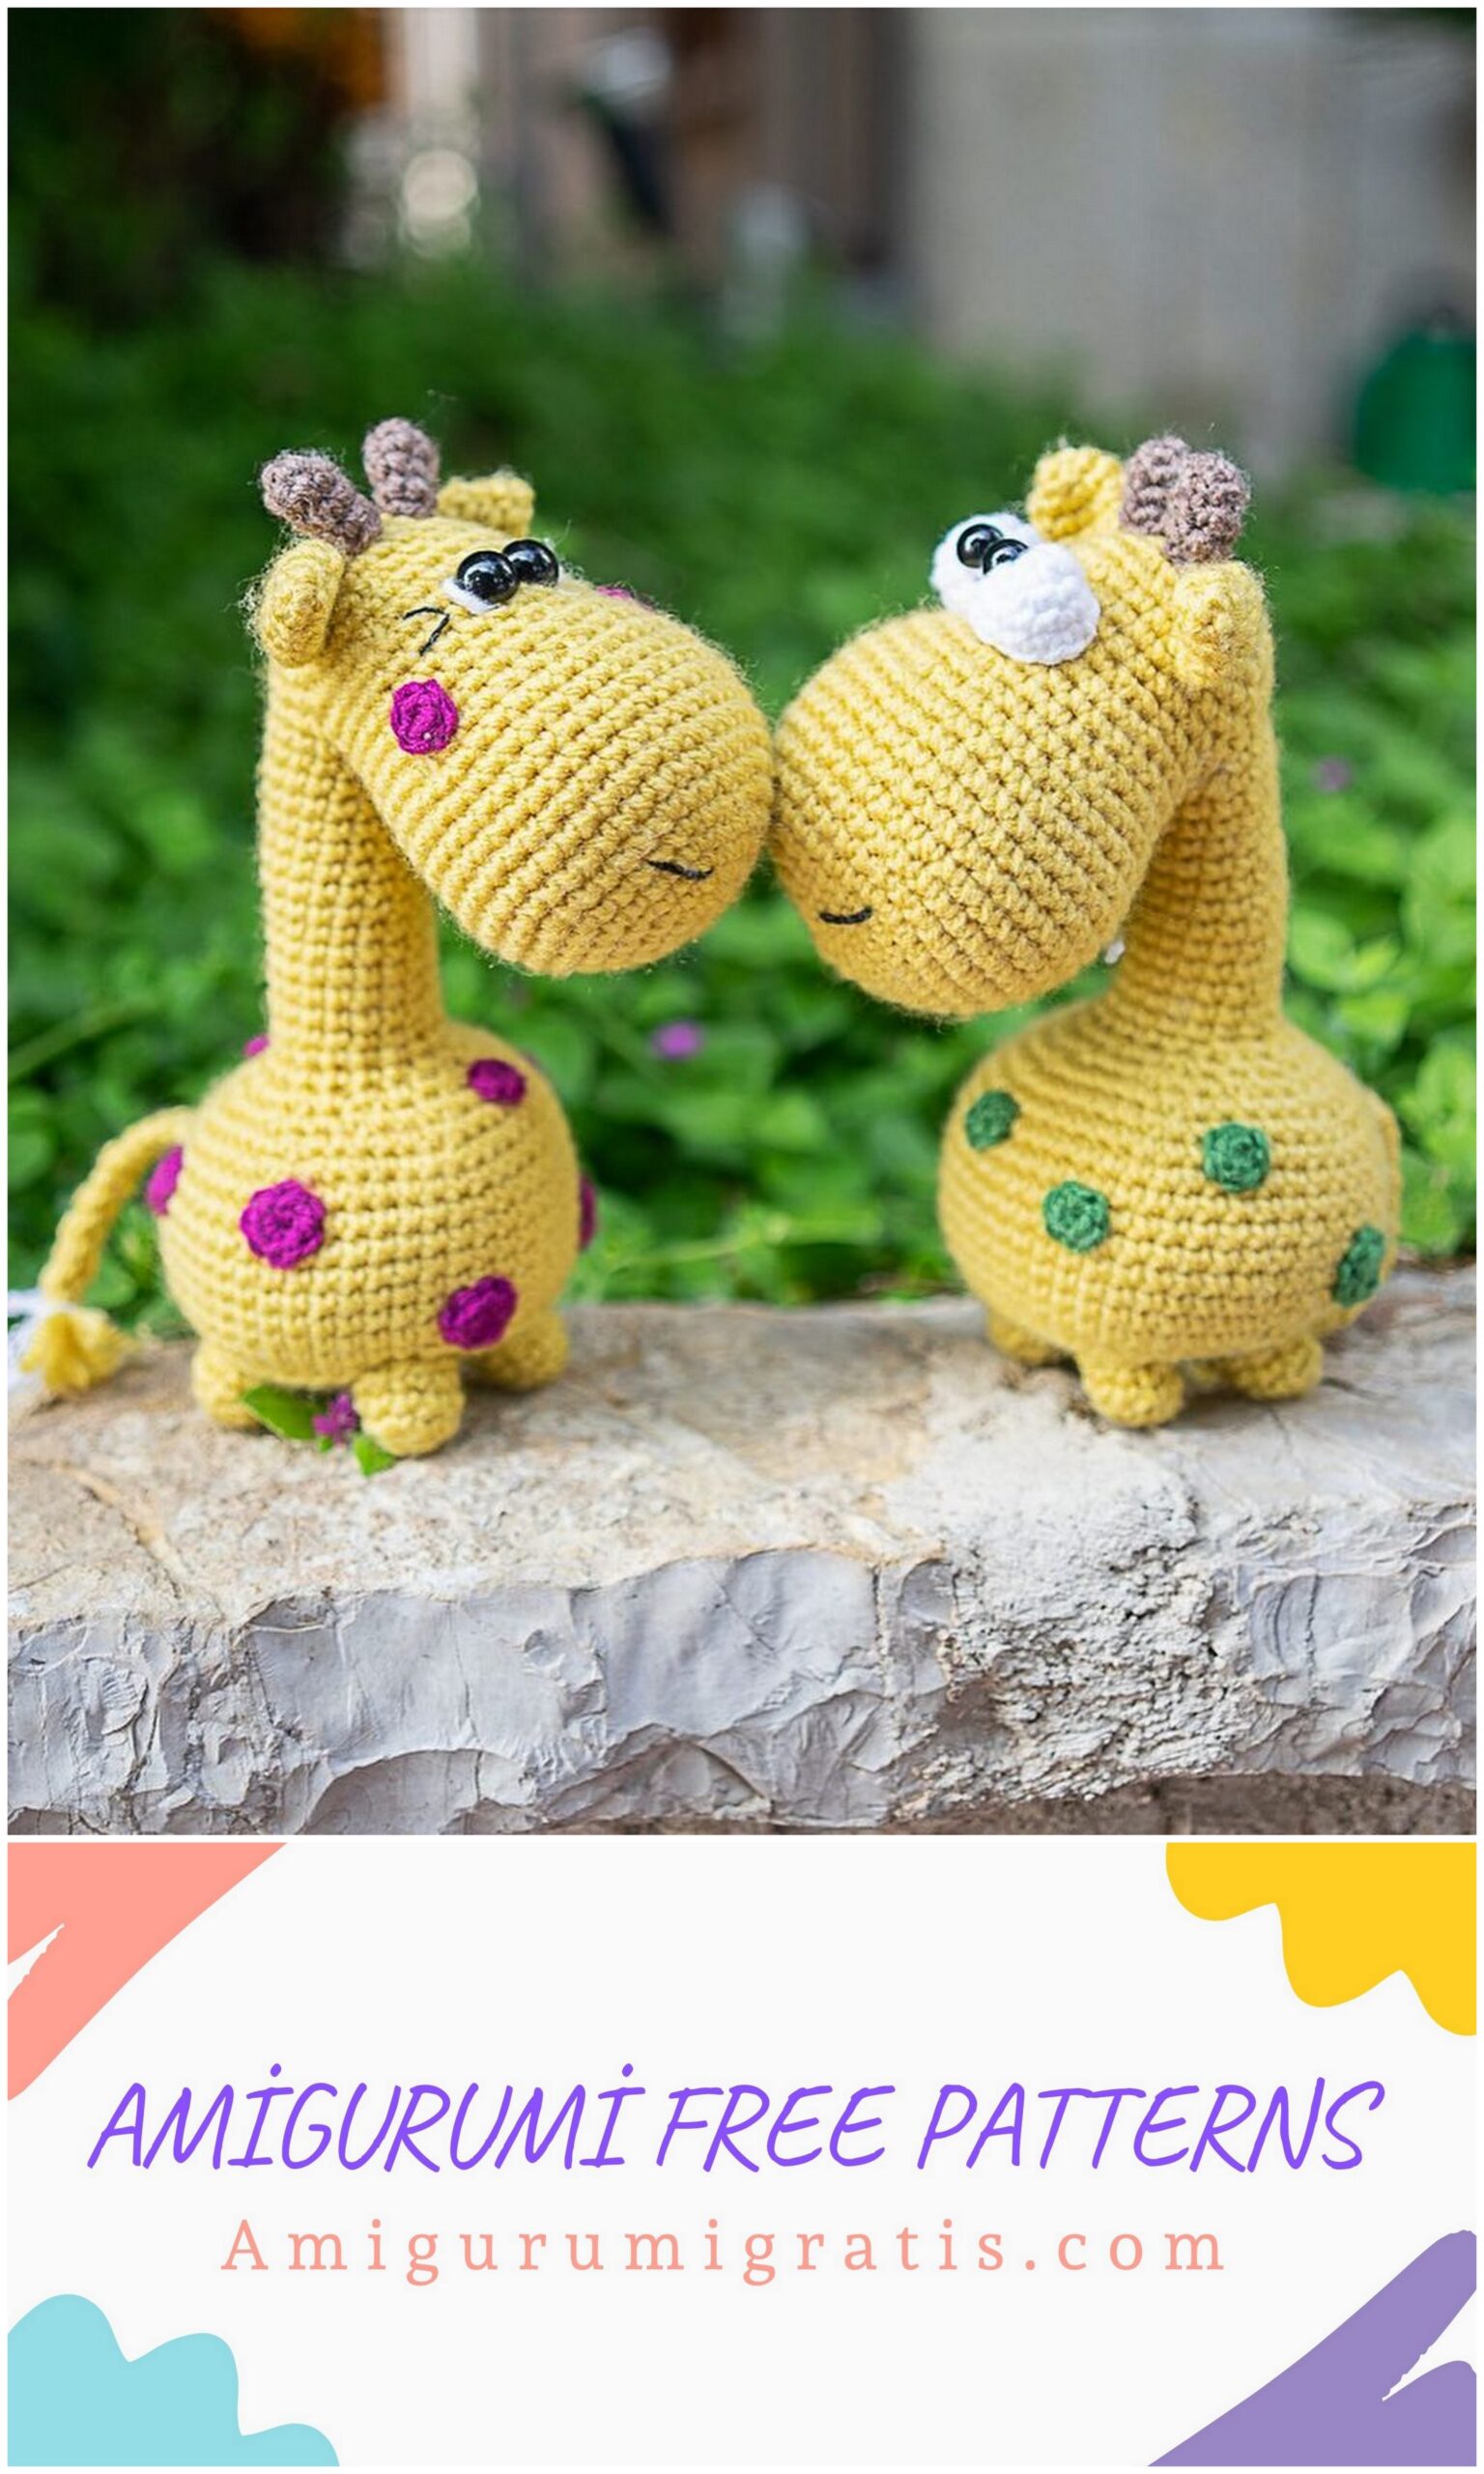
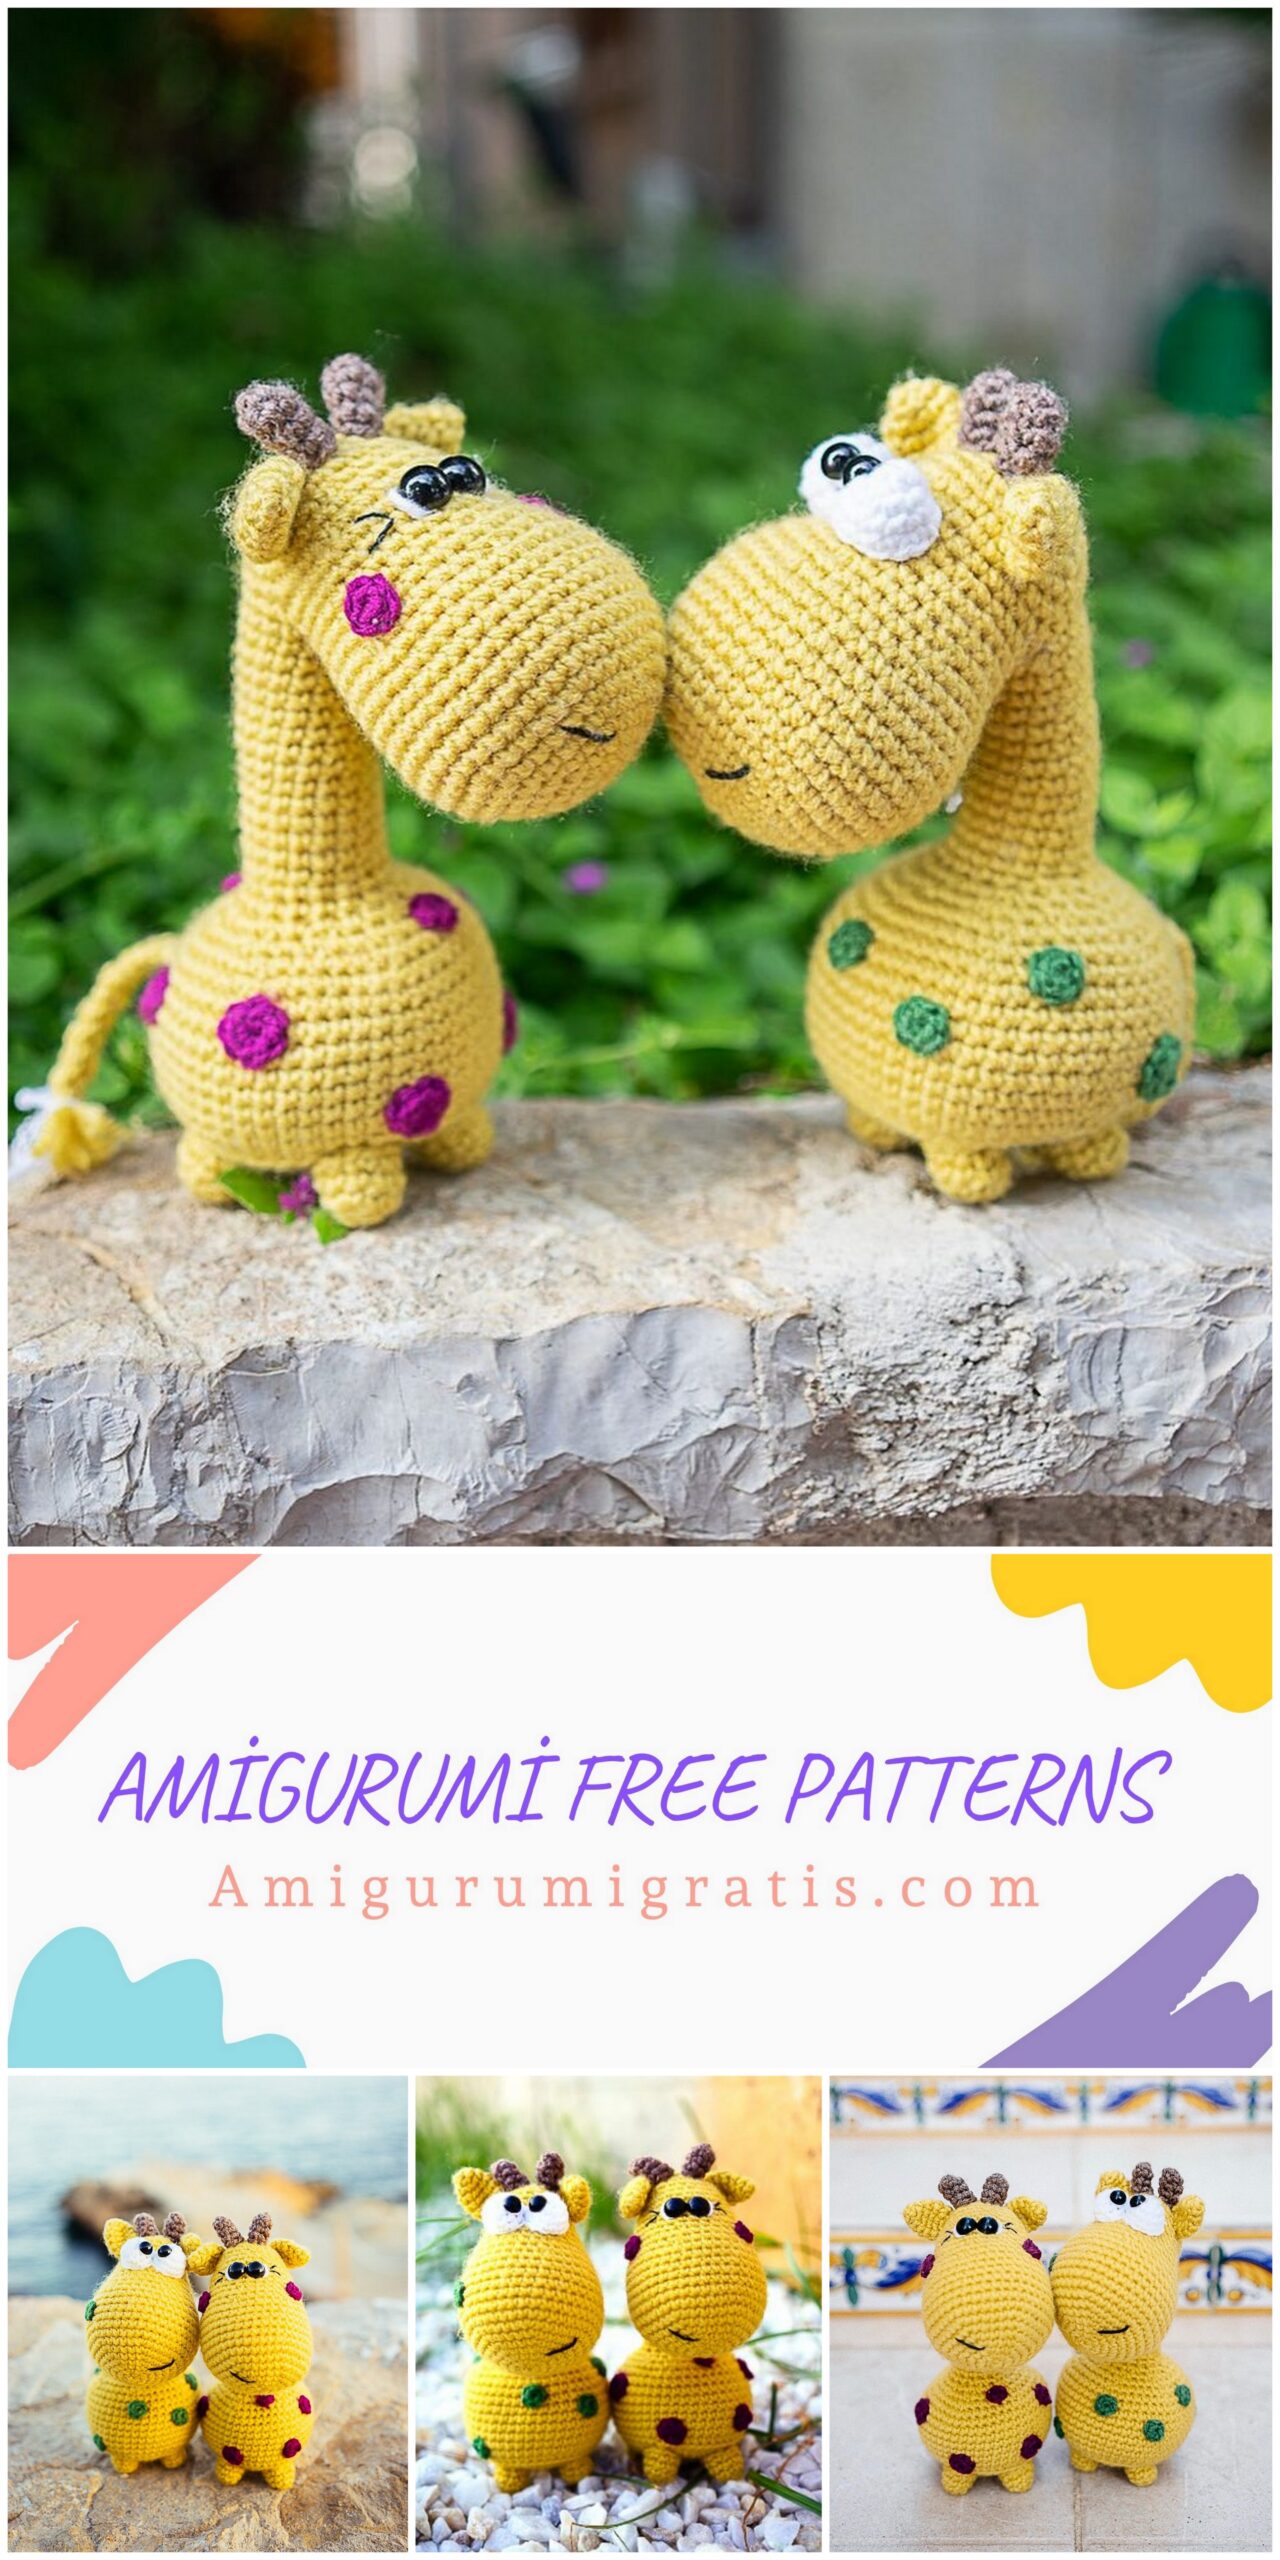
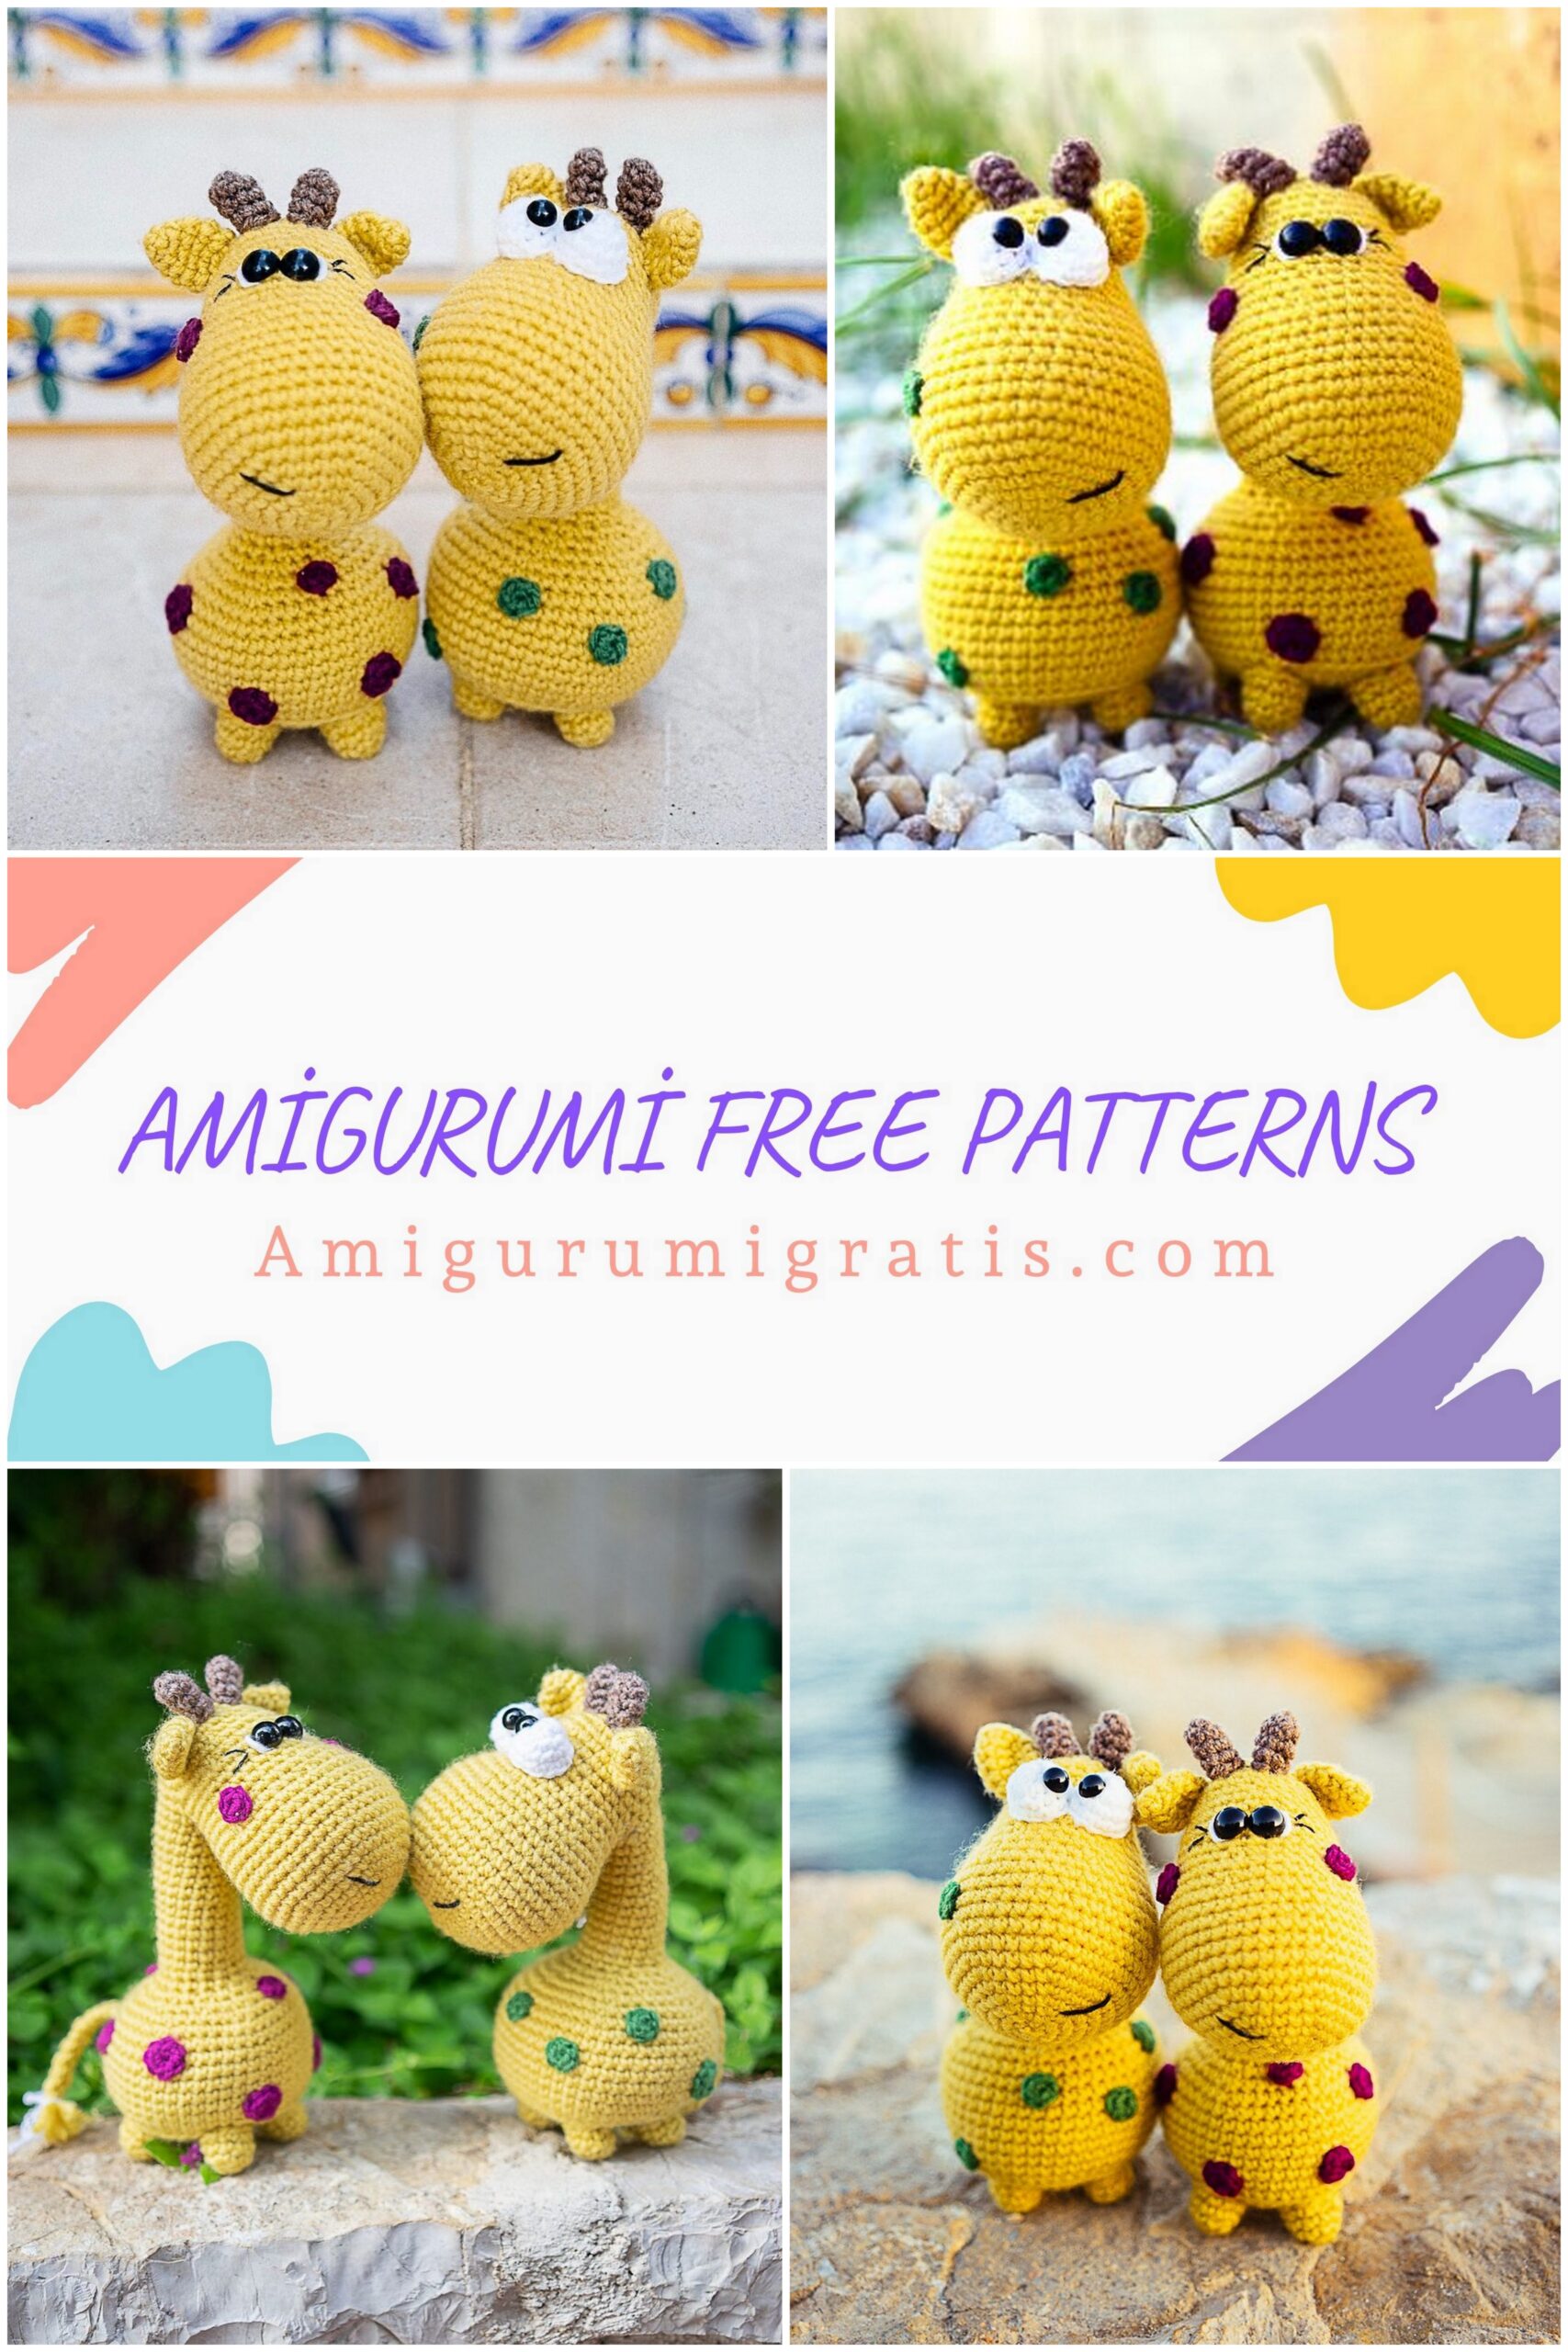
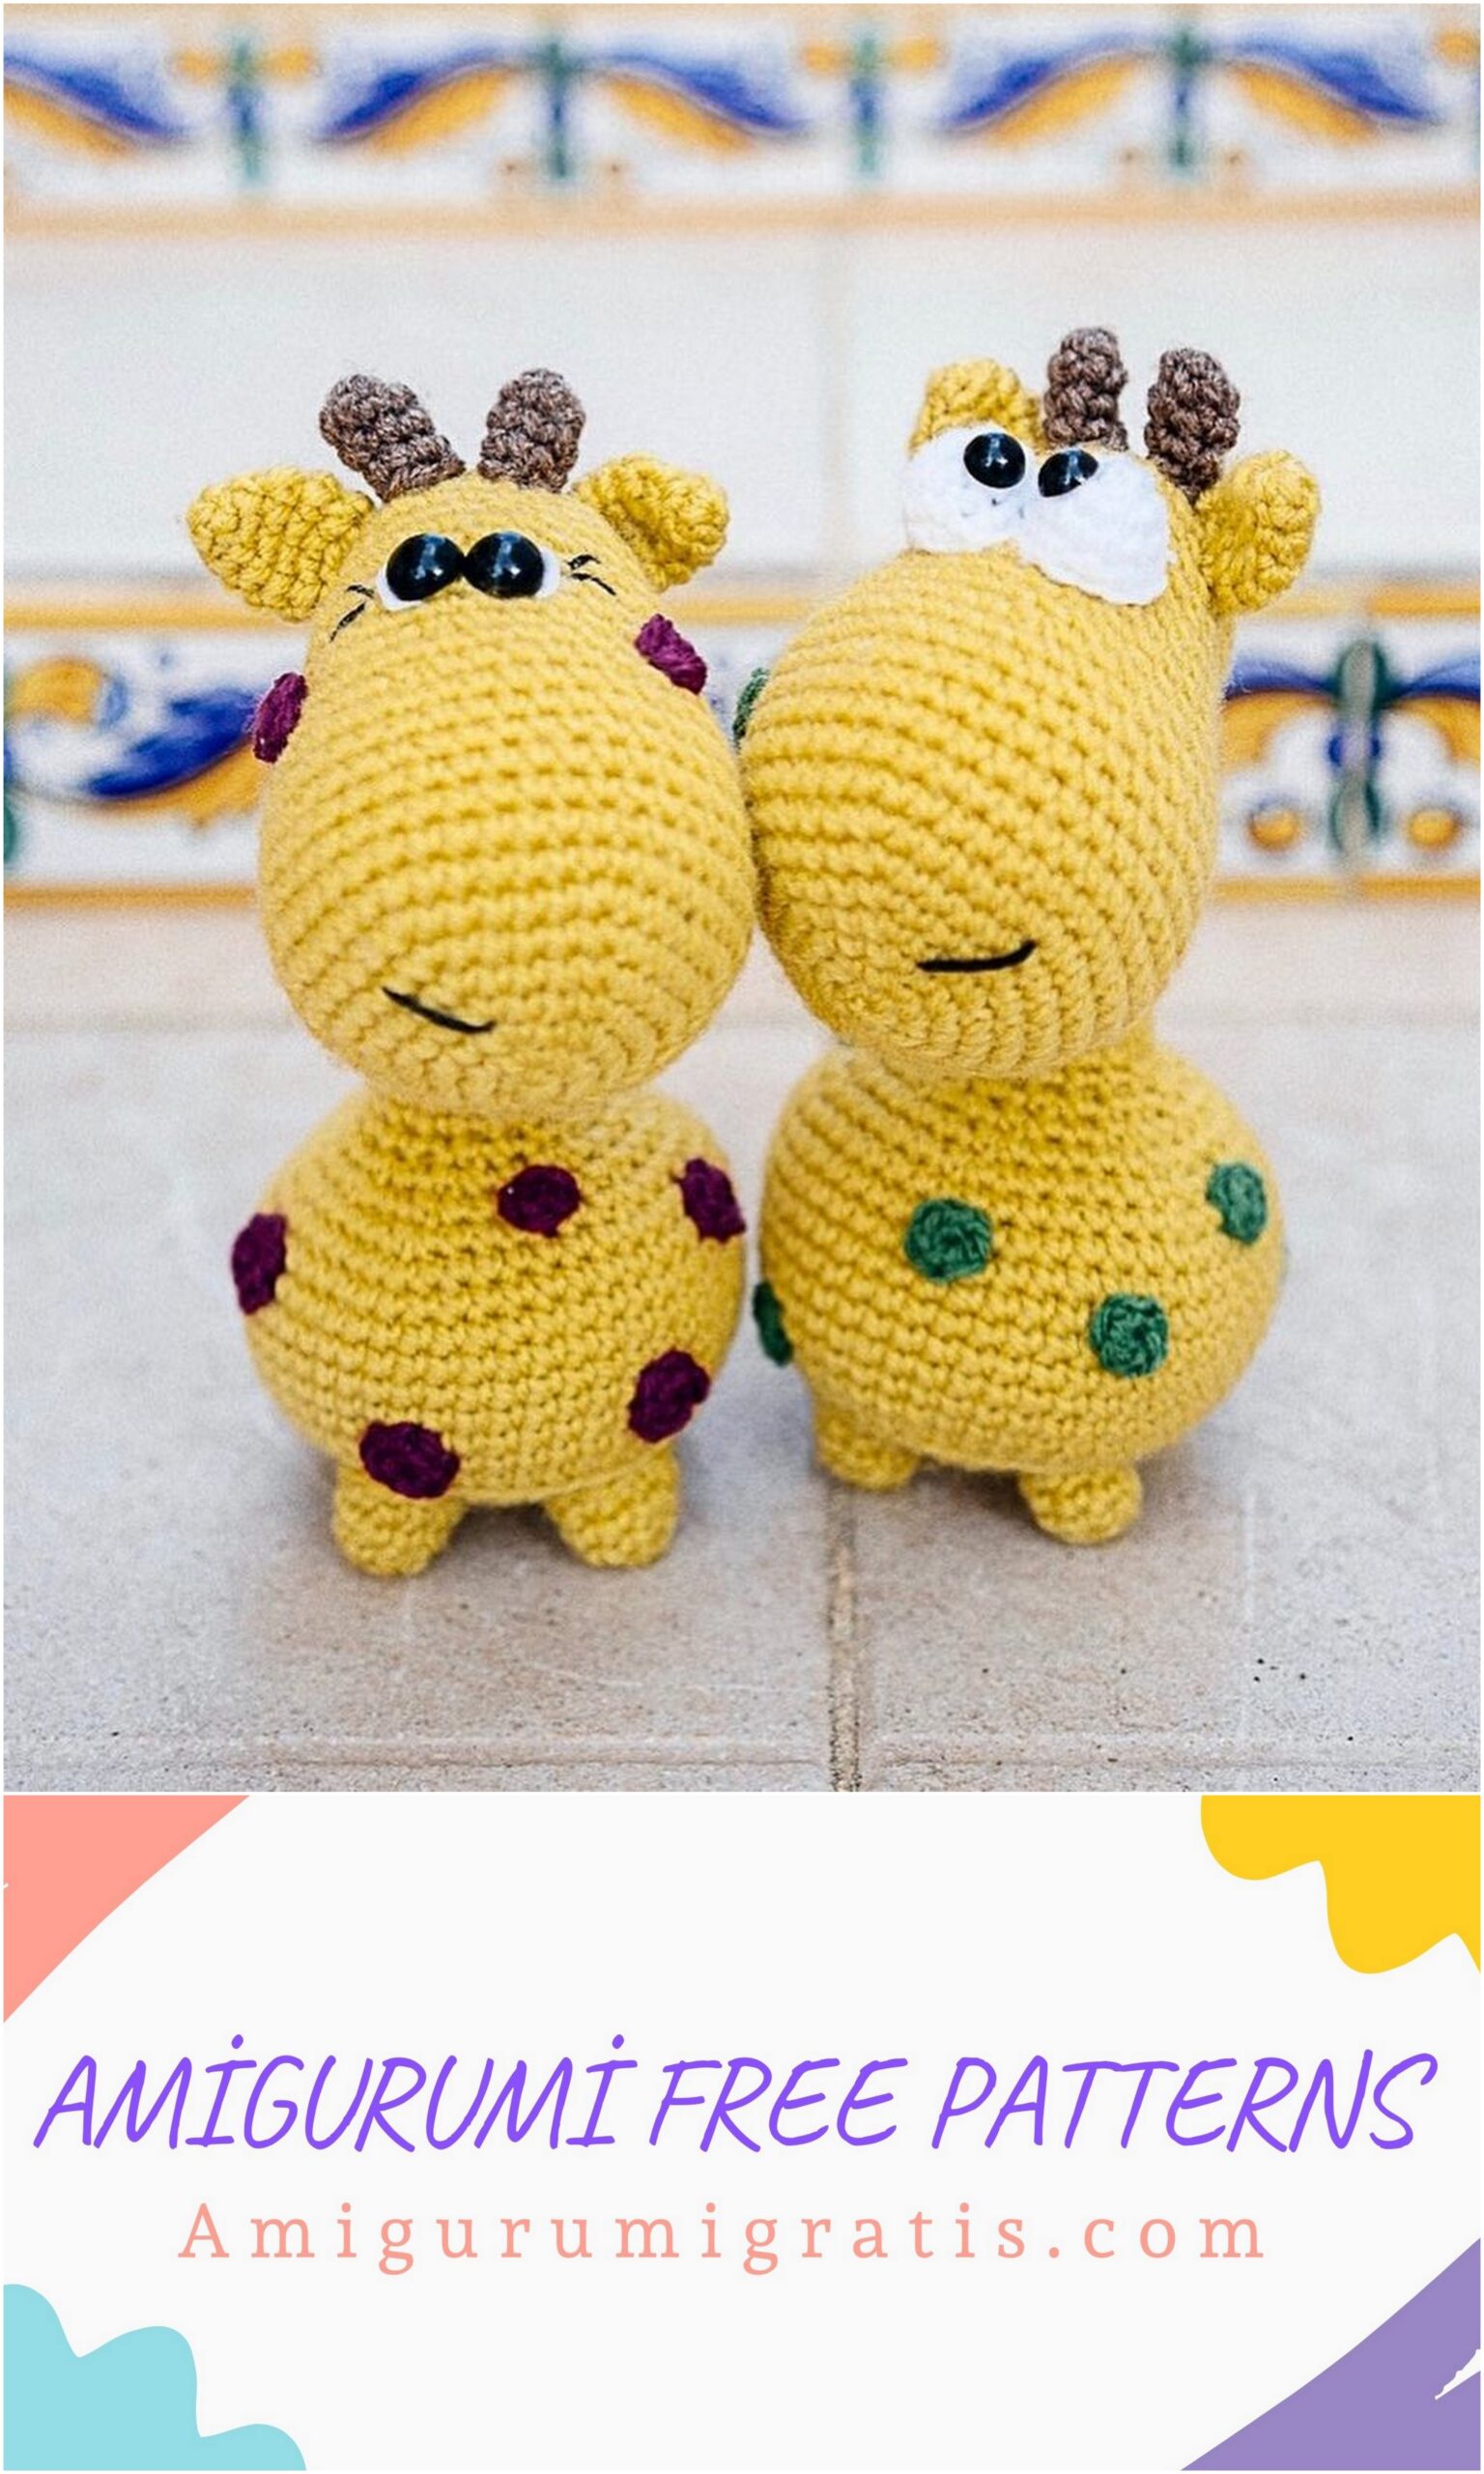
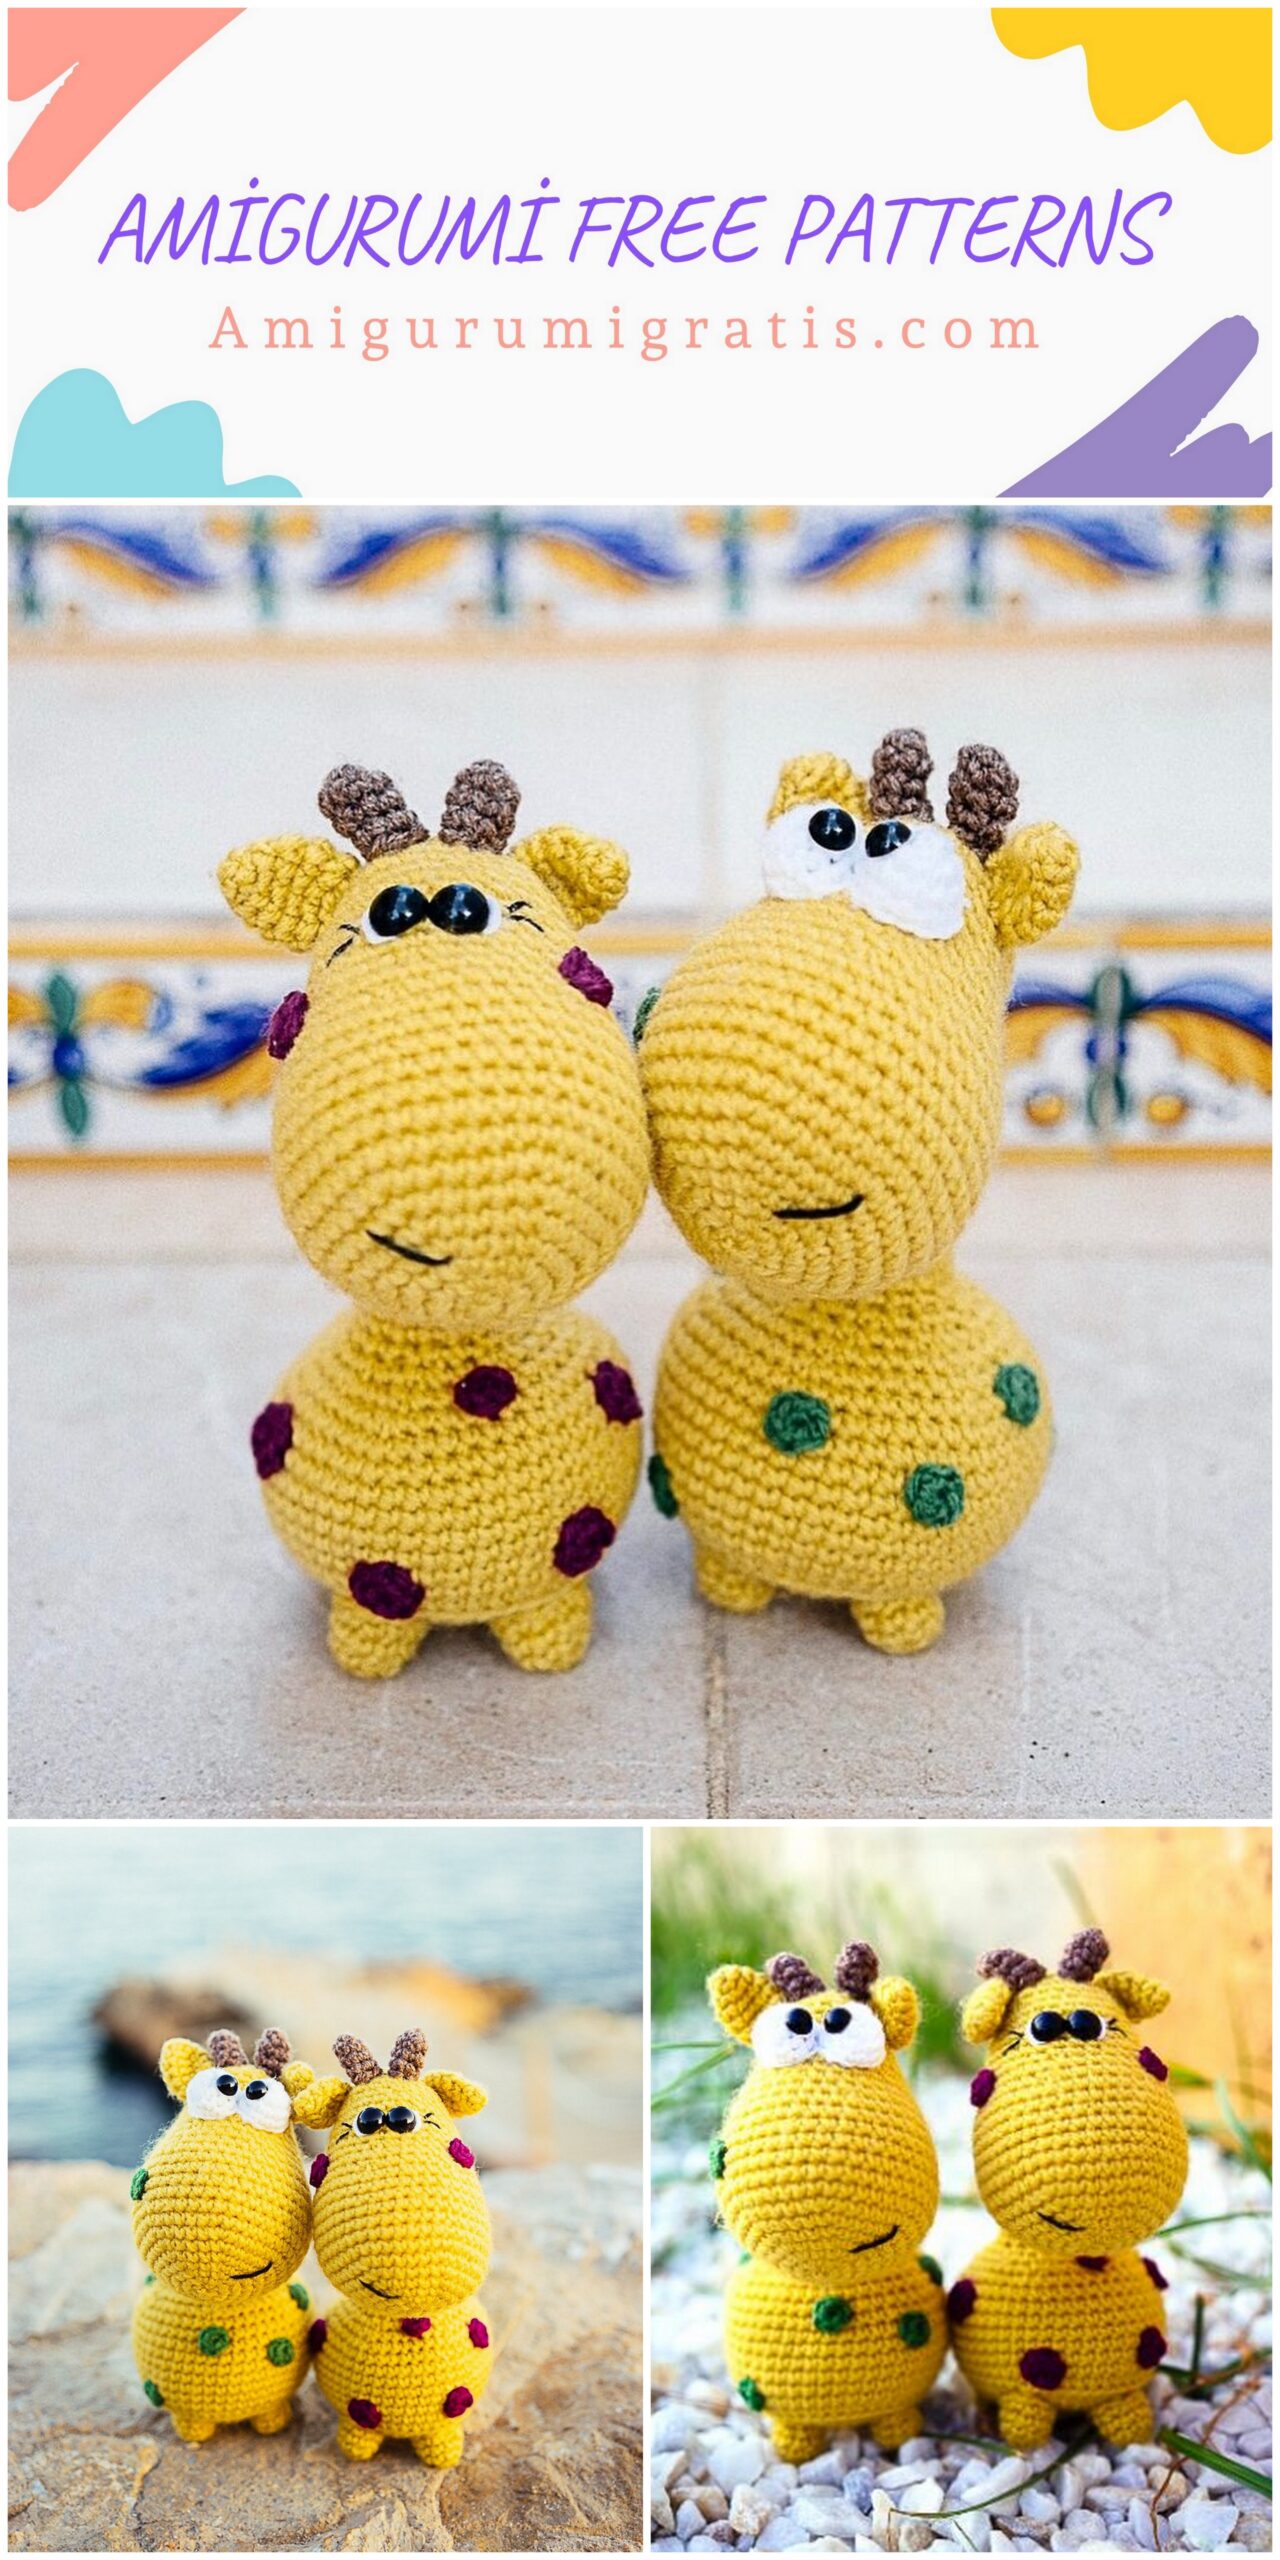
Giraffes in Love Pattern
Materials:
– Schachenmayr Bravo yarn (50 gram, 133 meter, 100% acryl, 3 colors: yellow, brown, white and any bright colors for the dots)
– 3,5 mm hook
– 9 mm safety eyes
– polyester fiberfill for stuffing
– tapestry needle and embroidery thread
– stitch markers
Notes:
– Work in continuous rounds, do not join or turn unless noted
– Start with an adjustable ring (“Magic Ring”)
– Use stitch markers to indicate the beginning of each row
– You can use any yarn of the same thickness
– It’s important you select the right hook; try to use another hook size if there are holes between stitches
Skill level: Intermediate
Abbreviations:
Ch: chain
Sc: single crochet
Inc: increase
Dec: decrease
Sl st: slip stitch
BLO: back loops only
FLO: front loops only

Body:
We start from the bottom, using the yellow yarn.
Round 1: Sc 6 in magic ring {6}
Round 2: Inc x 6 {12}
Round 3: [Inc, sc 1] x 6 {18}
Round 4: [Inc, sc 1] x 9 {27}
Round 5: [Inc, sc 2] x 9 {36}
Round 6: [Inc, sc 5] x 6 {42}
Round 7: [Inc, sc 6] x 6 {48}
Round 8: Sc around BLO {48}
To crochet in the back loop of a stitch, insert your crochet hook underneath the back loop only and make the stitch.
Rounds 9-17: Sc around {48}
Working back loops only will make the shape more horizontal.
Round 18: [Dec, sc 6] x 6 {42}
Round 19: [Dec, sc 5] x 6 {36}
Round 20: [Dec, sc 2] x 9 {27}
Round 21: [Dec, sc 1] x 6 {18}
Stuff firmly. Now we will start working on the neck.
Round 22: Sc around FLO {18}
To crochet in the front loop of a stitch, insert your crochet hook underneath the front loop only and make the stitch.
When working in the front loops the crochet fabric becomes more elastic than the traditional way of working under both loops.
Now we will continue crocheting the neck.
Rounds 23-37: Sc around {18}
Head:
With yellow yarn.
Round 1: Sc 6 in magic ring {6}
Round 2: Inc x 6 {12}
Round 3: [Inc, sc 1] x 6 {18}
Round 4: [Inc, sc 2] x 6 {24}
Round 5: [Inc, sc 3] x 6 {30}
Round 6: [Inc, sc 4] x 6 {36}
Round 7: [Inc, sc 5] x 6 {42}
Rounds 8-14: Sc around {42}
Round 15: [Dec, sc 5] x 6 {36}
Round 16: Sc around {36}
Round 17: [Dec, sc 4] x 6 {30}
Round 18: Sc around {30}
Do not fasten off, we will use this yarn to continue. Now we will connect the head and neck, as it is shown at the picture.We will single crochet 6 stitches through both layers.
The last stitch will become the first stitch of the new round. You can place a stitch marker here to indicate the beginning of the new row.
We will now continue working on the head and neck together, connecting them in one row.
Round 1: 24 sc around the head and 12 sc around the neck {36}
Round 2: Sc around {36}
Round 3: [Dec, sc 4] x 6 {30}
You can attach safety eyes between these rounds. As for the bulging eyes, we will crochet and sew them on later, when the body is finished.
Round 4: Sc around {30}
Round 5: [Dec, sc 3] x 6 {24}
Round 6: Sc around {24}
Round 7: [Dec, sc 2] x 6 {18}
Round 8: [Dec, sc 1] x 6 {12}
Round 9: Dec around {6}
Fasten off
Here’s how the end result should look like:
Legs (make 4):
Round 1: Sc 6 in magic ring {6}
Round 2: [Inc, sc 1] x 3 {9}
Round 3: Sc around {9}
Round 4: [Inc, sc 2] x 3 {12}
Stuff firmly. Fasten off, leaving a long tail for sewing.
Ears (make 2):
Round 1: Sc 5 in magic ring {5}
Round 2: Sc in all 5 st {5}
Round 3: Inc x 5 {10}
Rounds 4-6: Sc in all 10 st {10}
Fold in half and crochet through both layers. Ears do not need to be stuffed. Flatten and pinch the ears. Fasten off, leaving a long tail for sewing.
Horns (make 2):
With brown color.
Round 1: Sc 6 in magic ring {6}
Rounds 2-4: Sc in all 6 st {6}
Stuff firmly. Fasten off, leaving a long tail for sewing.
Bulging eyes (make 2):
With white color.
Round 1: Sc 6 in magic ring {6}
Round 2: Inc x 6 {12}
Round 3-4: Sc around {12}
Insert safety eyes and lock them with a washer.
Assembling:
1. Stuff the eyes a little bit and sew them on the body:
Here’s another way to decorate the eyes, using a bit of the white embroidery floss or a lightweight yarn:
You can also use 2 white colored felt circles instead.
2. Use the embroidery thread to sew on a mouth and eyelashes for a cute facial expression:)
3. Sew ears and horns to the head.
4. Before stitching the legs to your soft toy, check that they are stuffed equally and are the same size and shape. Pin them into position on the body before you sew them in place. Try to get equal distances between the pieces. After you make sure your plushie is stable, sew the legs to the body with matching yarn.
5. Make some colorful dots with just 6 sc in MR and sew them on randomly.
Tail:
Cut a few pieces of yarn, around 10 cm long each. Place them at the back of the toy.
Divide your yarn bundle into 3 even sections.
Cross the left and right sections over the middle section to braid it. Stop when the braid is the same height as your soft toy, then tie the braid with another piece of yarn. Trim the rest of the yarn.
You are now finished! Thank you so much for supporting my work.