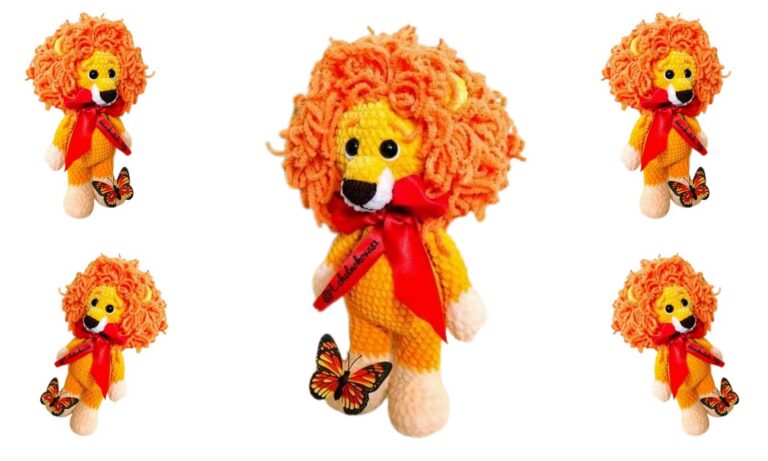
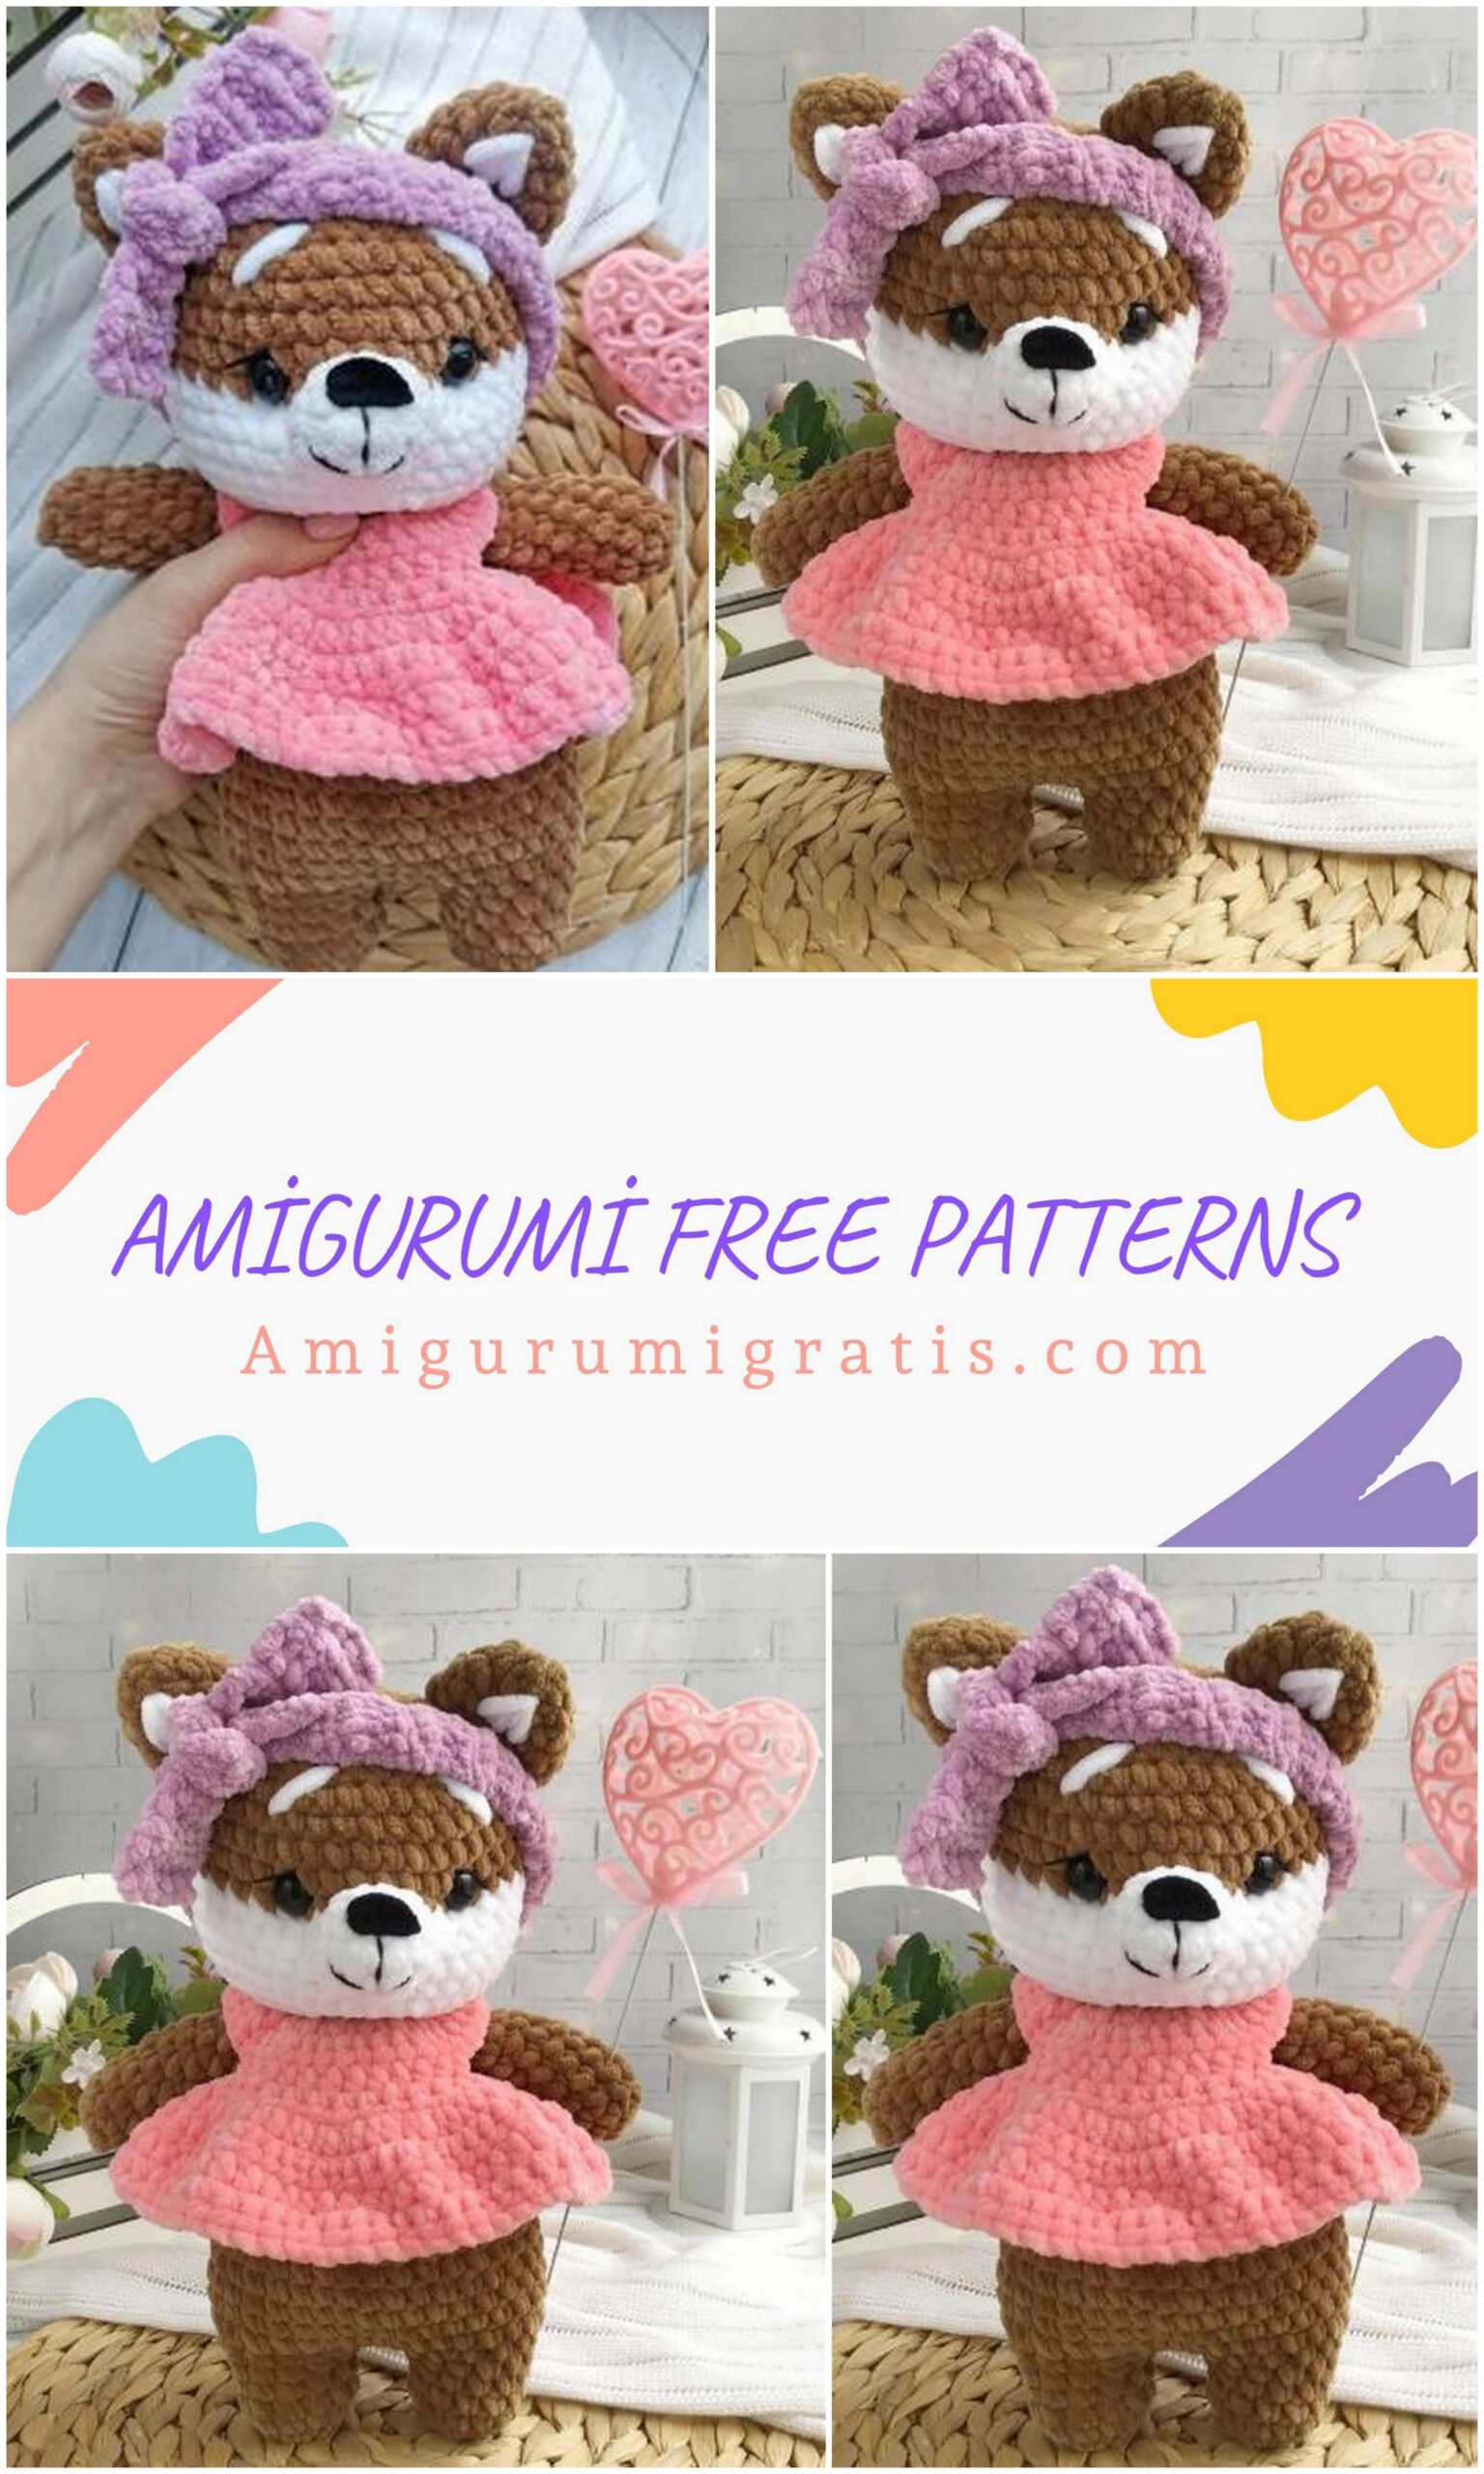
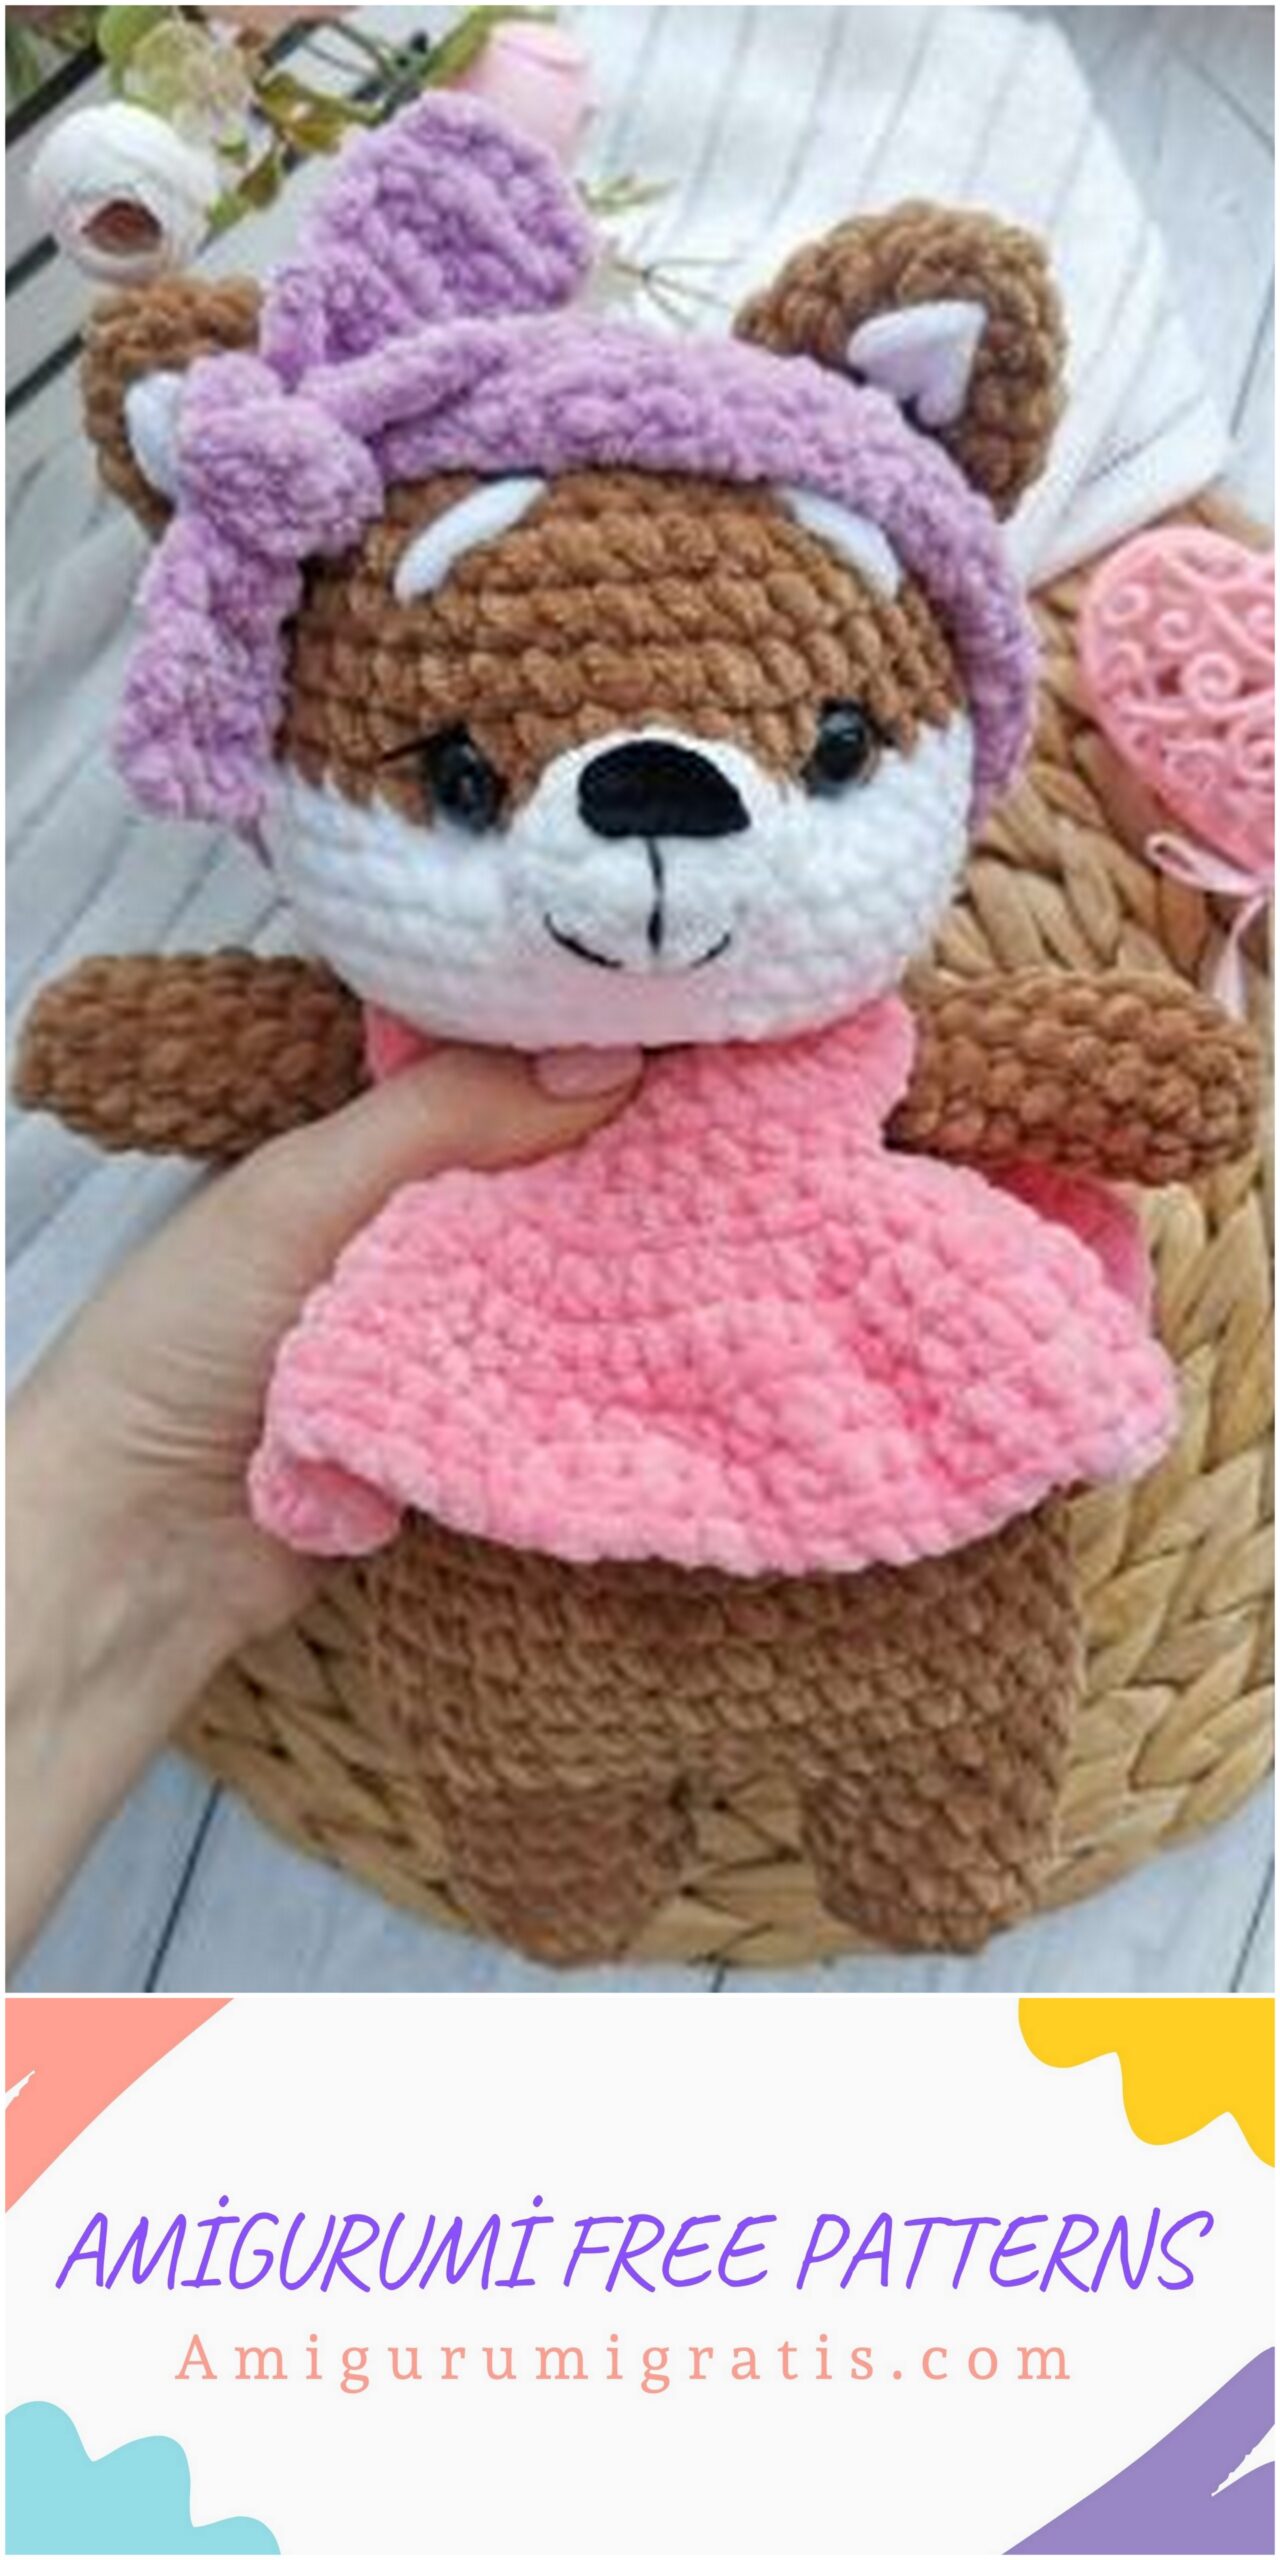
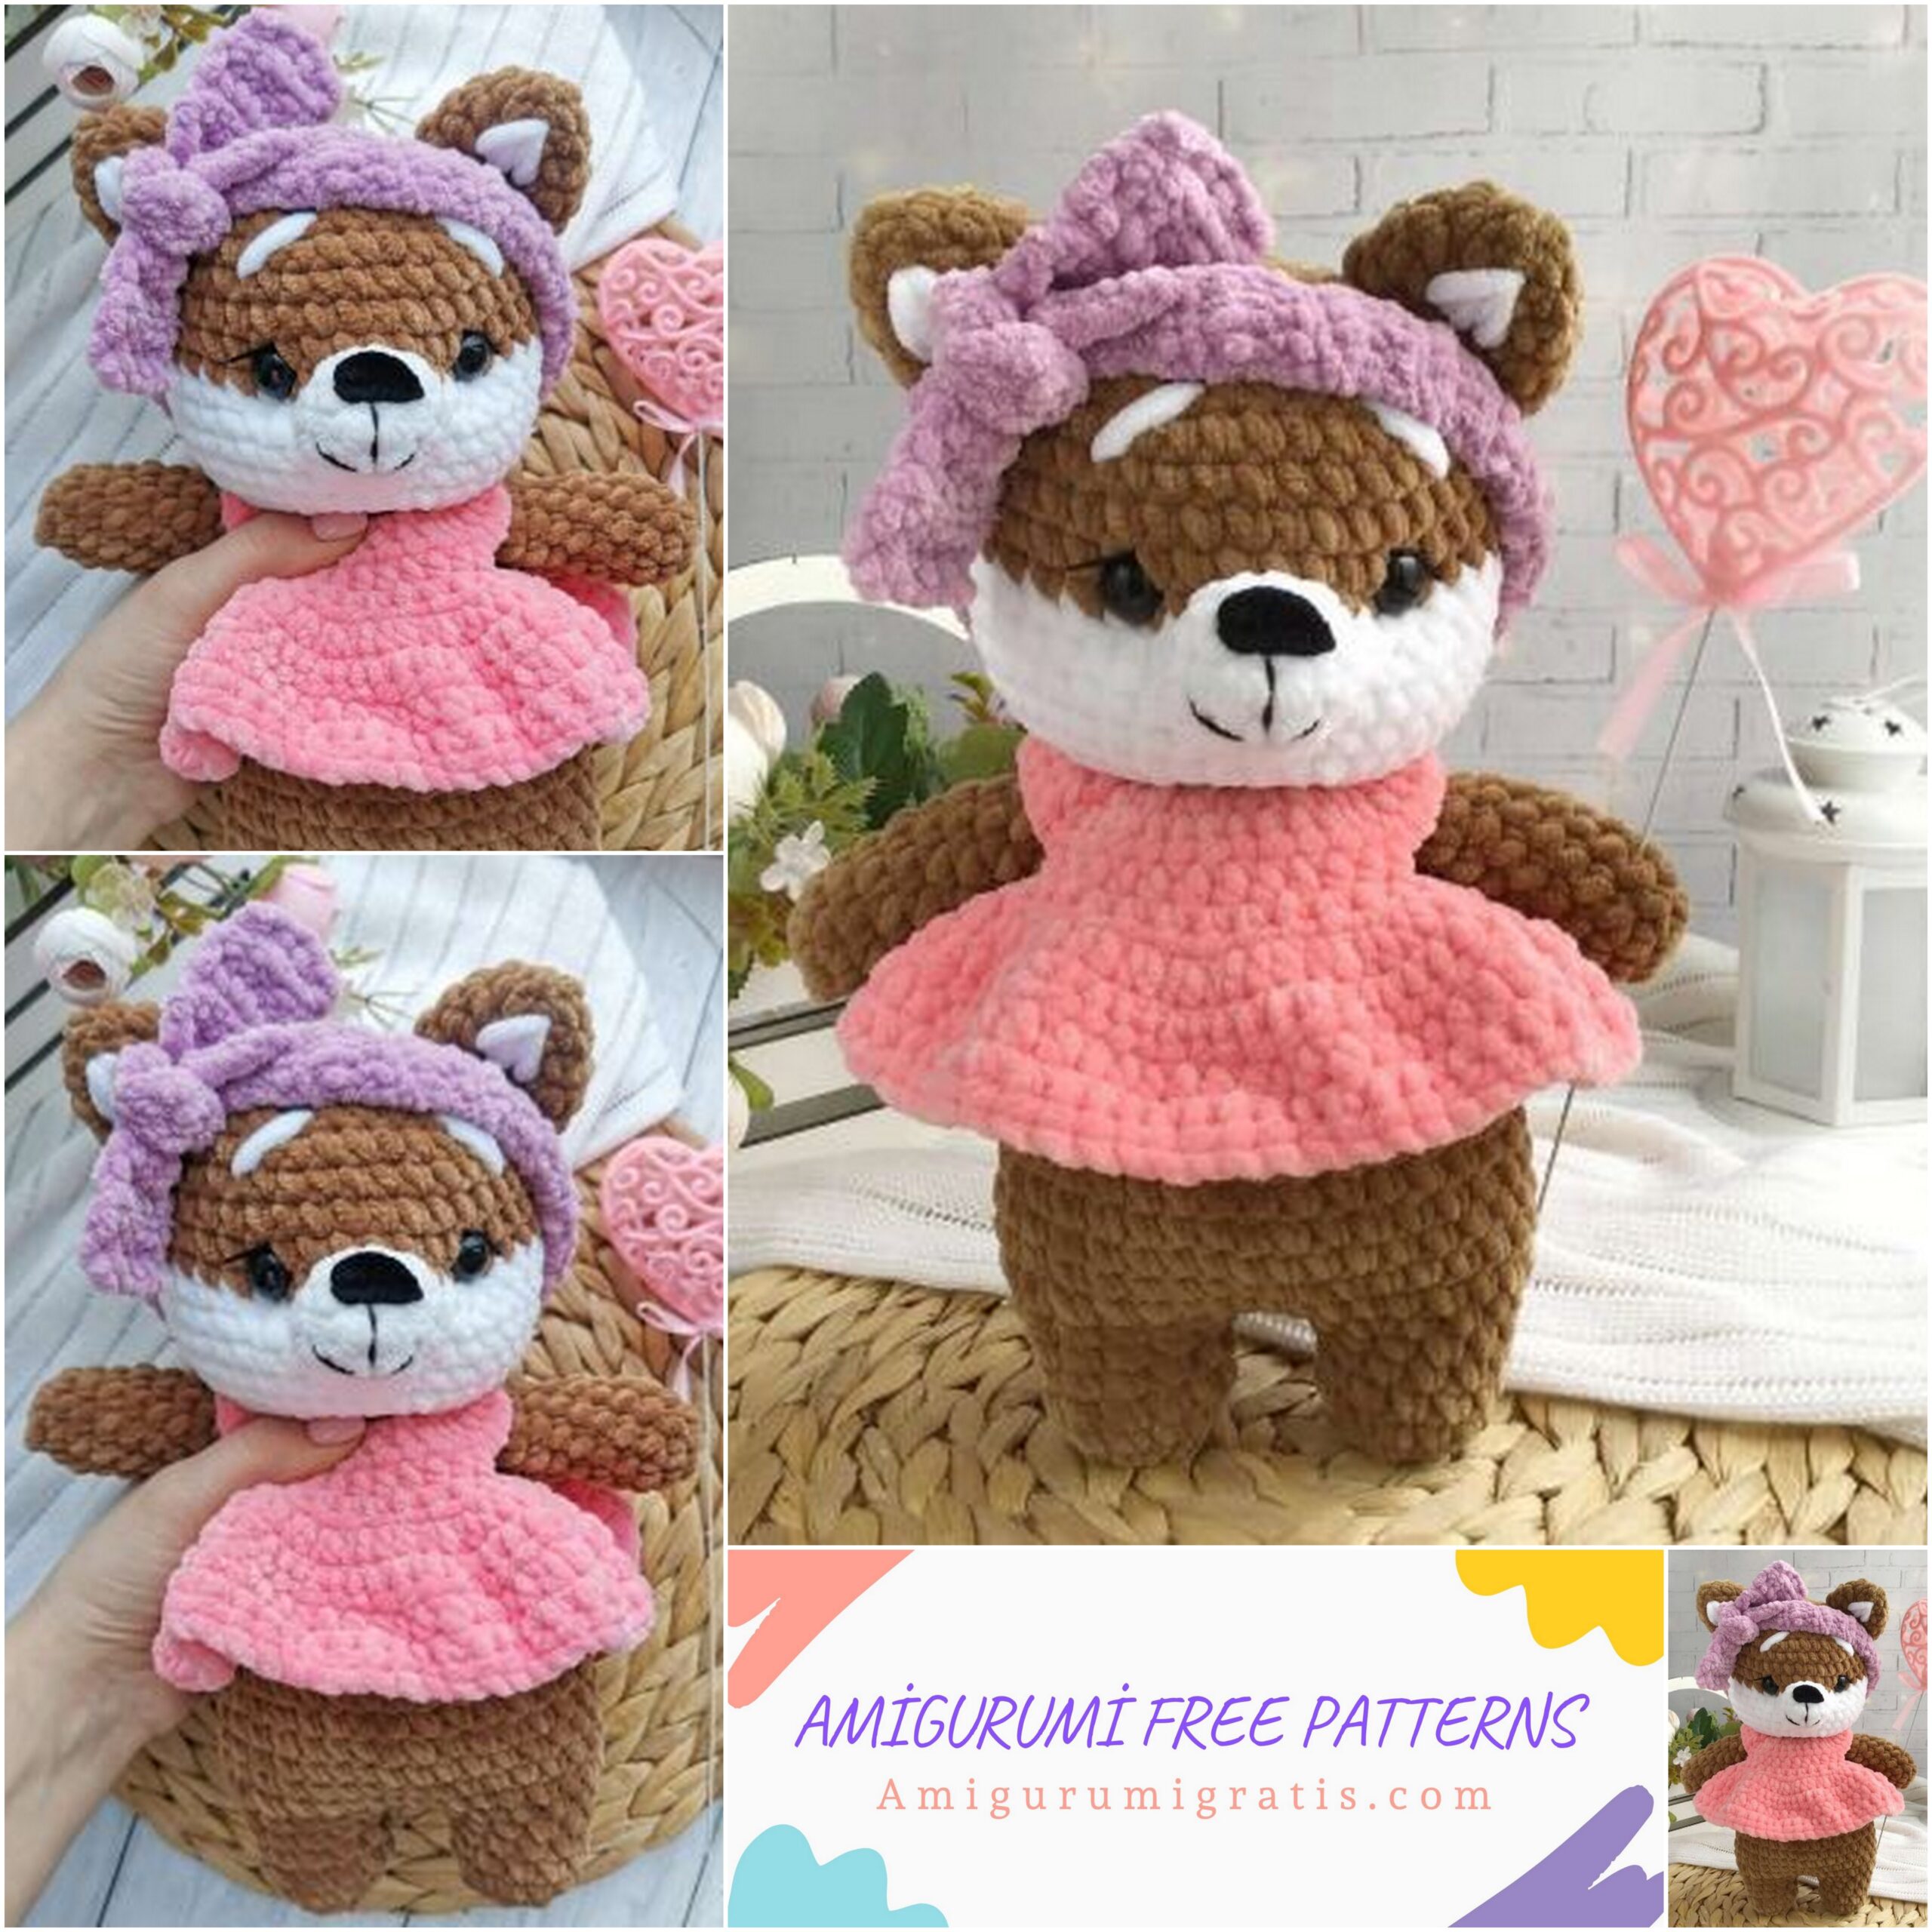
Amigurumi Shiba Dog Free Pattern
Cocoon Shibainu dog Free Pattern Height of toys 24-26 cm from Dolche The finished toy can be disposed of at your discretion. Thank you and happy knitting. You must be able to crochet
Materials for knitting toys:
– Himalaya DOLPHIN BABY yarn or analogues (100g / 120m) 1 skein was enough for me. Color is your choice. – 1/3 Himalaya DOLPHIN BABY white color – for clothes about 1/2 skein of Himalaya DOLPHINBABY
– hook No. 3.5-4
– filler (holofiber) – eyes on a secure mount (12mm-18mm) at your discretion, if you want, as in the original toy, take more – yarn for overalls, I take semi-cotton and crochet 2.5 – sewing needle, scissors, nylon thread or yarn for sewing parts – a little yarn for eyebrows and eyelashes. Height of toys 24-26 cm from Dolche Notation

Abbreviations
MR – amigurumi ring
SC – single crochet
İNC -increase (knit two SC in one loop)
DEC-decrease (knit two SC together)
SL-ST – connecting post
HDC – half double crochet
(1SC,İNC)*3 = repeat this action three times
Instead of an amigurumi ring, you can dial 2 CH and knit 6 SC into the second loop from the hook (or another amount of SC according to the scheme). Knit in a spiral without lifting loops. At the beginning of the row, use a marker or thread in a contrasting color to mark the first stitch of each new row. Thread color change
I change the color of the thread in the last column of the row so that the new row starts with a new color. We grab the working thread and then we drag the thread of a different color, tie the ends and set them on fire with a lighter.
Handles main color
We stuff not tightly, just above half of the handle 1. 5 SC to MR
2. 5 NC = 10 SC
3.-11 = 10 sc (9 rows)
If the handle seems short, work another round of 10SC
Fold and knit behind both walls 5SC
Muzzle white
1.6SC to MR
2. 6 inch = 12SC
3. (3SC,İNC)*3 = 15SC
4. 15 SC, leave the thread for sewing
Tail base color
7 CH, from the second loop from the hook we knit 2SC, 2 HDC, 2 DC, leave a thread for sewing Ears base color
1.5SC to MR
2. 5 NC = 10 SC
3. (4SC,İNC)*2 = 12SC
4. (3SC,İNC)*3 = 15SC
5. 15 SC (if you want shorter lugs, do not work this row) fold and knit together
Embroider white stripes inside the ear
Legs – body – head
We start knitting with the main color, we stuff the knitting. 1.6SC to MR
2. 6 inch = 12SC
3-5. = 12 SC (3 rows)
Fasten the thread at the first leg, knit the second leg similarly, do not cut the thread, but collect 3CH, attach the first leg and knit:
6. 12 SC on the leg, 3SC on the chain of CH, 12SC on the second leg, 3SC on the chain of CH = 30 SC
put a marker (marker on the back)
7. (4SC,İNC)*6 = 36SC
8-14. = 36 SC (7 rows)
15. (4SC,DEC)*6 = 30SC
16-17. = 30 SC
18. (3SC,DEC)*6 = 24SC
19.24 SC
20. (2SC,DEC)*6 = 18SC
21. Now knit the handles, place them evenly on the sides in front, you should have 5-6 SC = 18SC22. (4SC,DEC)*3 = 15SC
Changing the thread to white
23.15 İNC = 30 SC
24. (4SC,İNC)*6 = 36SC
25. (5SC,İNC)*6 = 42SC
26-30. = 42 SC (5 rows)
Change the color of the thread to the main one
We insert the eyes between 31-32 next, the distance will depend on the size of the eye that you take. From 6 to 4 columns between. Try on the nose and position the eyes. It is better to do this after knitting the head a little higher. 31-35. =42 SC (5 rows)
36. (5SC,DEC)*6 = 36SC
37. (4SC,DEC)*6 = 30SC
38. (3SC,DEC)*6 = 24SC
39. (2SC,DEC)*6 = 18SC
40. (1SC,DEC)*6 = 12SC
41. 6 DEC, tighten the hole, fasten the thread
Putting together a toy
We do embroidery of the spout, the spout itself is plush yarn, arotik floss. We sew a muzzle for each loop, stuff a little, sew so that the muzzle is not wide. Between 28-31 next, be sure to try on the position of the muzzle. Ears
Sew back 3-4 rows of the crown. Try everything on the toy, pin the desired position with pins, and then sew. Tail in 10-11 row. Embroider eyebrows and eyelashes. If desired, you can make a small tightening Bandage
Knit the bandage in turning rows, behind the back walls of the loops, at the end of the CH row for turning
We collect 6 CH, and we knit a strip of the length we need so that we can tie it into a knot and get a bow. Before finishing knitting, try on your toy.0
The dress
We knit with half-columns with a crochet1. Recruiting 20 CH + 1 CH lift = 21CH
2. 20 inch HDC = 40
3.40 HDC
4. 5 HDC, then cast on 9CH (skip 9 stitches on the dress), then knit 12 HDC, cast on 9CH again (skip 9 stitches), then 5 HDC = 40HDC5. 40HDC
6. Increases from HDC in each loop = 807. We knit necessaryI give you a length of 3-5 rows HDC Tie the edge where the buttonhole will be. Fasten and hide all the threads. Pants or overalls
Dial a chain from CH equal to your volume of the toy. I got 70 CH, close in a circle and knit HDC to the desired length, try on in the process of knitting. I got 15 rows.
Try on a toy, sew between the legs the required number of loops, I have 16. 27SC came out on each leg. Bib for jumpsuit
Mark the center on the front of the panties, step back 5 stitches, attach the thread and knit 10 HDC, at the end of the row do not forget to make a lifting loop. Knit 4 rows like this. (if your toy is too small for a bib, knit more) Straps
At the back on the bellies, find the middle and take on the required amount of CH so that they go a little in front of the bib, knit back HDC, make SL-ST and dial the second strap of the desired length, we also knit HDC back. Fasten the thread. Sew straps on the front, sew buttons on top. For those who know how to knit, the link to the text is clickable. knitting dress
Congratulations, your toy is ready!